Imagine controlling your iPhone entirely with your eyes. Scrolling through social media and opening apps—all without ever needing to touch the screen. It’s not a fantasy anymore, and you don’t even have to drop $3,000 for an Apple Vision Pro. iOS 18 and iPadOS 18 come with a new accessibility feature called Eye Tracking. As the name suggests, this lets you navigate your device with just your eyes.
Here’s what you should know.
How To Use Eye Tracking in iOS 18
1. Set Up Eye Tracking
Time needed: 2 minutes
Start by setting up Eye Tracking. Ensure that your iPhone is running the latest iOS 18 version. Follow these steps:
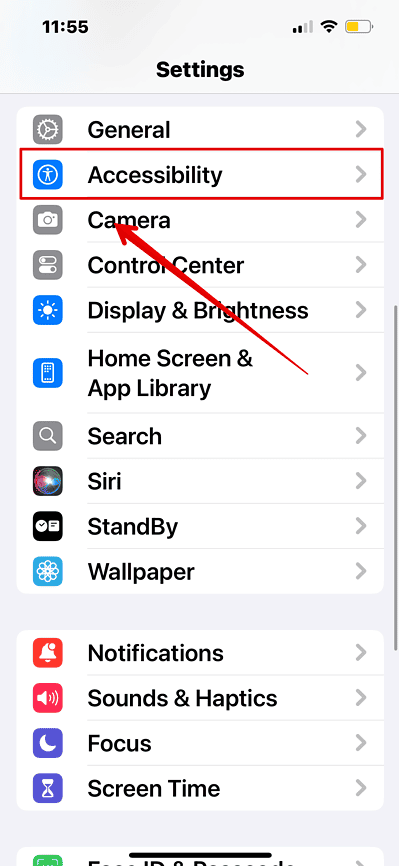
- Open the Settings app on your iPhone.
- Head to Accessibility and tap on it.
- Under the Physical and Motor category, select Eye Tracking.

- Toggle on the button beside Eye Tracking.
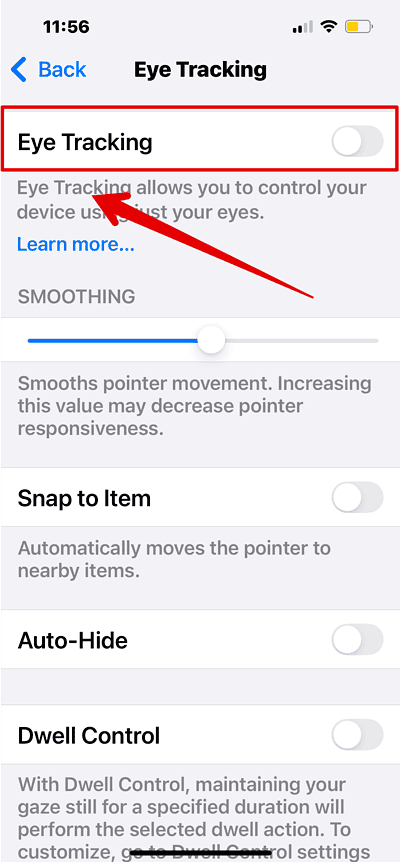
- Follow the on-screen instructions to calibrate the function. This involves tracking a colored circle around the screen with your eyes

 NOTE
NOTE
2. Use Eye Tracking With Dwell Control
After setting up Eye Tracking, you might notice a feature called Dwell Control at the bottom of the Accessibility settings page. It will automatically turn on as soon you enable Eye tracking.
This function allows you to perform actions by maintaining your gaze on a specific point for a set duration.
Simply move your eye around to navigate on your iPhone or iPad. With the Dwell Control turned on, maintain your gaze on the desired option for a predetermined time (dwell time). Once the set dwell time (X seconds) is met, the action will be triggered.
3. Customize Dwell Control
You can also customize the Dwell control functions for a more personalized experience. Here is how:
- Open the Settings app on your iPhone and go to Accessibility.

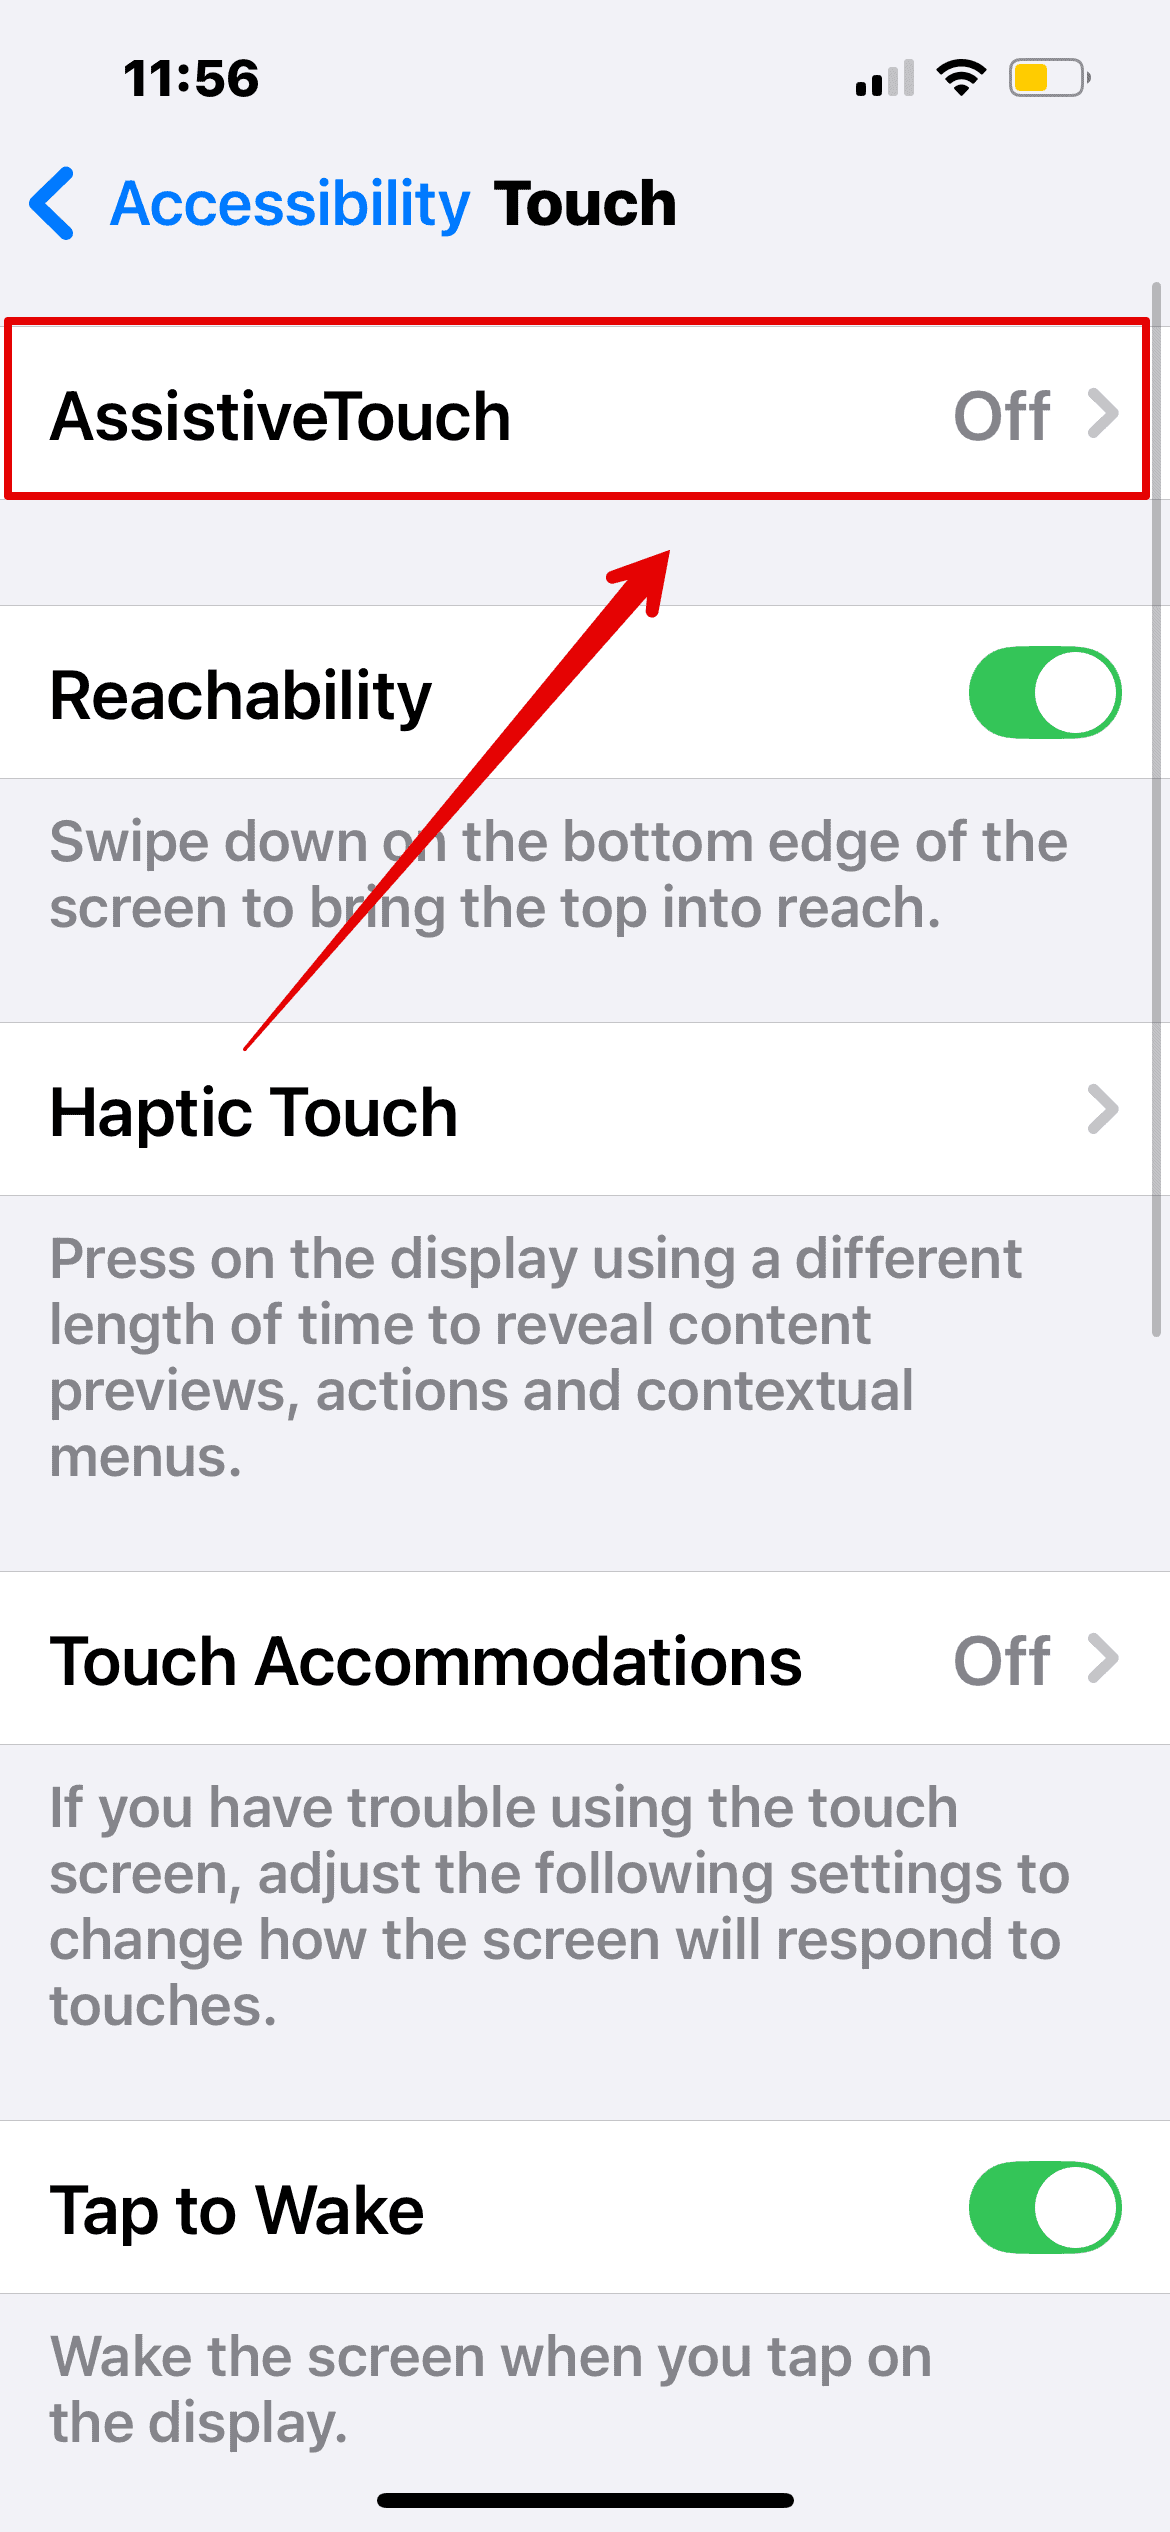
- Under the Physical and Motor category, select Touch.

- Then, go to Assistive Touch at the top.

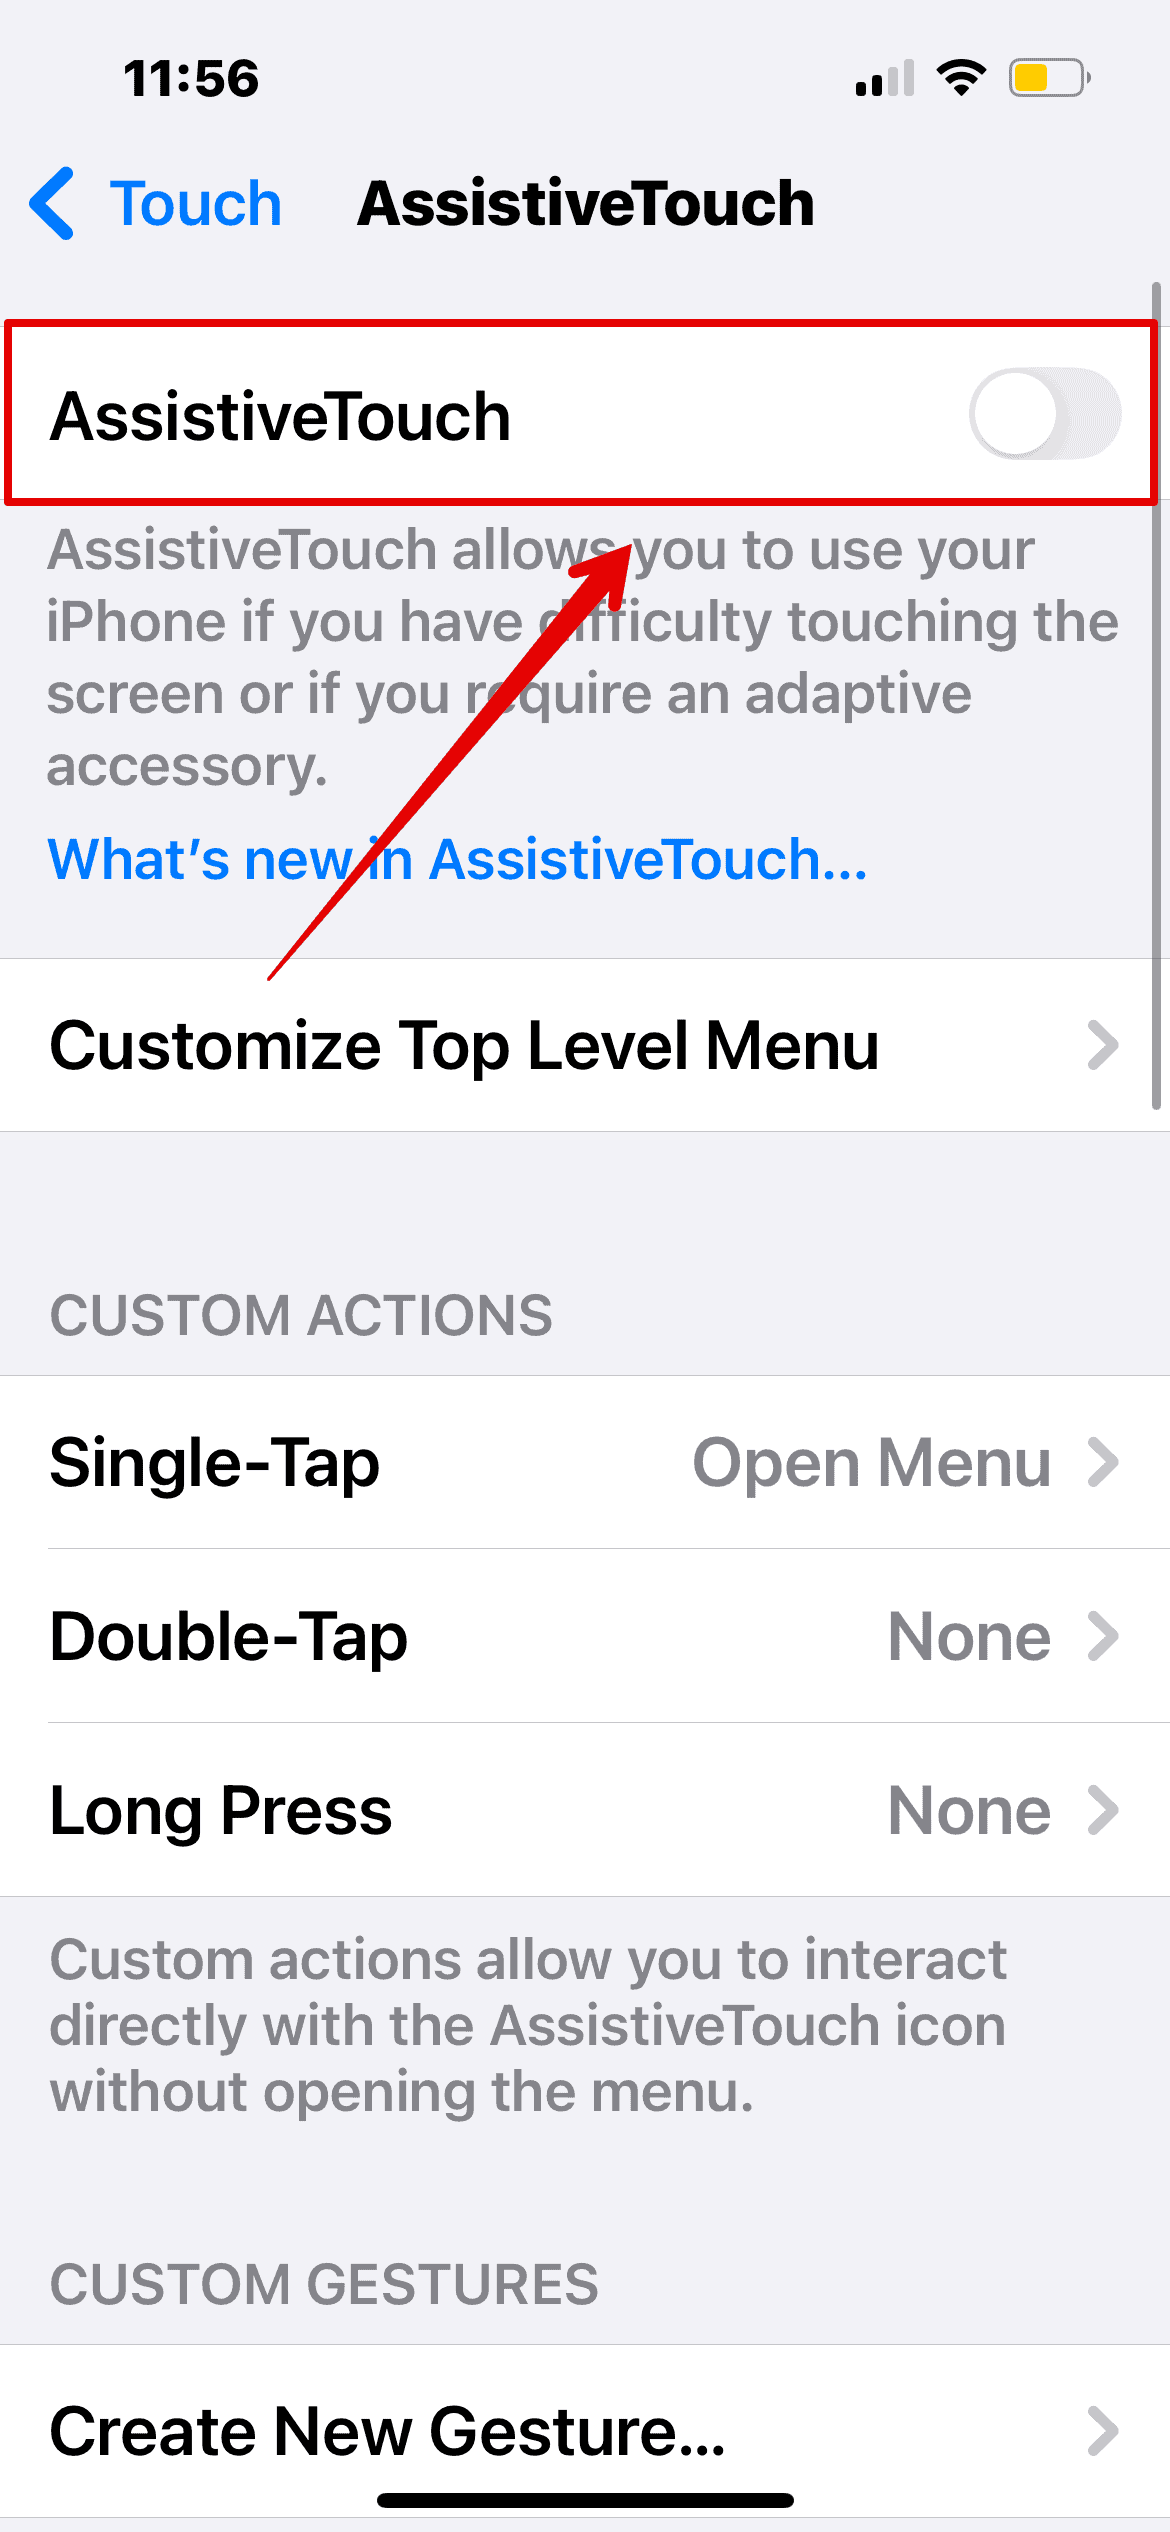
- Toggle the button beside Assistive Touch to enable it.
- Now, scroll to the bottom and look for the Dwell Control section.

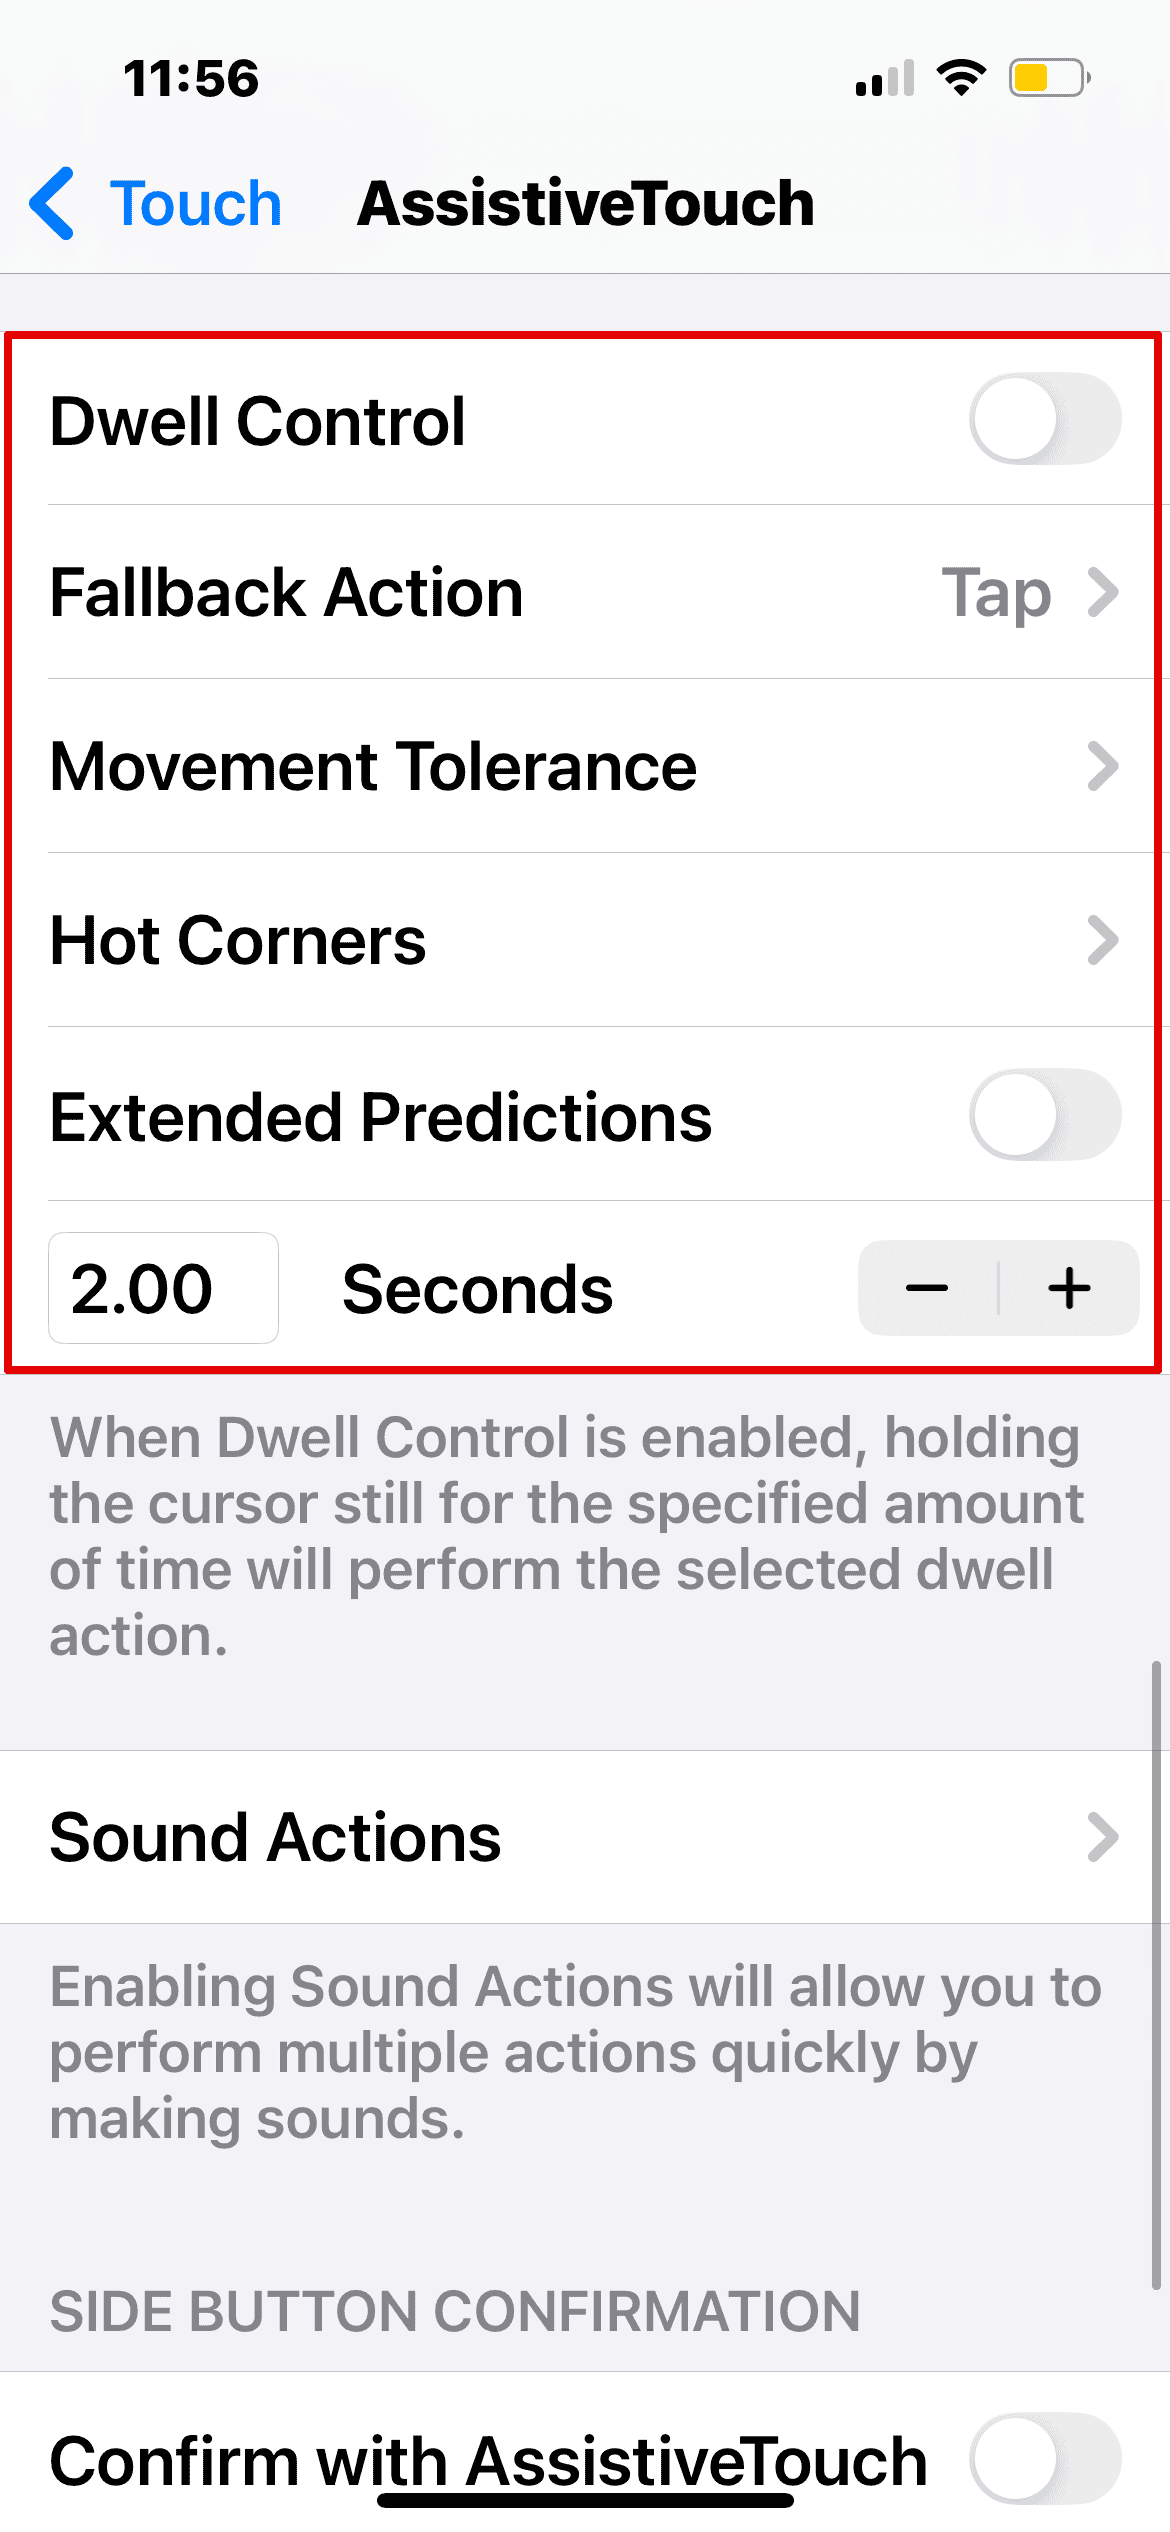
You can now set the Dwell time, and make changes to other settings for an efficient performance.
Overall, this feature is a game-changer, especially for those with wrist mobility issues. Again, it’s important to understand that it’s still in the development phase, so the feature might not run efficiently right now.