
PostgreSQL is helpful for coding, but you might want to uninstall it from your Mac at some point. Compared to normal macOS apps, which you can delete in Finder, getting rid of PostgreSQL is a bit more difficult. But fear not because I’ll show you what you need to do today.
To ensure that you remove everything, let’s delete your user account as well. And if you’re struggling to remove the app or your account, you’ll also find out what you can do to address these changes.
Reasons to Uninstall PostgreSQL on Your Mac
While PostgreSQL is a useful piece of software, you might no longer need to use it because you’ve picked an alternative. However, it’s also possible that the app isn’t working for whatever reason; uninstalling and reinstalling programs that aren’t acting as they should often make it easier to solve the issue.
 NOTE
NOTE
How to Uninstall PostgreSQL on Your Mac
Regardless of your reasons for wanting to uninstall PostgreSQL on your Mac, the process is identical. First, you’ll need to delete the app. And after doing that, you should delete your user account.
In the sections below, you’ll learn how to do both.
1. Use the Terminal App
Time needed: 10 minutes
One of the main ways to uninstall PostgreSQL on your device is via the Terminal app. You’ll have to enter a couple of different commands, and I’ll show you the entire process from start to finish below.
- Go to Spotlight by clicking on the magnifying glass icon in the top right-hand corner of your Mac toolbar.

- When the pop-up search window appears, type Terminal. You don’t need to hit the Return key; the results should automatically appear within a few seconds.

- Select the Terminal app when it shows up — you should see it as the top result.
- When the Terminal app opens, type open /Library/PostgreSQL/version number/uninstallpostgresql.app. If that doesn’t work, try sudo /Library/PostgreSQL/version number/uninstall-postgresql.app/Contents/MacOS/installbuilder.sh.

- Hit the Return key, enter your password, and follow the uninstallation instructions on your screen.


2. Delete Your User Account
After removing PostgreSQL, you should also delete your user account to free up space on your device. Note that you can only do this for accounts that you aren’t signed into; if you need to delete the main account on your Mac, you should make a new one first.
Here’s how to delete your user account:
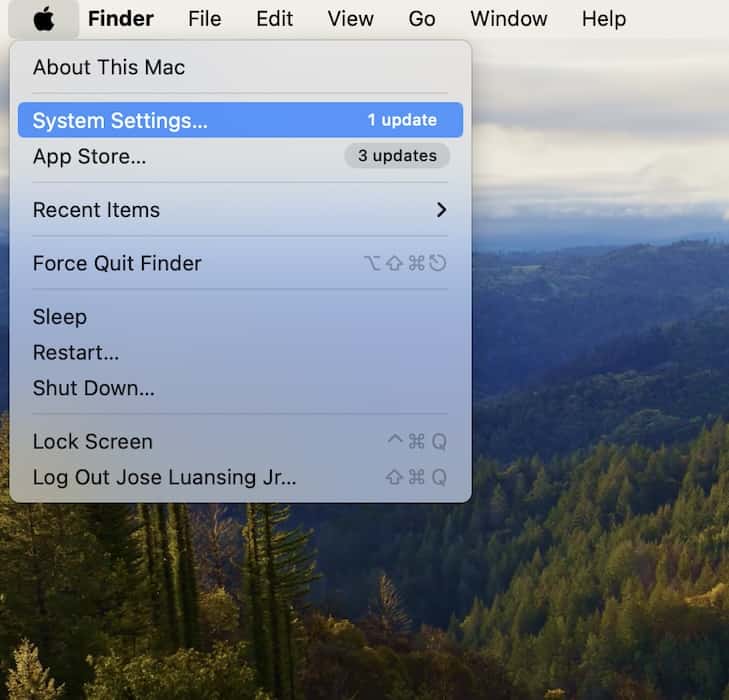
- Tap the Apple icon in the top left-hand corner. Then, select System Settings when the drop-down menu appears.
- Go to Users & Groups in the toolbar on the left.
- Find your account and select the information icon (i).

- When the next pop-up window appears, click on Delete User.

- Another pop-up window will then show up on your Mac. When it does, choose whether you want to save any user settings and then press Delete User again.


 NOTE
NOTE
sudo rm -rf /Library/PostgreSQ — after doing that, hit Return and type in your password. What to Do if PostgreSQL Won’t Uninstall
If you’ve done everything listed above but you haven’t been able to completely get rid of PostgreSQL, you can try a few more things to solve the issue. From restarting your computer to restoring it to a previous version, here are four things to attempt.
1. Restart Your Mac and Try Again
The easiest place to start is by rebooting your Mac and then trying to uninstall PostgreSQL again, along with deleting your account. It doesn’t matter if you shut down your device and manually turn it back on or automatically restart everything, but the latter requires less manual work and I’ll therefore show you how to do that.
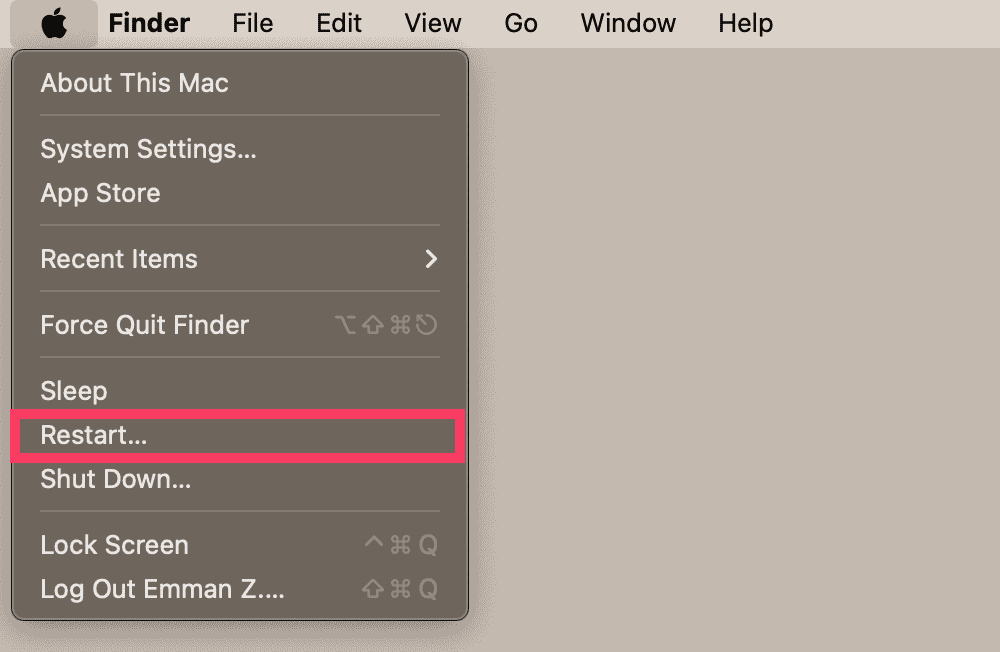
- Go to the Apple menu icon and expand the dropdown menu.
- Select Restart.
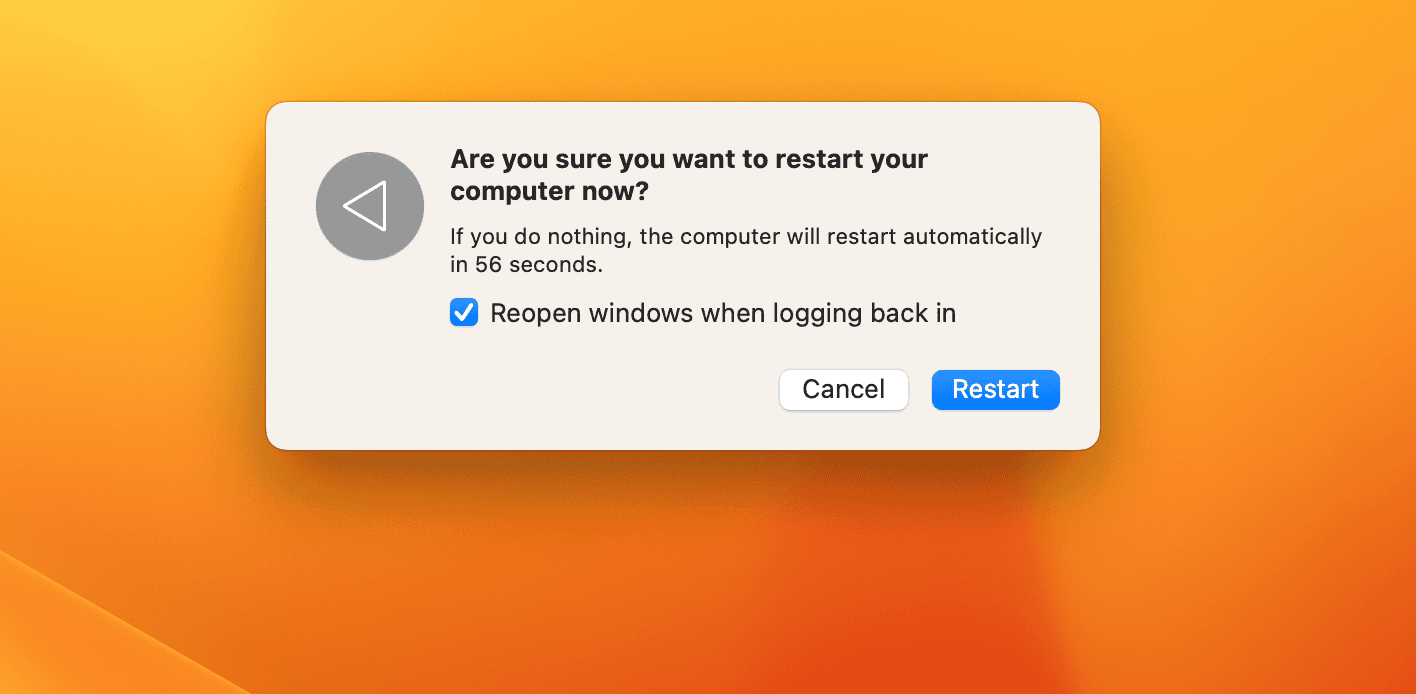
- Confirm that you want to restart your Mac in the pop-up window. If you do nothing for 60 seconds, your device will automatically turn off and on.
- Wait for your Mac to fully restart. When the login page appears, enter your password like you normally would when switching on your device.
- Go to Terminal and try to uninstall PostgreSQL by following the same steps outlined in the first section.


2. Use Terminal
In addition to the commands I’ve already said that you should use, there’s another option to remove your data in Terminal. Here’s how to use it:
- Go to Spotlight and search for Terminal.
- When Terminal opens, type
sudo rm /etc/postgres-reg.iniand hit the Return key. - Enter your password. This should remove excess data from the app.
- Type the other two commands again that I mentioned earlier, and hit your Return key for both. Input your password to remove these.
- Turn your Mac off and on again.
3. Check Your Admin Permissions
Most of the time, only people with administrative permissions can delete apps and programs on a Mac. So, if you can’t delete PostgreSQL, it could be due to your account’s permissions. You can check and adjust these by going to System Settings:
- Open System Settings and select Users & Groups.
- Select the information icon next to your user account.
- Toggle Allow user to administer this computer on.

- A pop-up window will appear and tell you that you have to restart your computer. When it appears, select OK.

- Restart your Mac to bring the new conditions into effect.


4. Restore Your Mac to a Previous Version
Restoring your Mac to a previous version is the most inconvenient way to remove PostgreSQL, and you’ll use a lot of saved data if it didn’t exist at that previous point. However, if all else has failed so far, it is a possibility. If you need to go to those lengths, you can follow these instructions:
- Open Spotlight and search for Migration Assistant before opening the app.

- Select Continue. This will close all open apps on your device, so make sure that you’ve saved everything.

- In Migration Assistant, you’ll see three options. Tick the circle next to From a Mac, Time Machine, or Startup disk, and select Continue.

- Choose the Time Machine backup for which you want to restore your computer. Then, press Continue again.

- Tick all of the information you want to restore on your device. Select Continue once more.

- Wait for your Mac to restore.


Deleting PostgreSQL normally isn’t a complicated process, and it shouldn’t take you more than 10 minutes. You’ll first need to delete the app and any data associated with it, before then removing your account. If you’re unable to do these, there are a handful of things you can try to fix the issue. Hopefully, having read this article, you can now remove PostgreSQL without further issues.