There are multiple ways to share files between Apple devices. You can use AirDrop, iMessage or even email. But an oft-overlooked feature is iTunes File Transfer. I’ll walk you through the process below.
iPhone File Transfer
On its support website, Apple mentions using iCloud Drive, Handoff or AirDrop to “keep your documents up to date across all your devices.” But what if you need to transfer a 2GB file? Or maybe you’re in an area without Wi-Fi and need to transfer a file to yourself. This is where iTunes comes in.
iOS devices don’t have an accessible file system like macOS does. Instead, each app has its own document library. iTunes File Transfer lets you copy files to and from each app library.
When you plug in your iPhone, iPod or iPad to a computer with iTunes, the device will show up in the program. Since Apple introduced app thinning with iOS 9, apps don’t sync between your iOS device and Mac anymore. But file transfer is still possible.

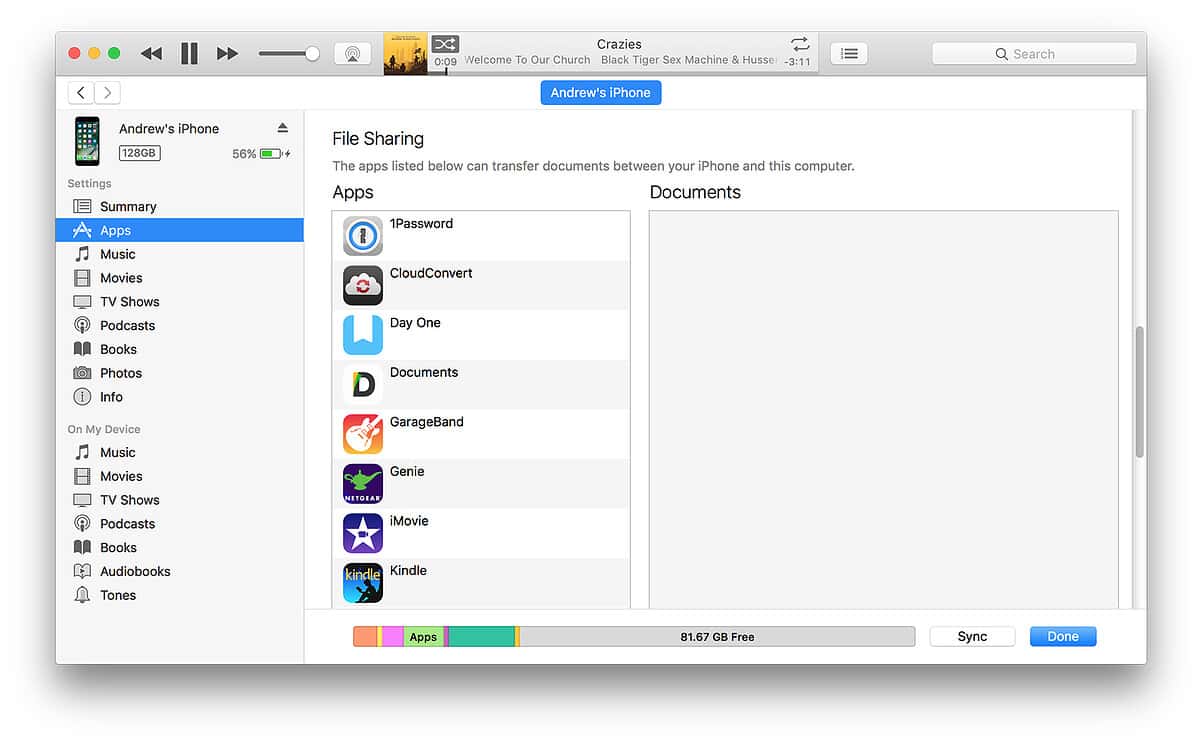
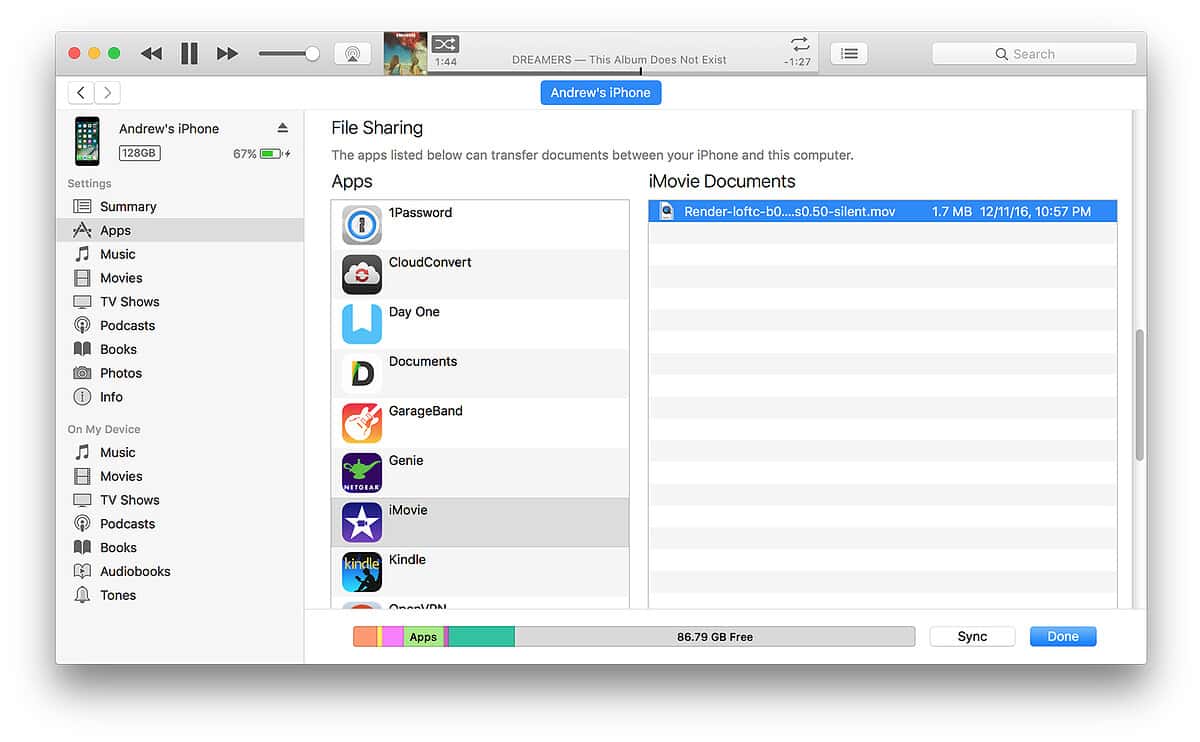
After clicking on the phone icon in iTunes, click on Apps on the left sidebar. Scroll down until you see the section called File Sharing. You’ll see a list of apps currently installed on your device that are capable of transferring files.

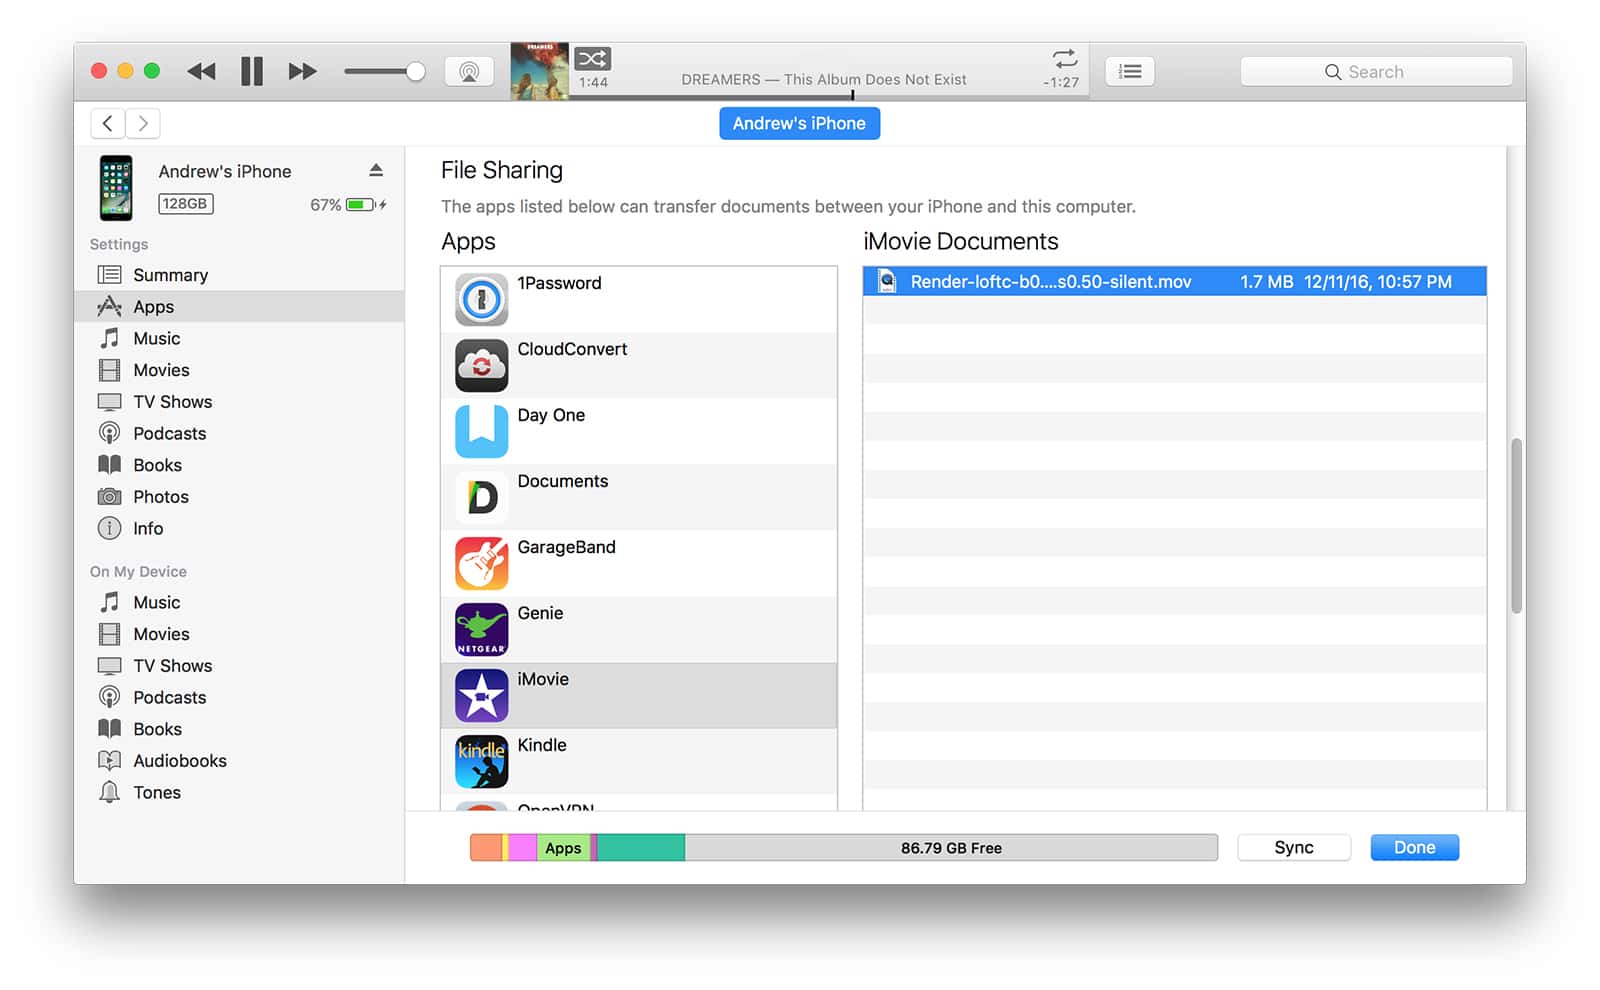
For example, if you made a movie with iMovie for iOS, you can export it to iTunes. Then, using your Mac, you can open iTunes and save it to your computer. You can also do the opposite, and drag a video into iMovie using iTunes.

With iTunes file transfer, you’re not limited by file size. I can easily use it to transfer gigabytes of data to my iPhone. Privacy is another benefit, since files that I transfer aren’t uploaded to someone else’s servers. So the next time you need to transfer files between your devices, consider iTunes.
