If you have not been actively using the iCloud website, you could be missing a lot of excellent features that it can offer. Although it can bit of a hassle to open a web browser and log in to your iCloud account, still, there are several reasons why you may need to do so once in a while. Let’s say you’ve taken tons of great photos using your iPhone 14 and you want to browse them in all their glorious details on your Mac. You don’t need to AirDrop them from your iPhone anymore. You can find all the photos you’ve taken using your iPhone camera on your iCloud account, provided you have enabled iCloud Photos. In this quick guide, I will walk you through the steps to look at photos on iCloud.
What is iCloud Photos and How Does it Work?
Formerly known as iCloud Photo Library, iCloud Photos works seamlessly with the Photos app on your Apple devices. It securely stores your photos on iCloud servers. With iCloud Photos enabled, you can check if you can access your photo library from any of your devices, anytime. Any changes you make to your photo collections using one of your devices change on all your devices.
How to Sign In to iCloud on the Web
Time needed: 1 minute
To sign in to iCloud on the web, follow these steps.
- Go to the iCloud web portal, then click or tap Sign In.
You’ll be prompted to enter the email address associated with your Apple ID.
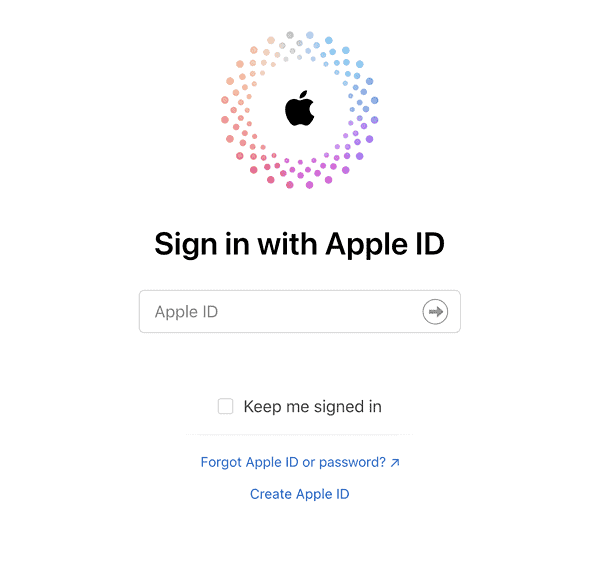
- If you set up two-factor authentication or two-step verification, follow the onscreen instructions to verify your identity by entering a code sent to a trusted device.
Navigating the iCloud Website
If this is your first time signing in to iCloud on the web, you’ll be surprised at how similar the iCloud Photos library is to the Photo apps on your iPhone, iPad, or Mac. Once signed in, you can see various apps that iCloud has synced from your devices. These include Photos, Mail, Contacts, Calendar, Drive, Notes, Reminders, Pages, Numbers, Keynote and Find My.
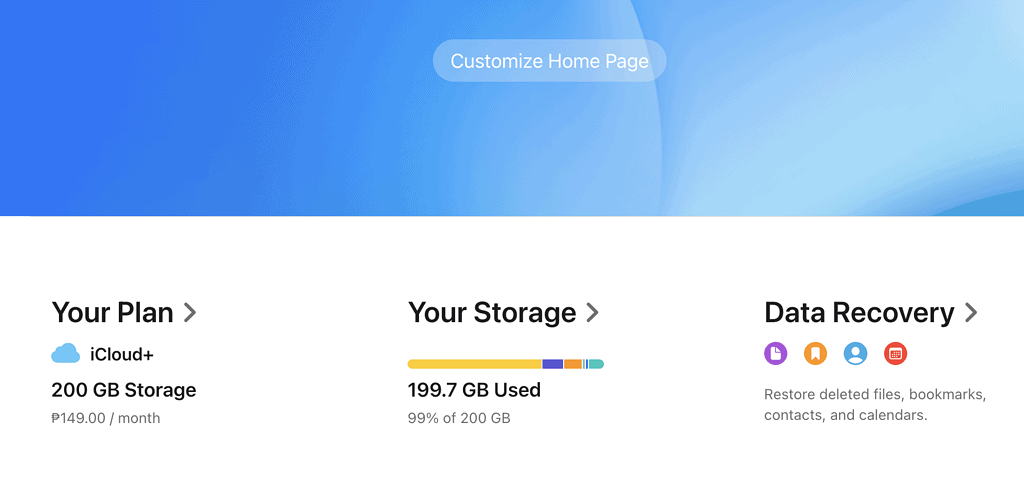
Some of these apps are displayed on the main page, but you can further customize it depending on your preferences. To do that, simply click on the Customize Home Page button. If you scroll down the page, you will see the bottom menu indicating your iCloud plan, Storage info, and Data Recovery tools. For now, let’s take a look at the iCloud Photos option.
How to Look at Photos in iCloud
To look at your Photos in iCloud, simply click on the Photos option from the home page. You will then see all your photos come up in the middle of the screen, arranged from the latest to the oldest.
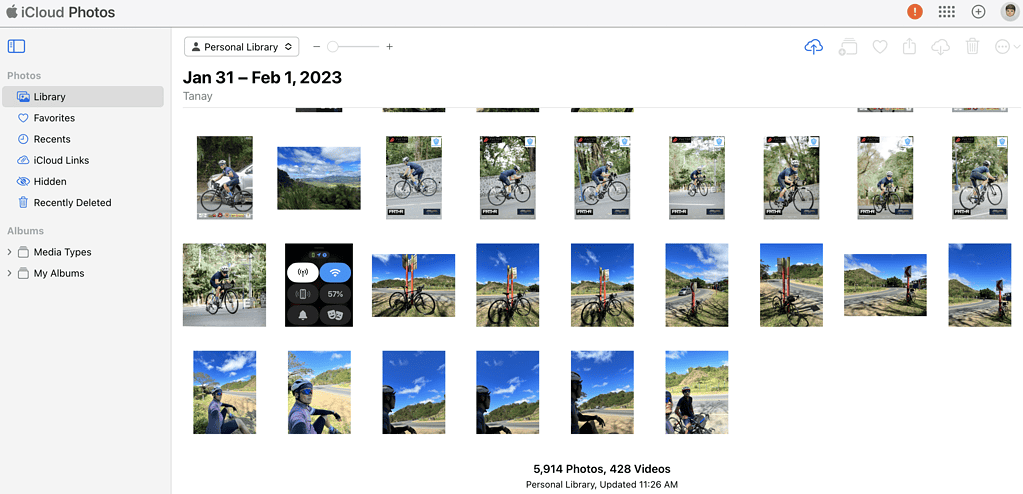
On the left sidebar of the iCloud Photos webpage, you’ll see Photos and Albums. The Albums here is the same photo categorization that you see on your iPhone or iPad Photos app. Under the Photos option, you can view photos in your iCloud Library arranged chronologically from the latest to the oldest. As you scroll up, notice that the date range changes depending on the time stamp of the photos being displayed.
Also on the left sidebar, you can view photos that you’ve favorited. The Recents view displays your photos chronologically, from latest to oldest as well. You can also view photos that you recently deleted. Photos are captioned with the days remaining before iCloud automatically purges them if you don’t do it yourself. You can permanently delete or recover them from this page if you so desire. Finally, you can also view photos that you’ve hidden.
Navigating Through Individual Photos
If you want to view more details about a photo, you simply click on it and the photo will be displayed in full view. From this page, you have several options on what you want to do with the photo. You can click any of the menu icons at the top-right corner of the page to perform various actions with the photo currently displayed. These actions include Get Info, Add to an Album, toggle a photo as a Favorite, Share, Download, Delete, and More.
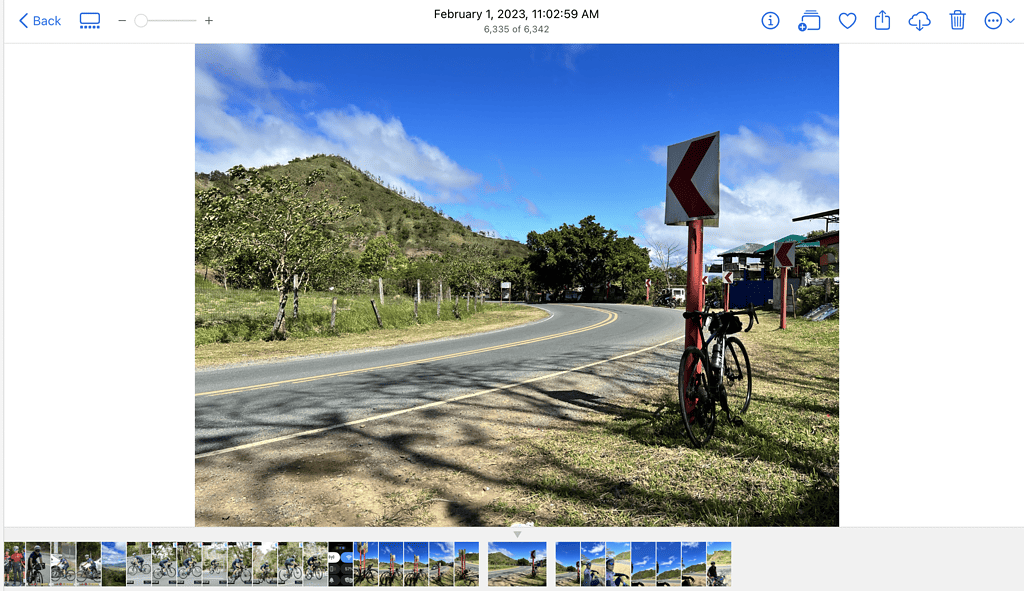
If you click on More, you can either Hide the photo or download either the Unmodified Original or the Most Compatible or unedited version. Note that any changes you make to the photo will also change it on your iPhone, iPad, or Mac.
On the lower part of the page, you can see photo thumbnails. You can opt to hide those thumbnails to have more room for the current photo being displayed. Beside that Hide Thumbnails icon is the slider for zooming in or zooming out the current photo. To go back to the main iCloud Photos page, simply click on the Back button.
Final Words: Other Important Things You Need to Know
It should be noted that once you start using iCloud to sync all your photos from all of your devices, you might need a bigger storage space. Hence, subscribing to iCloud+ is a must, especially if you want to optimize your iPhone storage. Speaking of which, iCloud Photo settings allow you to choose where to store original copies of your photos. You can choose to store them on your iPhone or Mac so that you can access them offline. Or you can opt to store the original photos on iCloud and keep lower-resolution versions locally on your devices. You can then download full-resolution versions of selected photos as needed later on.
Finally, should there come a time when you no longer want to use iCloud Photos, you can disable it on your iPhone. Here’s how to do this.
- Go to Settings > Apple ID banner > iCloud > Photos.
- Toggle off Sync this iPhone.
- On your Mac, go to System Settings > Apple ID > iCloud, then toggle off Photos.
If you previously opted to store the full-resolution versions of your photos on iCloud, you will be given ample time to download them locally on your iPhone or Mac.
