Apple’s Xcode is a crucial tool for developers, especially those working on apps for iOS, macOS, watchOS, and tvOS. However, installing Xcode can be a bit of a chore. It’s notorious for taking a long time to install, and sometimes it even gets stuck during the process. In this article, we’ll dive into why these issues happen and provide solutions to help you get Xcode up and running smoothly.
Why Does Xcode Take So Long To Install?
- Sheer Size – Its size, which is several gigabytes, is one of the primary reasons for the long installation process. This is compounded by the fact that it also downloads and installs various components and libraries that are essential for development.
- Internet Connection – If you have a slow or unstable internet connection, it could take hours to download Xcode.
- System Resources – Installing Xcode is resource-intensive. If other applications or processes are running on your system, this could slow down the installation. Especially if your Mac doesn’t have much RAM or processing power to spare.
How Long Does It Take To Install Xcode on a Mac?
The time required for Xcode to install on a Mac can vary widely depending on factors such as internet connection speed, your Mac’s performance, and the size of the Xcode version you’re installing. On an average internet connection and a moderately modern Mac, the installation usually takes between 30 minutes to 2 hours.
How To Fix Xcode Install Stuck?
Now that we understand the common reasons for the issues, let’s look at how to fix them:
1. Re-download Xcode from Apple Developer
Time needed: 2 minutes
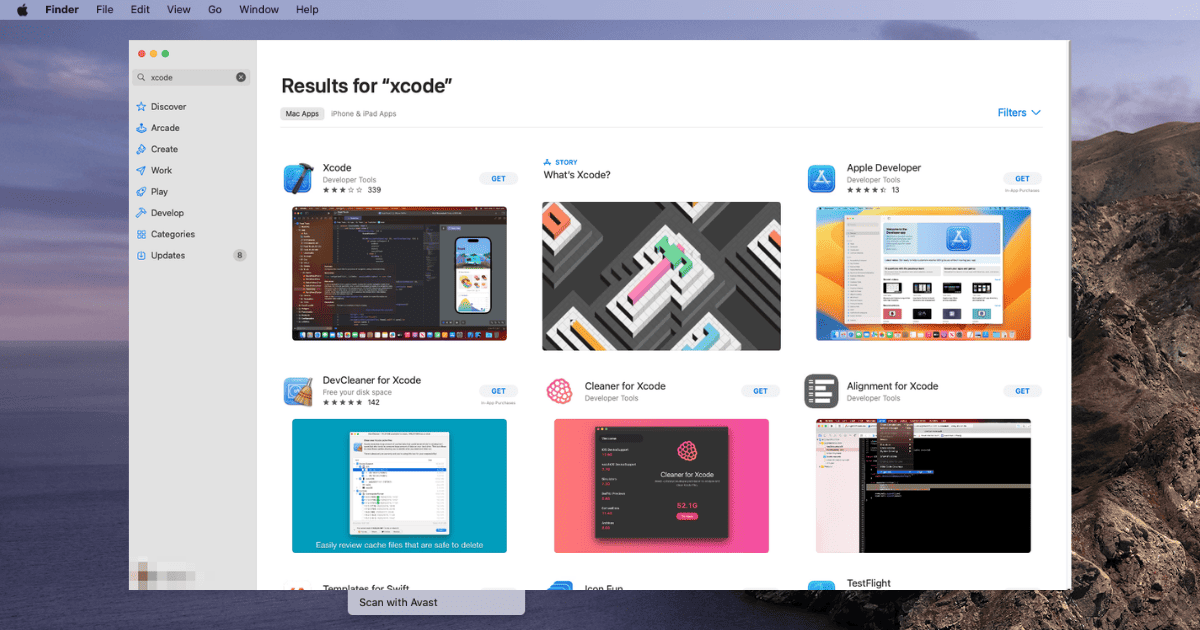
A corrupted Xcode download can cause installation problems, such as Xcode being stuck on installing components. One of the most effective solutions is to redownload Xcode but from Apple Developer, not App Store:
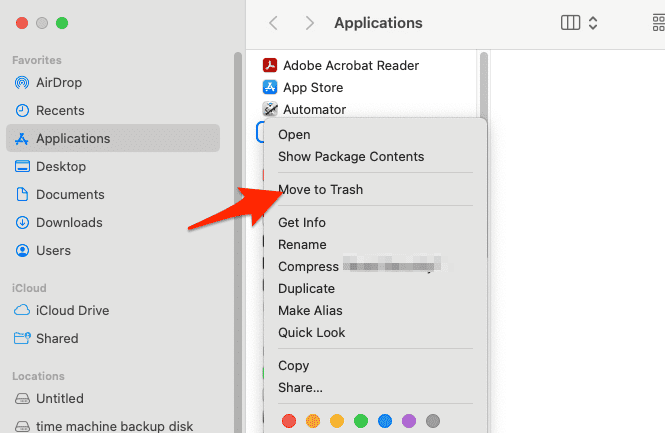
- Locate the Xcode installer in your Applications folder or Downloads and move it to Trash.
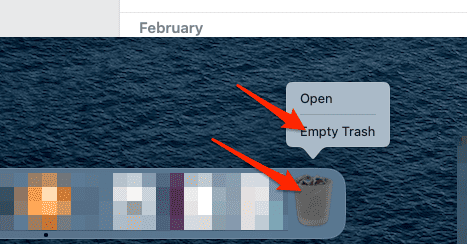
- Empty the Trash by control-clicking on it and selecting Empty Trash.
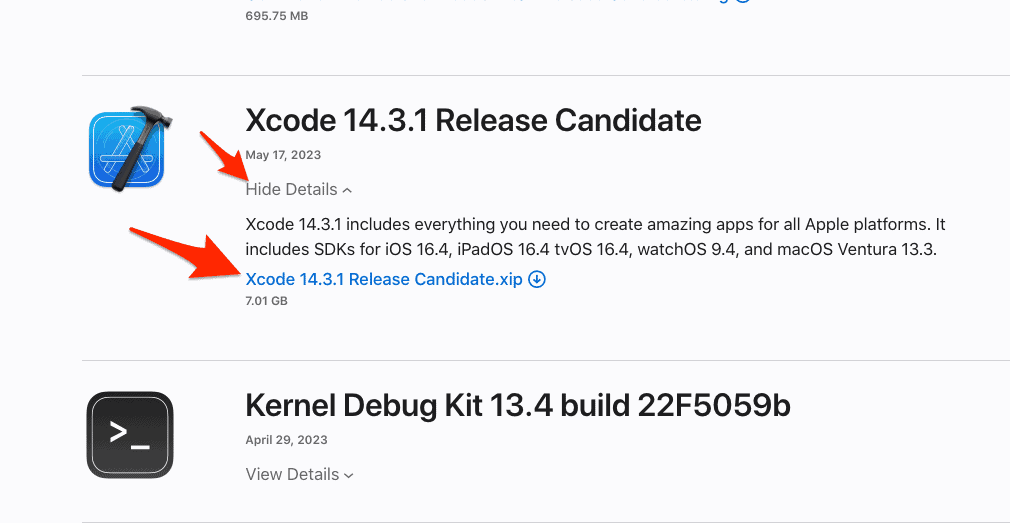
- Next, go to Apple Developer’s website, look for your desired Xcode version, click View details then click the link available to download the installer.
- Double-click on the downloaded file in order to start the installation process, then follow the onscreen steps.
Xcode not working after upgrading to macOS Ventura? Take a look at our article to find out how to fix this error.
2. Check Your Internet Connection
Here are a few steps to follow in order to stop Xcode from taking forever to install:
- Use an online tool like Speedtest to check if your internet speed is sufficient.
- If possible, connect your Mac to the router using an Ethernet cable. Wired connections are often more stable and faster than Wi-Fi.
- Sometimes, simply restarting your router can improve your internet connection. The Xcode install stuck on waiting issue will be solved.
3. Check for Background Processes
Here’s how you can check for background processes and manage them efficiently:
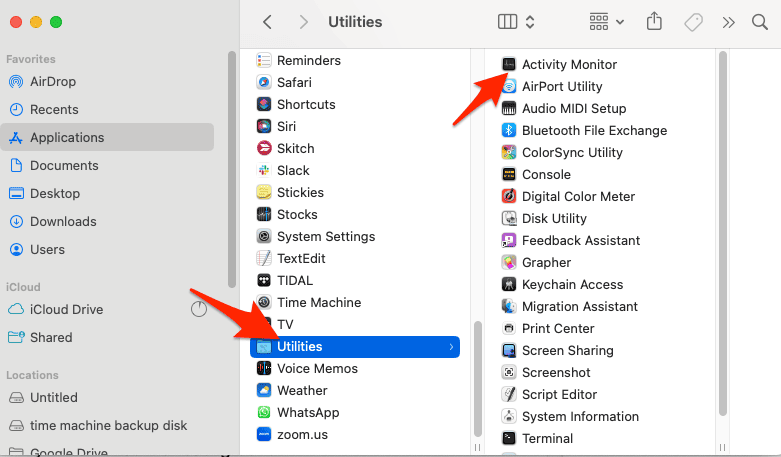
- You can find Activity Monitor in Applications > Utilities.
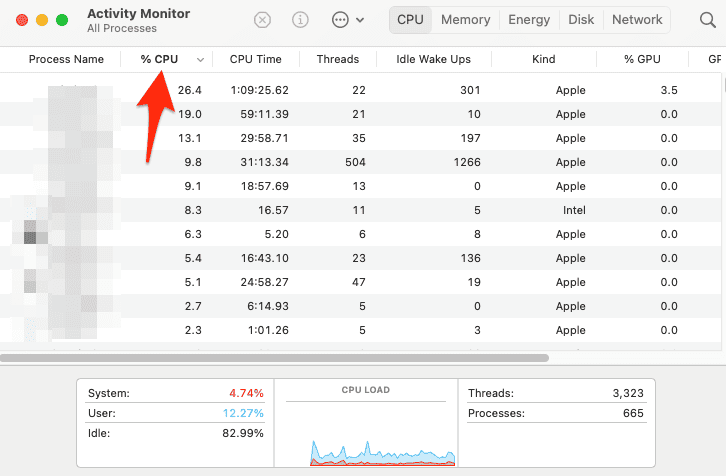
- Once in Activity Monitor, click on the CPU tab to sort processes by how much of the CPU they are using.
- Look for applications or processes that are not essential and are consuming a large percentage of CPU. Be cautious with processes that are unfamiliar as they might be critical system processes.
- To quit a process, select it, and then click on the X button in the top-left corner of the Activity Monitor window. The Xcode update stuck on installing issue should be resolved.
4. Check Permissions
Your user account needs to have the correct permissions to install Xcode. To check and update permissions:
- Make sure you are logged in with an account that has administrative rights.
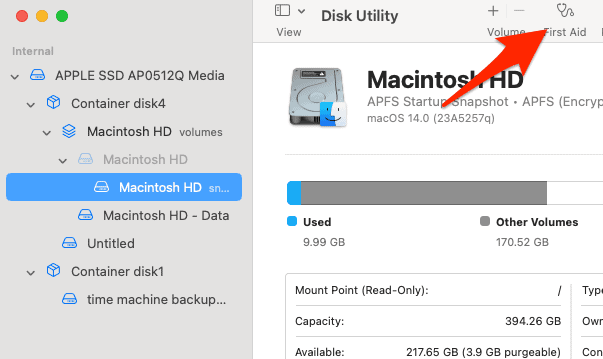
- You can also repair disk permissions by opening Disk Utility, selecting your startup disk, and clicking on First Aid.
5. Free Up Storage Space
As mentioned earlier, Xcode requires a significant amount of storage space. Here’s how you can free up storage space:
- Make sure to empty the Trash as files in there still take up space.
- Go through your documents and downloads folders and delete files that are not needed.
- Go to the Applications folder and drag unused applications to the Trash.
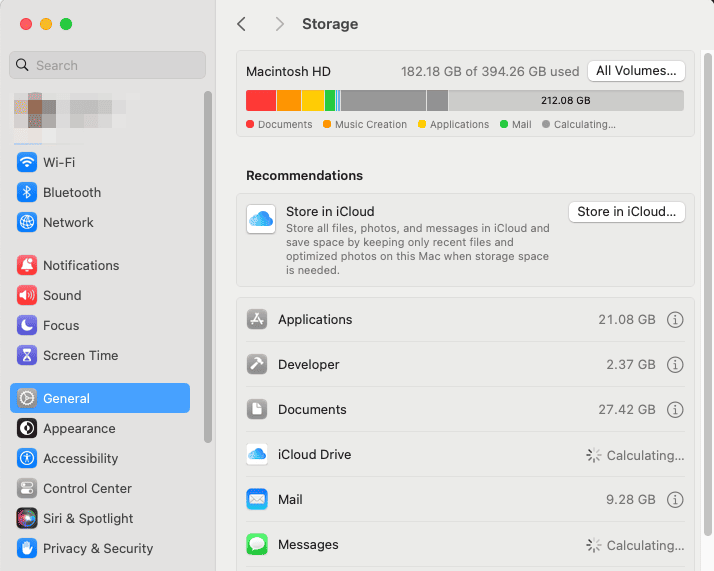
- Go to Apple menu > System Settings > General > Storage, and use the recommendations to free up storage.
Facing the macOS huge system data issue? Check out our dedicated guide on how to fix this.
6. Install Through the Terminal
Sometimes, installing Xcode through the App Store can be problematic. Installing it through the Terminal might work better:
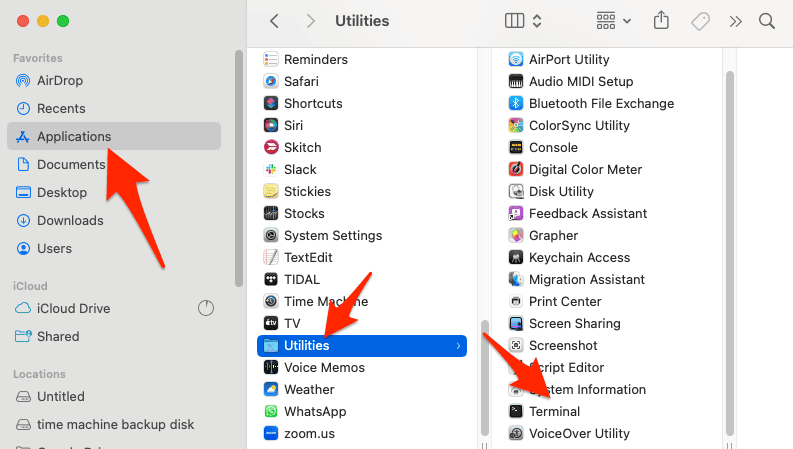
- You can find Terminal in Applications > Utilities.
- Enter
xcode-select --installand press Return. This will start the installation process. - Follow the on-screen instructions to complete the installation.
Interested in installing the Xcode command line tools? Take a look at our guide.
7. Update macOS
Compatibility issues between macOS and Xcode might cause the installation to fail. Follow these steps to update your macOS:
- Go to System Settings > General > Software Update and check if an update is available.
- Before updating, ensure that you have backed up your important data.
- Click on Download and install to install the update.
