Fixing an automatic date and time problem on an M1 MacBook Air is simple if you know the right place to look. I recently had this issue on my MacBook Pro, and the solutions also worked for the MacBook Air series. Let’s take a look.
Why Is My MacBook Showing Wrong Date and Time?
There can be a number of reasons why your MacBook is showing the wrong date and time. Most of the time, it may just be a matter of your Date & Time settings not being set to automatic, including making sure your time zone is set to the right location. It’s also possible that you are not using the best date and time server available to you. Finally, small bugs may also prevent date and time settings from displaying accurately.
How Do I Fix the Date and Time on My MacBook Air?
Before moving on to more advanced solutions, consider simple options such as:
- Checking for a software update via System Settings > General > Software Update.
- While under the General settings, you should also navigate to Date & Time and ensure that Set date and time automatically is enabled.
- Ensure that Set time zone automatically using your current location is enabled under Date and Time settings.
- It’s also a good idea to check you’re using the correct Region under System Settings > General > Language & Region.
Following these basic procedures, check below for more advanced solutions if you’re having an automatic date and time problem on your M1 MacBook.
1. Check and Change Your Date and Time Server
It may just be that your Mac is looking at the wrong date and time server. This solution can also help if you’re having issues locating your Date & Time settings.
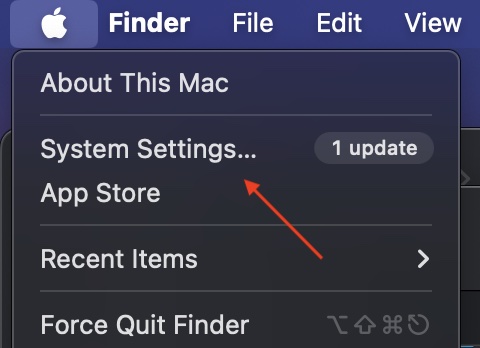
- Select the Apple icon in the top left corner of the menu bar and select System Settings.
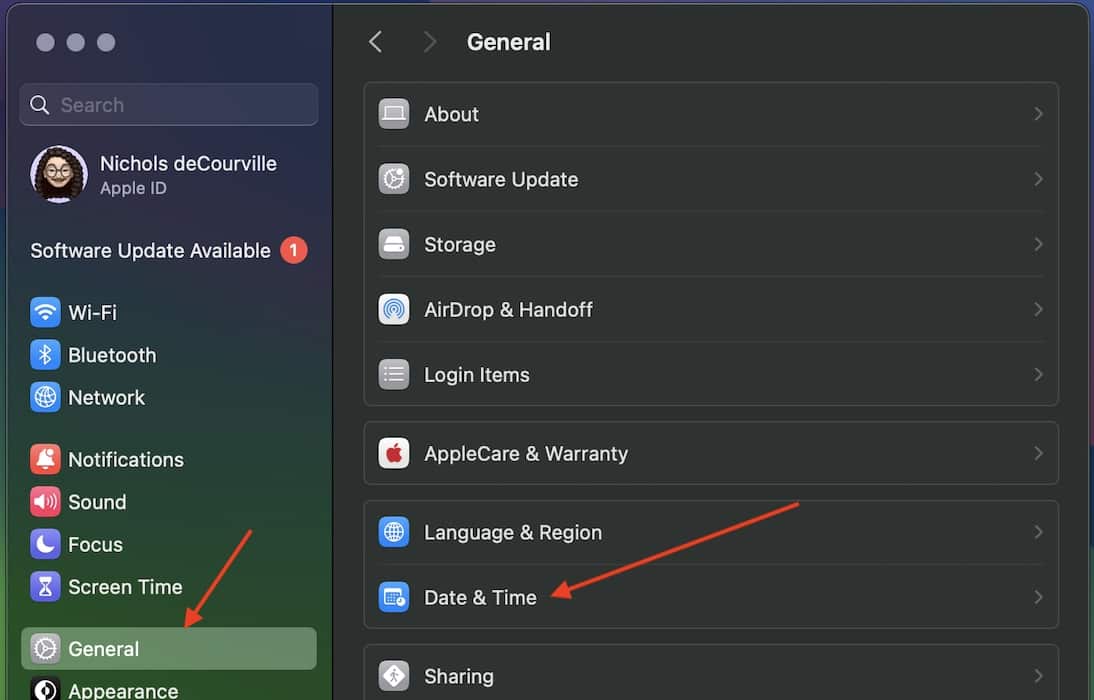
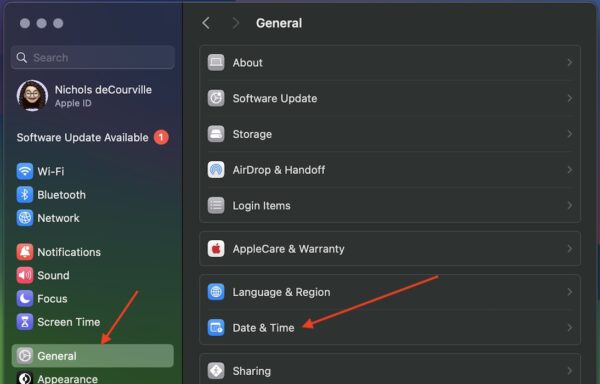
- Select General and then tap Date & Time.
- Look for Source and ensure you’re using Apple. However, you can also try other options as well via the Set button.
2. Fix Date & Time Problem Through Deleting Plist Files
According to sources from the Apple Support community, one way to fix your Date & Time problem is by deleting the com.apple.timed.plist file. This solution can also work for any MacBook experiencing automatic date and time problems.
Time needed: 5 minutes
To delete this Date & Time plist file, follow these steps.
- Navigate to your Date & Time Settings by clicking the Apple logo in the top-left corner and selecting System Settings.
- Select General > Date & Time.
- Ensure Set Time and Date Automatically is turned off.
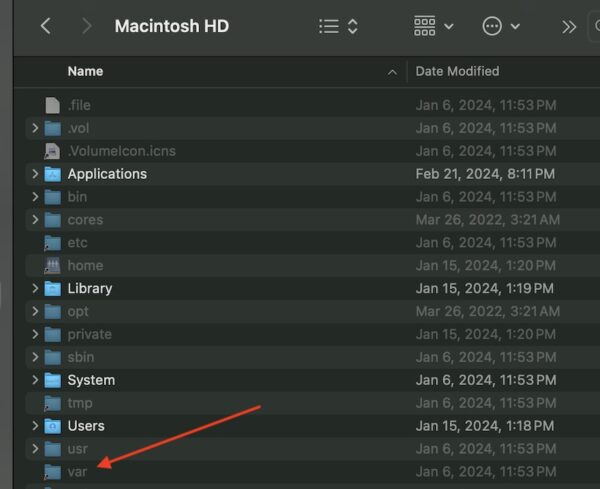
- Now, open a Finder window and navigate to your main drive. It is most likely labeled Macintosh HD.
- Press Command + Shift + . (period) to show hidden folders.
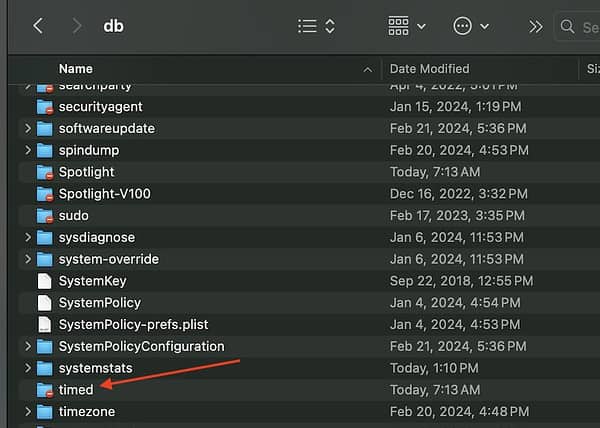
- Navigate to the folder labeled Var and then select DB.
- Within the DB folder, select the Timed folder.
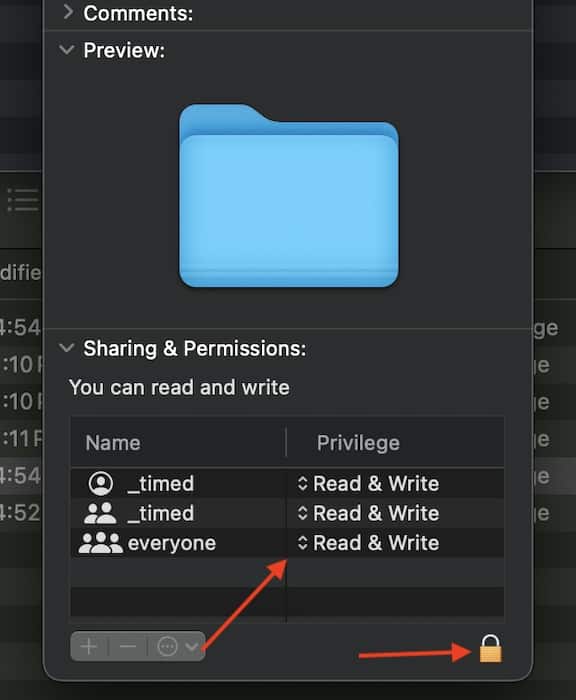
- You may need to right-click (ctrl-click) and select Get Info to change Read and Write permissions on the Timed folder to Everyone. Remember to press the lock in the right-hand corner to make changes.
- Within the Timed folder, delete com.apple.timed.plist. The fastest way is to move it to your Trash and empty it.
- Restart your machine and then turn Set date and time automatically back on.
While this one may seem a bit more complicated, it’s really about ensuring you locate the correct folders and files. From here, your date and time issue should hopefully be resolved. You may also want to know what to do if the trackpad on your MacBook Air is not functioning.

