If you have a Magic Trackpad 2 or a built-in Multi-Touch trackpad, you might not be making the most of it. There are several Mac trackpad gestures that you can use to really speed up your workflow, whether you’re surfing the web or moving files around in the Finder. Let’s take a look in this comprehensive guide to Mac trackpad gestures.

Turning on Mac Trackpad Gestures
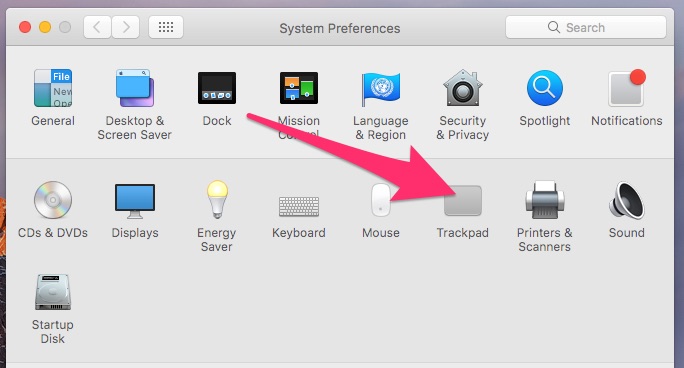
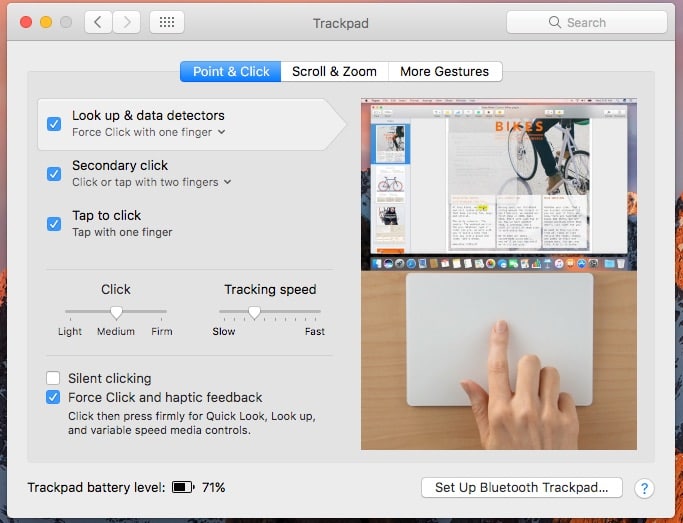
Turning on all of the possible Mac trackpad gestures will take a few moments. You’ll need to go to System Preferences -> Trackpad, and navigate through the various tabs enabling what you want to use. All of these are also covered by an Apple support page, but I’ve found it to be a bit out-dated with the changes in macOS Sierra.
Speaking of which, this guide assumes you are running macOS Sierra on a MacBook or MacBook Pro with a Force Touch trackpad, or any Mac with a Magic Trackpad 2.

The Point & Click Gestures
You probably already know about tap to click and secondary click. You can tap with just one finger, and it will register as a click. Or, click or tap with two fingers, and you get the Windows equivalent of a right-click (a secondary click, in Mac parlance).

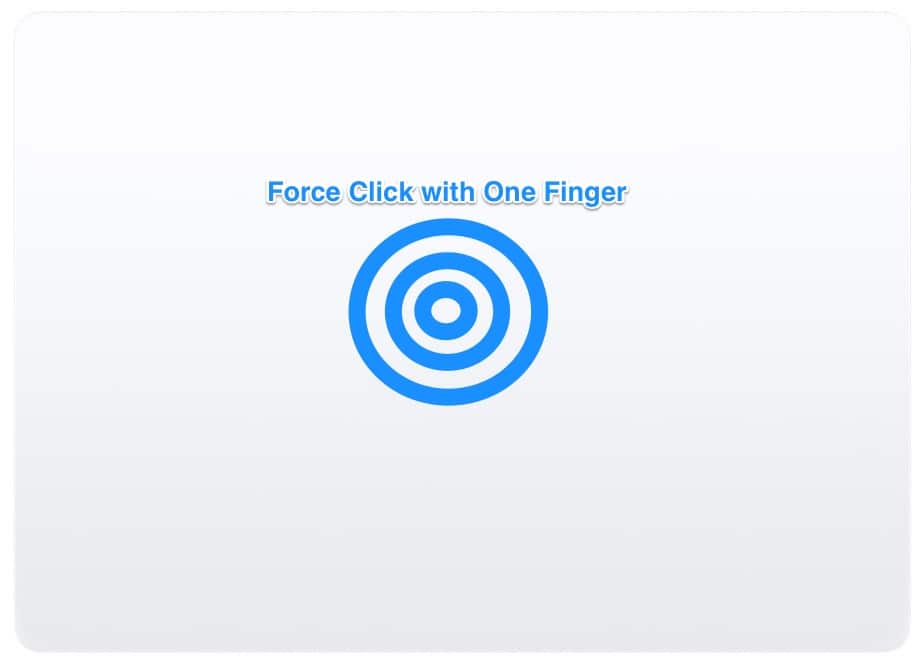
Here’s an interesting one that might have slipped your attention, though – Look up & data detectors. If you want to quickly get the definition of a word, for instance, you just have to Force Click with one finger (if it’s enabled). This also works with taking actions on dates, addresses, phone numbers, and more.

Up Next: Scrolling and Zooming Around

Yes, that’s true. Hence this statement:
The Force Click feature requires a Force Touch Trackpad. It is not available to earlier Trackpad versions.