
Mac has high-quality built-in microphones. But to get better audio, whether you’re recording or in a Zoom call, you’ll need an external microphone. One of the best choices for external microphones in the market is Logitech’s Yeti with BLUE VO!CE. The BLUE VO!CE feature allows it to use real-time voice filters to make high-quality audio. However, one common issue is when Mac doesn’t recognize Yeti Blue Mic. What will you do?
How to Resolve Yeti Blue Mic Recognition Issue on Mac
Here are some ways to resolve recognition issues between Yeti microphones and Macs:
1. Try a different USB port
Even though ports and USB cables are a match, connectivity issues could still arise. In all likelihood, the connection is not tight enough for your Mac to recognize mic. Try a different USB port when this happens.
2. Plug-in your Mac
External devices such as microphones still need a power source. And the power from your Mac’s battery might not be enough (even though that’s not usually the case). It’s better to plug in your Mac to resolve this power issue.
3. Try a thicker USB cable for the Mic
There are similar issues that were resolved by switching to a thicker USB cable. It could also be a power-related issue, and thinner USB cables may not be able to provide the required power output for the Yeti mic. But just a reminder, this shouldn’t be the case. The USB cable with your Yeti mic should be enough. But if this resolves your device recognition issue, then it’s great. If you just purchased your Yeti mic, you should consider reporting this to Logitech support.
4. Use a single connection USB-C converter
If your Mac has Thunderbolt 3/USB-C port, try a single connection USB-C converter. Yeti microphones have USB 1.1/2.0/3.0 compatibility for macOS, but if the USB isn’t working, you can try this option.
5. Create a new user account
Logitech devices and accessories sometimes require you to sign up with a LOGI ID. It is used to access Logitech G Hub, which allows you to modify your Logitech devices and accessories directly from this software.
If your Mac doesn’t recognize your Yeti mic, try to create another user account. It’s probably that your Yeti mic isn’t properly optimized through your G HUB. Creating a new account means you could start over and connect your Yeti mic again.
6. Repair disk permissions
Disk permissions are often used for file security, which includes certain program files. And although it’s not directly related to external accessories, it is part of basic troubleshooting because there are certain permissions for external accessories like microphones.
External accessories also sometimes require drivers. Although Yeti is designed for plug-and-play, there could be firmware updates or drivers that you need to install.
Time needed: 30 minutes
To repair disk permissions:
- Press Command + Space to open Spotlight.
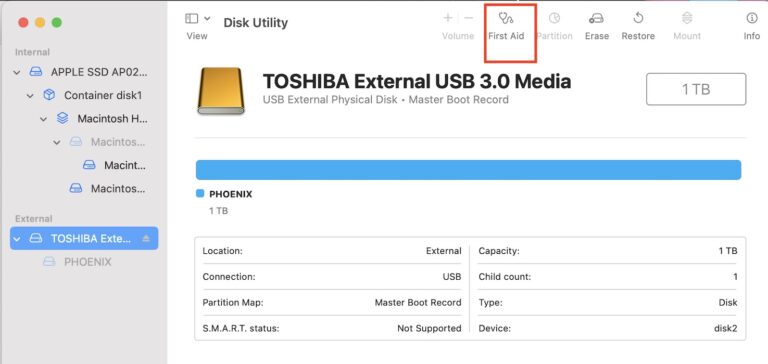
- Type “Disk Utility” then press Return on your keyboard.

- Select Macintosh HD (or the name of your Internal drive where your macOS is installed).
- Go to the First Aid tab.

- Select Verify Disk Permissions. Disk Utility will try to detect the broken permissions and put them on a list for repair.
- Once the list is complete, you click Repair Disk Permissions. Wait until Disk Utility is done fixing all the listed permissions.
7. Remove G-Hub & Blue Voice (or other recording software)
As mentioned, Logitech usually comes with G HUB installation and sign-up when you install your accessory. This software allows you to modify your Logitech accessory depending on the application or game you’re using.
However, it could also cause some issues. Even though G HUB is usually part of Logitech device/accessory installation, it’s not required. Your Yeti mic should work even without it. It just so happens that there are customization features that you could do through the G HUB software.
To remove G HUB, Blue Voice, and other audio/recording software:
- Install App Cleaner for Mac.
- Drag G Hub, Blue Voice, and Sherpa apps in the App Cleaner, or just simply search for them on Finder. Select them and then Move to Trash.
- Quit the App Cleaner after removing these apps.
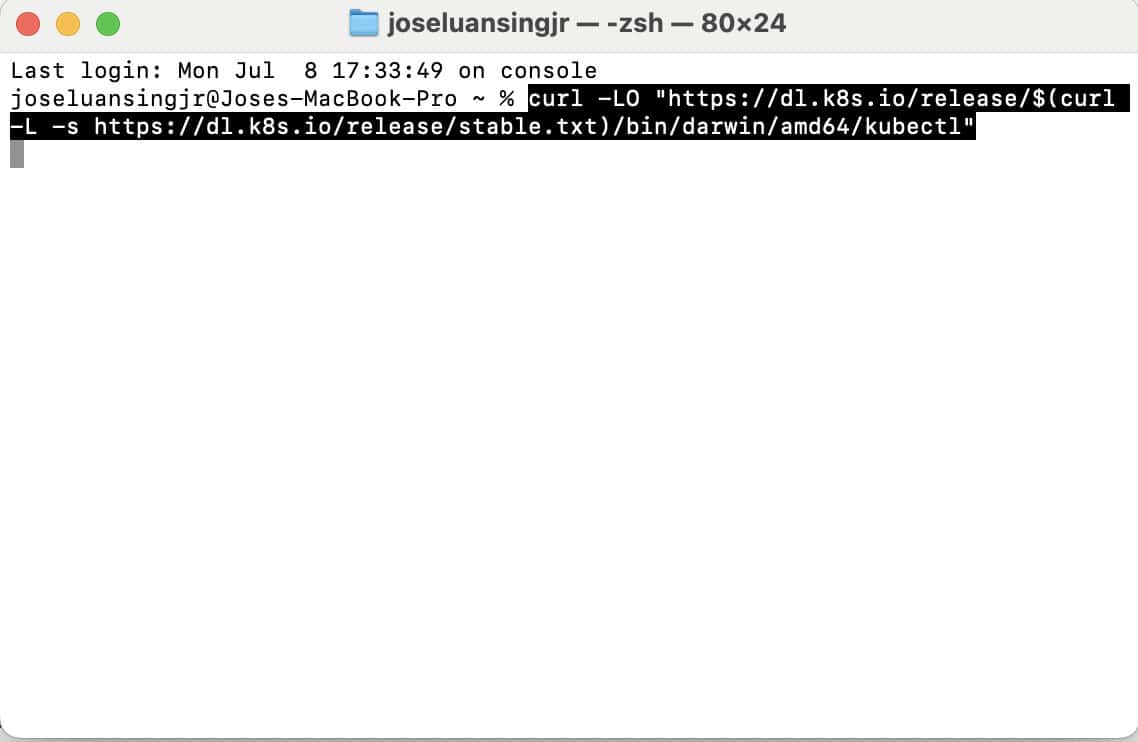
- Go to Applications > Utilities > Terminal.

- Run these commands—they’ll remove corrupt audio preferences files, reset the core audio process, and reset Core Audio.
sudo rm ~/Library/Preferences/Audio*sudo kill -9ps ax|grep 'coreaudio[a-z]' | awk '{print $1}'sudo killall coreaudiod - Close Terminal and open Finder.
- Proceed to your Macintosh HD and look for Audio Folder.
- Expand your Audio folder to see more folders. Then look for Plug-ins.
- Once you see Plug-ins, expand the folder HAL. Then look for LogiGamingAudio.driver file and then Move to Trash.
- You can also look for other files related to G-Hub, Sherpa, and Blue Voice while you’re at it.
- Then proceed to the Extensions folder in the same Library.
- Look for the logi_audio_override.kext file and delete it.
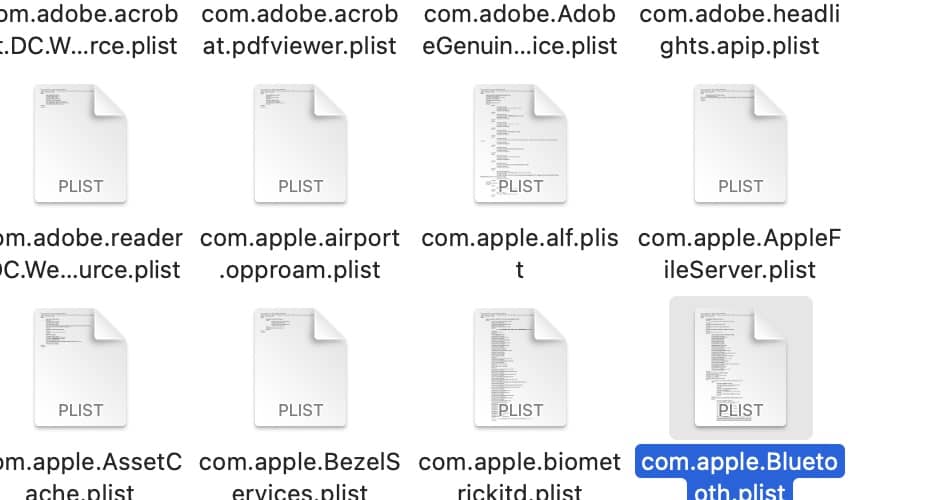
- Then proceed to the Preferences folder in the same library.
- Look for com.apple.audio.devicesettings.plist and com.apple.audio.systemsettings.plist and delete them as well.

- Restart your Mac.
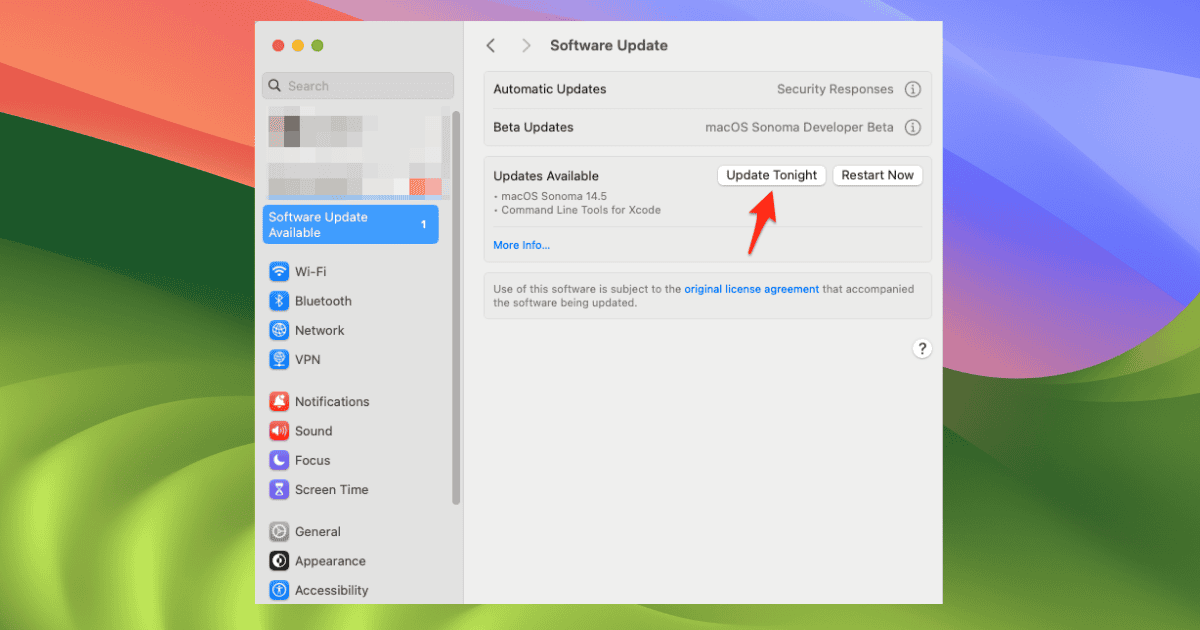
3. Update your operating system
Some external accessories, particularly the ones that are recently manufactured, are meant to be compatible with the latest macOS. For instance, the Yeti mic is compatible with macOS 10.14 or later. If your macOS is not updated, this could be the reason why your Yeti mic is not being recognized.
To update your OS to the latest version:
- Click the Apple logo on the top left corner of your screen.
- Select System Settings.
- Go to General > Software Update.

- Download and Install update.
If all else fails, check with the service center for hardware issues. As long as you do not have a damaged Yeti mic, Mac, and cables, and the troubleshooting techniques we mentioned did not work, it’s best to consult an expert and take advantage of your warranty or insurance – whether it is for your Yeti microphone or your Mac.