
The ultra-smooth, responsive display of the iPhone 16 Pro is one of its most talked-about features. With thinner bezels, a 120Hz refresh rate, and ProMotion technology, it promises a top-tier visual experience that’s hard to beat. So, when you unbox your device and notice a yellowish tint on the screen, it can be a bit anticlimactic. After all, you’re expecting crisp, vibrant colors from the get-go.
With new features like True Tone and Night Shift adjusting the display’s color temperature, it’s easy to wonder if this is a bug, a setting you need to tweak, or a hardware defect. Don’t worry—your display isn’t necessarily broken. There are several troubleshooting steps you can try before calling for repairs.
Why Does My iPhone 16 Pro Have a Yellowish Tint?
Night Shift or True Tone is likely causing the yellowish tint on your iPhone. It should look less warm once you turn off these features. Although rare, it’s also possible that your brand-new device’s OLED display got damaged due to manufacturing errors or shipping mishandling.
How To Fix Yellowish Display Tint on iPhone 16 Pro
 NOTE
NOTE
1. Disable Night Shift
Time needed: 2 minutes
Night Shift reduces blue light exposure to make the screen warmer. It minimizes eye strain in darker environments (e.g. when you’re scrolling on TikTok before bed). Although helpful, it also gives your display an unnatural hue. You’ll notice a huge difference if you turn this feature on and off while troubleshooting. Here’s what to do:
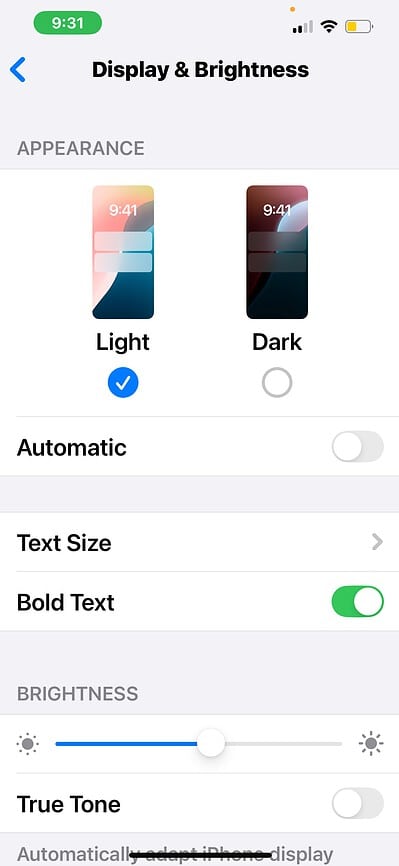
- Go to Settings > Display & Brightness.

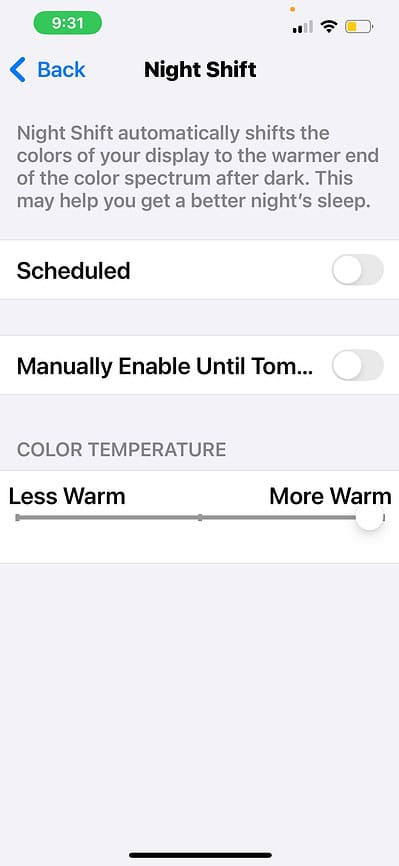
- Open Night Shift.
- Toggle off Schedule and Manually Enable Until Tomorrow.
You can also access it through the Control Center. Swipe down for the top-right corner of the screen, press and hold the Brightness slider, and tap Night Shift.
2. Turn Off Color Filters
Color Filters can help visually impaired individuals see the screen better. It lets you modify how colors appear, make transparent UI elements solid, and invert display colors. However, it also creates an unnatural tint. You might wonder why your display looks warm or unbalanced if you leave this feature enabled by accident.
- Go to Settings > Accessibility > Display & Text Size.
- Open Color Filters.
- Toggle off the button for Color Filters—you can also see how your display reacts to different color spectrums.

3. Adjust Reduce White Point
White Point reduces eye strain by softening the brightest parts of your display and shifting them to warmer tones. Although helpful in dimming harsh lights, it makes your screen look warmer than intended. Try turning down this setting to bring your display’s cool, natural tone.
- Open Settings > Accessibility.
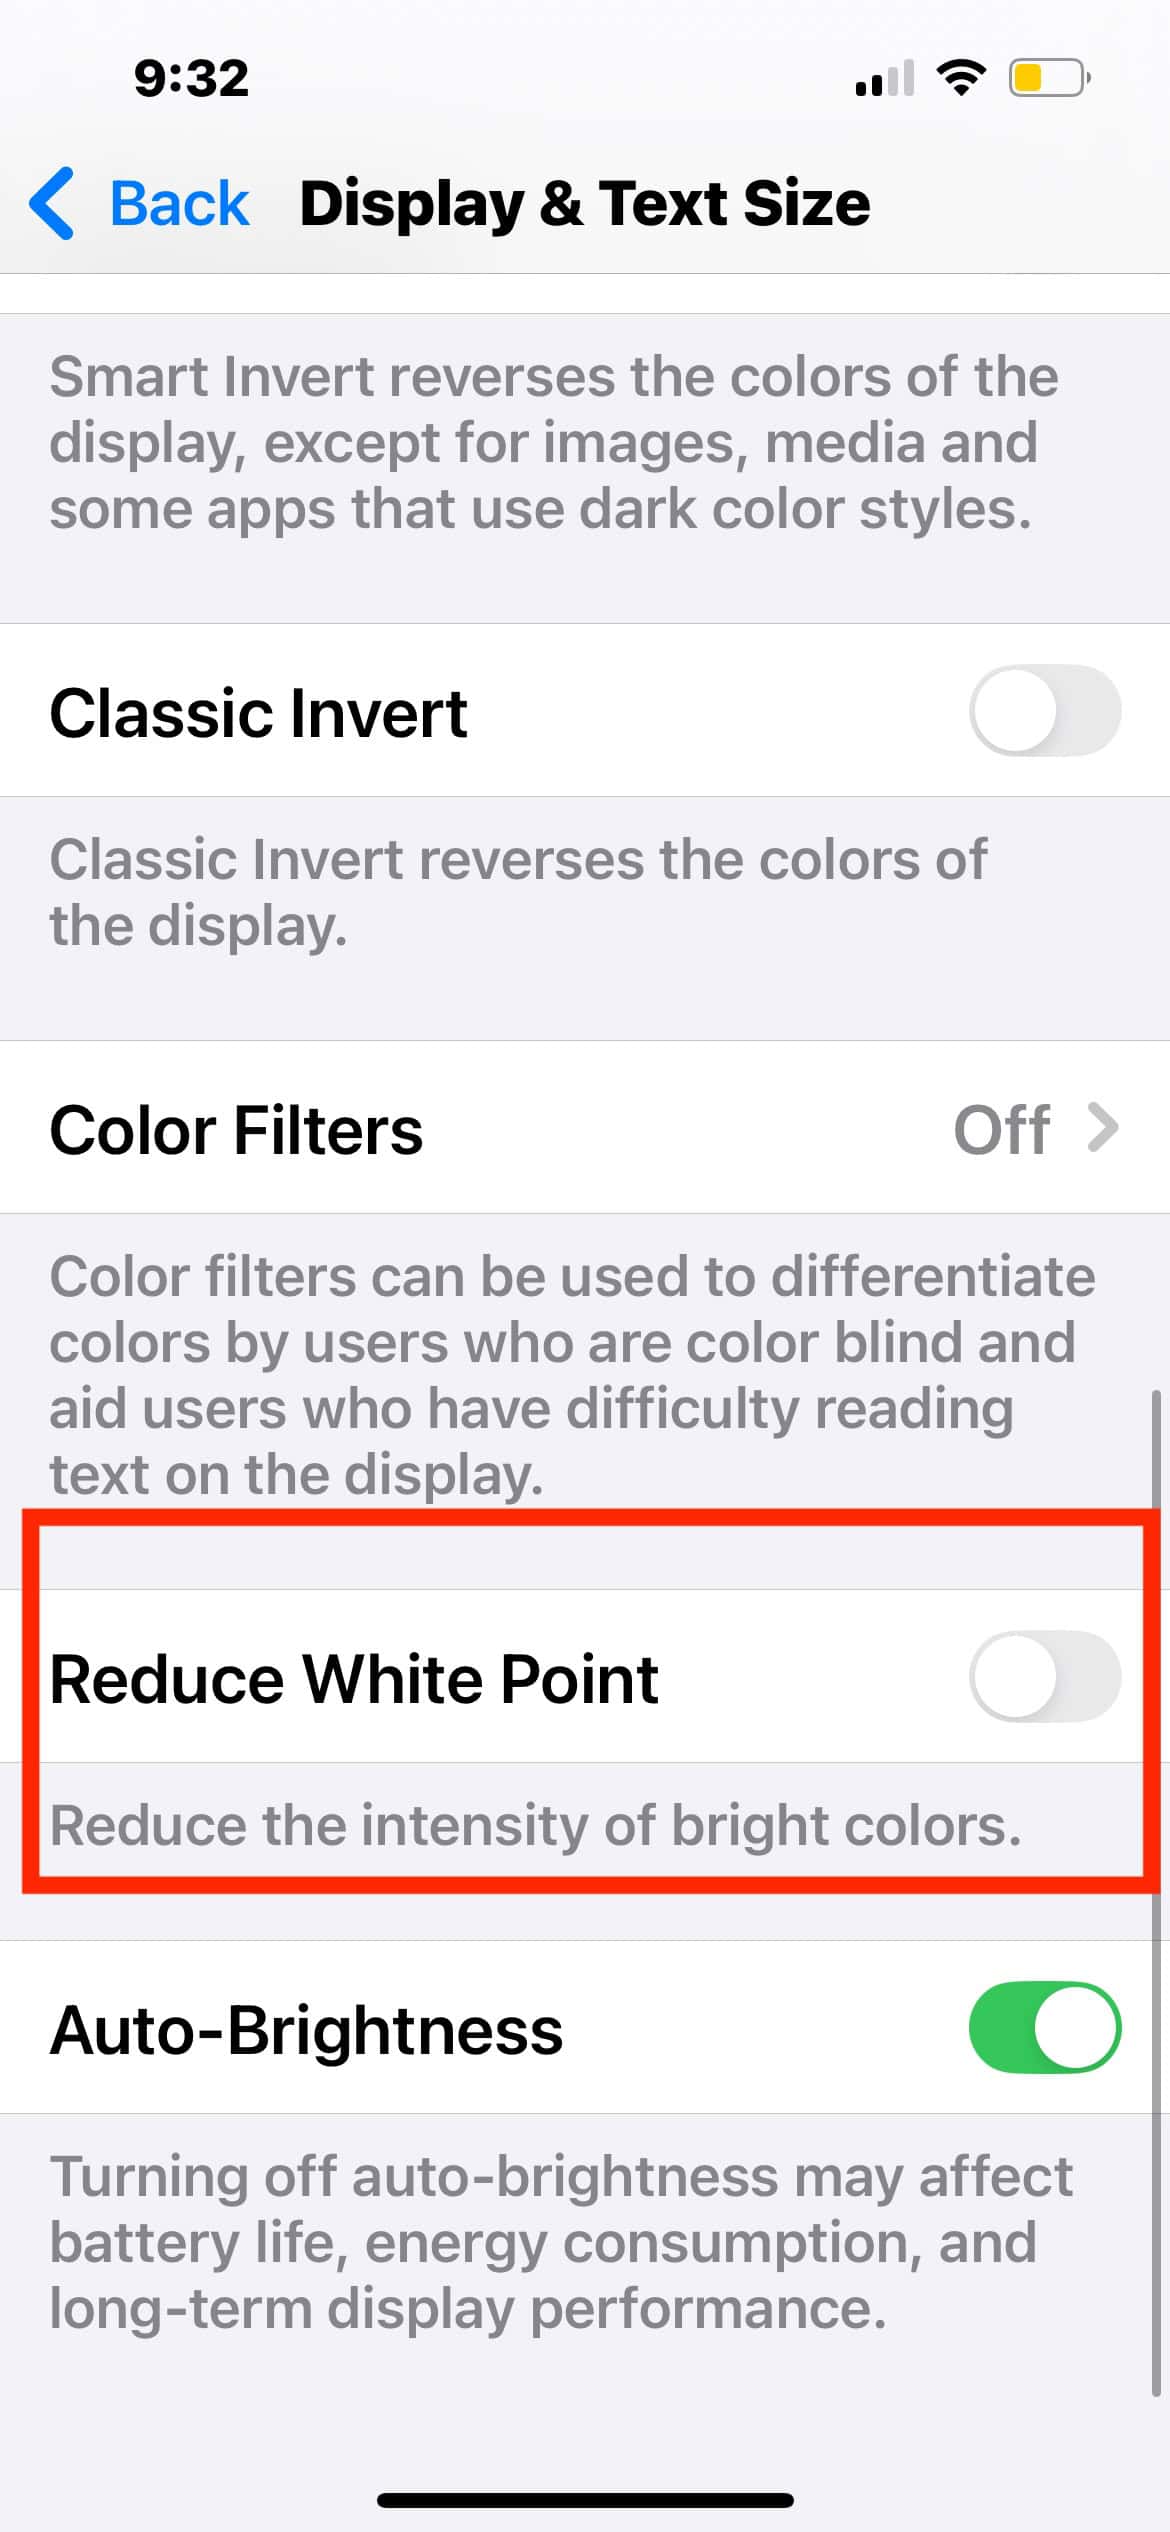
- Tap Display & Text Size.
- Scroll down and toggle off Reduce White Point. You can also adjust the slider and see how your display reacts to different grades.
4. Customize Home Screen
Home Screen customization is a standout feature in iOS 18. You can create app widgets, adjust icon sizes, and even change color shades for your icons. If you enabled this by accident, you might mistake the new color settings for hardware defects.
- Press and hold on to any empty space in the Home Screen.
- Tap Edit > Customize.
- Select Light, Dark, or Automatic. All options are okay—just don’t use Tinted.

5. Factory Reset iPhone
Factory reset your iPhone as a last resort. Clear all your settings if you can’t pinpoint the misconfiguration causing the weird tint on your display. Just note that this will also wipe your files. You’ll lose them permanently if you don’t have an updated iCloud backup.
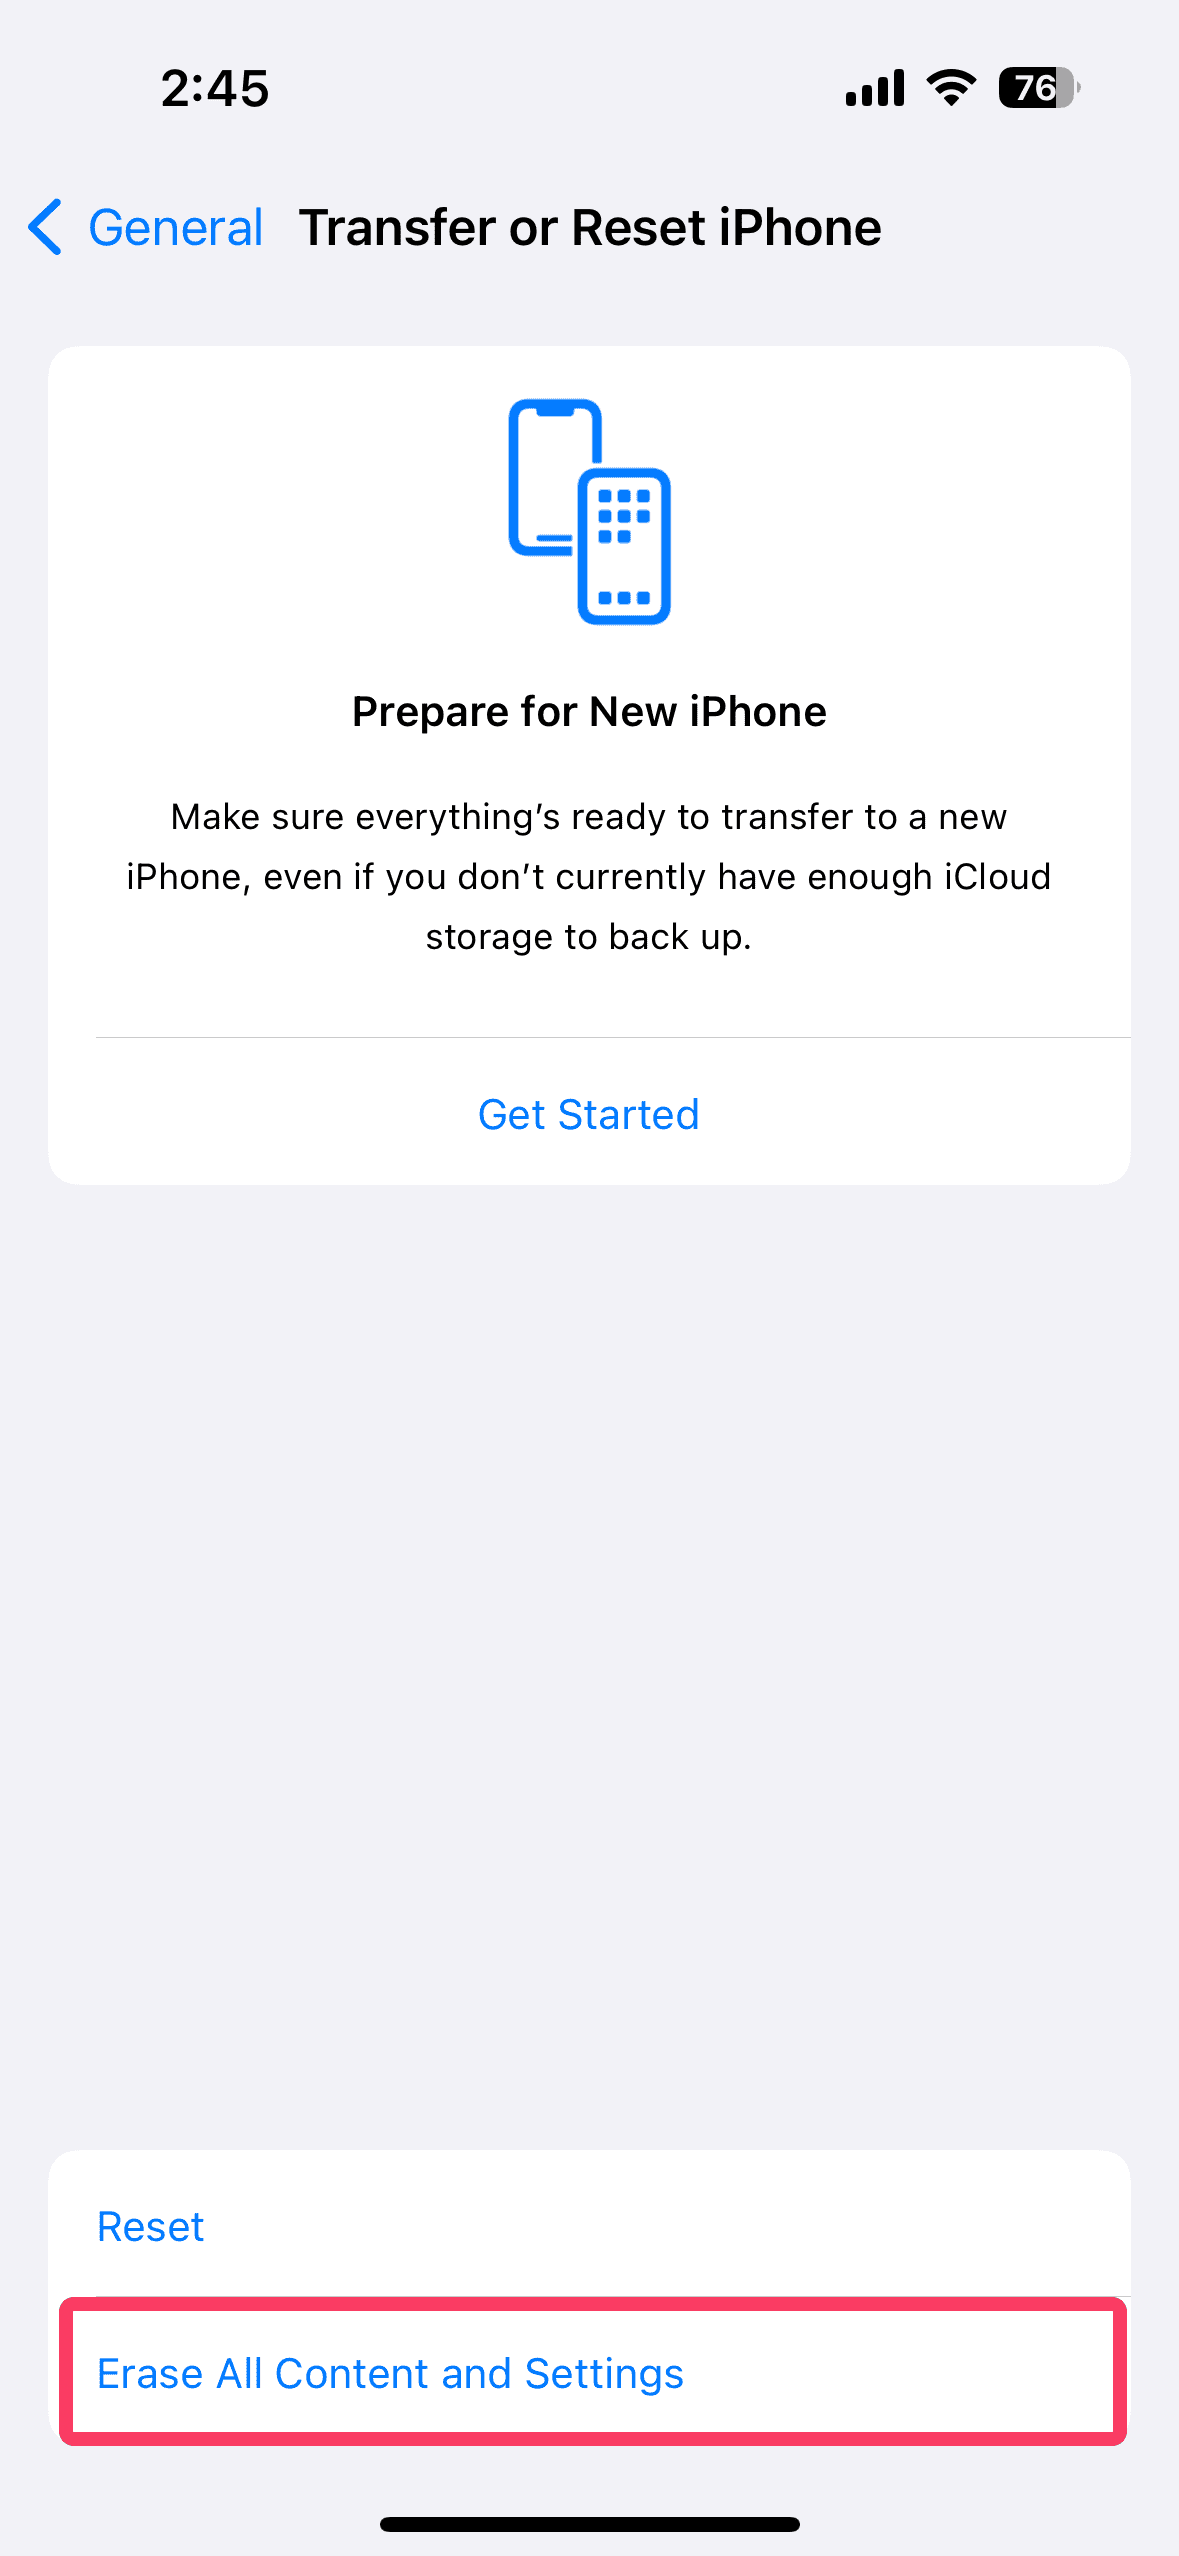
- Go to Settings > General > Transfer or Reset iPhone.
- Select Erase All Content and Settings.

- Tap Continue to confirm the action.
Contact Apple Support should issues persist. Certified technicians will check for hardware damage—you might qualify for a replacement device if the issue stems from a manufacturing defect. Take the chance to check and report other issues, too.