
The Photos app got a massive design and functionality overhaul in iOS 18. Apple turned it into a one-stop-shop app where you can conveniently view, sort, and edit your media assets. With a fresh layout, AI-driven search bar, and new editing tools, it’s more capable than ever.
As exciting as these features sound, they can also throw you off. The new setup feels less intuitive, and you might wonder why specific functions “disappeared.” But rest assured, mastering these tools becomes a breeze once you know where to look. Here’s an in-depth guide to everything you need to know.
How Do I Edit Photos in iOS 18?
You’ll notice that the Edit button looks different after the update. Go to Photos, open the media asset you need to tweak, and tap the Adjustments slider icon. It looks like three horizontal sliders stacked together. Afterward, swipe left and right through the toolbars on the screen—you’ll find plenty to play around with.
What Are the Key Features of iOS 18 Photos?
 NOTE
NOTE
Here are some new (plus some familiar but revamped) editing tools that you should know:
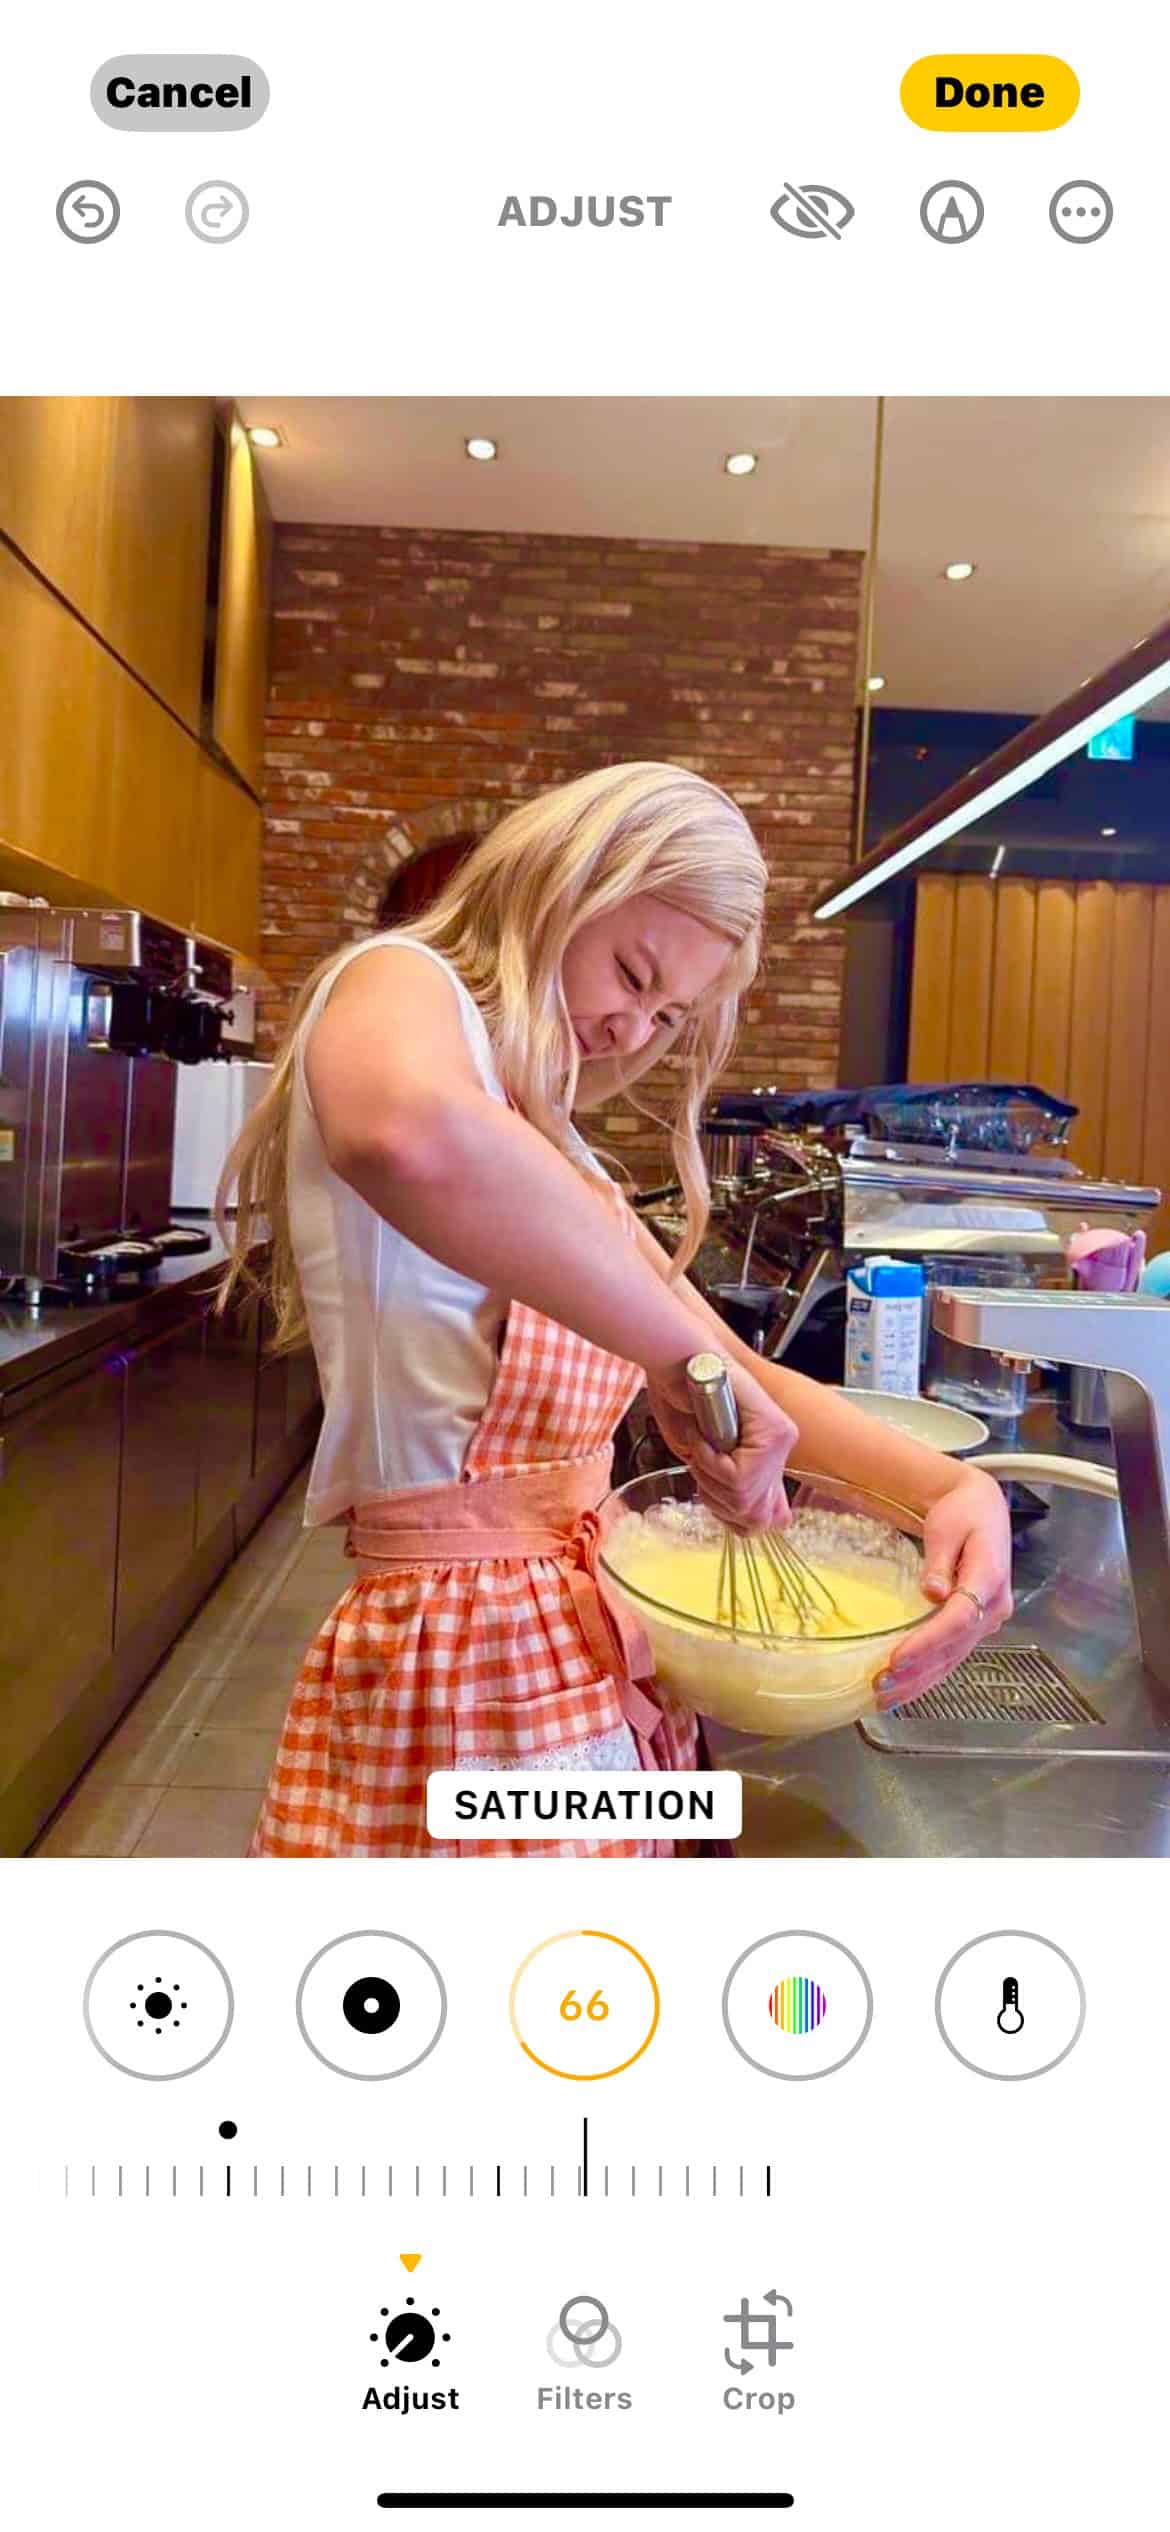
1. Adjust Lighting and Exposure
iOS 18 adds a few more lighting effects to the Photos app. Just open the editing interface, swipe through the sliders available, and see how they affect your images.
- Open the Photos app, select an image, and tap the Edit icon.
- Use the adjustments for lighting, exposure, and contrast—swipe left and right to control the dial.

- Tap Done to save and confirm your changes.
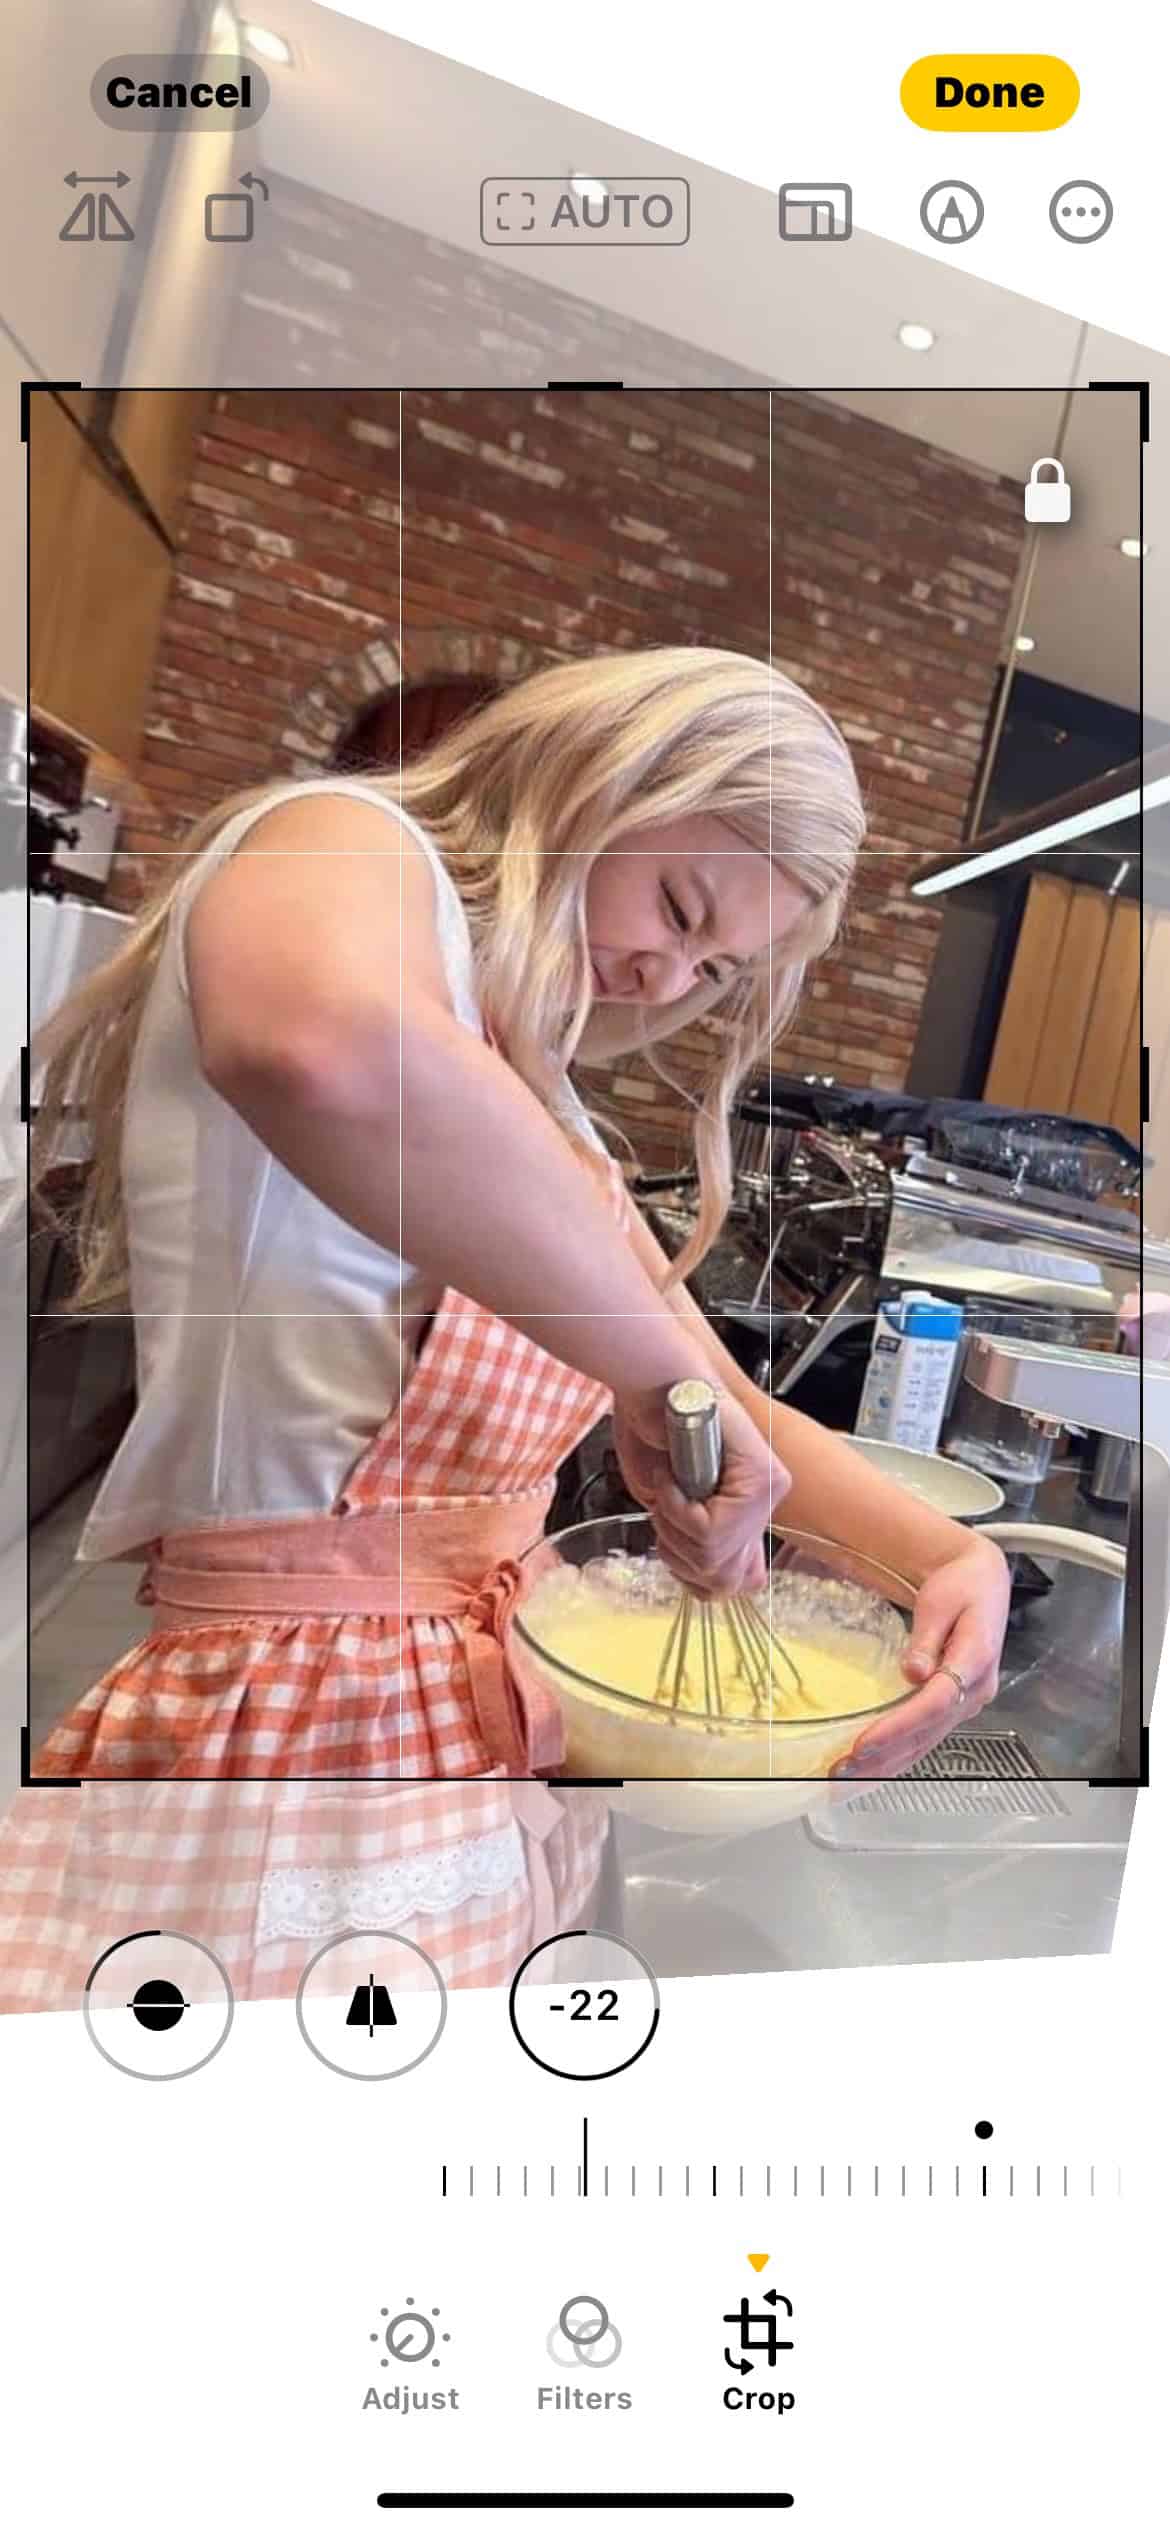
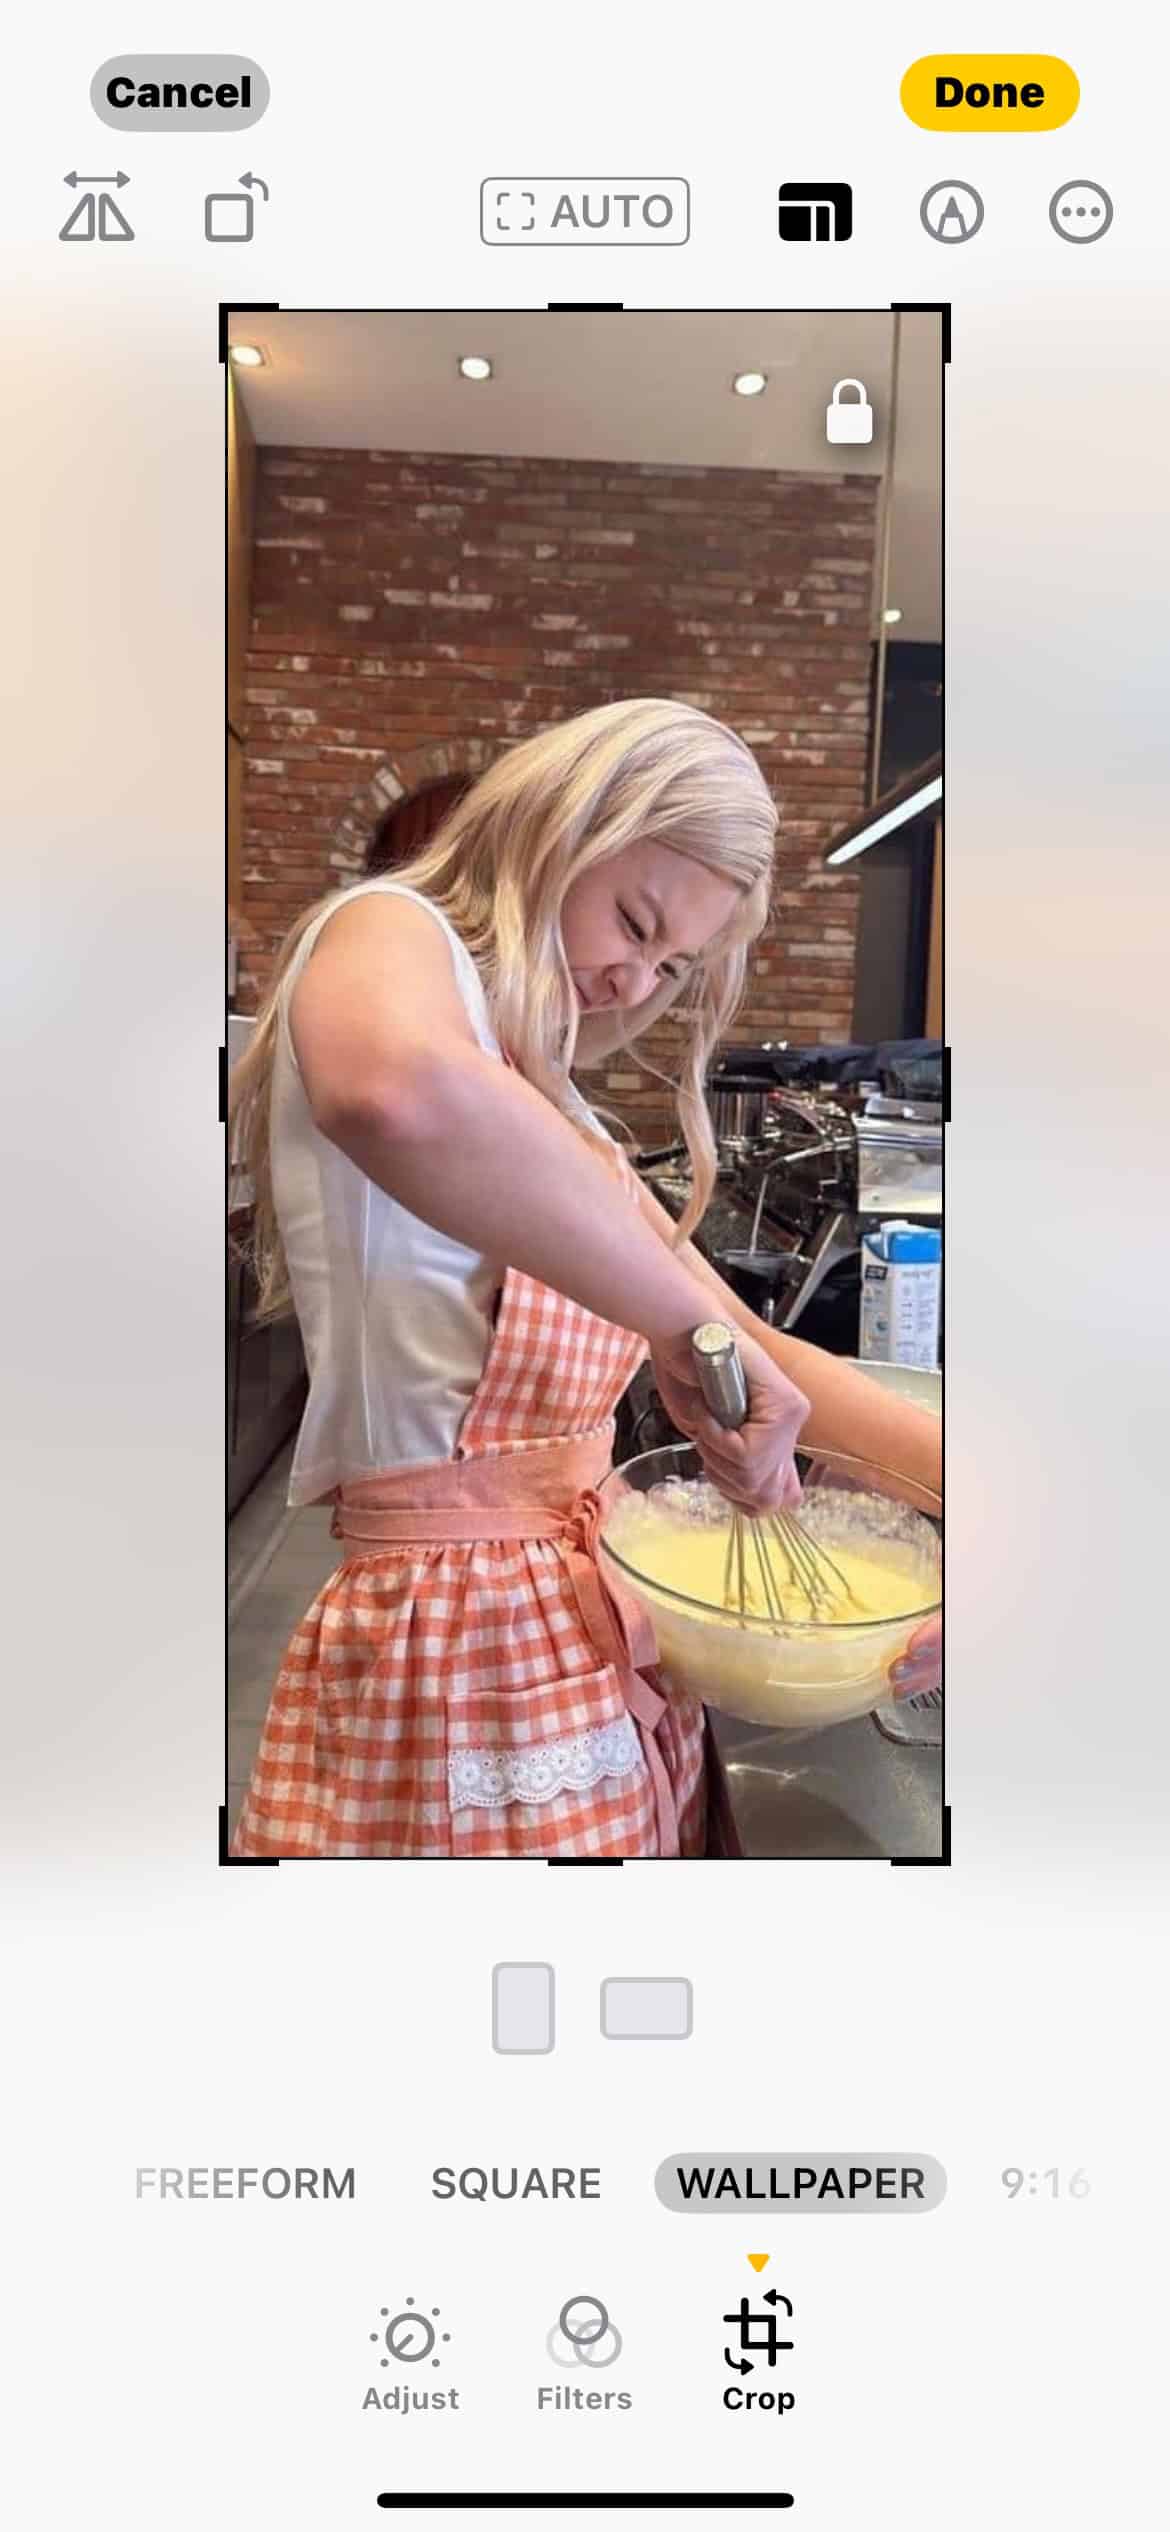
2. Crop Photos Automatically
Aspect ratio options make it easier to crop images. The Photos app offers recommended sizes based on common formats like 16:9 or 4:3. Stop guessing what dimensions your preferred platforms use. Whether you’re prepping a photo for social media or just sending it to a friend, you can follow these suggestions.
- Open the Photos app and tap the Edit icon.
- Tap the Crop button, then use the slider to rotate or flip your image horizontally or vertically.
- Tap the Aspect Ratio icon to see a list of dimensions. Choose the best ratio for your platform, like 16:9 for Instagram Stories.
3. Search by Natural Language
NOTE
Forget scrolling endlessly to find just one picture. With Apple Intelligence (AI), you can search for specific moments in images and videos (e.g., “me at the beach” or “my cat eating”). AI will sift through your library and deliver the exact asset you want. It’s a fast, convenient way to organize the thousands of files on your iPhone.
- Open the Photos app and tap the search bar.
- Type a descriptive phrase, such as “[a recognized person or pet] on the floor.”

- Scroll through the results to find your desired image or video.

4. Lift a Subject
You can lift the subject from a photo or paused video frame and share it through a supported document editor or messaging platform. It’s not a brand-new feature, but it’s far more precise now. iOS can accurately detect the outline of any person, object, or animal regardless of the messy elements in the background.
- Select a photo in the Photos app.
- Press and hold the main subject of the image.
- Tap Copy so that you can copy-paste the image to an empty text box in any native or third-party app. Note that you can only copy one element at a time.
- If you choose Add Sticker, you can reuse it in supporting messaging platforms.

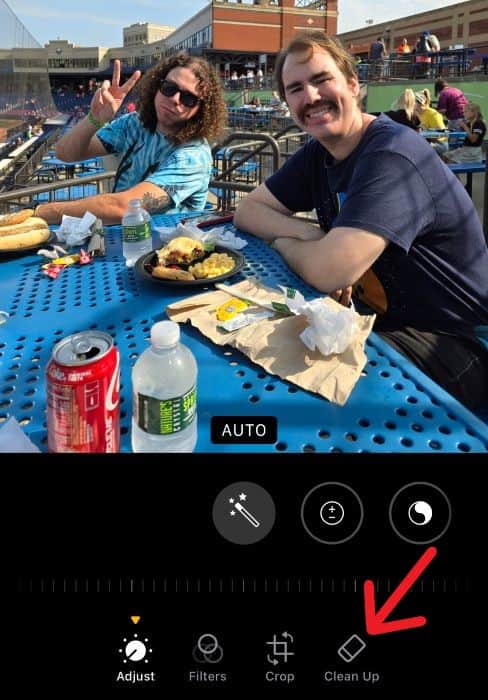
5. Remove Background
NOTE
With Apple Intelligence, you can remove the background of any image straight from the Photos app. You don’t have to download third-party tools anymore. Blur, erase, or even remove specific objects—AI is smart enough to know what you want to keep. It won’t just wipe out everything. Whether you’re fine-tuning a photo or cleaning up a shot, you’ve got control.
- Go to Photos and open any image with a messy background.
- Tap the Edit button > Clean Up—it has an eraser icon.

- Use the lasso tool to highlight your subject.
- Tweak the image as needed.
- Select Done to confirm the changes you made.
6. Restore Lost or Damaged Assets
NOTE
iOS 18 lets you restore corrupted images and videos. If your files are inaccessible after a system crash or software update, use this feature to bring them back to their original quality. The Photos app will automatically notify you of damaged assets.
- Go to Photos and scroll down to the Utilities section.
- Open Recovered and unlock with Face ID.
- Tap on any corrupted media asset and select Restore to Library. Likewise, you can choose Permanently Delete for ones you don’t need.
Like Photos, the Home Screen also got a massive overhaul in iOS 18. Learn how to create widgets, adjust app icon sizes, and create tinted hues.
Apple mucked all kinds of things up with their iOS 18 update. I’ve read a lot of complaints wanting to go back to 17 and I am right on board with those people. I wouldn’t have uploaded the 18 except my last phone got damaged and needed replaced and automatically loaded It. This is a mess. So frustrating. If it’s not broken, don’t fix it.