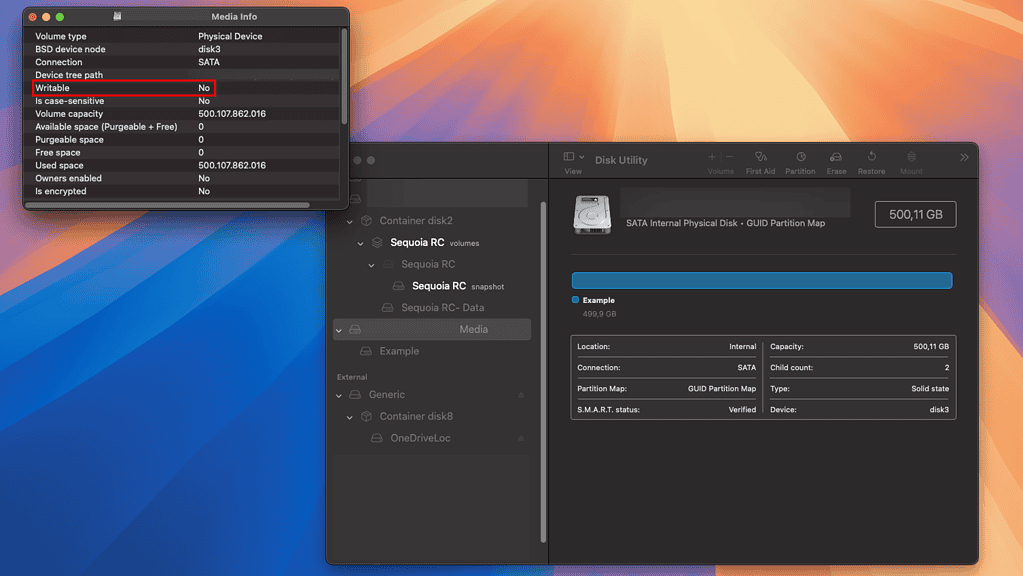
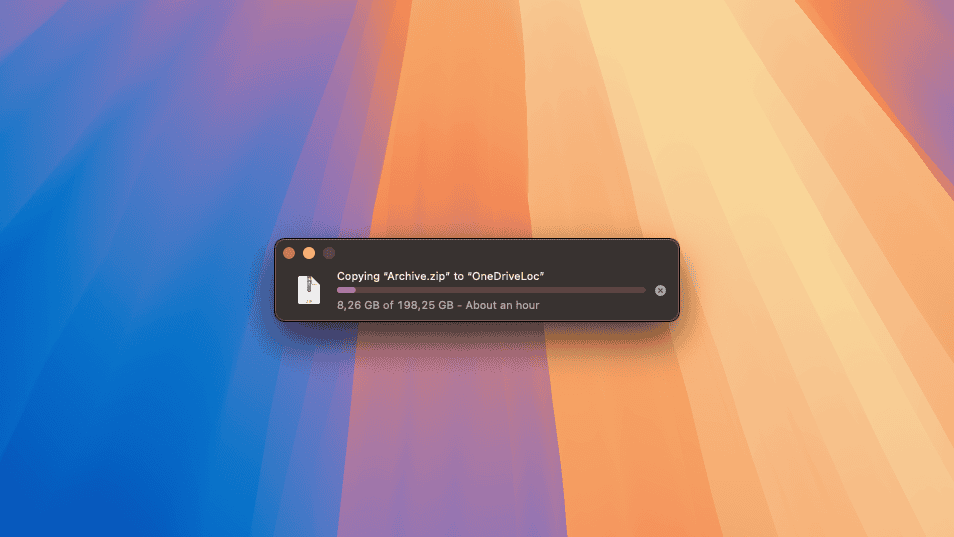
In a perfect world, all tech pieces would work seamlessly and be compatible with each other from the get-go. But we don’t live in a perfect world. So, if you need to use an NTFS disk with your Mac, you’ll need to install a driver.
Before Starting: Do You Really Need Your Disk to Use NTFS?
Before going through all the hassle, ask yourself: do you really need to use NTFS? There are quite a few alternatives you can consider.
If you’re new to macOS and come from a Windows computer, it’s possible that your previous disks were formatted as NTFS. However, during that transition, that doesn’t need to remain the case.
There are a few situations where you may indeed need to use NTFS disks. To find out whether this is your case, check below.
1. Use the NTFS Disk Read-Only

The first possibility is that you’re only accessing files on the disk, and won’t need to write anything to it. In that case, the default macOS NTFS support will be enough. That’s because Macs don’t need to install additional drivers to read NTFS disks, only to write to them.
So, if you just have to, e.g., copy files from a thumb drive or external HDD/SSD, you’re all set. There’s no need to install anything.
2. Use a macOS-Native File System
If you’re coming from Windows and want to use your previous external disks, there’s another option. You can simply convert them to a format native to Mac, like APFS.
There isn’t a way to do that without losing the data in the drive, but there’s a workaround. You simply copy the files to your Mac (or another disk writable by macOS), format it, then copy it back.
The drawback here is that you won’t be able to share the drive with someone who doesn’t use a Mac. If you’re only going to use it yourself, however, this is the best option.
3. Consider Using ExFAT
To keep the drive easily shareable between different Operating Systems (OSes), you have two options: FAT32 or ExFAT. The former limits file sizes to 4GB, though, so it’s not really an option for most people. ExFAT, on the other hand, can be read and written by macOS, Windows, and Linux alike.
Limitations of ExFAT
However, ExFAT is still a format developed by Microsoft. Therefore, it has some limitations on other systems.
The first one is that you can only resize ExFAT partitions on Windows. You can create them on macOS or Linux, but, after that, these OSes can’t change their size. If you don’t need multiple partitions, this isn’t an issue, but for large disks, it could become a problem eventually.
The second limitation is that ExFAT doesn’t support some macOS features. You won’t be able to use an ExFAT disk reliably, e.g. with the libraries in Photos or Final Cut Pro.
Lastly, the performance of ExFAT disks under macOS can be subpar. There was an issue in macOS Ventura, e.g., that made such drives terribly slow — the fix took weeks to arrive.
Write NTFS on macOS Natively
This alternative isn’t talked about much, but there is a way to natively mount NTFS disks in macOS. The issue is that this is still experimental, and there isn’t any guarantee it will work flawlessly.
4. Experimental NTFS Driver for Mac

To enable the experimental NTFS driver on your Mac, you don’t need to install anything. You’ll need to deal with Terminal commands, though. Do the following:
- In Terminal, type
sudo nano /etc/fstaband press Return. You’ll need to enter your account’s password. (In newer macOS versions you might need to use a different command, vifs, instead of nano) - This will open the file systems table. In macOS, this file is usually empty by default, since the OS doesn’t list its native drives there.
- Add the following line to the end of the file:
LABEL=[NAME] none ntfs rw,auto,nobrowse
Replace[NAME]with your NTFS disk’s name - Save using either nano’s (Ctrl+X, then Y, then Return) or vi’s (press Esc, x, then Return) saving command.
- Restart your Mac.
 NOTE
NOTE
Use a Third-Party NTFS Driver on Your Mac
Safer outcomes can be achieved with third-party NTFS drivers for macOS. There are quite a few alternatives out there:
5. macFUSE

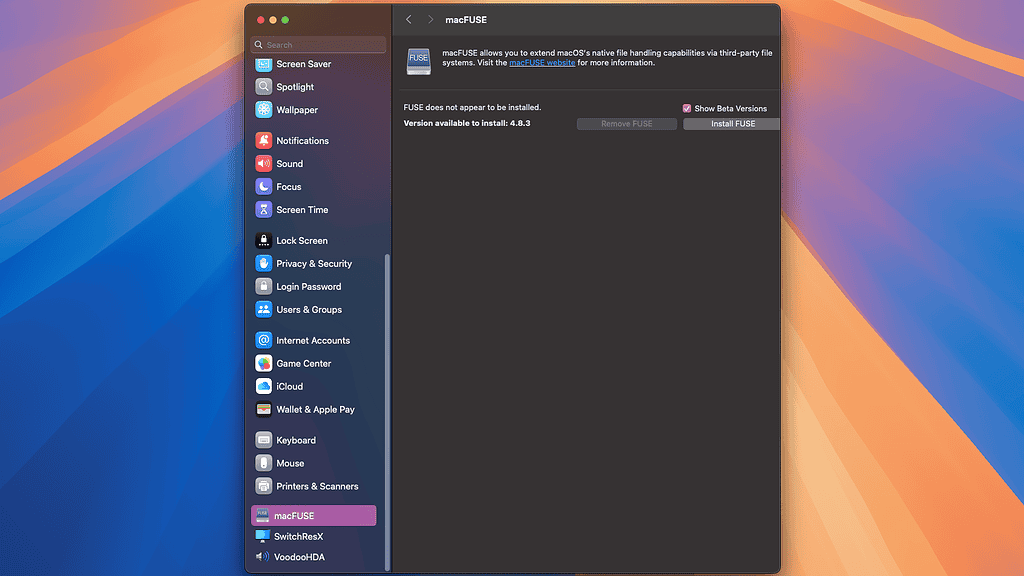
macFUSE is an implementation of FUSE, a technology that (among other things) allows mounting NTFS disks in unsupported OSes. Just download the driver on the project’s page, install it, and you’ll be able to mount NTFS on your Mac.
The major drawback of macFUSE is its performance. Read speeds are OK, but writing to NTFS disks is significantly slow.
6. Paragon
Paragon is one of the better-known NTFS drivers for macOS. It offers a companion app similar to Disk Utility, so its interface may be familiar to you. Paragon is among the best-performing NTFS drivers, delivering great read and writing speeds.
A single-user lifetime license of Paragon NTFS costs $30. You can try it for 10 days free of charge before making the purchase.
7. iBoySoft
iBoySoft is another reputable NTFS driver for macOS. I have been using it for the past few months, after moving from macFUSE, and have no complaints about it.
Well, there’s one: the companion app is a bit confusing, at first. However, after you set it up, you can just forget the app exists. You’ll be able to simply access your NTFS disk as if it were a network drive. It will even appear on Finder’s sidebar.
You can purchase iBoySoft NTFS in three ways. The yearly subscription costs $20, while a lifetime license goes for $50. You can also get it as part of a Setapp subscription, which starts at $10/month.
8. EaseUS

Another paid NTFS driver you can install on your Mac is made by EaseUS. The companion app has arguably the best interface among all alternatives, being simple and straightforward to use.
The monthly subscription is quite expensive, at $15. You can also get a lifetime license for $50. Both options offer a 30-day money-back guarantee, and there’s a 7-day free trial as well.
9. Mounty
Mounty is a free NTFS driver for macOS. The interface is basically a menu bar icon that, when clicked, displays a drop-down menu. When clicked, you can mount and unmount NTFS disks from it.
My experience with Mounty wasn’t so good. The app sometimes failed to detect my internal drive, even though all Windows protections were disabled. Also, I couldn’t get it to mount NTFS partitions as read/write on login no matter what I tried. If you don’t need advanced features, however, Mounty is a good — and free — option.
10. Tuxera
Lastly, there’s Tuxera. Its interface is similar to Mounty’s, working from the menu bar. The NTFS disks appear on Finder like any natively supported drive.
A Tuxera lifetime license costs $15 and allows you to install the NTFS driver on up to three Macs. There’s also a 14-day free trial.

Moving files between drives should be simpler than it is. In all my years of using multiple OSes simultaneously, I was never able to find a perfect solution for that.
NTFS drivers for macOS cover most needs, but you may prefer using ExFAT or, who knows, alternative methods. There’s always the possibility of network drives or even cloud storage.
![How To Download and Install NTFS Driver On a Mac [10 Ways]](https://www.macobserver.com/wp-content/uploads/2024/12/How-To-Download-and-Install-NTFS-Driver-On-a-Mac-10-Ways.jpg)