The Apple Mac is widely praised for its speed and reliability. Its new M-series chips can handle everything from basic multitasking to running complex medical or IT programs. But given their premium price tag, it’s disheartening when performance falls short of expectations. One of the most elusive culprits behind sluggish performance (especially on macOS Sequoia) is System Data hogging up storage. While troubleshooting might seem confusing, the issue could stem from a fixable software glitch.
Here’s how you can fix your storage and get your device running like new again.
What To Do if macOS Sequoia Filling Up With System Data
1. Delete Time Machine Local Snapshots
Time Machine automatically creates local snapshots when your external backup drive gets disconnected. You can use these snapshots to restore files even without the external drive. The big downside is that they consume a lot of storage over time.
Time needed: 10 minutes
If your Mac is already slowing down, it’s best to delete them from your local storage system. Follow these steps:
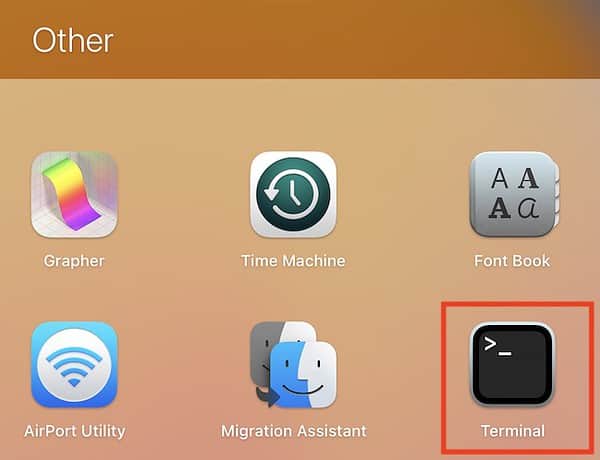
- Open Terminal from Launchpad > Other.
- Type the command:
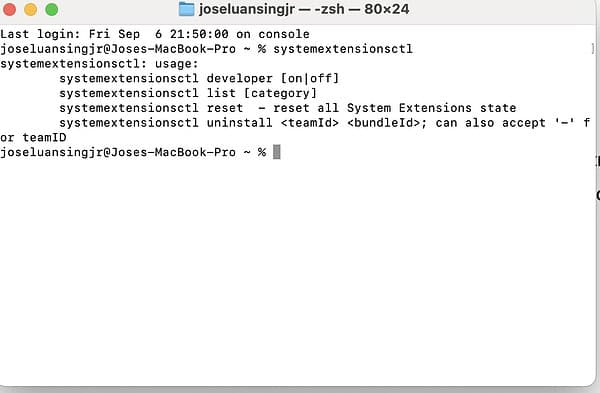
tmutil listlocalsnapshots / - To delete a specific snapshot, type:
sudo tmutil deletelocalsnapshots [snapshot-date] - Repeat for additional snapshots, or clear all with:
sudo tmutil disablelocal
 NOTE
NOTE
sudo tmutil enablelocal on Terminal. 2. Check for Malware
Although the macOS ecosystem employs some of the most rigid security protocols among operating systems, it’s not impenetrable. Malware can still fall through the cracks. If you click on a phishing link, download a suspicious file, or visit a shady website, your device might get infected. When this happens, malware will spread hidden files that may bloat System Data.
To remove malware manually, scan your device for unauthorized apps, login items, and calendar events. Likewise, you can install an Apple-specific antivirus tool like CleanMyMac.
3. Clear Application Caches and Logs
Applications store temporary data and activity logs for quick access and debugging purposes. Over time, these files grow large and occupy unnecessary space. See if your device performs better after clearing them.
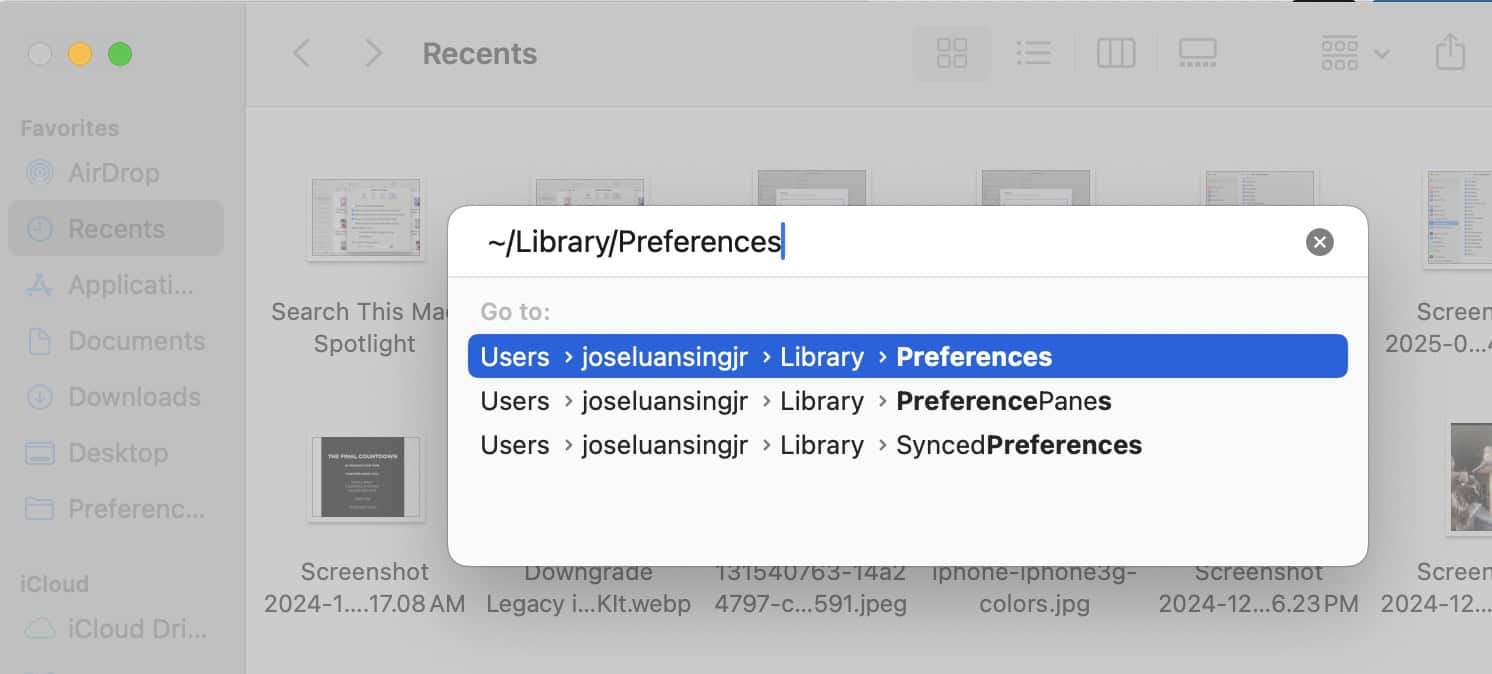
- Open Finder and press Command + Shift + G.
- Enter the path
~/Library/Cachesin the search bar. - Select and delete folders associated with apps you no longer use or with excessive cache sizes.
- Navigate to
/Library/Logsin Finder. - Delete outdated or excessive log files (avoid deleting active system logs).
4. Remove Unused iOS Device Backups
iOS device backups stored on your Mac can take up tens of gigabytes. Try deleting outdated unused backups (which you likely won’t use anymore) to free up storage without compromising your device.
- Open Finder and click your Mac’s name in the sidebar.
- Select Manage Backups under the General tab.
- Review the list of backups.
- Highlight old or unused backups and click Delete Backup.
- Confirm your choice.
5. Utilize macOS Storage Management
macOS includes a built-in storage management tool that identifies large files, unused apps, and unnecessary system data. You can use this tool to pinpoint and eliminate bloat.
- Click the Apple menu icon > System Settings > General.
- Open Storage.
- Review the storage that your documents and applications consume—trace which ones are the most poorly optimized.
6. Delete Unnecessary System Files
Temporary files, old macOS updates, and unused kernel extensions can clog up your system storage. You can manually delete them through the Finder app.
- Open Finder and press Command + Shift + G.
- Enter the path:
/Library/Application Supportin the search bar. - Review and delete outdated or irrelevant folders (e.g., for uninstalled apps).
- Navigate to: /Library/Updates in Finder.
- Delete old or outdated files.
7. Disable Content Caching
Content caching speeds up downloads for devices on the same network by storing files locally on your Mac. However, this feature consumes storage unnecessarily when not needed. Try turning it off while you’re troubleshooting.
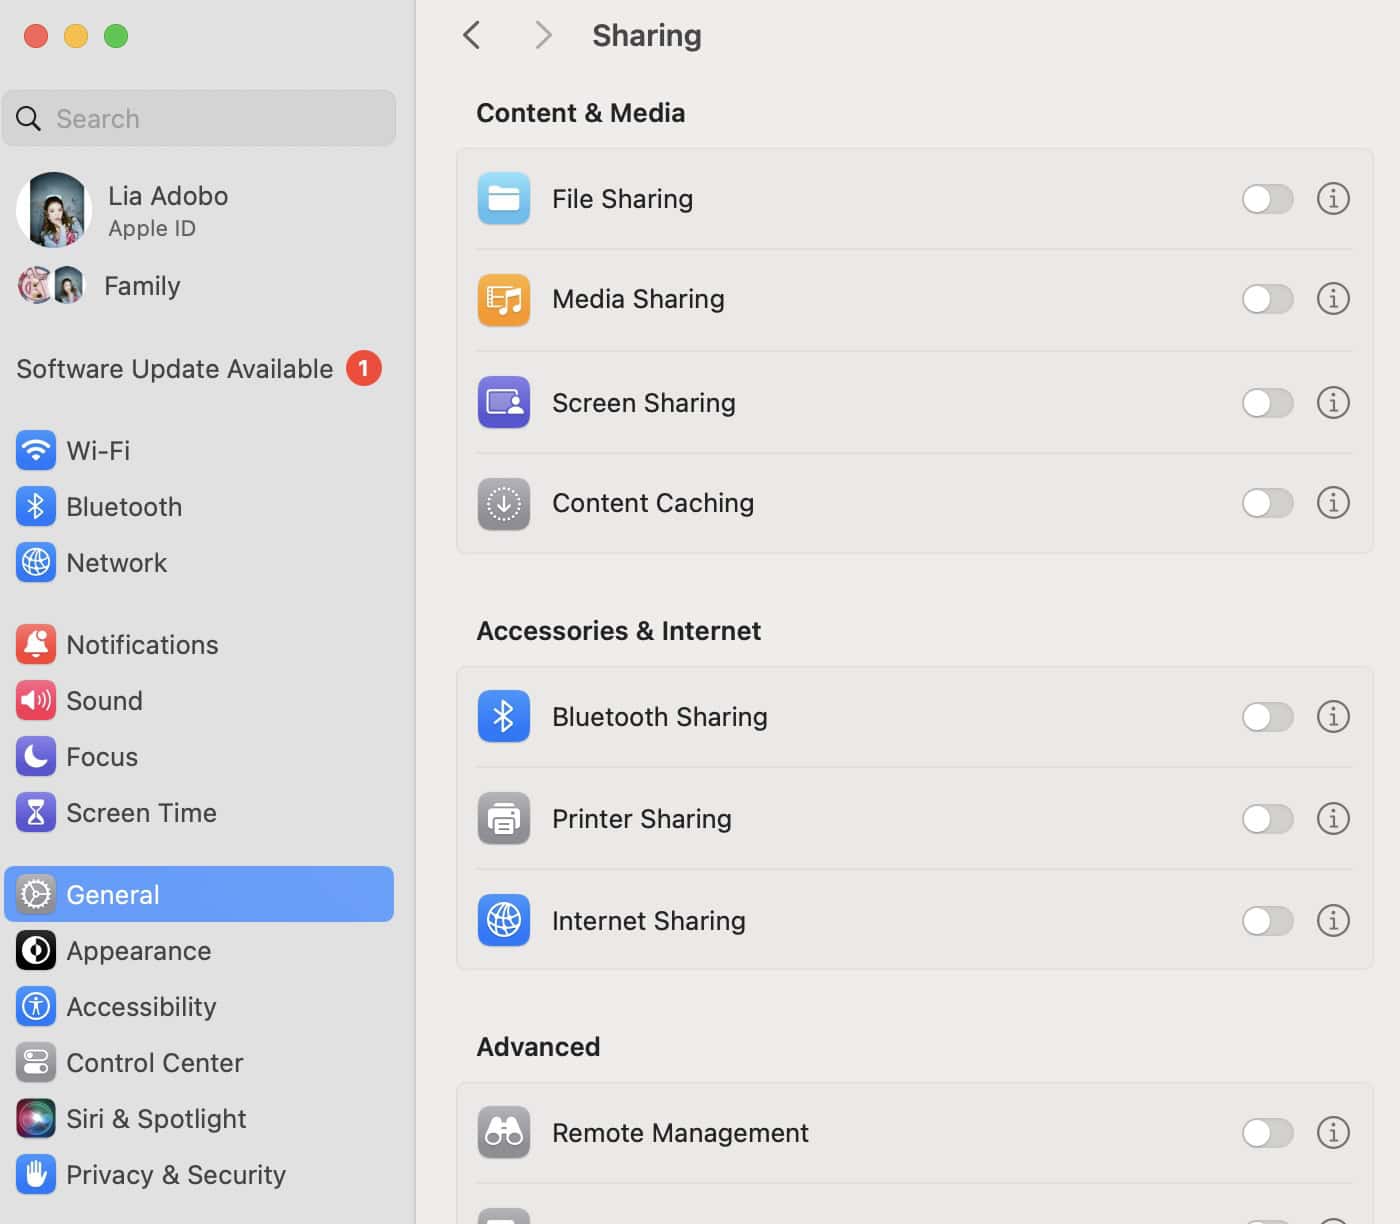
- Open System Settings and go to General > Sharing.
- Toggle off Content Caching.
- Restart your Mac to make sure that the setting takes effect.
8. Reindex Spotlight
A corrupted Spotlight index can cause macOS to misreport storage usage. Reindexing it will force macOS to rebuild its database, resolving storage anomalies.
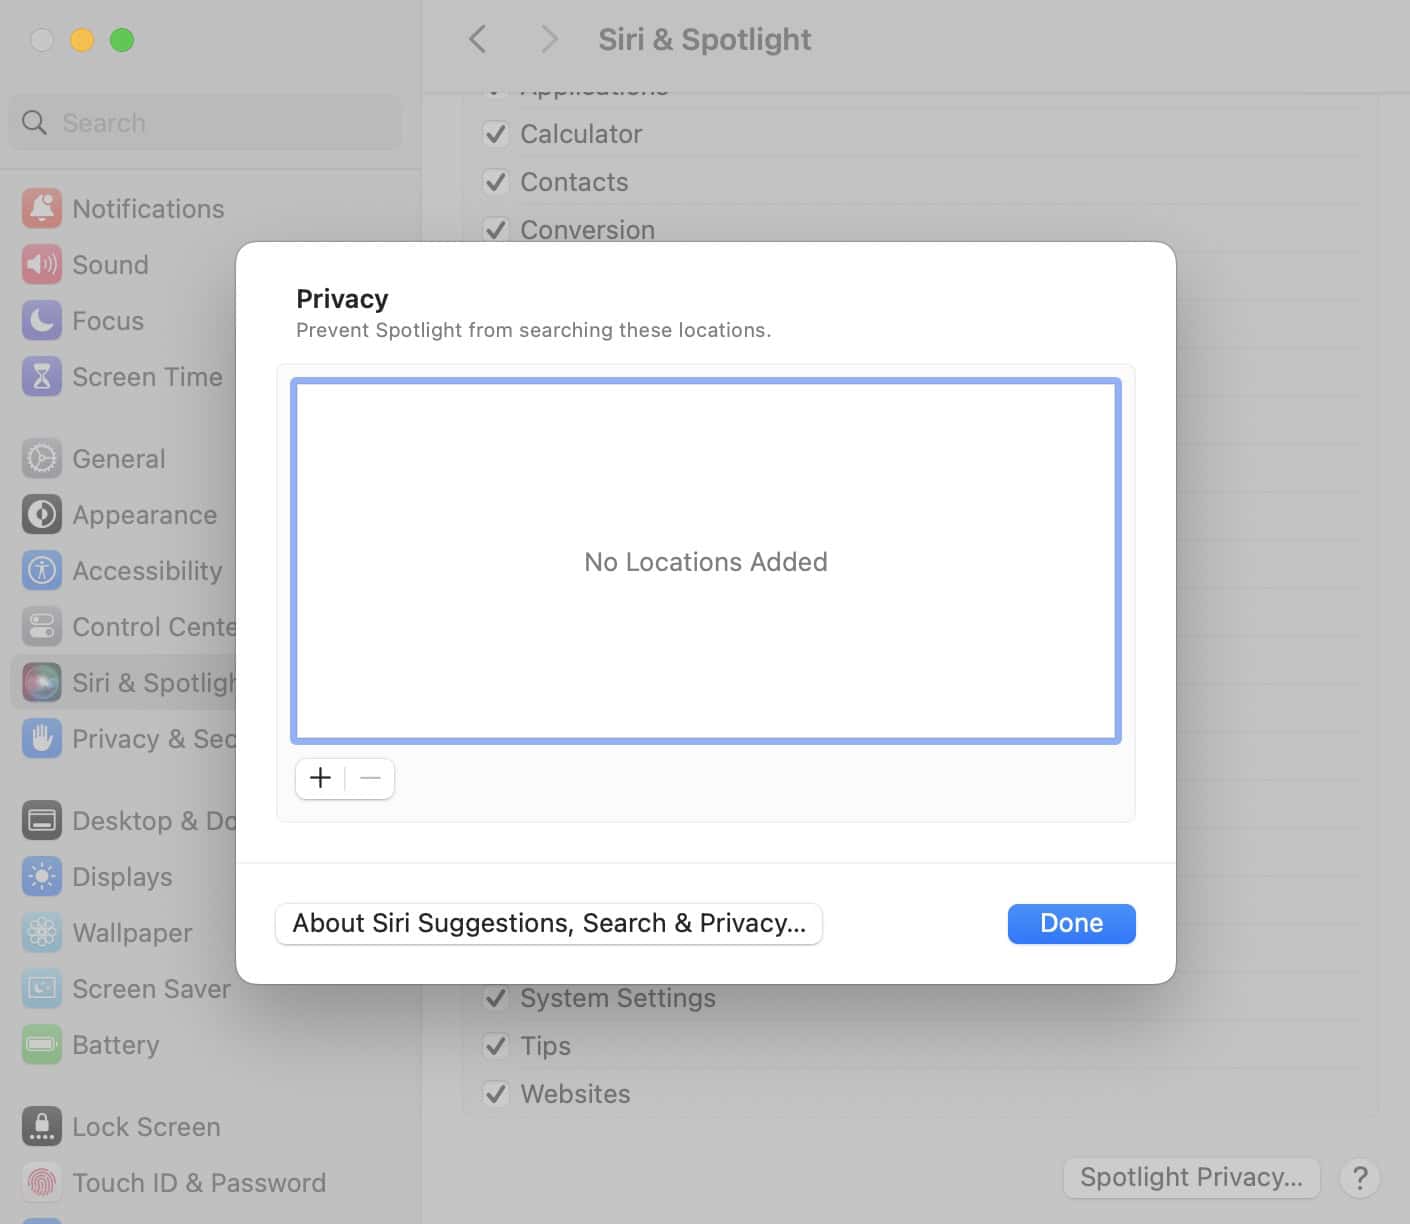
- Open System Settings and go to Siri & Spotlight.
- Click Spotlight Privacy.
- Add your main drive to the exclusion list by clicking the + button.
- Remove the drive from the exclusion list after a few seconds to trigger reindexing.
- Wait for Spotlight to finish rebuilding the index.
9. Factory Reset Mac
As a last resort, you could factory reset your Mac. The idea is to wipe your data altogether since you can’t pinpoint the problematic file. It’s a drastic yet potentially effective step. Just remember to update your iCloud backup because you’ll need this after the reset.
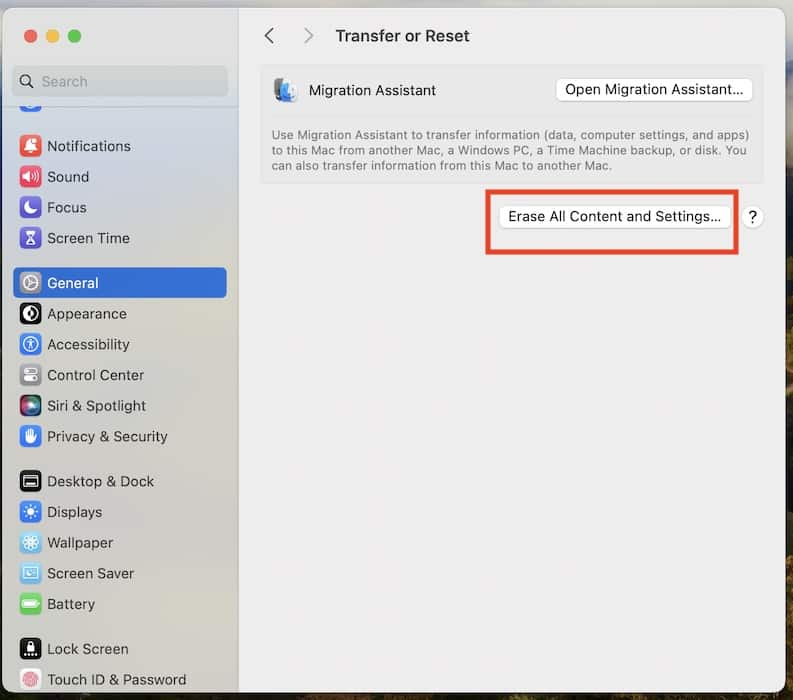
- Click the Apple menu icon > System Settings > General.
- Scroll down to Transfer or Reset.
- Select Erase All Content and Settings, enter your admin password, and wait for your device to restart.
- Back up your files from iCloud.
Contact Apple Support if your Mac is still lagging. Unfortunately, you might need to have it checked for hardware defects. Apple’s one-year warranty only covers manufacturing issues, so unless you have AppleCare+, you might have to pay for repairs out of pocket.



I used the sudo tmutil disablelocal command, got this: disablelocal: Unrecognized verb. This is on MacOS 10.15.2. An easier solution would be to open Disk Utility, select the MacintoshHD – Data volume and the snapshots are displayed, and by selecting them individually or several or all, and clicking on the minus sign below the list, can be easily deleted.