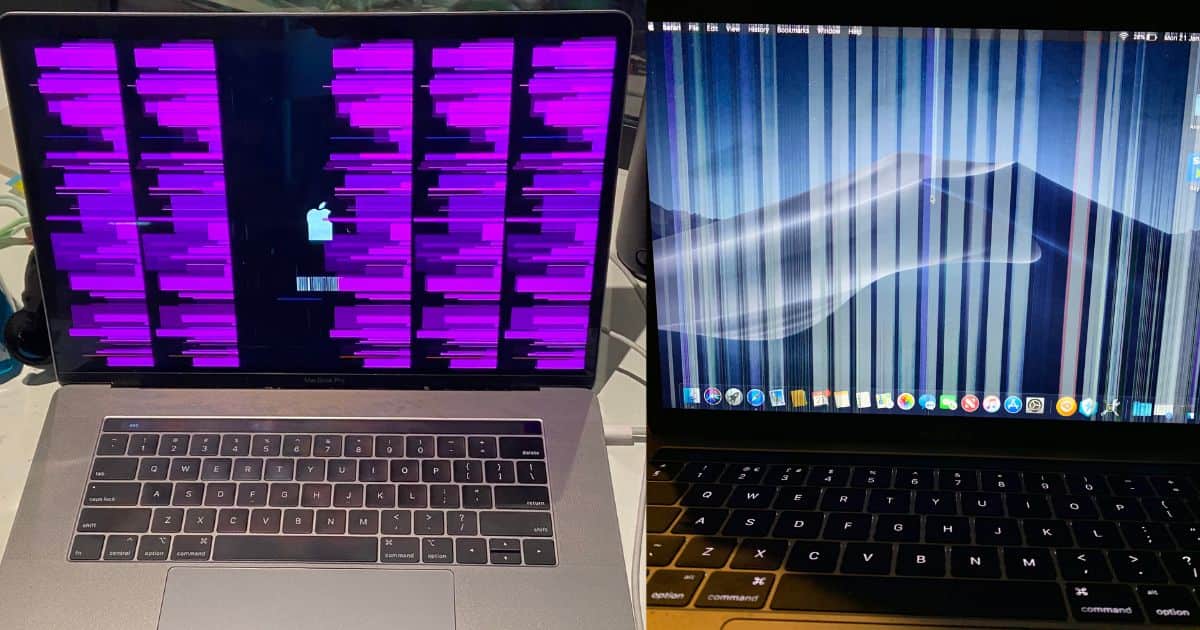
The Apple Retina display is a visual powerhouse that delivers HD clarity and color. And with macOS Sequoia promising optimized HDR support for native and external displays, users are expecting even sharper text and images. So, you can imagine my frustration when I saw that the screen flickers right after updating to macOS 15.2.
While it’s easy to blame the update, display flickering has cropped up on older versions too. It could imply anything from misconfigured settings to underlying hardware faults. Here’s how to troubleshoot and fix the problem.
What To Do if Screen Flickers Immediately After macOS 15/15.2 Update
 NOTE
NOTE
1. Adjust Display Refresh Rate
Time needed: 5 minutes
When macOS resets the display settings, which happens when you update your Mac, its GPU and display may lose sync. This mismatch in refresh rates can cause frame drops and uneven rendering. Manually adjust them to stabilize the rendering process and then check if the flickering stops.
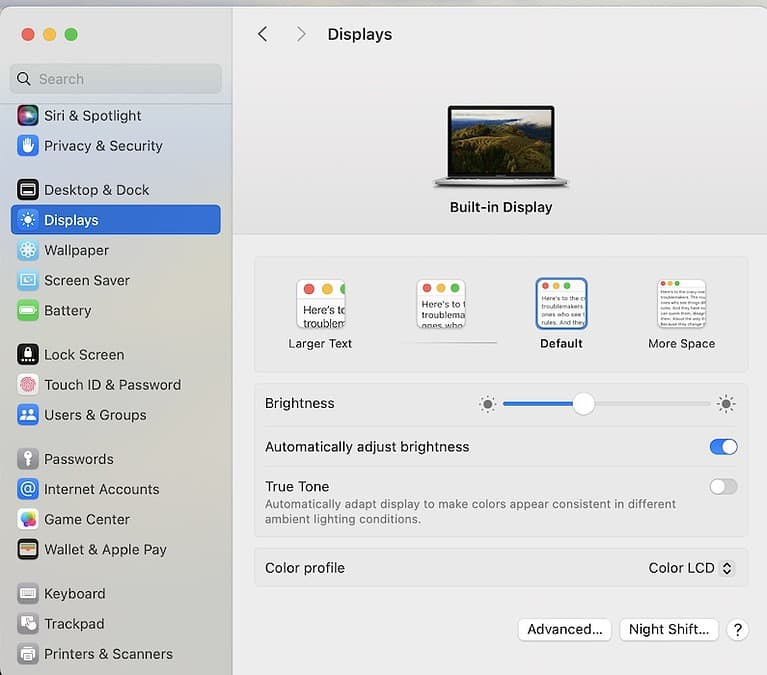
- Go to System Settings > Displays.
- Click Advanced Display Settings.
- From the Refresh Rate dropdown, select an appropriate option (e.g., 60 Hz).
- Close the menu and check if the flickering stops.
2. Reduce Transparency and Motion Effects
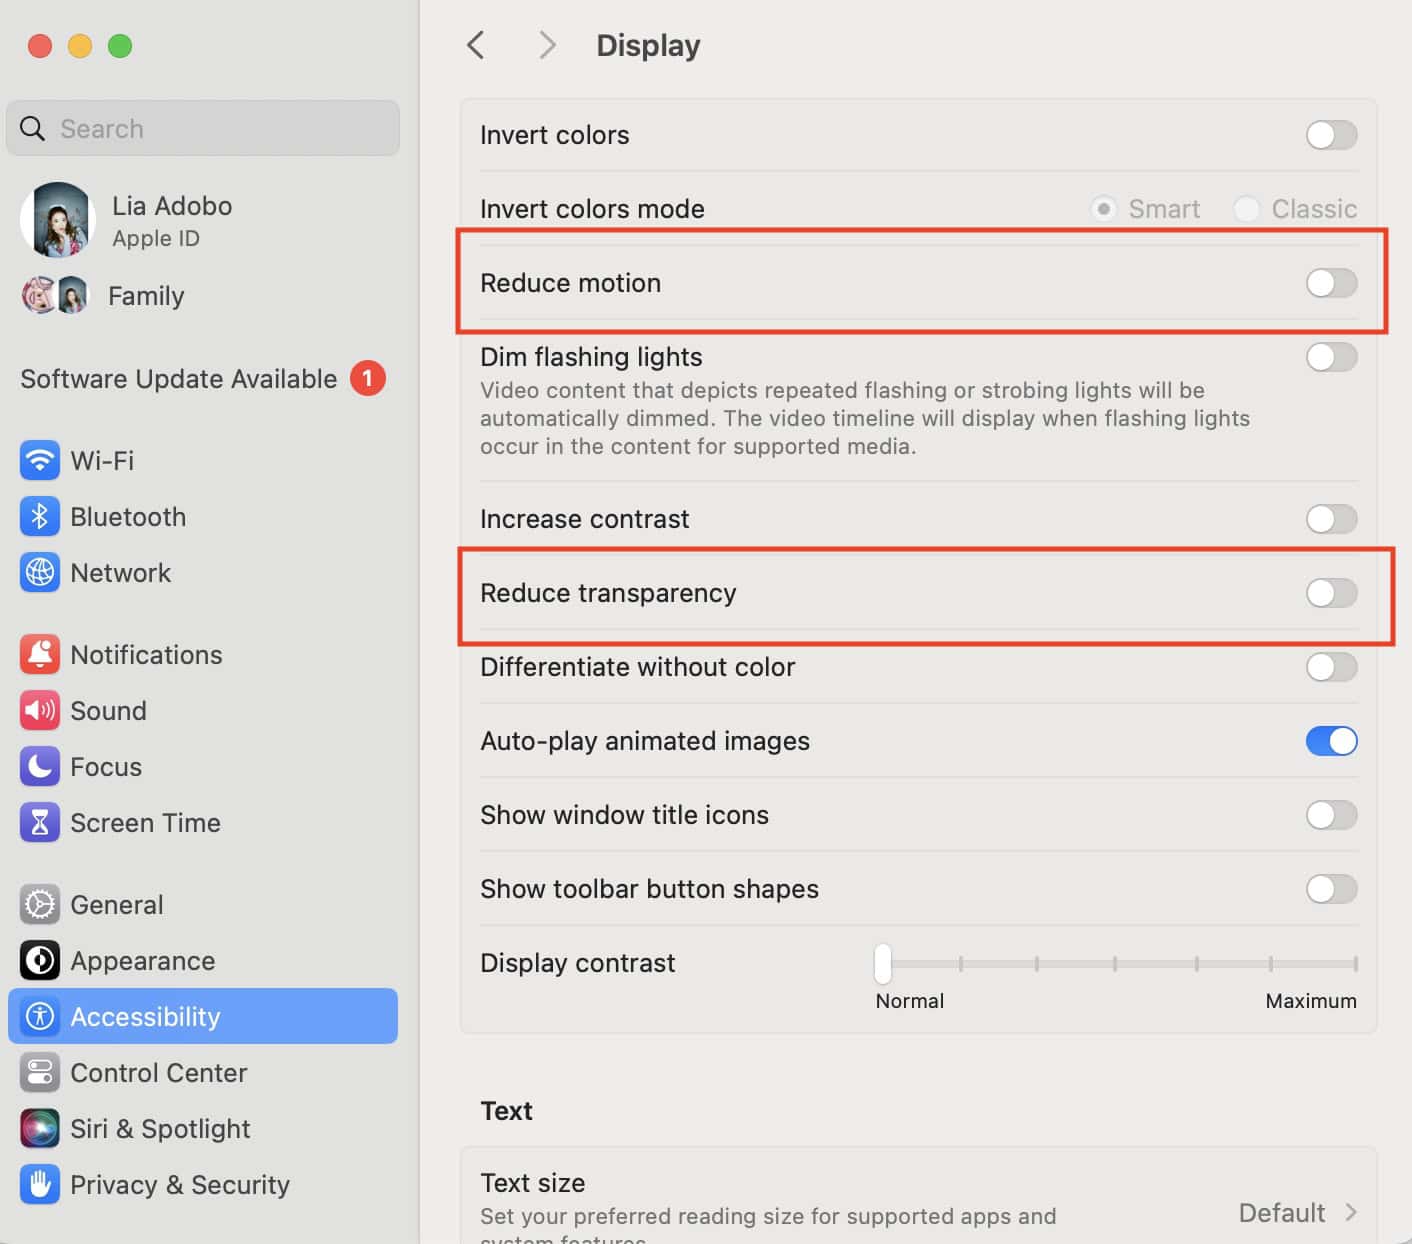
Your Mac’s sleek interface relies heavily on graphics processing. And although transparency layers and motion effects create an immersive viewing experience, they can strain the GPU. Turning off these features should reduce the load.
- Open System Settings > Accessibility > Display.
- Turn on Reduce Transparency.
- Enable Reduce Motion as well.
- Restart your Mac and see if the screen stabilizes.
3. Clear Display Preferences
macOS stores display settings in hidden preference files. Heavy processes, e.g., OS updates or large app installations, can potentially corrupt this data. Your display might render incorrectly as a result. Try deleting them manually—Mac will generate clean configurations after a quick reboot.
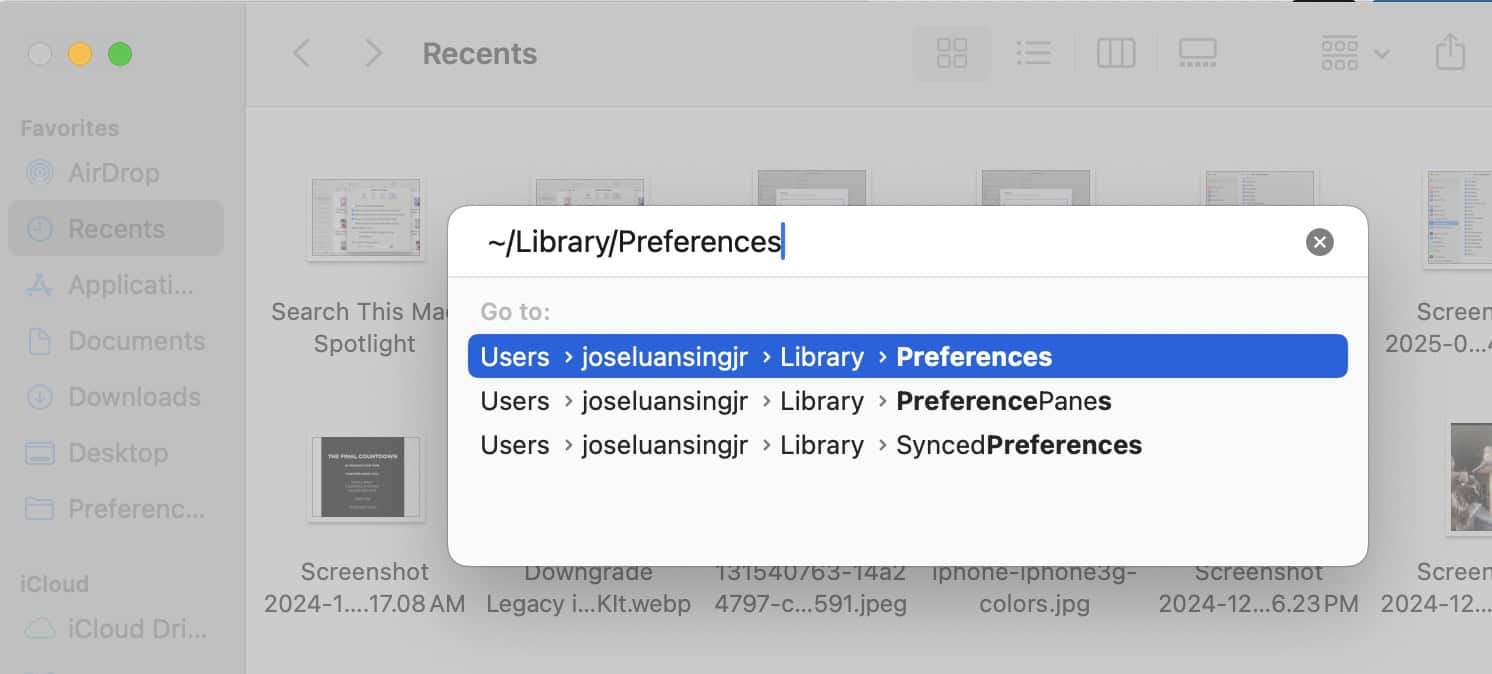
- Open Finder, then click Go > Go to Folder in the menu bar.
- Enter
/Library/Preferences/and press Return. - Find files like
com.apple.windowserver.plistand delete them. - Restart your Mac and allow the system to rebuild its display preferences.
4. Inspect Cables and External Monitors
If you’re using an external monitor, check its cables for physical damage. Fraying, loose ends, and ruptured cores could short-circuit and cause several display issues. In extreme cases, your screens might not even turn on altogether.
- Disconnect all peripherals, including external monitors and hubs.
- Inspect cables for wear, fraying, or bent pins.
- Restart your Mac without any external devices connected.
- Reconnect each device one at a time to isolate the culprit.
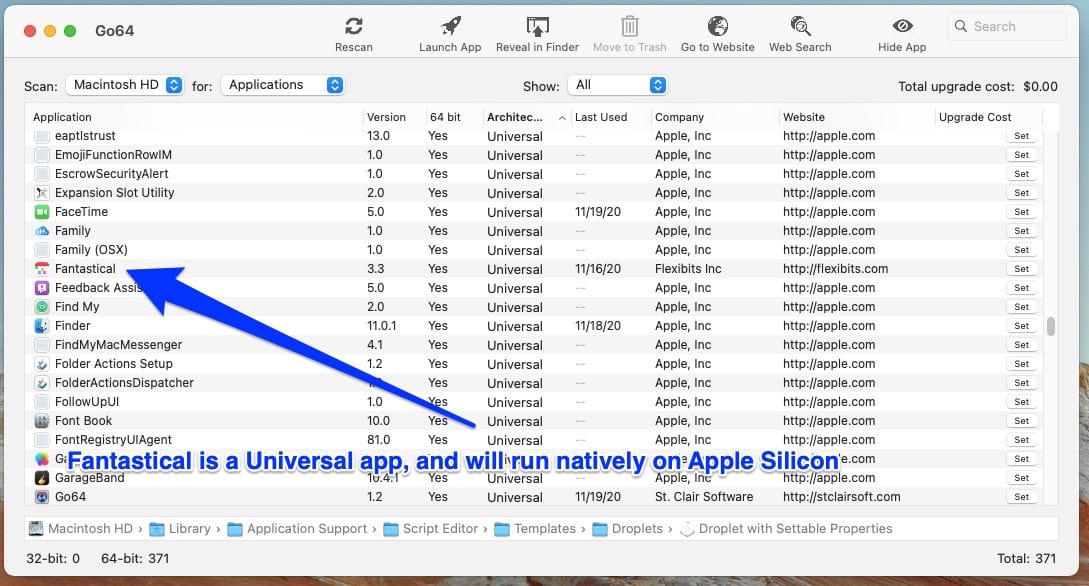
5. Uninstall Incompatible Third-Party Apps
Some apps hook directly into your display settings, e.g., screen mirroring or virtual desktop tools. When they’re not modified for the latest macOS environment, they can disrupt rendering processes. Third-party developers typically wait for a few point releases before launching API updates.
- Open the App Store and check for pending updates.
- For non-App Store apps, visit the developer’s website and download the latest version.
- But if an app is causing issues, uninstall it. Go to Finder > Applications, drag the app to the Trash, and empty it.
- Restart your Mac and check for improvements.
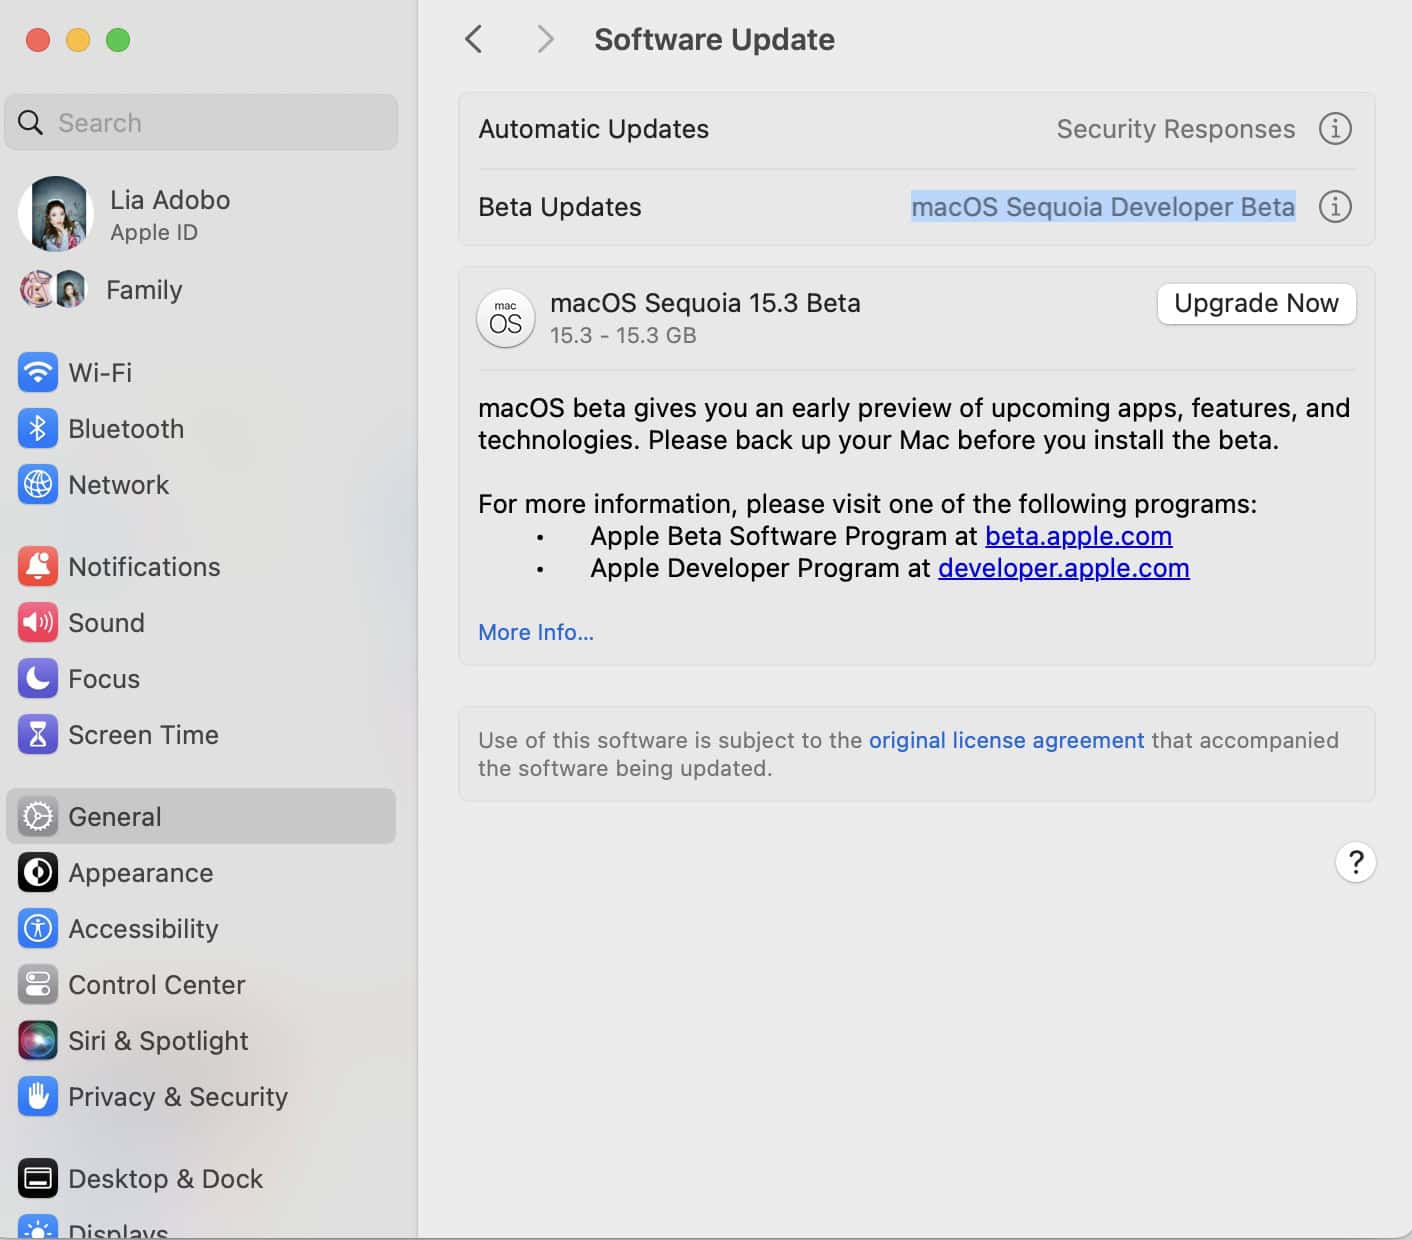
6. Download Latest macOS Update
Apple doesn’t always get it right with major updates, but they’re quick to release follow-ups that address common bugs. These supplementary updates often include GPU fixes for known rendering and display issues. It’s always worth checking if you’re missing any patches.
- Open System Settings > General > Software Update.
- If an update is available, click Update Now.
- Restart your Mac once the update completes.
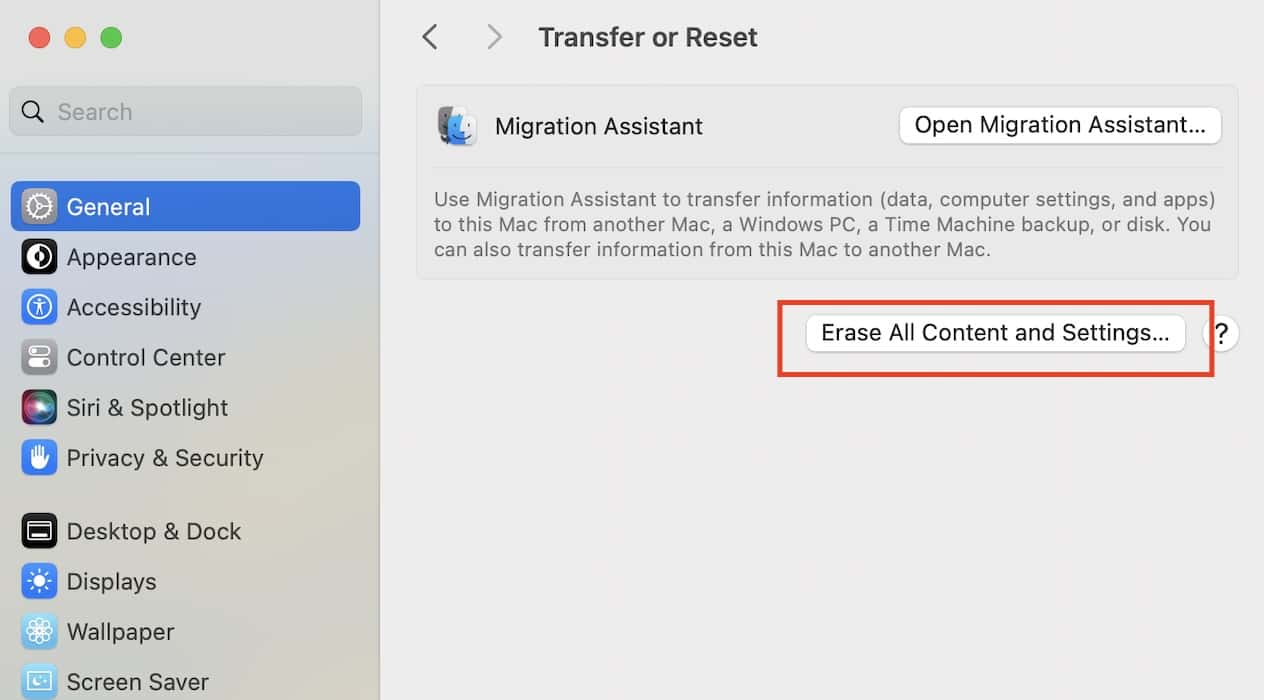
7. Factory Reset Mac
Sometimes, the most stubborn issues call for drastic measures. A factory reset will wipe your system clean, removing misconfigurations, corrupted settings, and any lingering software bugs. Think of it as hitting the reset button on everything—just don’t forget to back up your data.
- Go to System Settings > General > Transfer or Reset.
- Select Erase All Content and Settings and follow the on-screen prompts.
- After the reset, restore your Mac from iCloud.
At this point, your best bet is to call Apple Support. Certified technicians likely have to check your device for hardware damage since you’ve already gone through several troubleshooting steps. Hopefully, your device is still under warranty. If not, you’ll only get coverage through an AppleCare+ plan.
