Your iPhone’s Deep Fusion feature is meant to improve photo quality, but it often overprocesses images, making colors look unnatural and details too sharp. Since Deep Fusion is built into the Camera app, you can’t turn it off. Your iPhone automatically applies edits like brightness adjustments, color correction, and noise reduction. There are workarounds for this, though.
1. Take Photos in Burst Mode
When you take photos in Burst Mode, your iPhone rapidly captures multiple frames within seconds. It prioritizes quantity over processing, focusing on snapping as many shots as possible in a short time. Since there’s minimal processing involved, Burst Mode is a great option if you prefer photos without auto-enhancements.
Time needed: 1 minute
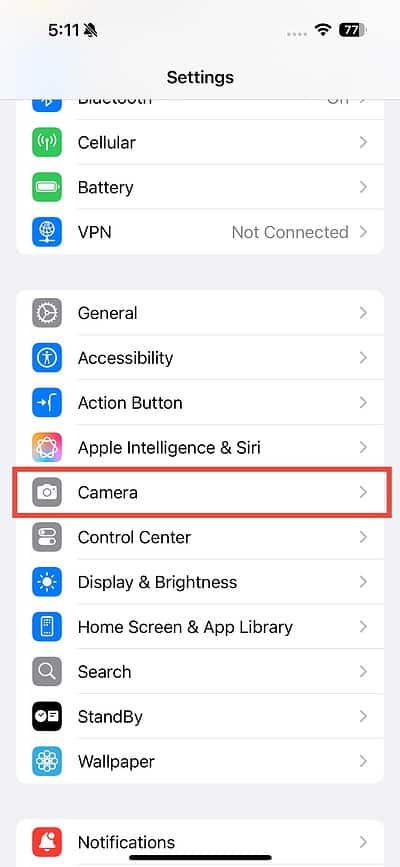
- Open the Settings app on your iPhone.
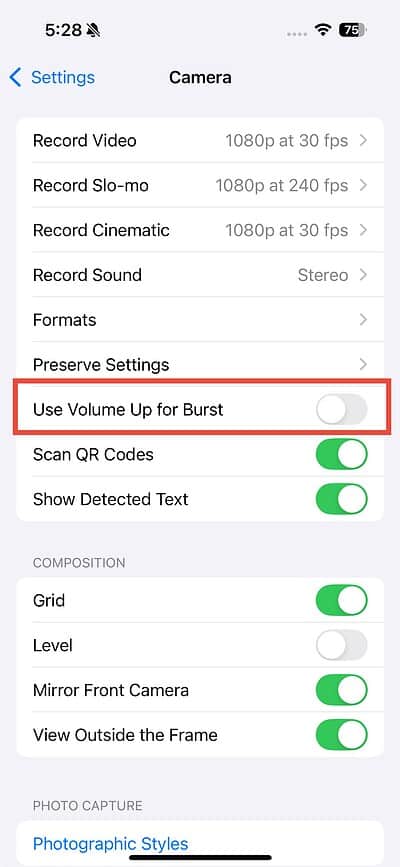
- Tap Camera and turn on the Use Volume Up for Burst toggle.
- Open the Camera app. Press and hold the Volume Up button to capture photos in Burst mode. Alternatively, tap and drag the Shutter button to the left to take Burst mode photos.


2. Enable Apple ProRAW
With Apple ProRAW, you can take full advantage of your iPhone’s camera and capture images with minimal processing. Shooting in RAW gives you more control and flexibility when editing. You can tweak exposure, color balance, and other settings while preserving more quality and detail compared to standard images. Keep in mind that Apple ProRAW is only available on the iPhone 12 Pro and later Pro models. If you have a standard iPhone, you won’t be able to use this feature.
Follow these steps to start shooting in ProRAW mode:
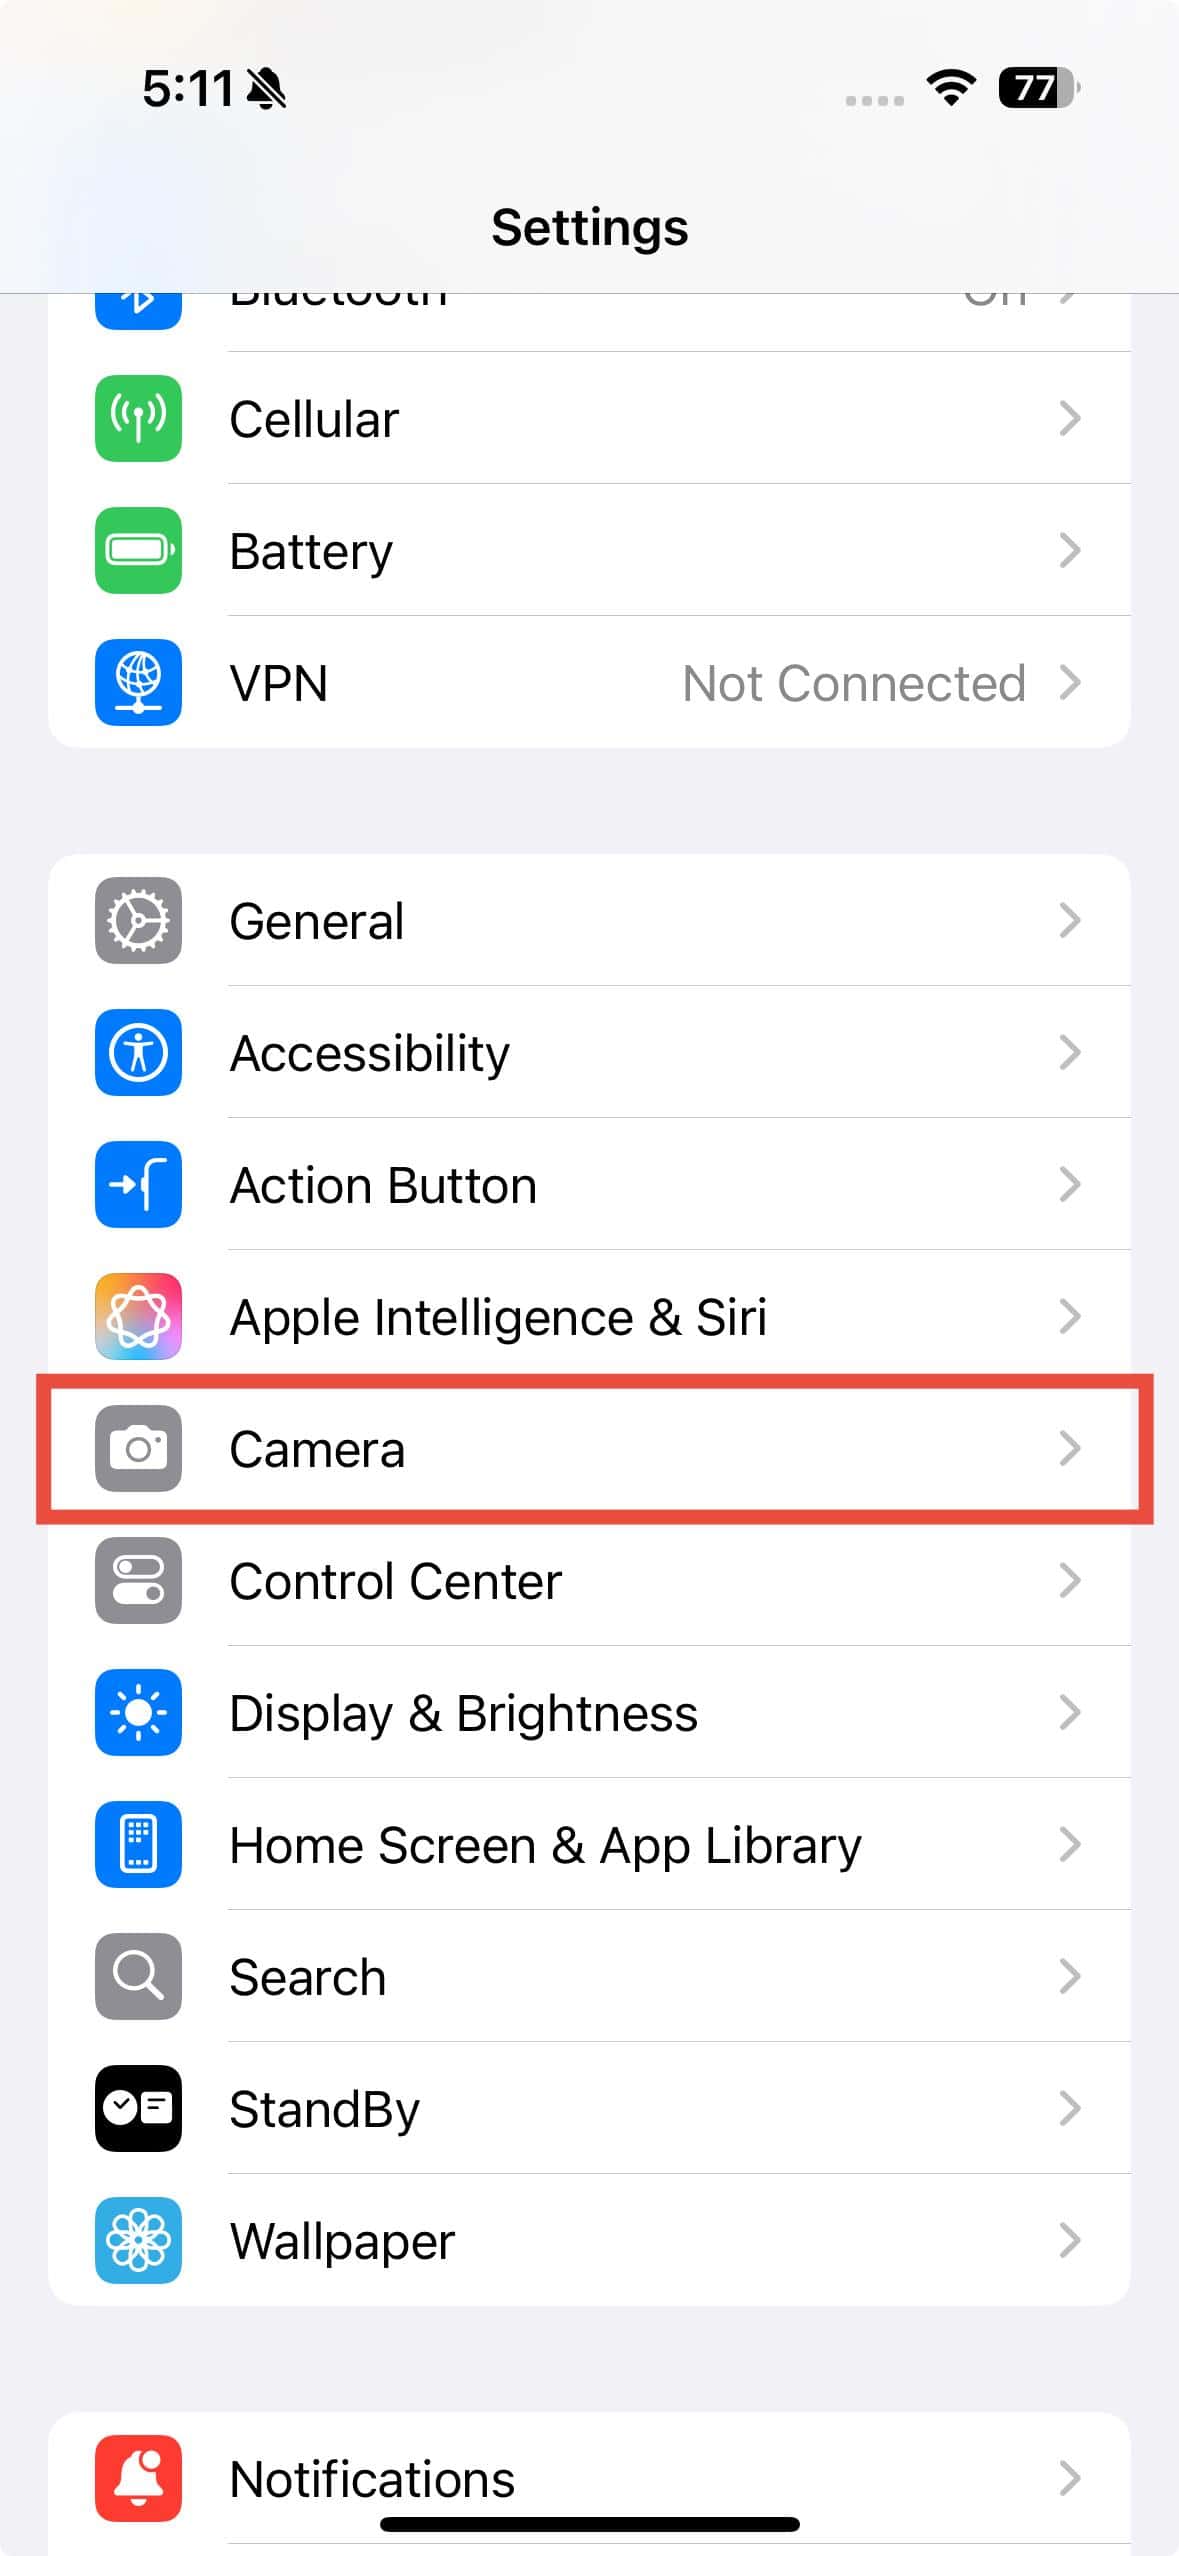
- Open the Settings app on your iPhone.
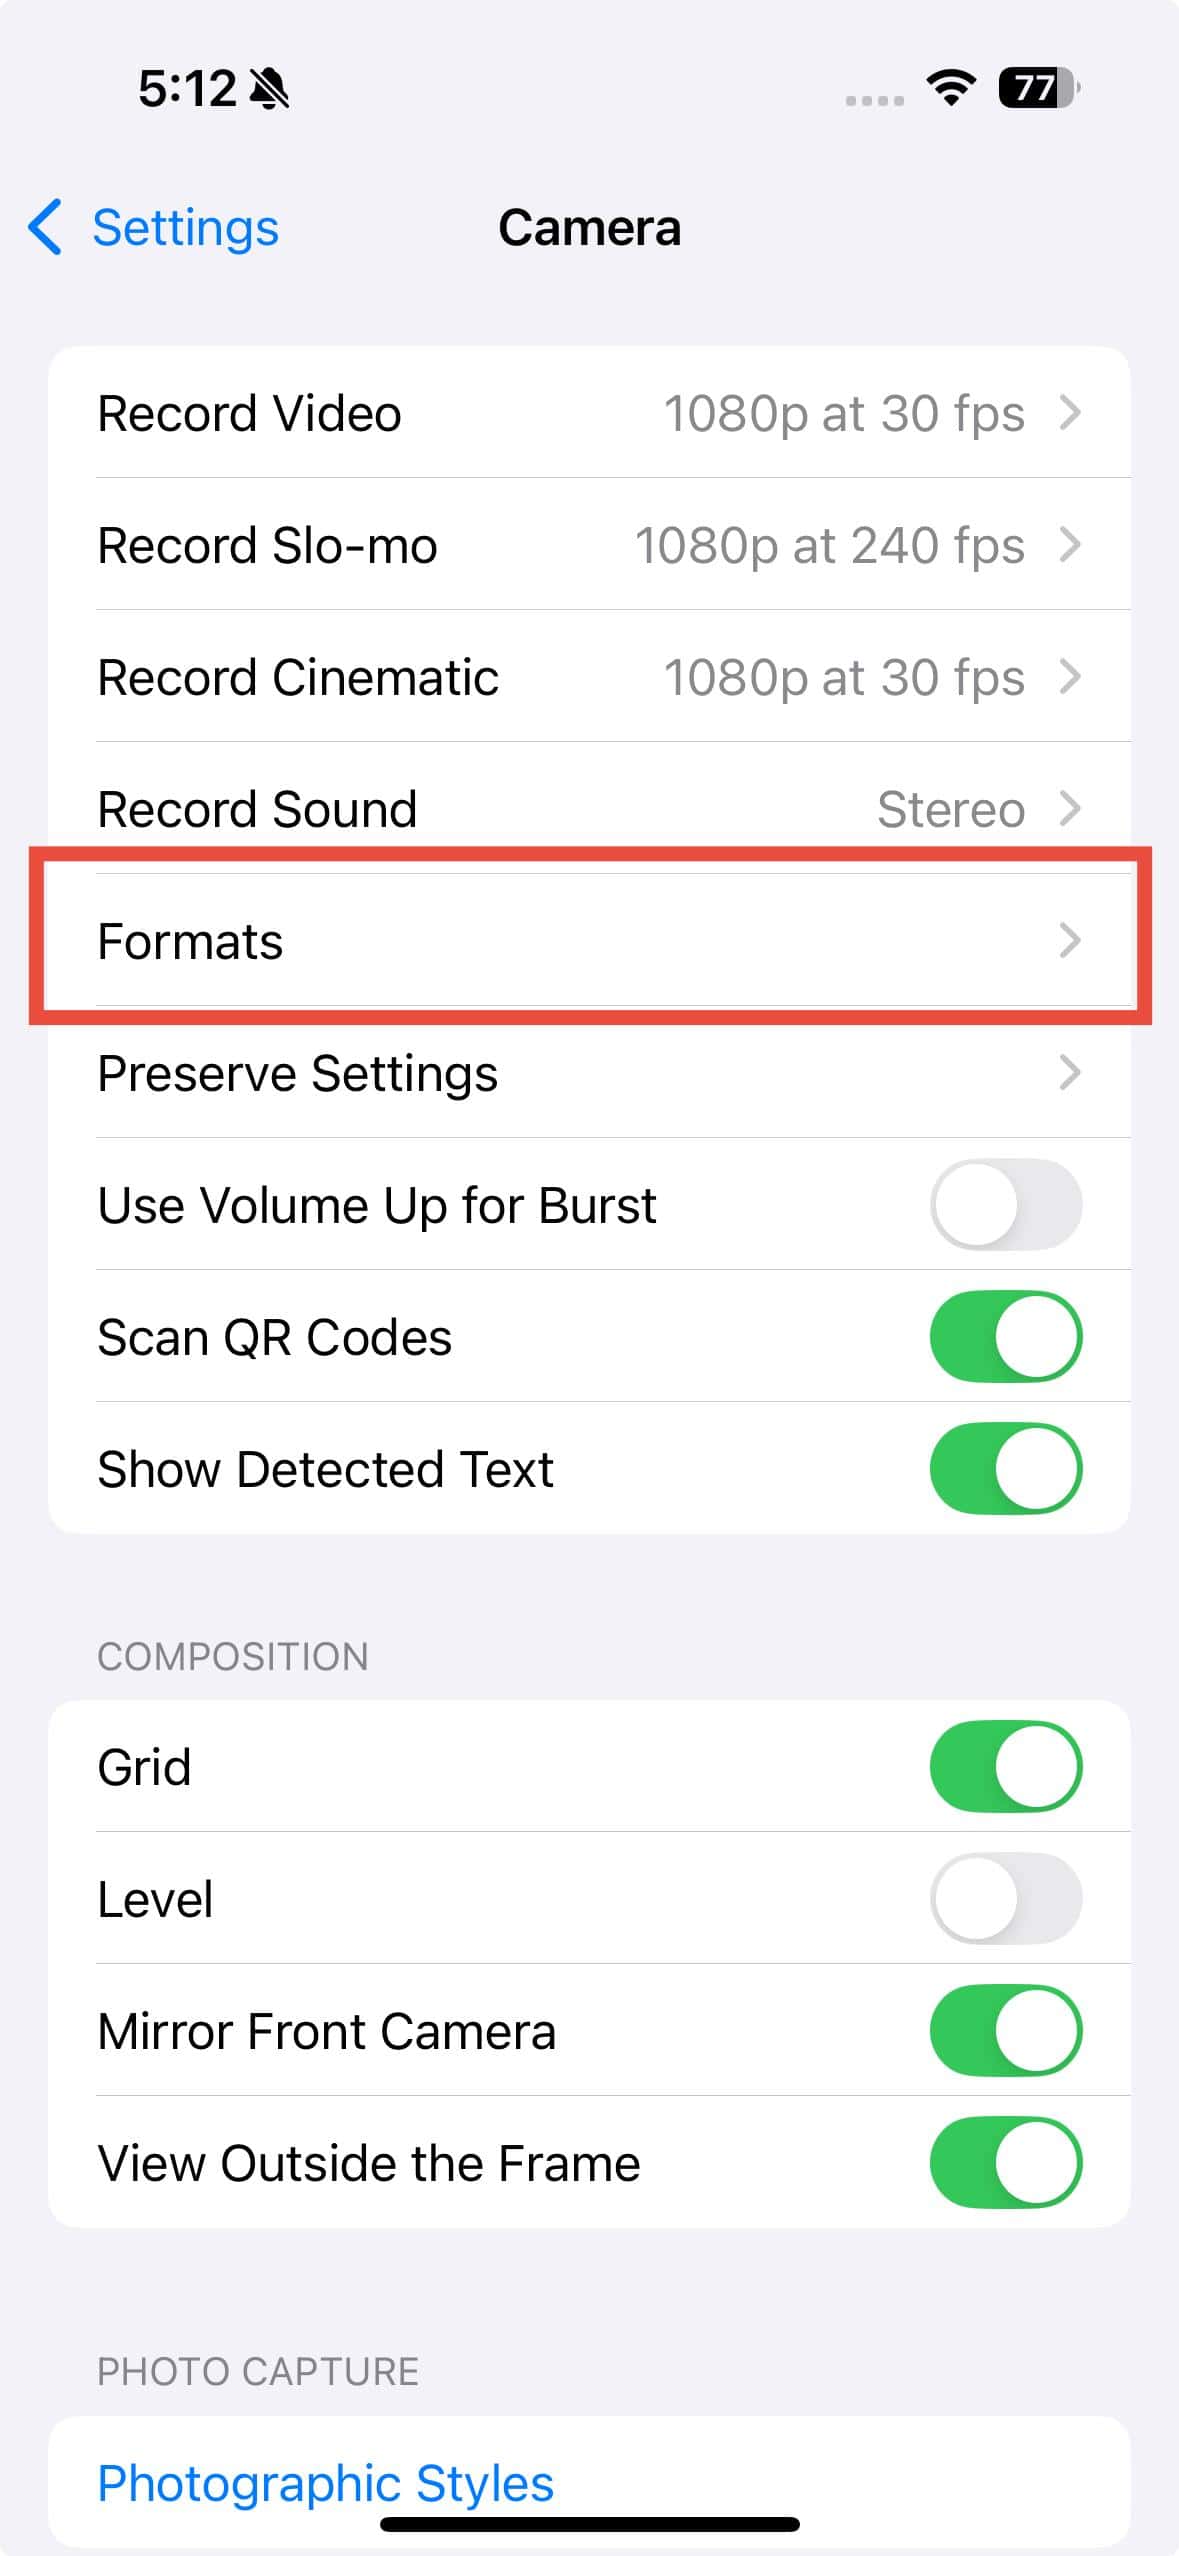
- Tap Camera > Formats.

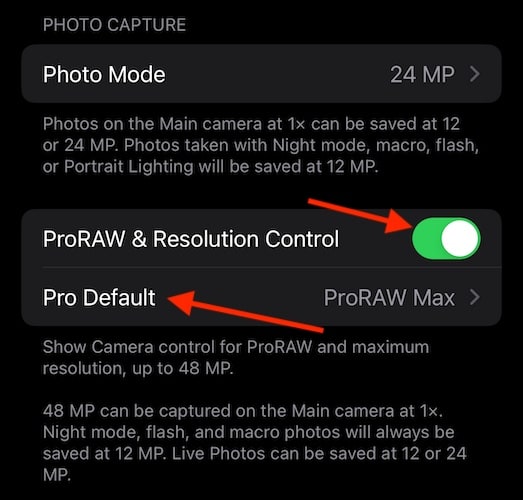
- Turn the ProRAW & Resolution Control toggle on.

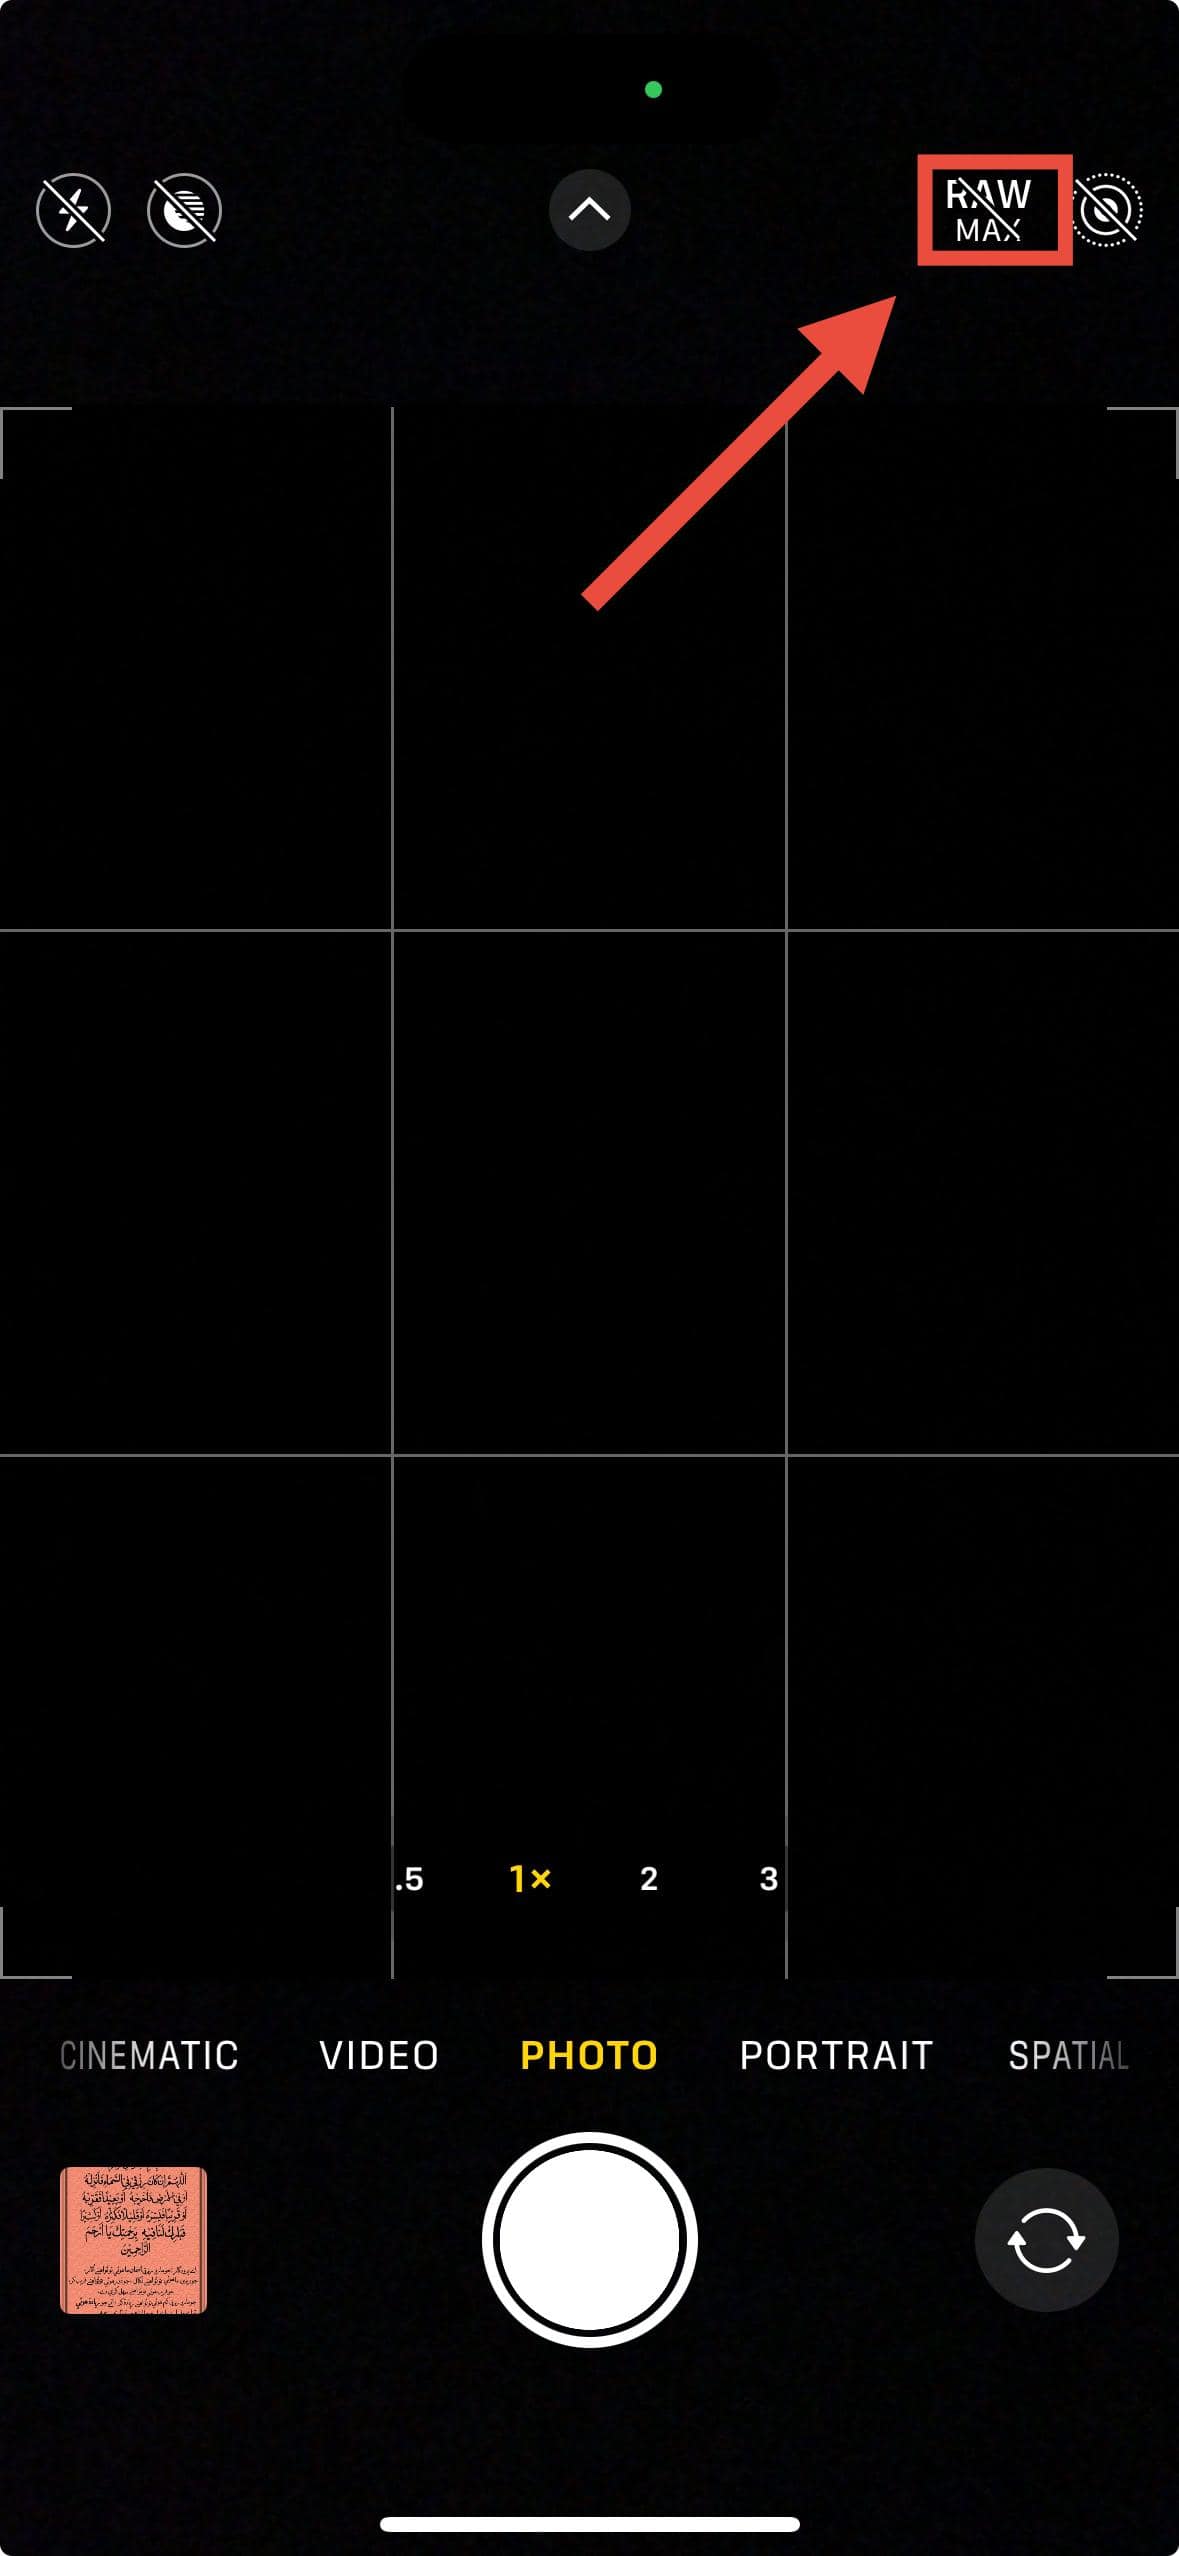
- Launch the Camera app. Tap the RAW Max button in the top-right corner to enable it.
3. Use a Third-Party Camera App
Auto-editing mainly applies to pictures taken with your iPhone’s default Camera app, so using a third-party app may give you more control.
The best iPhone camera apps let you capture high-quality photos that rival the built-in Camera app. Some, like Halide Mark II, even allow you to take macro shots on an iPhone without native macro support and shoot in RAW. You can also use the camera in Snapchat or Instagram to take pictures without auto-enhancement.
4. Turn Off Night Mode
When your iPhone detects low light, it automatically turns on Night Mode. If you’re capturing photos in a dark setting, the overly sharp and bright images are likely due to Night Mode rather than Deep Fusion. Try turning off Night Mode to see if it improves your picture quality.
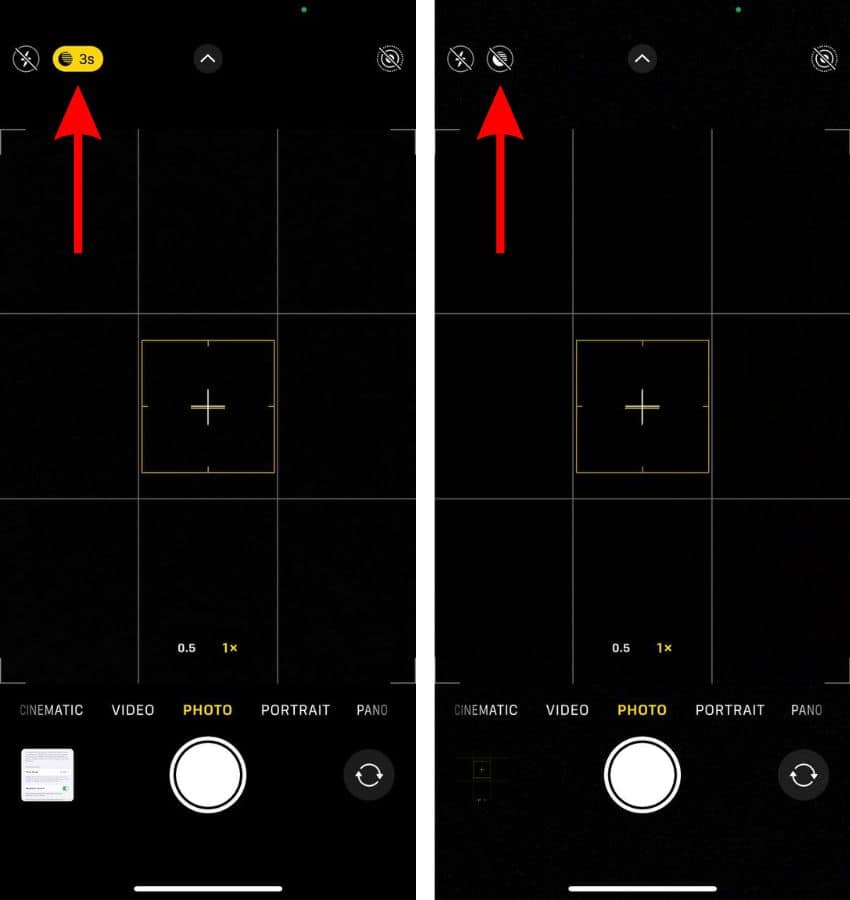
- Open the Camera app.
- Tap the Night Mode button next to the flash button in the top-left corner to turn it off.

5. Enable Prioritize Faster Shooting
Deep Fusion combines multiple shots to create the best possible photo. This entire process happens in a fraction of a second, so there’s no shutter delay. However, if you prefer to disable automatic photo enhancements, you should enable the Prioritize Faster Shooting feature.
When you turn on Prioritize Faster Shooting, your iPhone focuses on capturing the exact moment you press the shutter instead of optimizing for the best possible frame. This reduces post-processing and gives you a more immediate, unaltered shot.
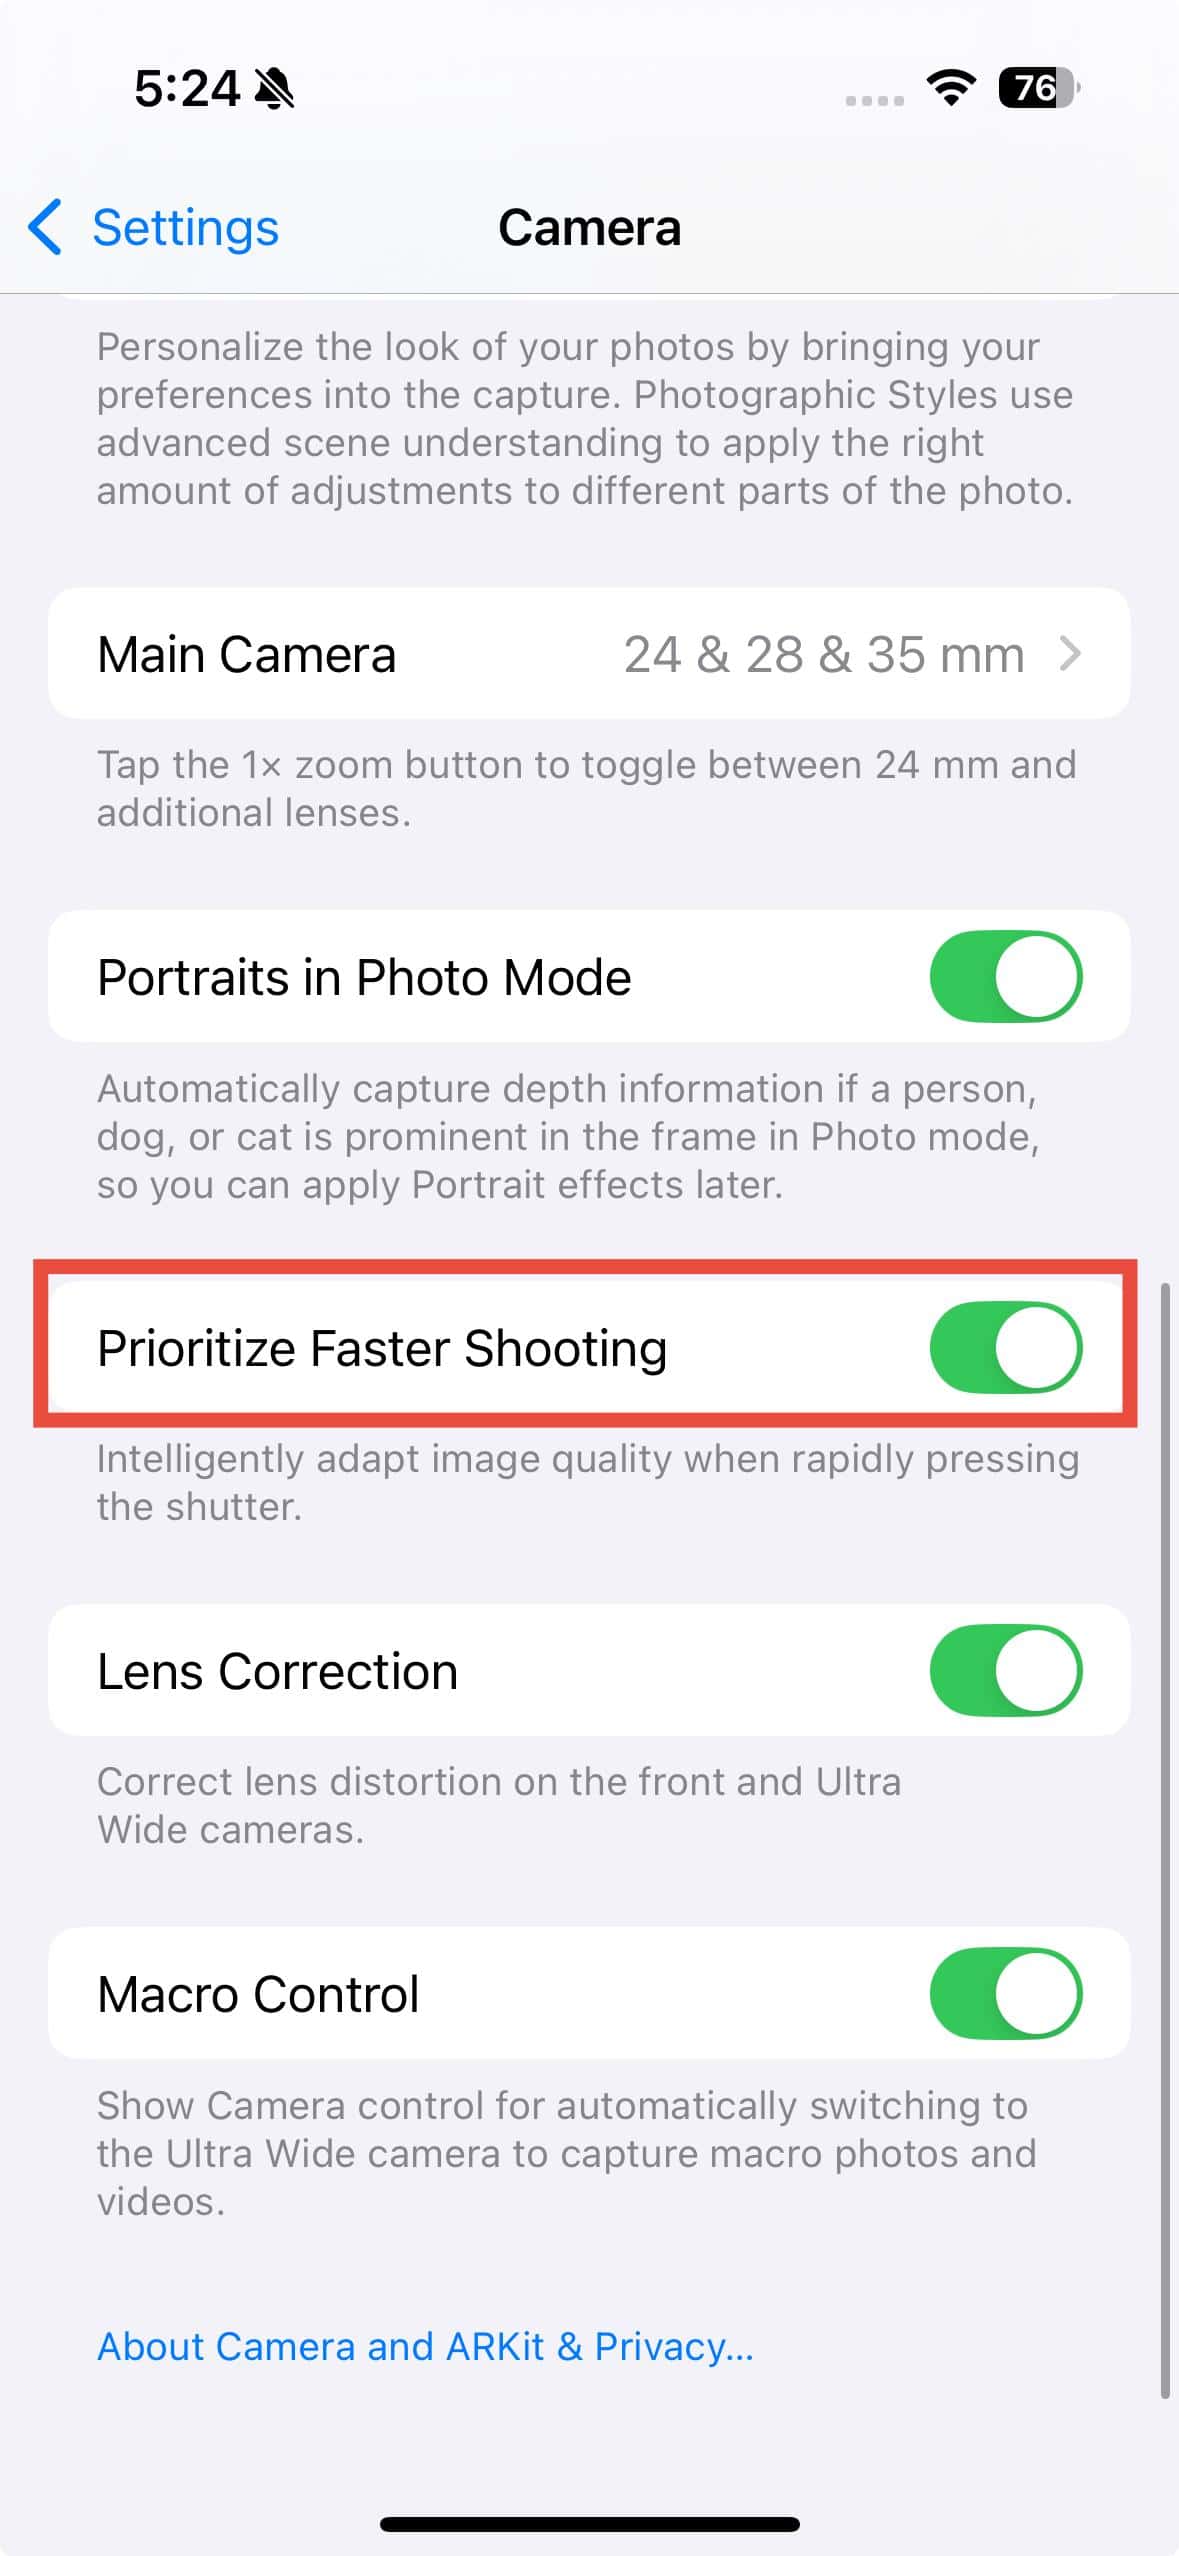
- Open the Settings app on your iPhone.
- Tap Camera and turn on the Prioritize Faster Shooting toggle.
6. Use Live Photos
When you capture images in Live Photo mode, they won’t be automatically enhanced. This allows you to access the original, unedited version of your photos with ease. You can also merge Live Photos to create a video. Here’s how to do it.
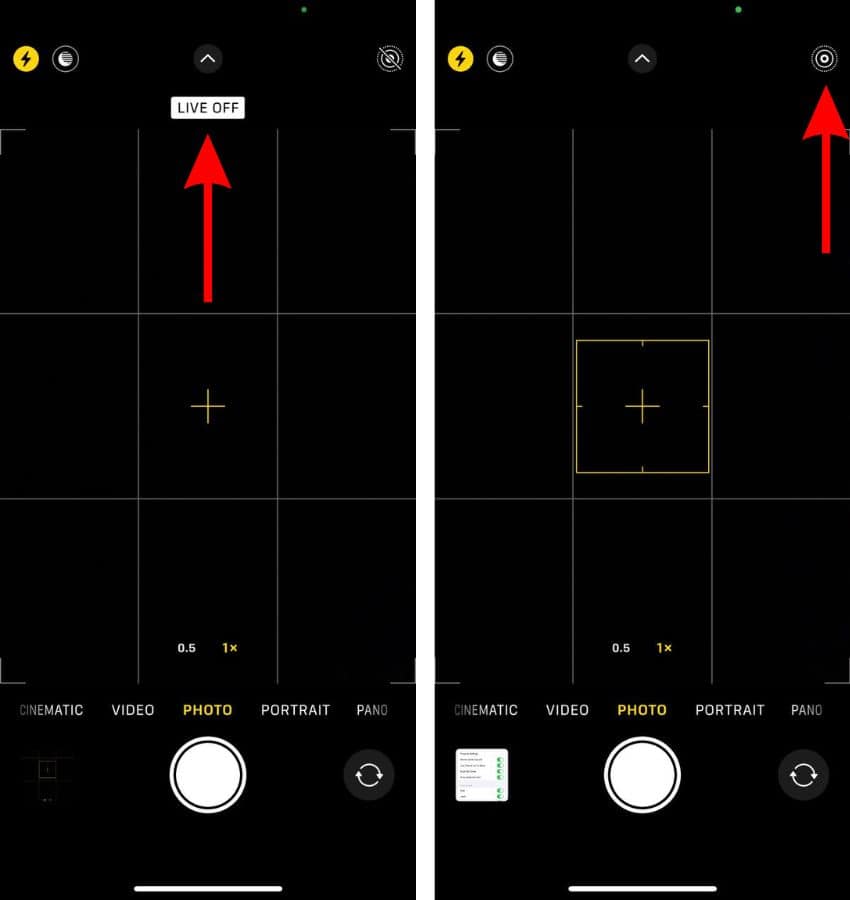
- Open the Camera app.
- Tap the Live Photo icon (top-right corner) to enable it if it’s off. Capture a Live Photo.
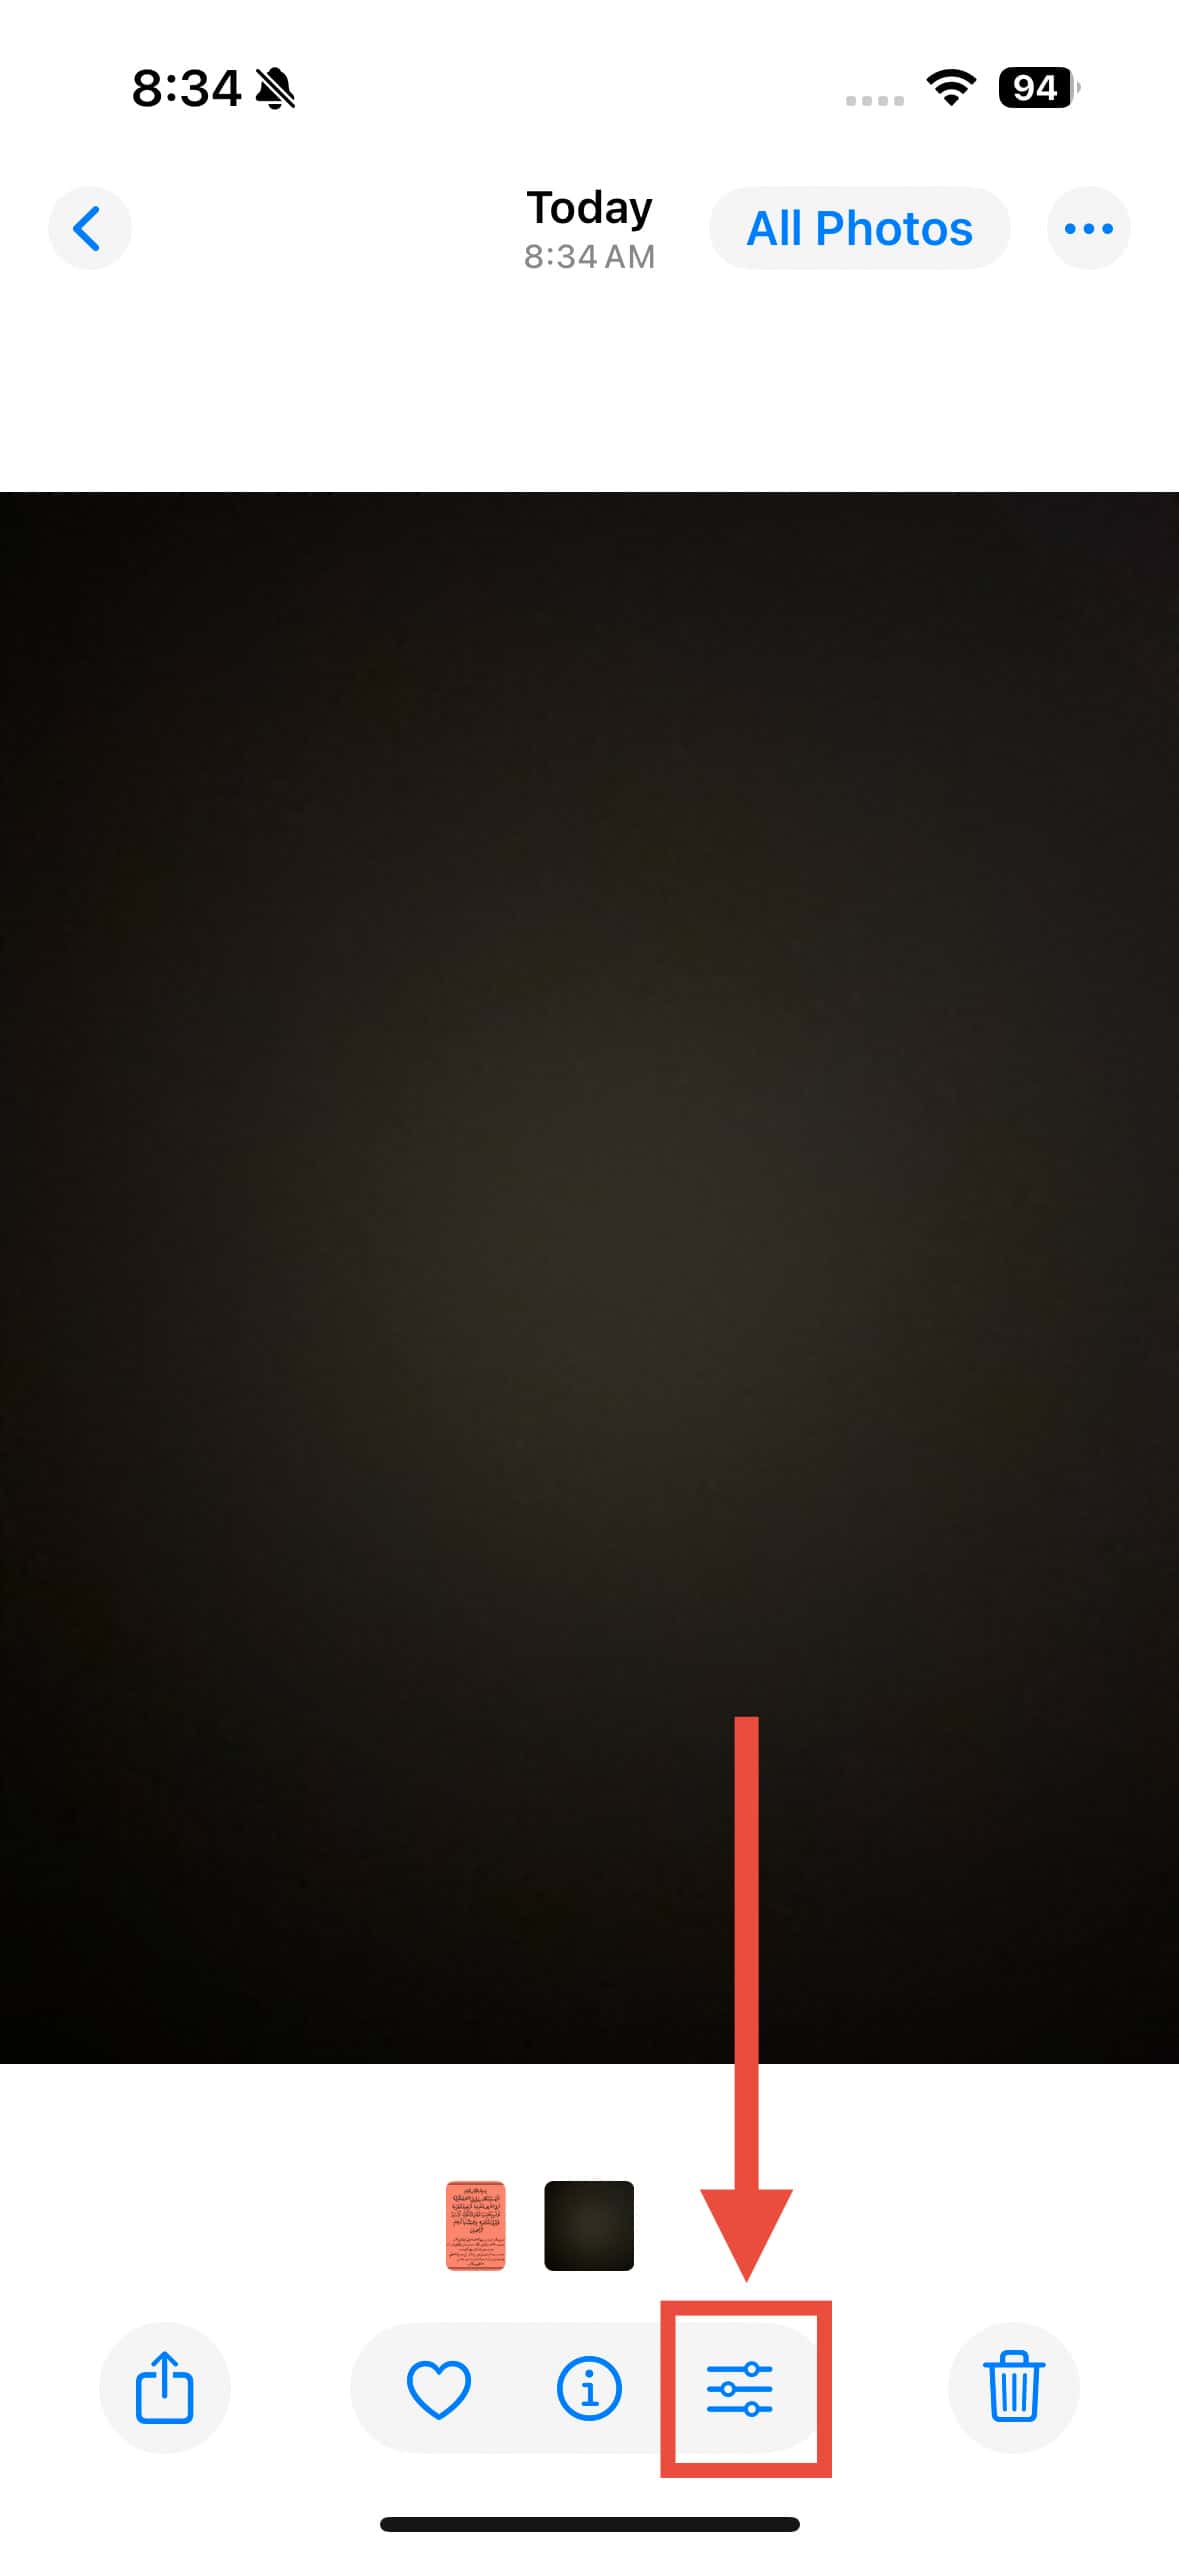
- Open the Photos app and select the captured image.
- Tap the Edit button.
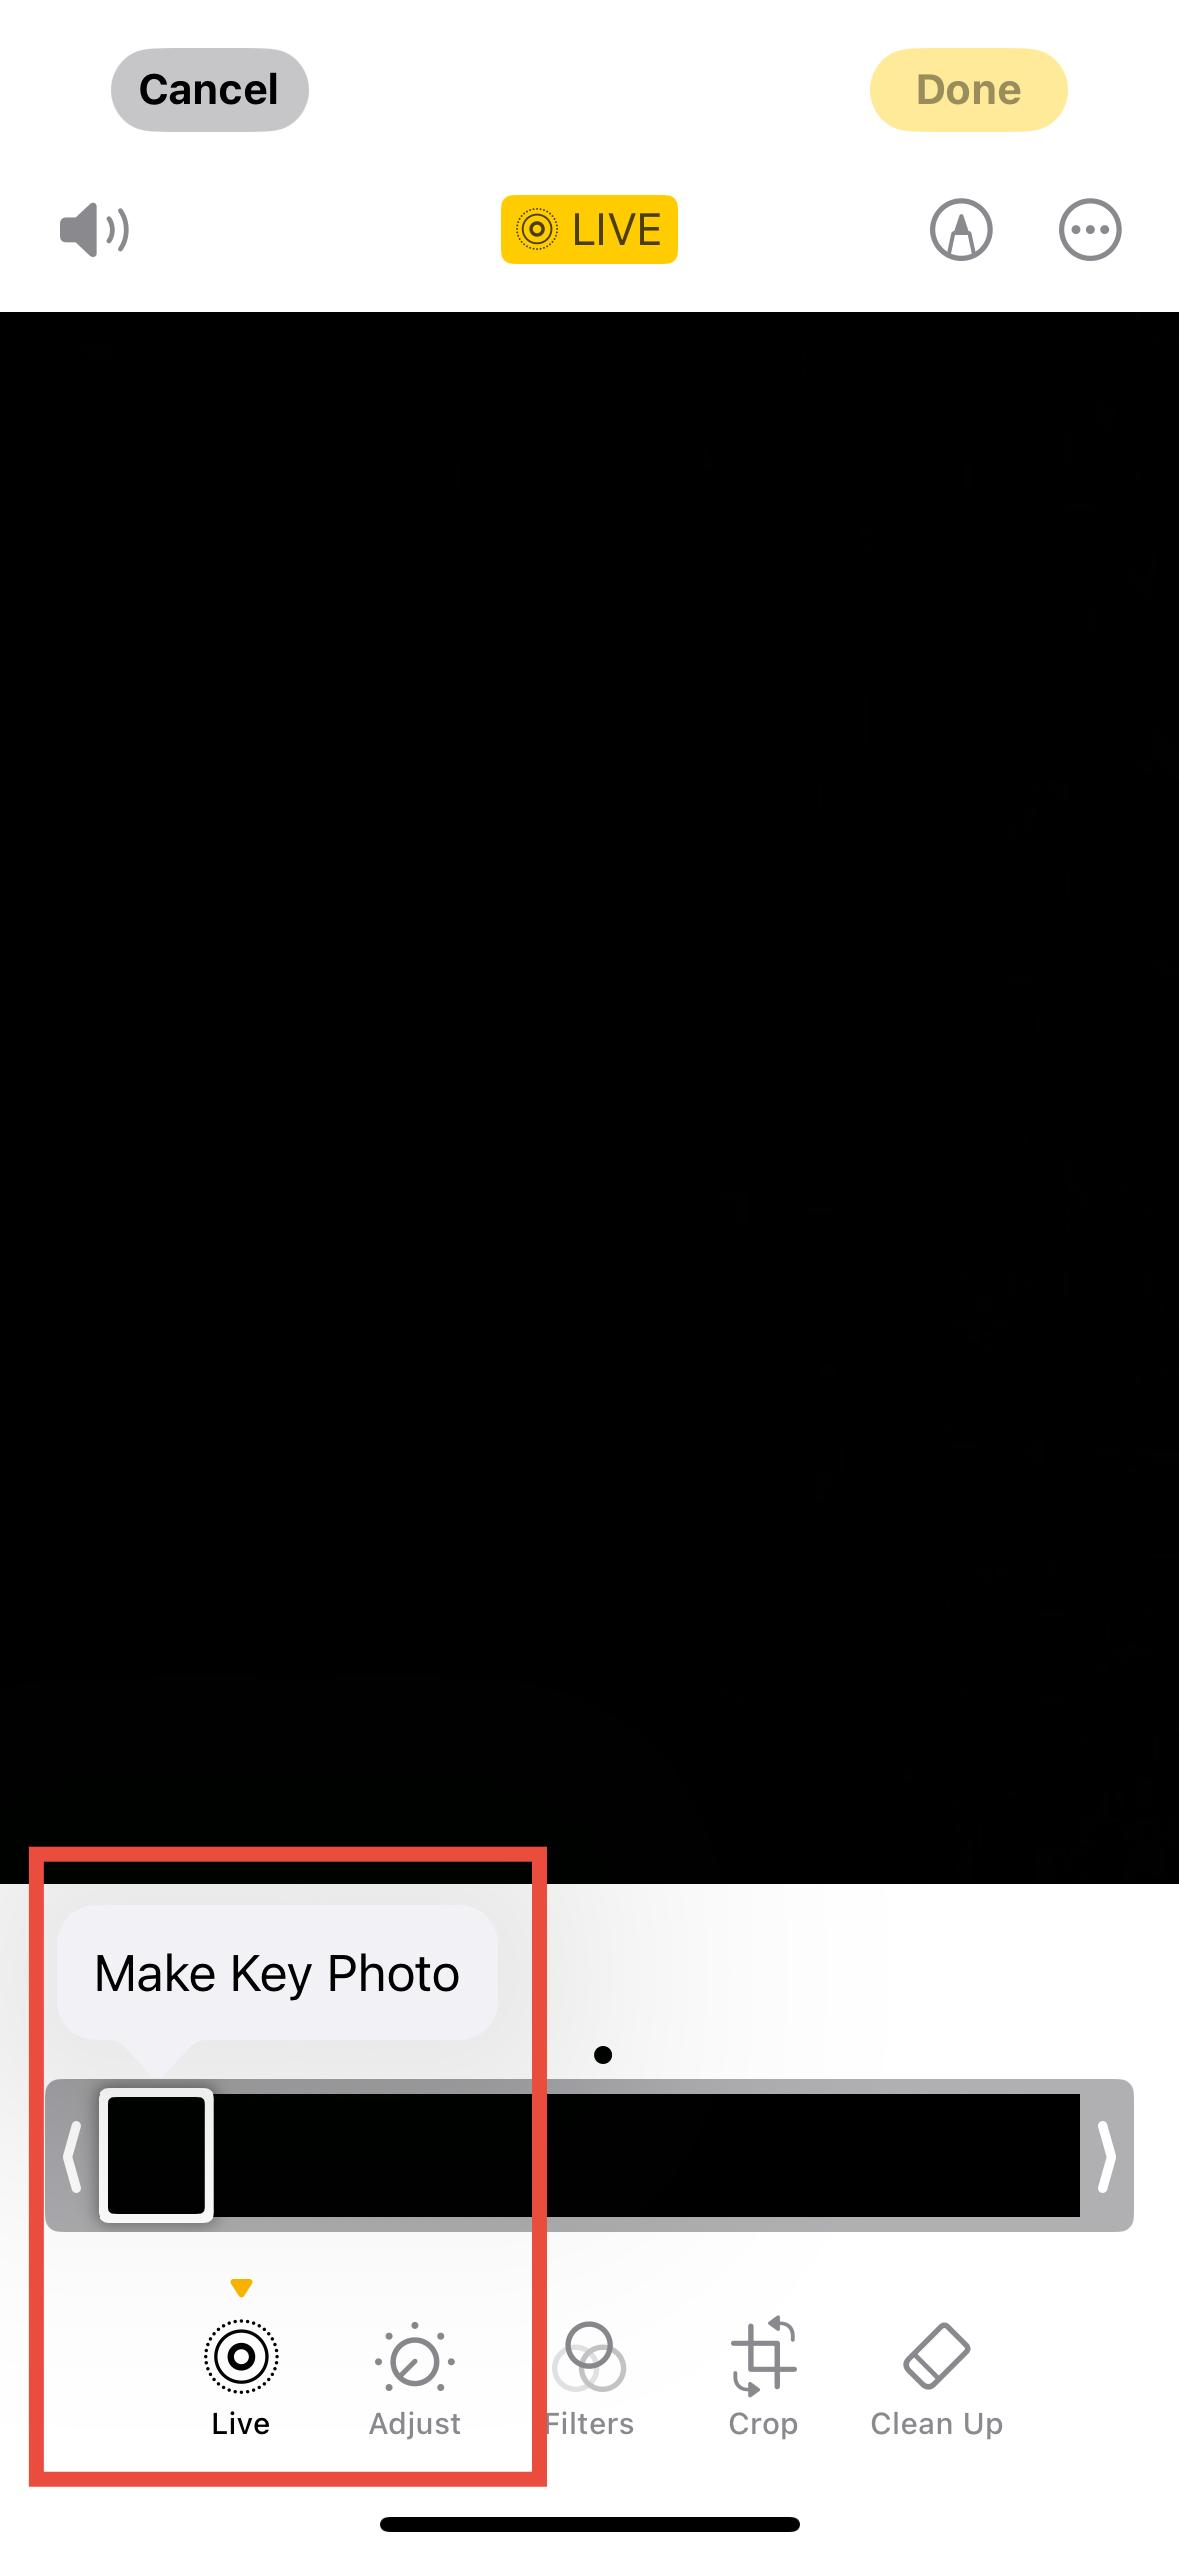
- Tap the Live Photo button (left side), swipe left or right on the frame slider to find your preferred frame, and then tap Make Key Photo to set it.