I wrote a tip last month about using Photos to create animated GIFs on your Mac, but if you wanna do the same thing on your iPhone or iPad, what’s the best way to go about it? Well, you’ll need to download an app, of course, but if you search for “GIF maker” on the App Store, you’ll only find about a billion of them.
Yes, literally a billion.
OK, I’m exaggerating a bit. But there are a lot.
What I’m going to be going over today, though, is how to use an app called Workflow to do the job. Why this app in particular? Well, because it provides a pretty awesome way to use automation with iOS, sort of like how the Mac’s Automator program works (and Workflow is still great even after Apple bought it and crippled it some). I think building your own little GIF app will give you a sense of pride and accomplishment that simply downloading one won’t.
What? It will. I swear. Try it out.
Anyway, to get started with this, first download Workflow from the App Store on your iPad or iPhone, of course, then when you open the app, you’ll be taken through some startup screens about what kinds of workflows you want to build and so on.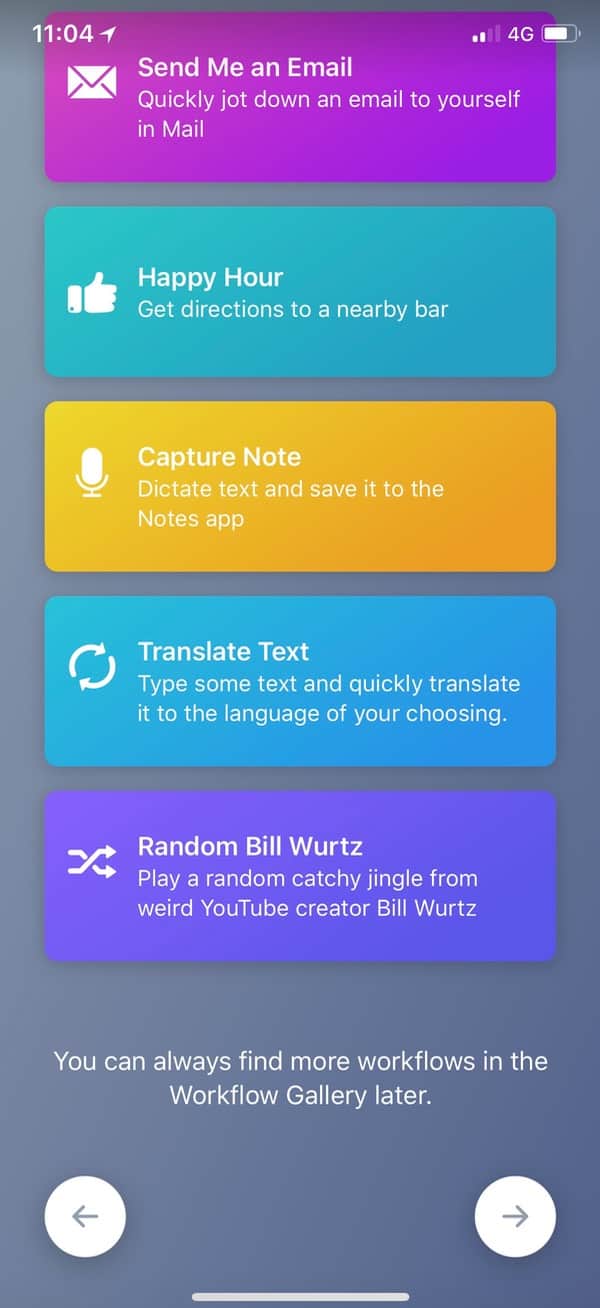
Yes, yes, I’ll walk through all your questions to get to where I can build stuff. Fine.
When you’re finished with that process, you’ll get to a screen with a plus button that’ll let you create your own automation…

…so touch that plus button to select which type of workflow you’d like to build, and then you’ll see this:
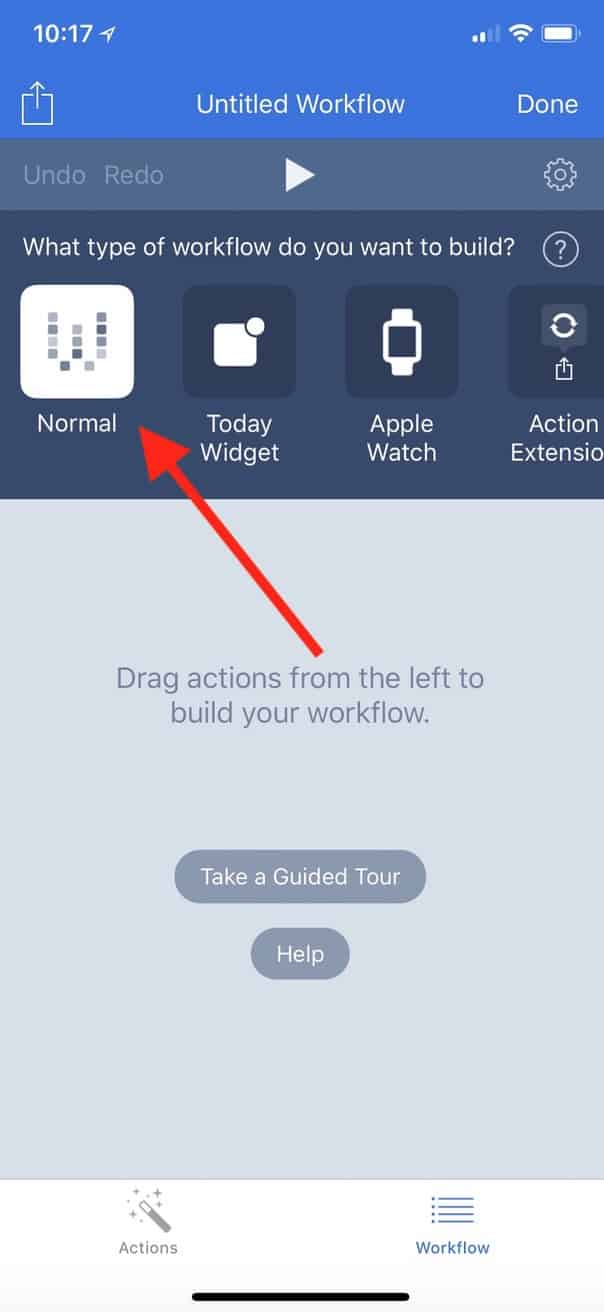
We’re going to create a “Normal” one for the purposes of this tip, but as you can see, you could also make other types; for more info on that, check out Workflow’s documentation on creating Today Widgets, Action Extensions, and Apple Watch workflows. But here with “Normal” selected, tap the “Actions” tab to start picking the pieces to build your app.
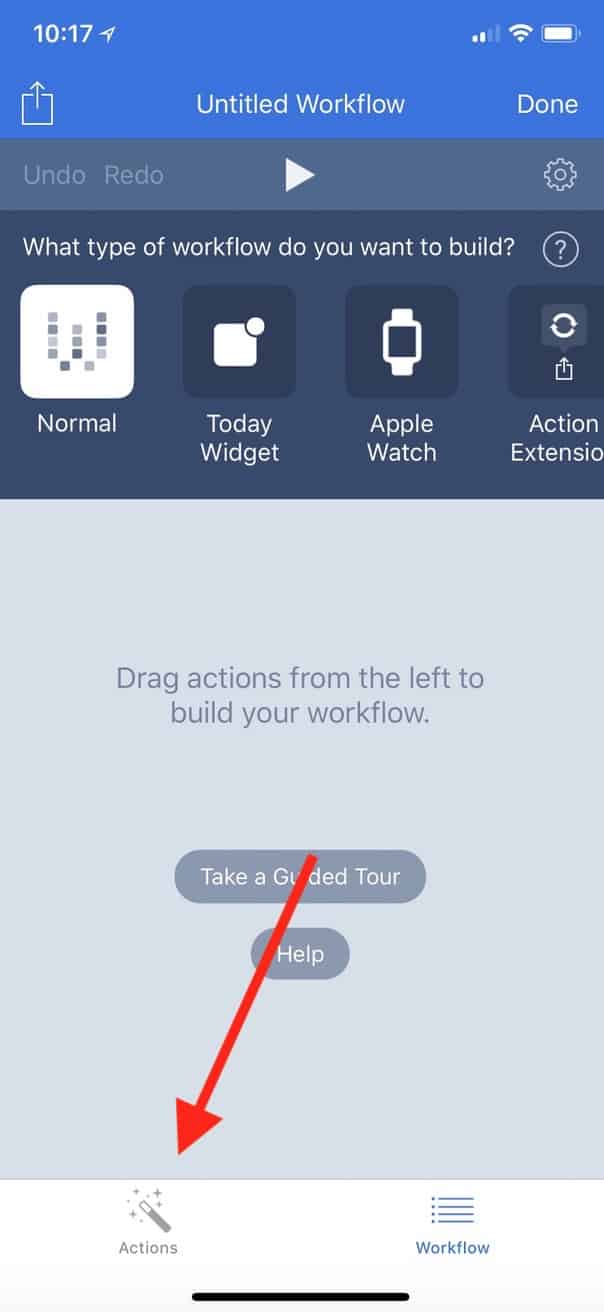
Once you’re within the “Actions” tab, you may note that you’re looking at the “Suggested” ones.
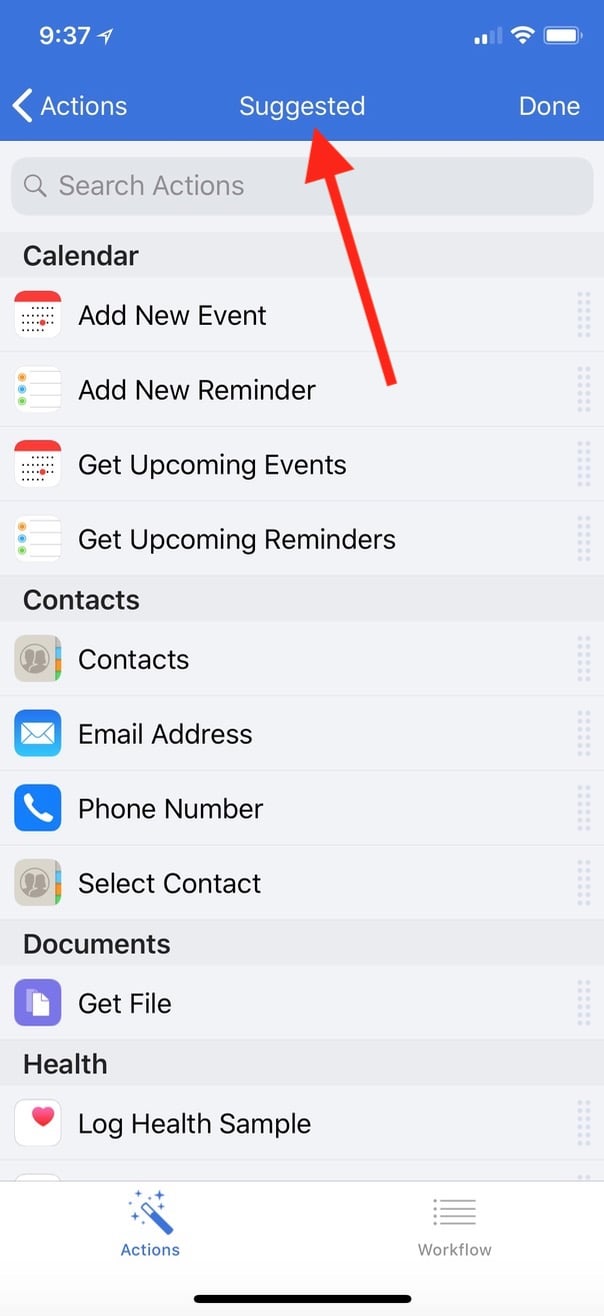
If that’s the case (and you can’t find the things I’m discussing below), just touch “Actions” to go back and view all available items.

Anyway, the steps we’re looking to add are under the Actions’ “Photos & Video” section…
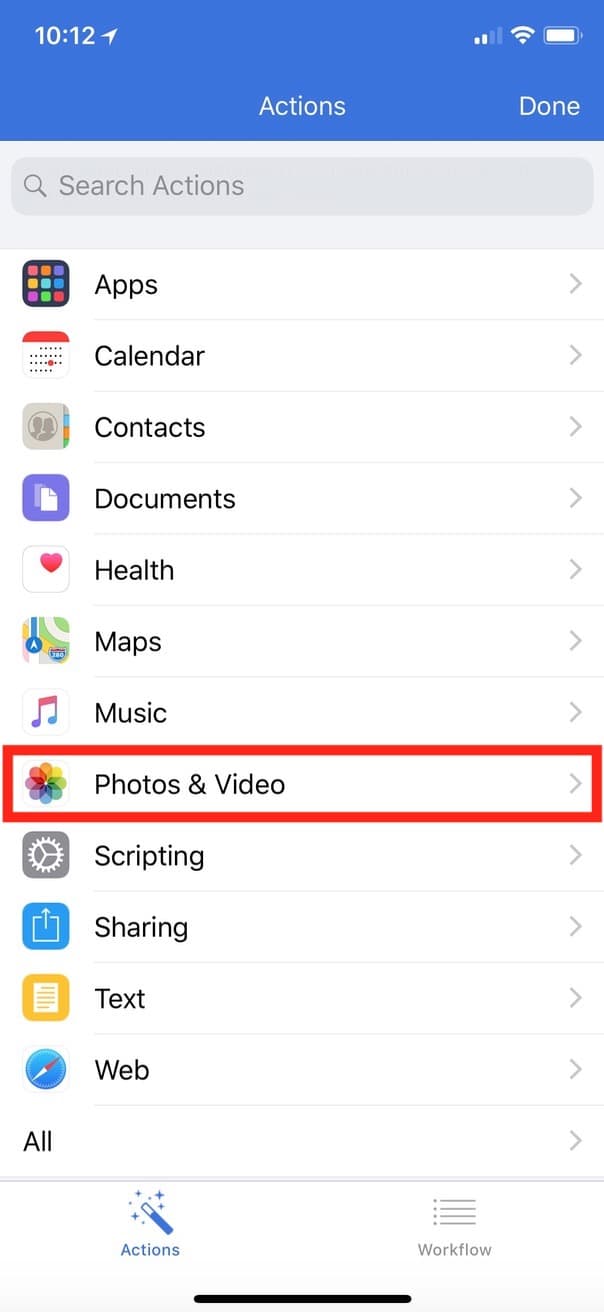
…and the three you’re going to want to add are “Select Photos,” “Make GIF,” and “Save to Photo Album.”
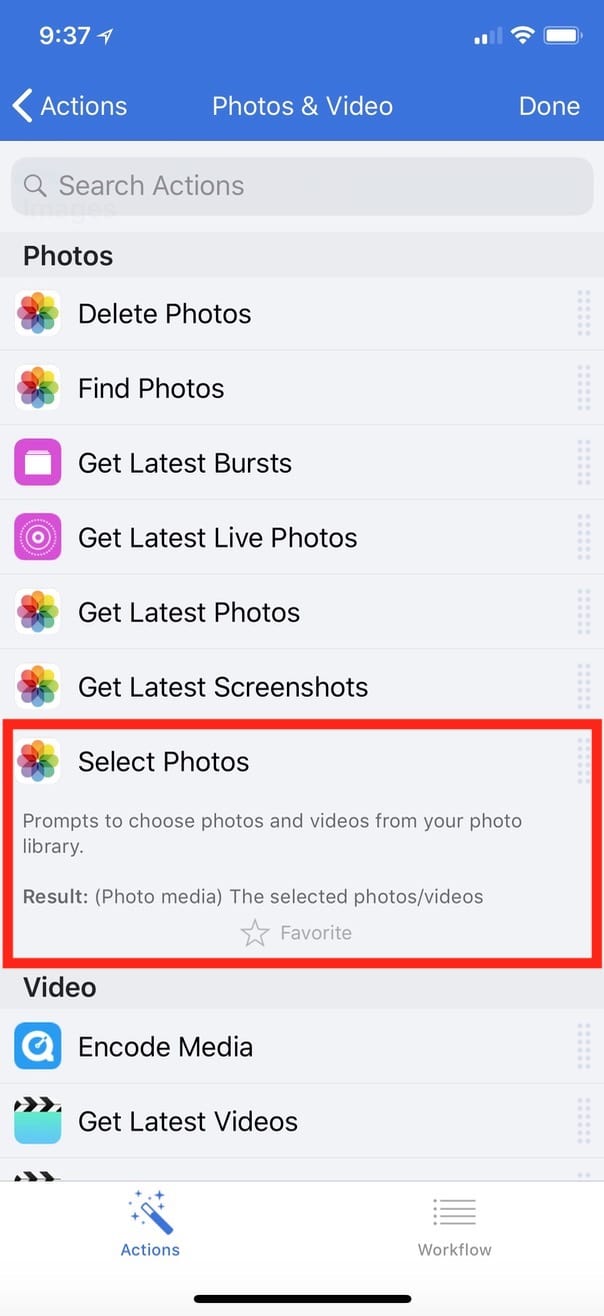
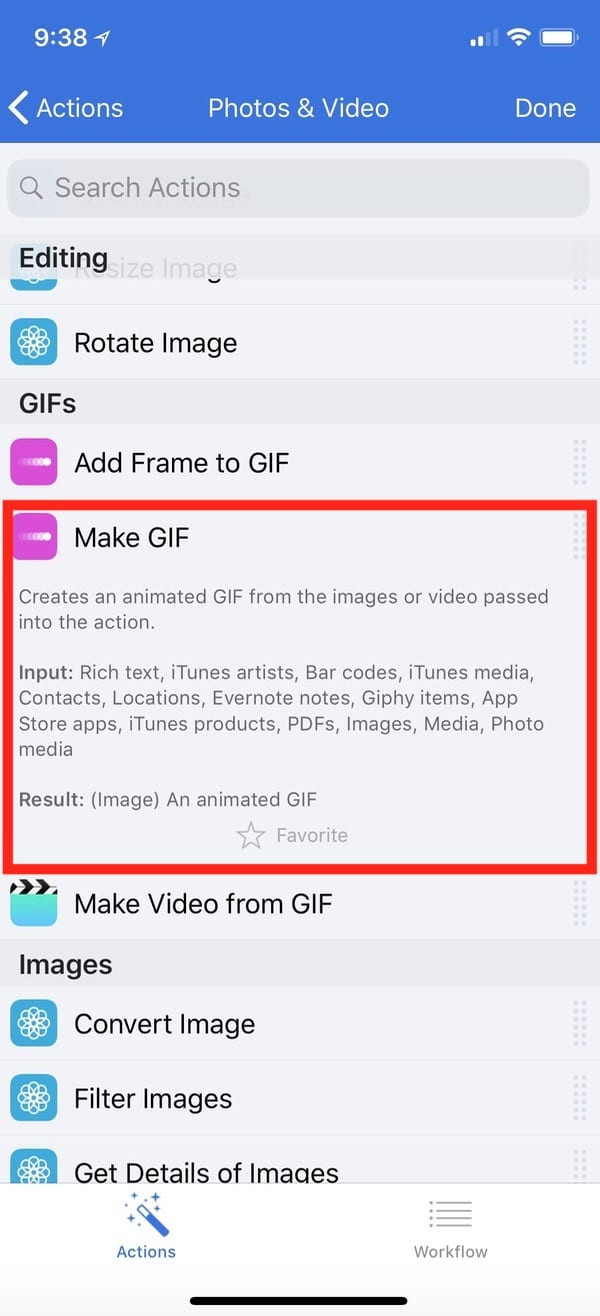
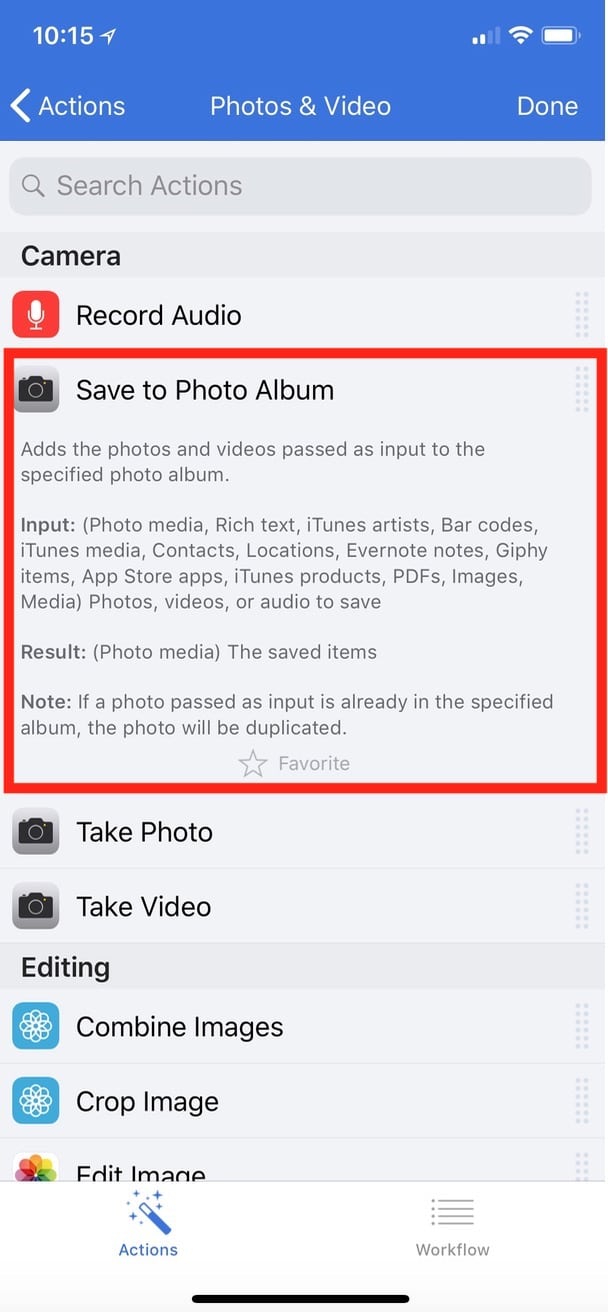
To input those steps, drag them in order from the left in the “Actions” tab across the screen to the right to pop them into the “Workflow” side, and you should end up with something that looks like this:

You can set these options any way you’d like; with “Select Photos,” you’ll want to make sure that “Select Multiple” is on, as GIFs aren’t very interesting with just one image! But you can turn the looping off if you want or adjust the amount of time each picture displays, say. Once you’re happy with your little app, touch the triangular play button at the top of the Workflow window to check your work and create a GIF using any images you select:
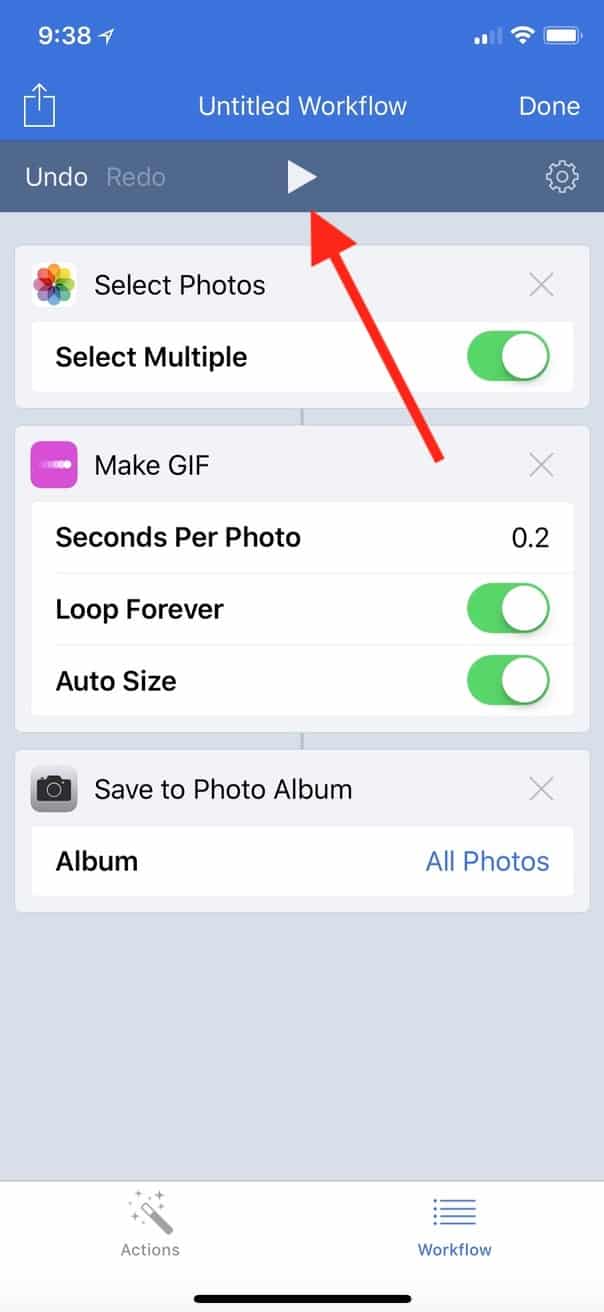
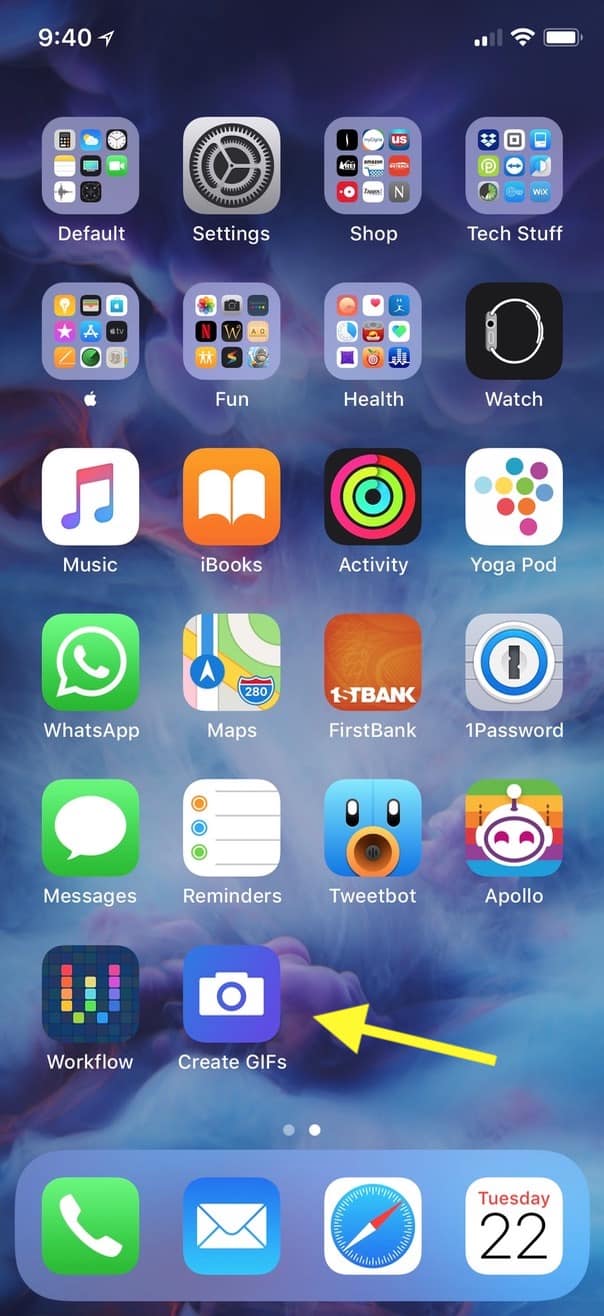
Afterward, you can go look in your Photos app to see the saved-out version of your GIF. Oh, and if you’d like to make an icon on your Home Screen for your new creation, do that by tapping the gear icon from your workflow’s screen…
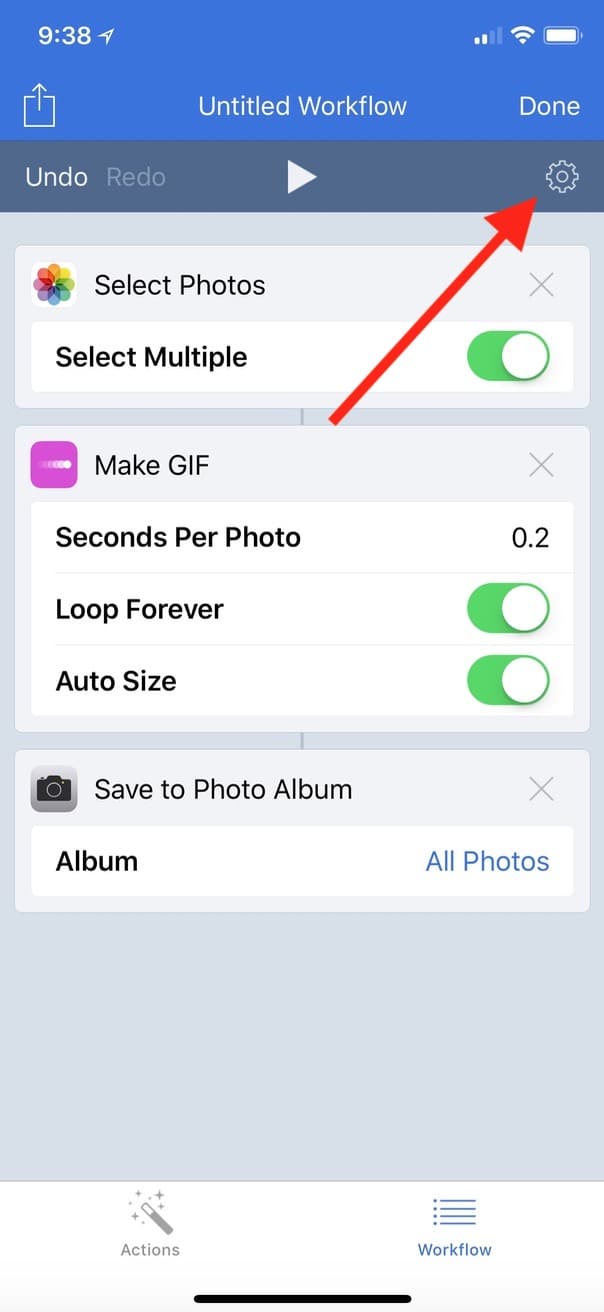
…and then give it a name and a custom icon if you want.
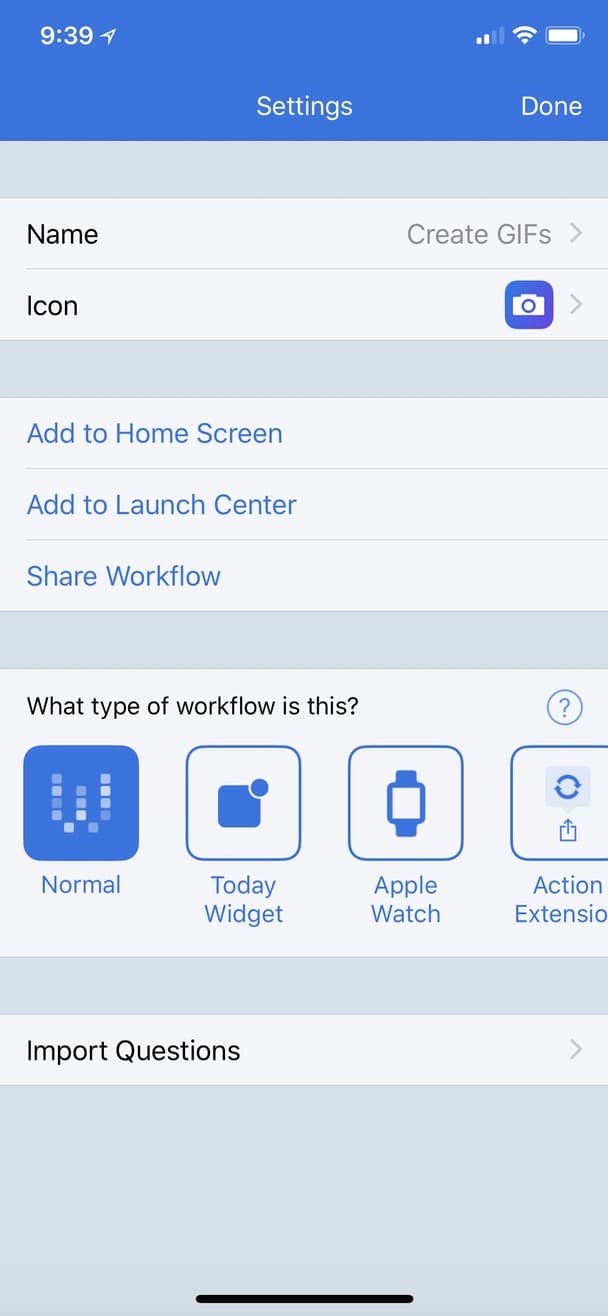
Touch “Add to Home Screen” there, and Workflow will walk you through the steps for doing just that.
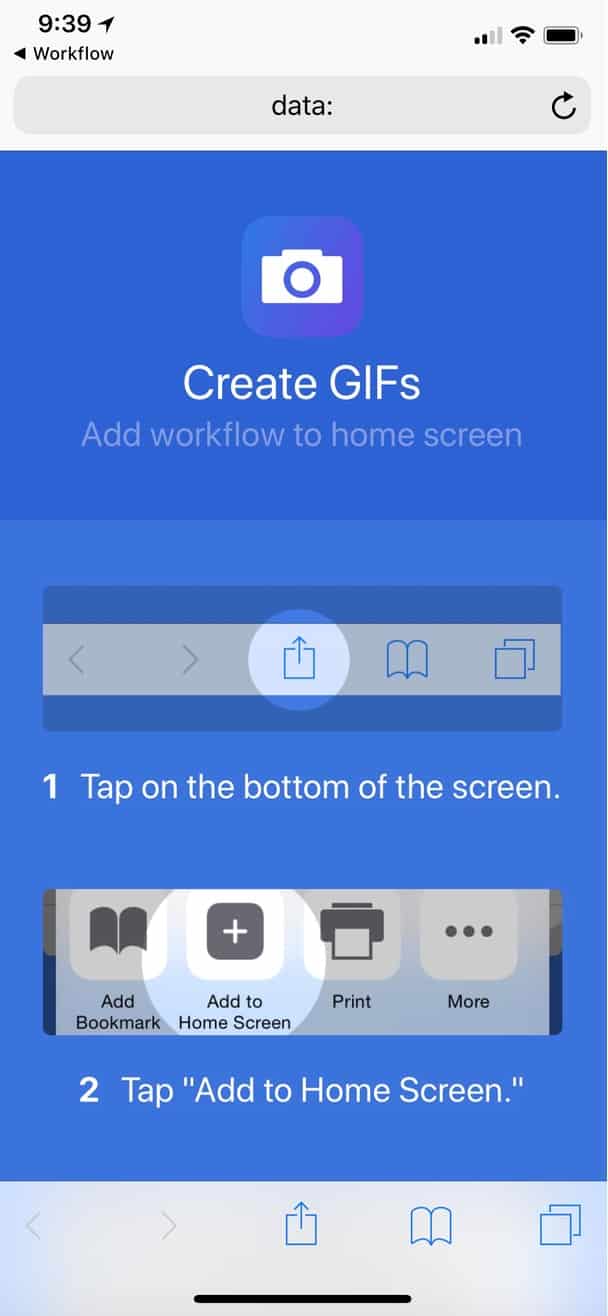
Success!
And hey, in case I didn’t impress upon you how nifty Workflow is, let me be clear: You should check it out. Even if you don’t have any programming knowledge at all, you could learn a lot just by playing around with this app and looking through its built-in gallery to see what others have made. For me, it’s at least somewhat more brain-stimulating than another round of That iOS Game That I’m Still Playing After All These Years. Yup.
