Dr. Mac’s Rants & Raves
Episode #299
macOS Mojave (a.k.a. version 10.14) was unleashed last week but I’ve been running pre-release versions since July (while I was writing macOS Mojave For Dummies). So… I’m intimately familiar with its best new features already.
Do This First
Before I tell you about them, however, I feel obliged to offer my usual instructions for installing major system software upgrades:
- Backup your startup disk.
- Backup your startup disk again.
- Test your backups by restoring a few files.
- Check your apps’ compatibility at roaringapps.com/apps?platform=osx/.
- Install macOS Mojave.
Now, without further ado, here are a handful of new Mojave features I think you’ll love, starting with my two personal favorites—new screen capture and Markup options.
New Screen Capture Options and Tools
In the past, capturing your screen required memorizing arcane keyboard shortcuts —Shift + Command + 3to capture the entire screen; Shift + Command + 4 to capture a selection; Shift + Command + 4 followed by the spacebar to capture a window or menu; press and hold the Control key while you click to capture to the clipboard (rather than to a file); and so on.
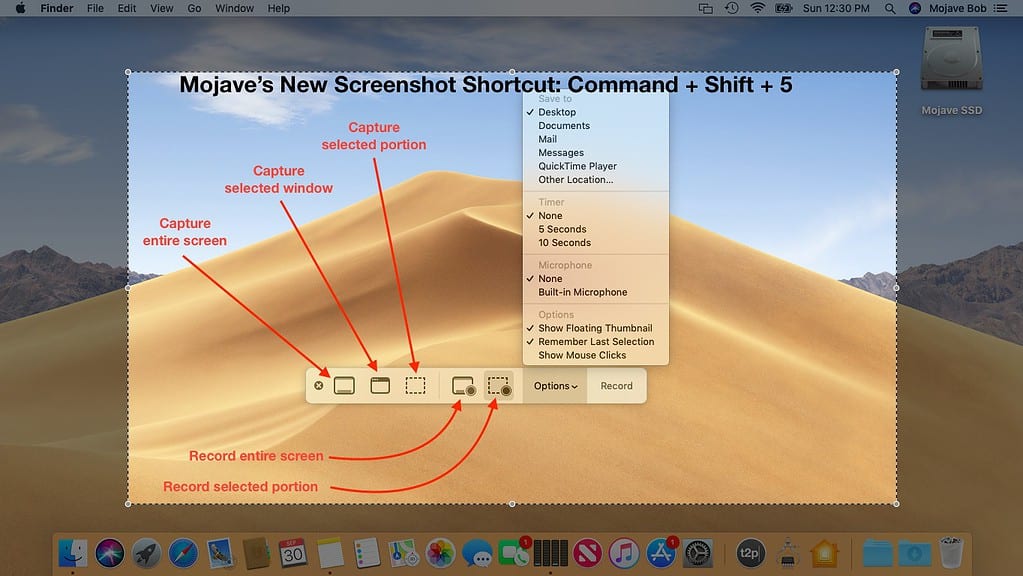
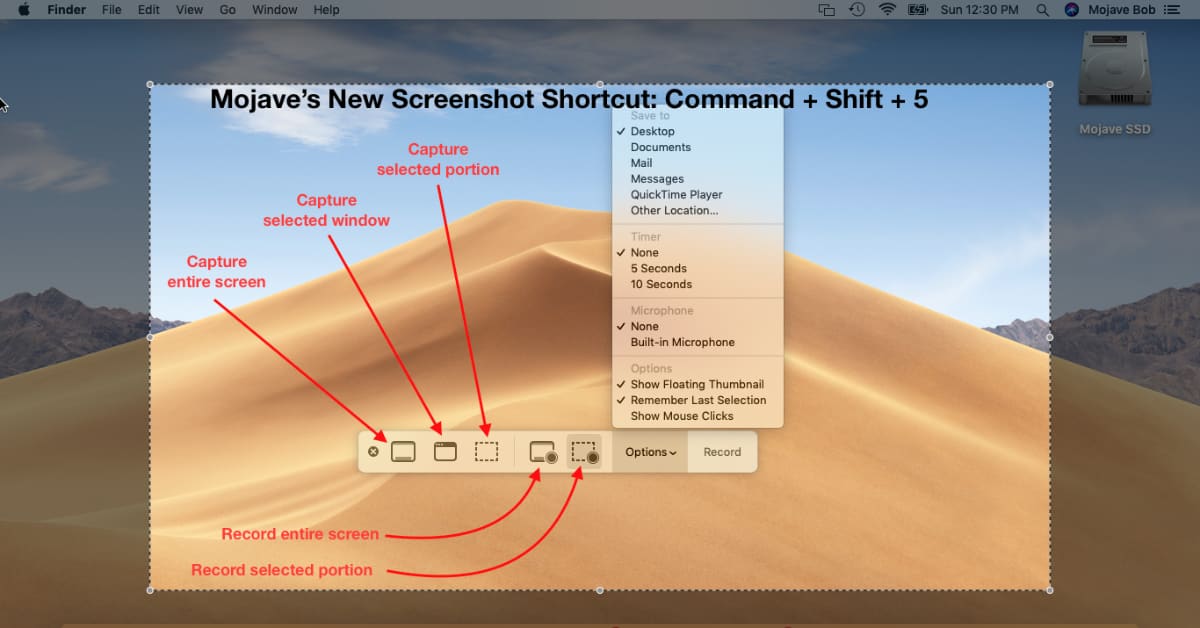
The good news is that while these shortcuts still work in Mojave, you don’t need to memorize them. Instead, just memorize Mojave’s one new shortcut to rule them all — Shift + Command + 5 — which offers those features and more including new screen movies; a 5 or 10 second timer; choose folder for automatic saves; and show or hide the mouse pointer.

Markup Tools Available (Nearly) Everywhere
In a related improvement, Markup tools are now available everywhere. Just look for the Markup icon — a pencil (or a marker) in a circle — which you’ll find in the preview panes of Mojave Finder windows, in Quick Look windows, and the new screenshot interface as well as in apps like Preview and Mail.

Click the Markup icon and you can add circles and arrows and text (and much more) to the selected document. For what it’s worth, all the annotations on the Command + Shift + 5 illustration above were created with Markup tools.
Smile, You’re on Continuity Camera
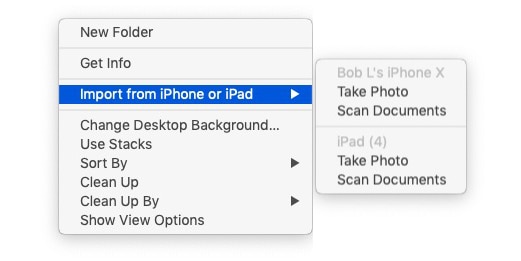
Another new feature I’m loving is Continuity Camera, which lets you use your iDevice’s camera to take photos or scan documents, which then appear on your Mac! It currently works in the Finder and many Apple apps that accept typed input (i.e. Pages, Keynote, Mail, Messages, Notes, and TextEdit to name a few). The easiest way to determine if it’s available is to right (or Control) -click in a document or on the Finder’s desktop. If Import from iPhone or iPad appears in the shortcut menu, select the iOS device you wish to use and choose Take Photo or Scan Document.

If you right- or Control-clicked in a document, the photo or scan will appear at the insertion point; if you right-clicked in the Finder, the photo or scan will appear on the Desktop by default.
I’ve already integrated these useful Mojave tools and techniques in my workflows, and they save me time and effort every day.

I never used the “arcane keyboard shortcuts”.
I used Grab – now replaced by ScreenShot – in Utilities.
Now you can memorize one keyboard shortcut and have all of Grab/Screenshot’s features instantly. ?