With iPadOS 13.4, Apple added support for mice and trackpads to give users more precision and control. But it’s a different experience than using a Mac, like how app icons have a little animation when you mouse over them. Here’s how to change mouse settings on iPad.

Mouse Settings
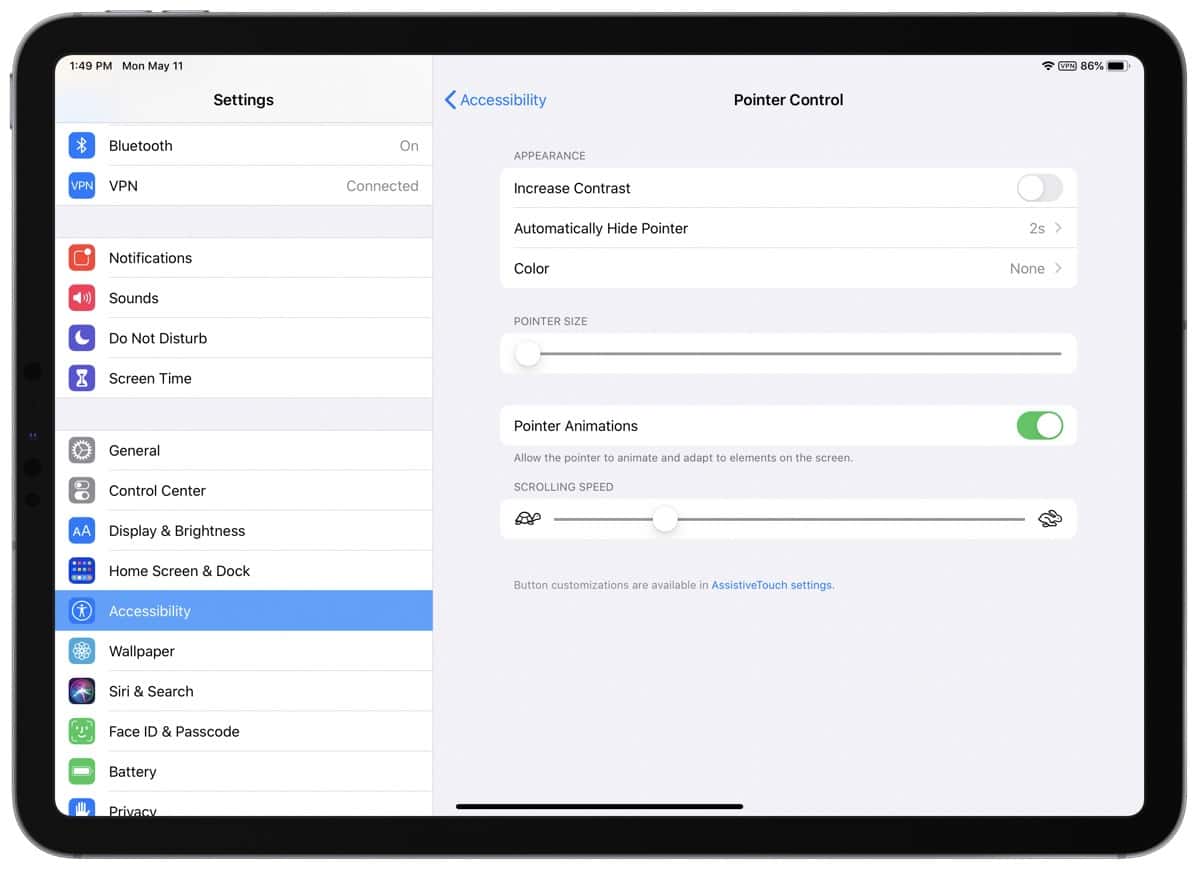
Apple chooses to keep mouse settings in the Accessibility section of Settings, so if you’ve tried digging around in settings in search of this, you’re not alone. Just go to Settings > Accessibility > Pointer Control. Pointer Control will only appear when you have a Bluetooth mouse or trackpad connected to your iPad, so be sure to do that first. Here are the options:
- Increase Contrast
- Automatically Hide Pointer after a certain amount of time. You can also turn it off so it won’t hide.
- Color: You can change the color of the cursor. It will appear as a colored border around a gray center, and you can control the thickness.
- Pointer Size
- Pointer Animations. This disables the cursor animation that makes it morph around UI elements on the screen. You’ll still see some animation, like app icons “jumping” to look bigger, but somehow this is a still less annoying when the cursor doesn’t morph.
- Scrolling Speed
At the bottom of these options you’ll see text that says Button customizations are available in AssistiveTouch settings.
Button Customizations
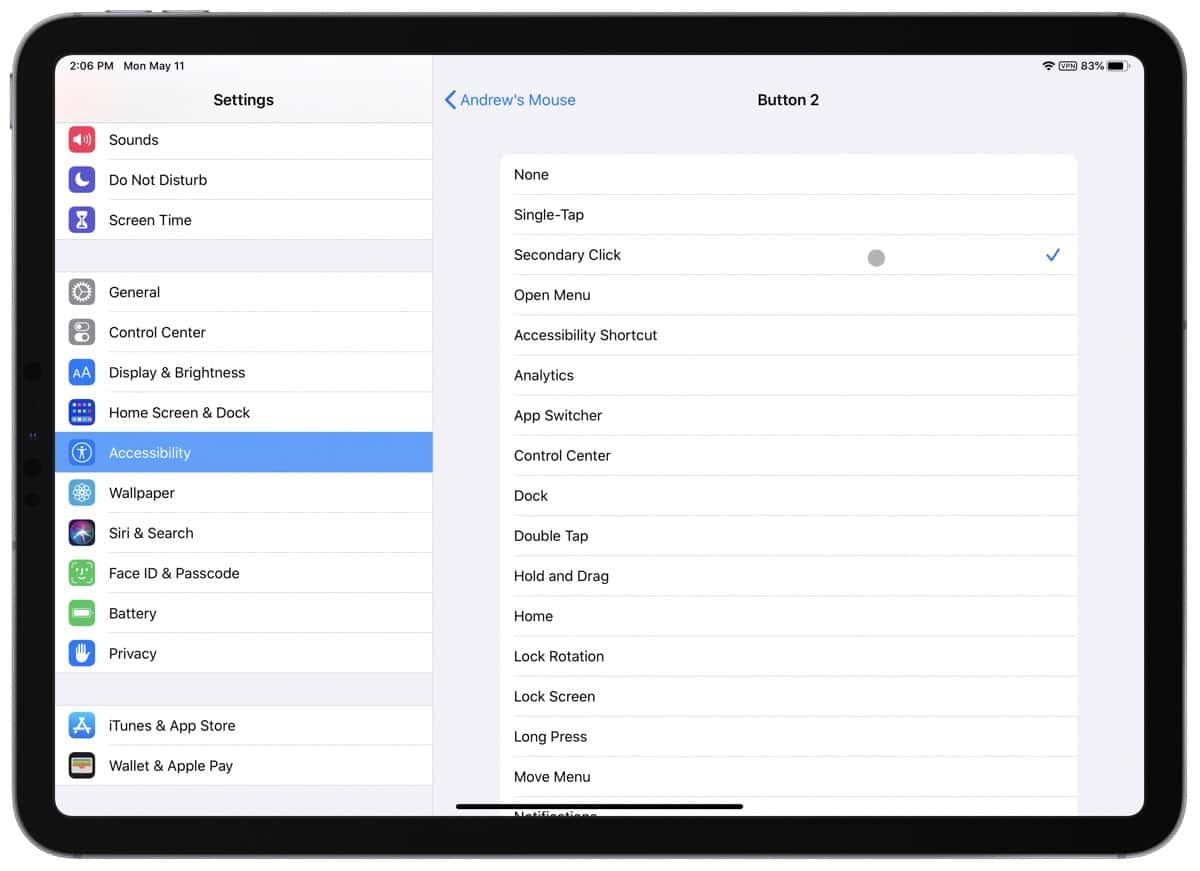
To start customizing buttons on your mouse, just click on the AssistiveTouch settings above. Or, go to Settings > Accessibility > Touch > AssistiveTouch. Turn AssistiveTouch on at the top, then scroll down to find Devices. This is where you can change what the mouse buttons do when you click on them.
For example, instead of having the second button do a right-click, you can change it to show the Dock, show the app switcher, and a whole list of other options.

Further Reading
[How to Change Your Apple ID Email and Create an Email Alias]
