My family knows that I like to create movies, so it was no surprise when my sister sent me a 2.25 hour video of a recent event she participated in and asked me to create a much shorter video she could share on social media.
To do it right, I’d watch the 2.25 hour video several times, marking her scenes and making notes. Then I’d watch her scenes several times and cull out the best moments. Eventually I’d assemble the best parts of the best scenes and add transitions and titles and save a rough cut.
The Easy Way
I’d love to do that (and I probably will someday), but it means finding several days for editing and polishing. I don’t have time for that now, so I turned to iMovie’s best-kept secret, Trailers, and created a short, super-professional-looking movie trailer in less than two hours.
She loved it and it couldn’t have been easier. If you’ve never tried making a Trailer with iMovie, here’s a quick lesson:
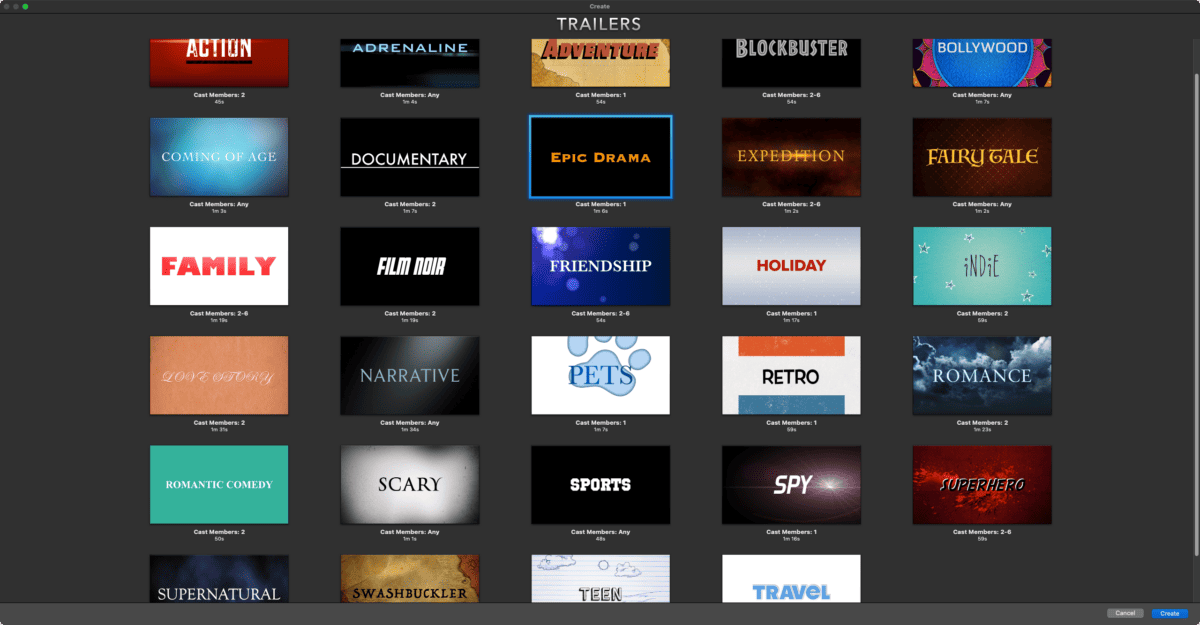
Launch iMovie and choose New Trailer in the File menu (shortcut: Command+Shift+N). The Create a Trailer screen appears with dozens of templates such as Action, Adventure, Bollywood, Epic Drama, Documentary, and more.

Click the triangular Play/Pause button (not shown above) to preview a template, then select the one you prefer and click the Create button.
How Creating iMovie Trailers Works
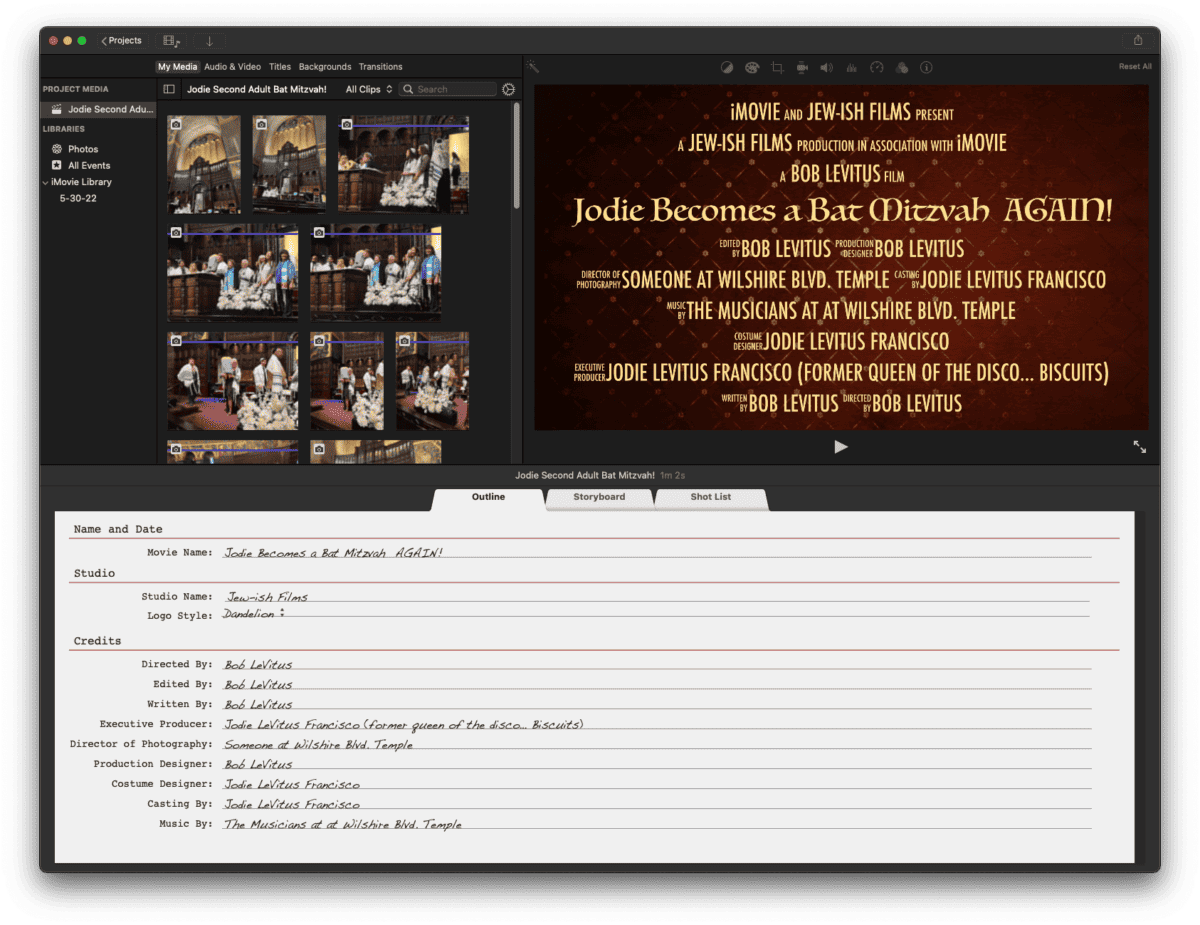
The top half of the Trailer window displays your media top-left and a viewer/editor/previewer top-right. Below that are three tabs —Outline, Storyboard, and Shot List—used to customize the template.

The Outline tab (shown above) is text-only and lets you add a movie title, studio name logo, and names for the credits.
The Storyboard tab displays proxy images with a suggested shot type for that clip —Closeup, Action, Group, Wide, Medium, and so on. It’s also where you can edit the on-screen text (or not—some templates work nicely even if you don’t change a word).
Finally, the Shot List tab displays proxy images, too, but this time without text and with the proxies grouped by shot type and number needed (i.e. Action – 3 clips; Closeup – 6 clips) for your convenience.
Once you’ve replaced all proxies with clips of your own, and you’ve edited onscreen text (if necessary), click the Play button under the viewer panel to preview your trailer. Fine-tune, preview, and repeat. When you’re satisfied, choose Share to export your masterpiece to a file, an email, YouTube, or Facebook.
Try Trailers—They’re Fun and Easy!
I love iMovie Trailers and have made at least a dozen over the years, and everyone loves them. Give it a try—it is easy and the results are usually breathtaking.
I have one final tip: Master the “Ken Burns effect” (look it up in iMovie Help) if you want your trailers to look even slicker and more professional.
