Is your touch screen not working after the latest iOS 17 update? I faced the same a few days back, and hundreds of other users have since the update. If you haven’t yet updated your iPhones, you might want to wait this one out.
I have created this short guide to help you fix this error. Let’s check them out below.
How to Fix Touch Screen Not Working on iOS 17/17.7
The iOS 17 update has been buggy. Not only have users faced touchscreen issues but also multiple other problems, no cellular service, Bluetooth not connecting, and so much more.
Here is what you can do.
Quick Tip:
If you want to try a quick method of fixing the Touchscreen not working error on your iPhone, I suggest a handy repair tool. For example, Reiboot software can repair such issues with the Standard repair button, and when it completes the process, it will automatically restart your iPhone and go back to normal without any data loss.
1. Force Restart
If your touch screen is not working in iOS 17, then you need to do a force restart. Any normal restarting of the device will not work.
Time needed: 5 minutes
Here is how you can do this.
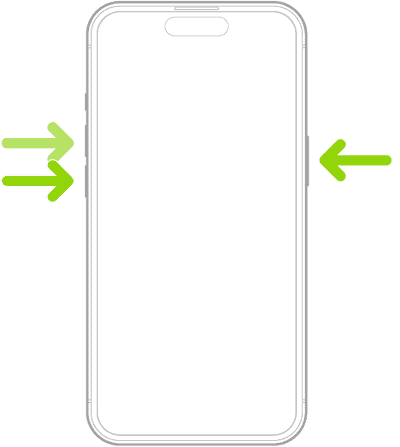
- Press and release the Volume Up button.
- Press and release the Volume Down button.
- Press and hold the Power button on the side.
- Release it when you see the Apple logo on the screen.
The iPhone will restart, and the screen should now return to normal.
2. Recovery Mode Update
If the force restart did not work, you must follow the Recovery mode update. This seems to have been recommended by Apple experts as well, and it does work.
This update process typically reinstalls the operating system, and you can restore your data from the backup. However, if you do not have a recent backup, there will be no way of getting them back once you follow these steps.
Let’s look at the steps below.
- Make sure your MacBook’s software is up-to-date.
- Plug in your iPhone to the MacBook.
- Then, open Finder from the dock.
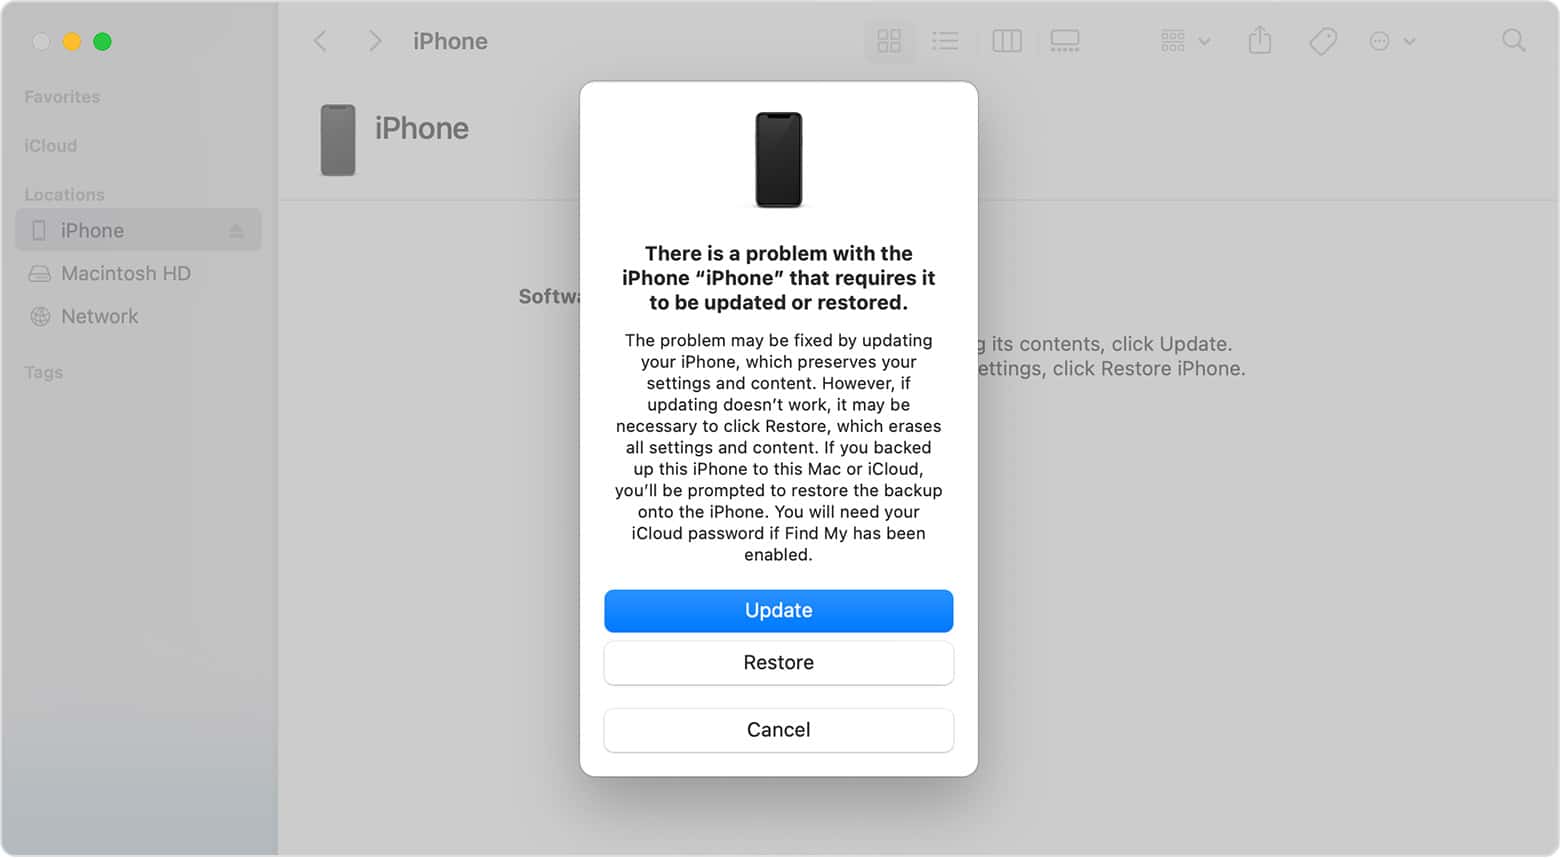
You might see the error message “Your Mac has detected an iPhone in DFU mode. You must restore this iPhone before it can be used.” This is why your screen has been unresponsive after the update.
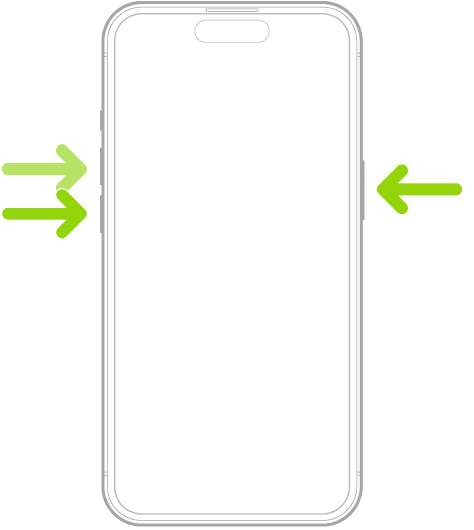
- To put the device in Recovery mode, use the force restart steps. Press and release the Volume Up button. Press and release the Volume Down button. Then press and hold the power button till you see Connect to the computer screen.
- Select your device on the left sidebar.
- Then, choose the Update option if available.
- Once the update finishes, your device will restart and be ready to use.
- If the update does not work, you must Restore it, removing all the data from the system, as mentioned above.
Once the device is restored, you can back up all your data.
3. Visit the Apple Support Center
Lastly, you can try visiting the Apple service center. Many users have done the same and were given the option to get their devices replaced.
The experts told one of the users who got his device diagnosed, “It seems like something went wrong with the update while installing and confused the phone into thinking the update was done, but it wasn’t, and that caused the issue.”
Hence, get your appointment with the Genius Bar if none of the above methods work for you.


