
Hitting the trails is a fantastic way to immerse yourself in nature, get some exercise, and disconnect from the daily grind. But before you set off with boots laced and your backpack prepped, it’s important to plan your hike properly. You’ll need to know the distance, elevation gain, and estimated completion time to prep the right gear. Otherwise, you might end up underpacking.
Here’s the good news for iPhone, iPad, and Mac users: Apple Maps in iOS 18, iPadOS 18, and macOS 15 is getting a hiker-friendly upgrade. Instead of juggling multiple apps, you can now plan your entire hike directly within the native Maps app. Here’s what you need to know.
How To Plan a Hike on Apple Maps
Time needed: 1 minute
- Open Maps on your iPhone, iPad, or macOS.

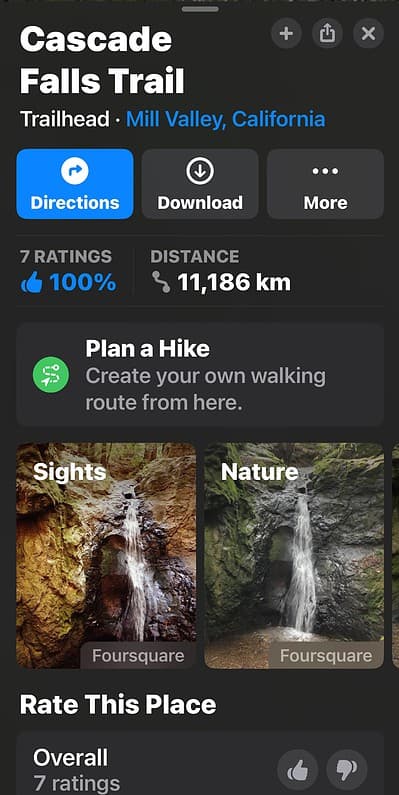
- Look up the national park or trail that you’re visiting and hit Trailheads (if available).
- Next, select Plan a Hike and then set your route on the map.

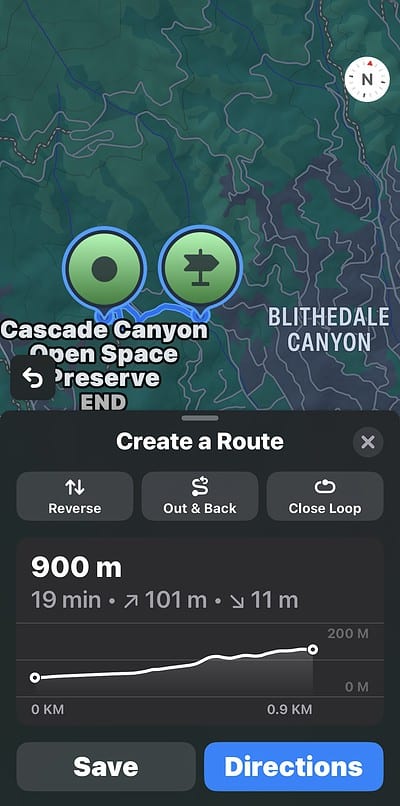
- View the distance, directions, and trail completion time of your designated route.

- Afterward, select Reverse, Out & Back, or Close Loop to finish your trail.
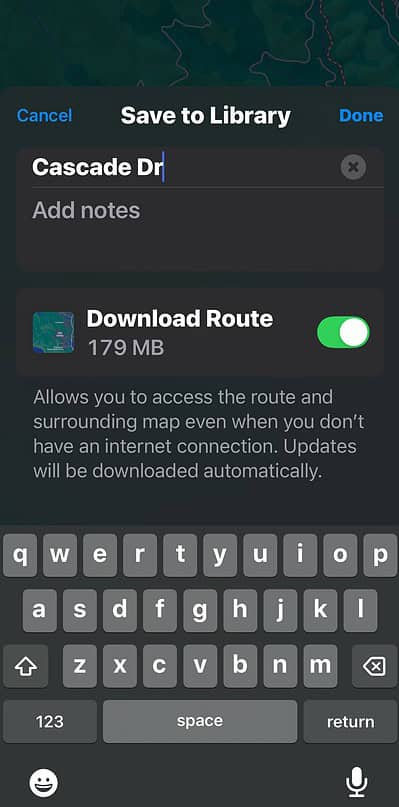
- Review the details of your route and hit Save.

You’ll quickly notice upon testing that this feature is still pretty limited. Although you can already customize and plan a hike, you’re limited to major hiking trails and national parks in the U.S. and Japan. Bike trails within these territories, much less hiking trails outside of them, are still unavailable.
I suggest using a third-party fitness app for a wider range of trails. You can use popular options like Strava, AllTrails, or Google Maps.