
Water damage is one of the most common and frustrating issues iPhone owners can face. Whether it’s an accidental drop in the sink or a day at the beach, getting your phone wet can lead to all sorts of problems (sometimes a blank screen or a complete device failure). But luckily, there are steps you can take to try and revive your water-damaged iPhone and get it working again.
In this guide, I’ll help you identify the problem and try to fix your water-damaged iPhone yourself. With the right steps, you might be able to save your phone from permanent damage.
Ways To Fix a Water-Damaged iPhone
Step 1: Power off Immediately

Immediately powering off the device is your first defense against further damage. Cutting off the electrical current helps prevent short circuits that can ruin your phone’s internal components. So act swiftly and power off your device. Here’s how you can do it:
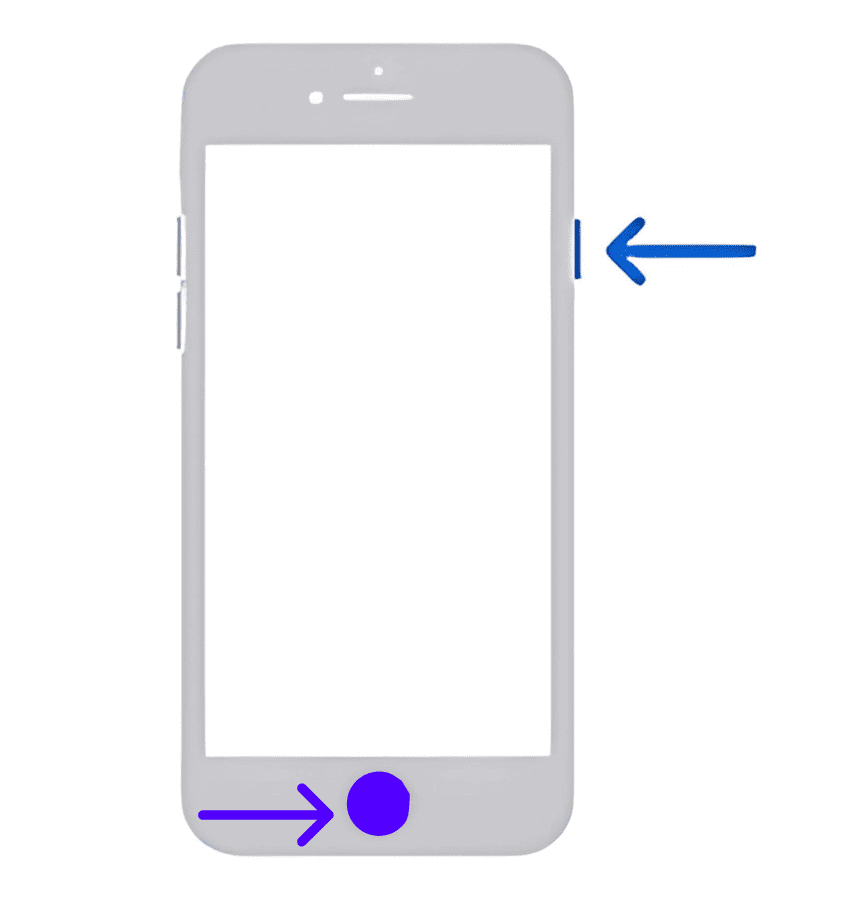
For iPhone 8 and later
- Press and hold the side button and volume down button until the power-off slider appears.

- Drag the slider to turn off your iPhone.
For iPhone 7 and iPhone 7 Plus
- Press and hold the side button until the power-off slider appears.
- Drag the slider to turn off your iPhone.
For iPhone 6s and earlier
- Press and hold the side or top button until the power-off slider appears.
- Drag the slider to turn off your iPhone.
Step 2: Remove the Case
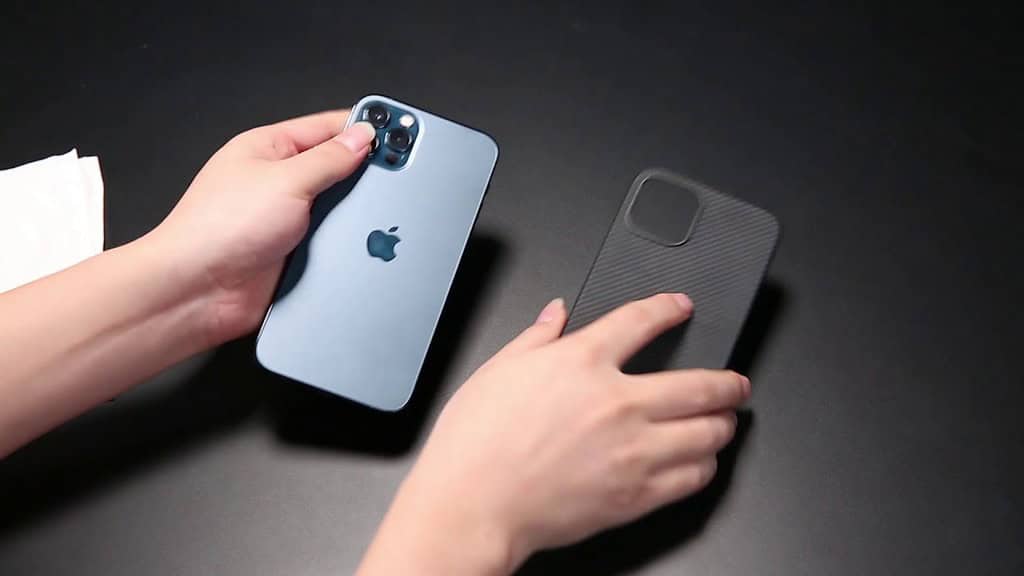
The next step is to remove the case.
When your iPhone gets wet, water can become trapped between the device and the case. This will make it harder for your iPhone to dry out completely. Removing the case allows better airflow and access to the affected areas, which can speed up the drying process.
Gently remove the case from your iPhone, and be careful not to press any buttons or ports that could push the water further into the device.
Step 3: Dry the Exterior
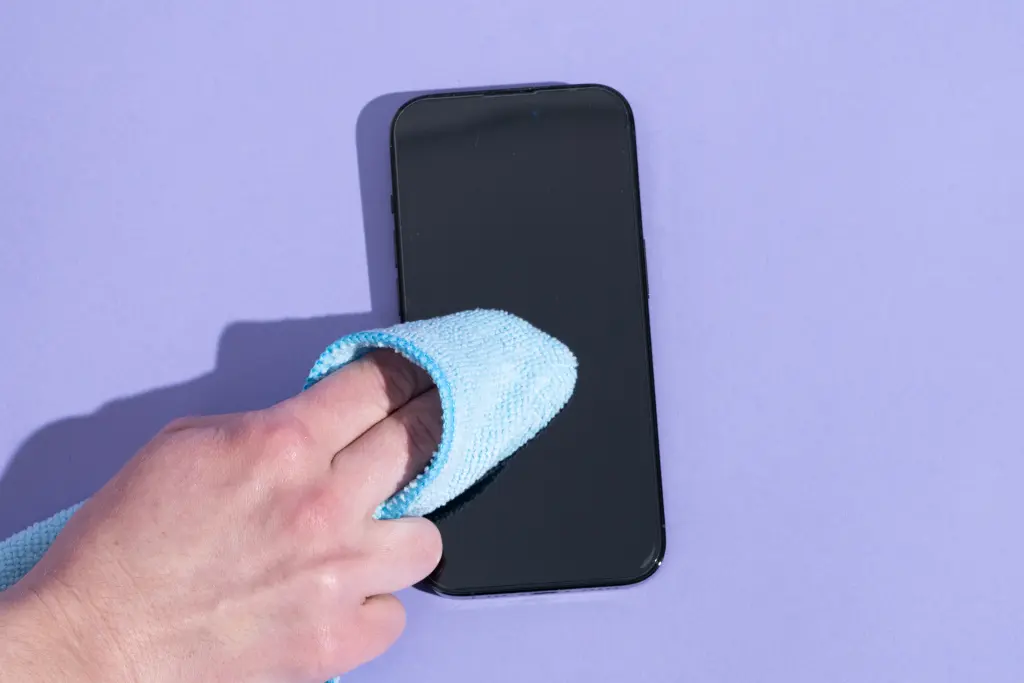
Now, dry the outside of your iPhone carefully. For this, use a soft, lint-free cloth and gently dab away any visible water droplets. Focus on the device’s exterior, including the screen, back, and sides. Avoid rubbing vigorously, as this could push water further into the device.
Also, pay special attention to the charging port, headphone jack (if applicable), and speaker grille. Keep in mind that you can’t completely dry your iPhone from the outside, but removing surface water is essential for the next steps.
 NOTE
NOTE
Step 4: Wait and Be Patient
This is the most challenging part, but it’s equally important as well. Try to be patient as it would help to give your iPhone ample time to dry out completely. Rushing this process can lead to more damage.
Find a warm, dry place away from direct sunlight and let your phone sit there undisturbed. It might take several hours, or even days, for all the moisture to evaporate. Again, resist the urge to check on it constantly or try to speed up the process with a hair dryer or other heat sources.
Remember that these methods can actually cause more harm than good, so it’s best to avoid them. Just let time do its work. The longer you wait, the better your chances of a fully recovered iPhone.
Step 5: Check for Residual Moisture
After allowing your iPhone sufficient drying time, inspect it cautiously for any lingering moisture. Even small amounts of water can harm your phone’s sensitive internal components. Carefully examine the exterior for visible water droplets or stains on the phone’s surface, charging port, headphone jack, and speaker grills.
Gently wipe away any remaining moisture with a soft, lint-free cloth. If you have the expertise, you can cautiously open your iPhone to check for internal humidity. But note that this is risky and might void your warranty. It’s generally advisable to assign this step to professionals.
Step 6: Inspect for Damage

Once your iPhone is completely dry, it’s time to evaluate the extent of the damage. Carefully examine your phone for any visible indications of water damage.
Look for bruises, decline, or physical damage to the exterior. Pay close attention to the charging port, headphone jack, and speaker grills. Even minor signs of damage can indicate internal issues.
Don’t turn on your iPhone if you observe any signs of damage beyond surface moisture. Using a damaged device can worsen the issue and lead to more complications. The best course of action is to take your phone to a professional repair service for a thorough evaluation and potential repairs.
Step 7: Try to Power On
If your iPhone seems completely dry and there are no visible damage signs, try to power it on. Remember, doing this too soon can cause further damage, so proceed cautiously.
To power on your iPhone, press and hold the side (or top) button until the Apple logo appears. If your iPhone turns on, it’s a good sign. But it’s essential to test all functions thoroughly to make sure there is no lingering damage.
Carefully check if the touchscreen responds accurately, the buttons function as expected, and the camera and speakers work correctly. Listen for any unusual noises or crackling sounds from the speakers, which could indicate internal damage.
Also, test the charging port to ensure it’s working correctly. It’s essential to perform these checks thoroughly to identify any potential issues caused by the water damage.
If your iPhone doesn’t turn on, don’t force it. The internal components might still be wet, and trying to power it on could worsen the situation. In this case, it’s best to follow the next step.
Step 8: Contact Apple Support
If your iPhone continues to malfunction after attempting the steps above, it’s time to seek professional help by contacting Apple Support. They can provide specific guidance based on your iPhone model and the extent of the water damage.
Apple offers repair services and may be able to assess the situation and provide options for recovery. Be prepared to describe what is happening, the steps you’ve already taken, and the current condition of your iPhone. Remember, attempting complex repairs can worsen the damage, so I advise you to let the experts handle it.
If you’re encountering a similar issue with your iPhone displaying a “water in charging port” message on iOS 17 or 17.5.1, check out this article.