Red-eye can occasionally ruin an otherwise perfect photo, giving your eyes an unnatural orange or red glow. This happens when your camera’s flash reflects off the retina in your eyes. While you can try to avoid using the flash and rely on natural lighting, that’s not always ideal. Thankfully, removing a red eye from images is easier than ever now.
You can fix it directly using the native Photos app or use a third-party editing app of your choice. After all, who wants to look like a vampire in their photos?
2 Ways To Get Rid of the Red on iPhone Pictures
1. Using the Native Photo App on Your iPhone
Time needed: 3 minutes
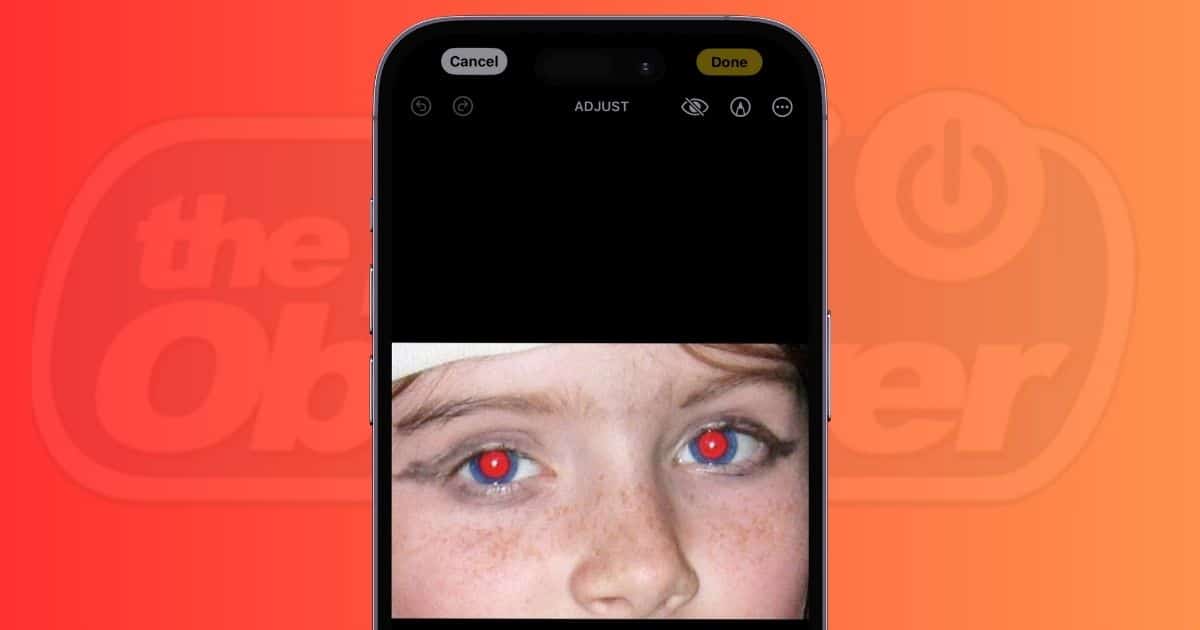
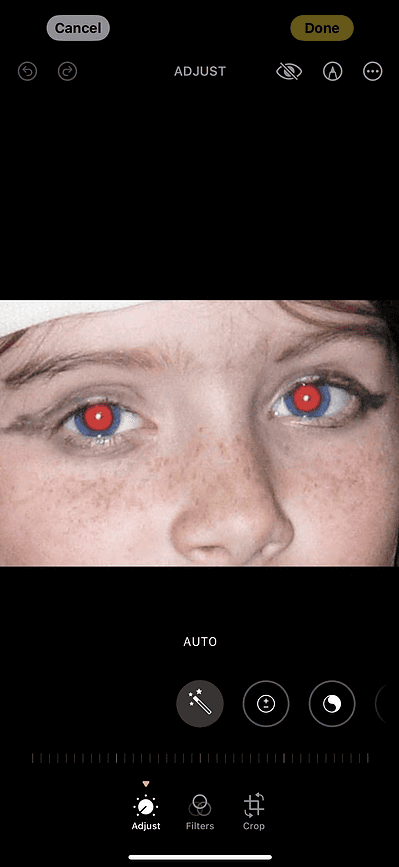
You can use Apple’s built-in Photo app to do a lot more than basic tasks like cropping images and applying filters. While it doesn’t offer advanced editing features like the option to retouch images yet, you can edit the red-eye effect out of your image easily. Here’s what you need to do:
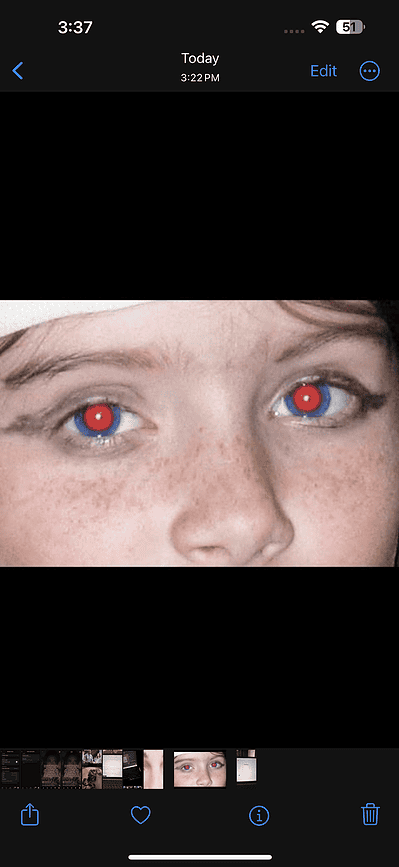
- Open the Photos app on your iPhone.
- Locate the image you’d like to edit, and tap the Edit button at the top-right corner of the screen.

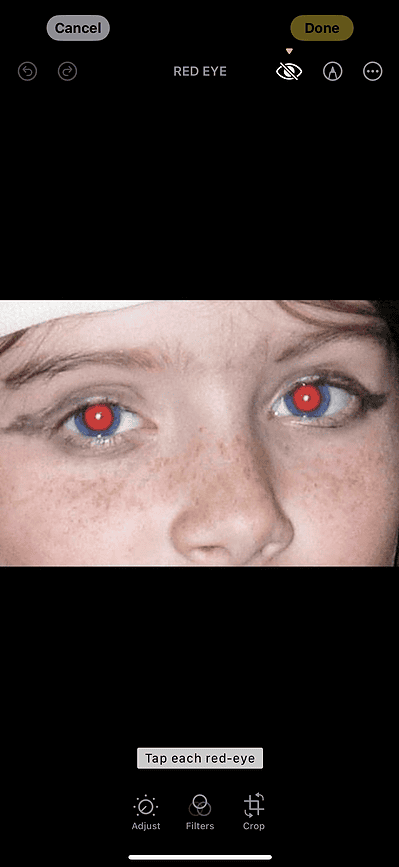
- Tap the Red-Eye icon next to the Markup tool at the top.
- Simply tap each red-eye in the image.
- Once you’re satisfied with the image, tap the Done button at the top-right corner.

2. Using a Third-Party App
At times, the Red-Eye feature may refuse to work on the native Photos app on your iPhone. Thankfully, the App Store is filled with plenty of great editing apps that you can use to remove red eyes from your images.
The exact process you’ll need to follow will vary depending on the editing app you decide to use. I’m using Photoshop Express Photo Editor for this example.
Once you’ve downloaded Photoshop Express Photo Editor, here’s what you need to do:
- If you’re launching the app for the first time, you’ll be prompted to create an account. You can do so by signing up with Google, Facebook, email, or your Apple Account credentials.
- Grant the app access to view your device’s photo library.
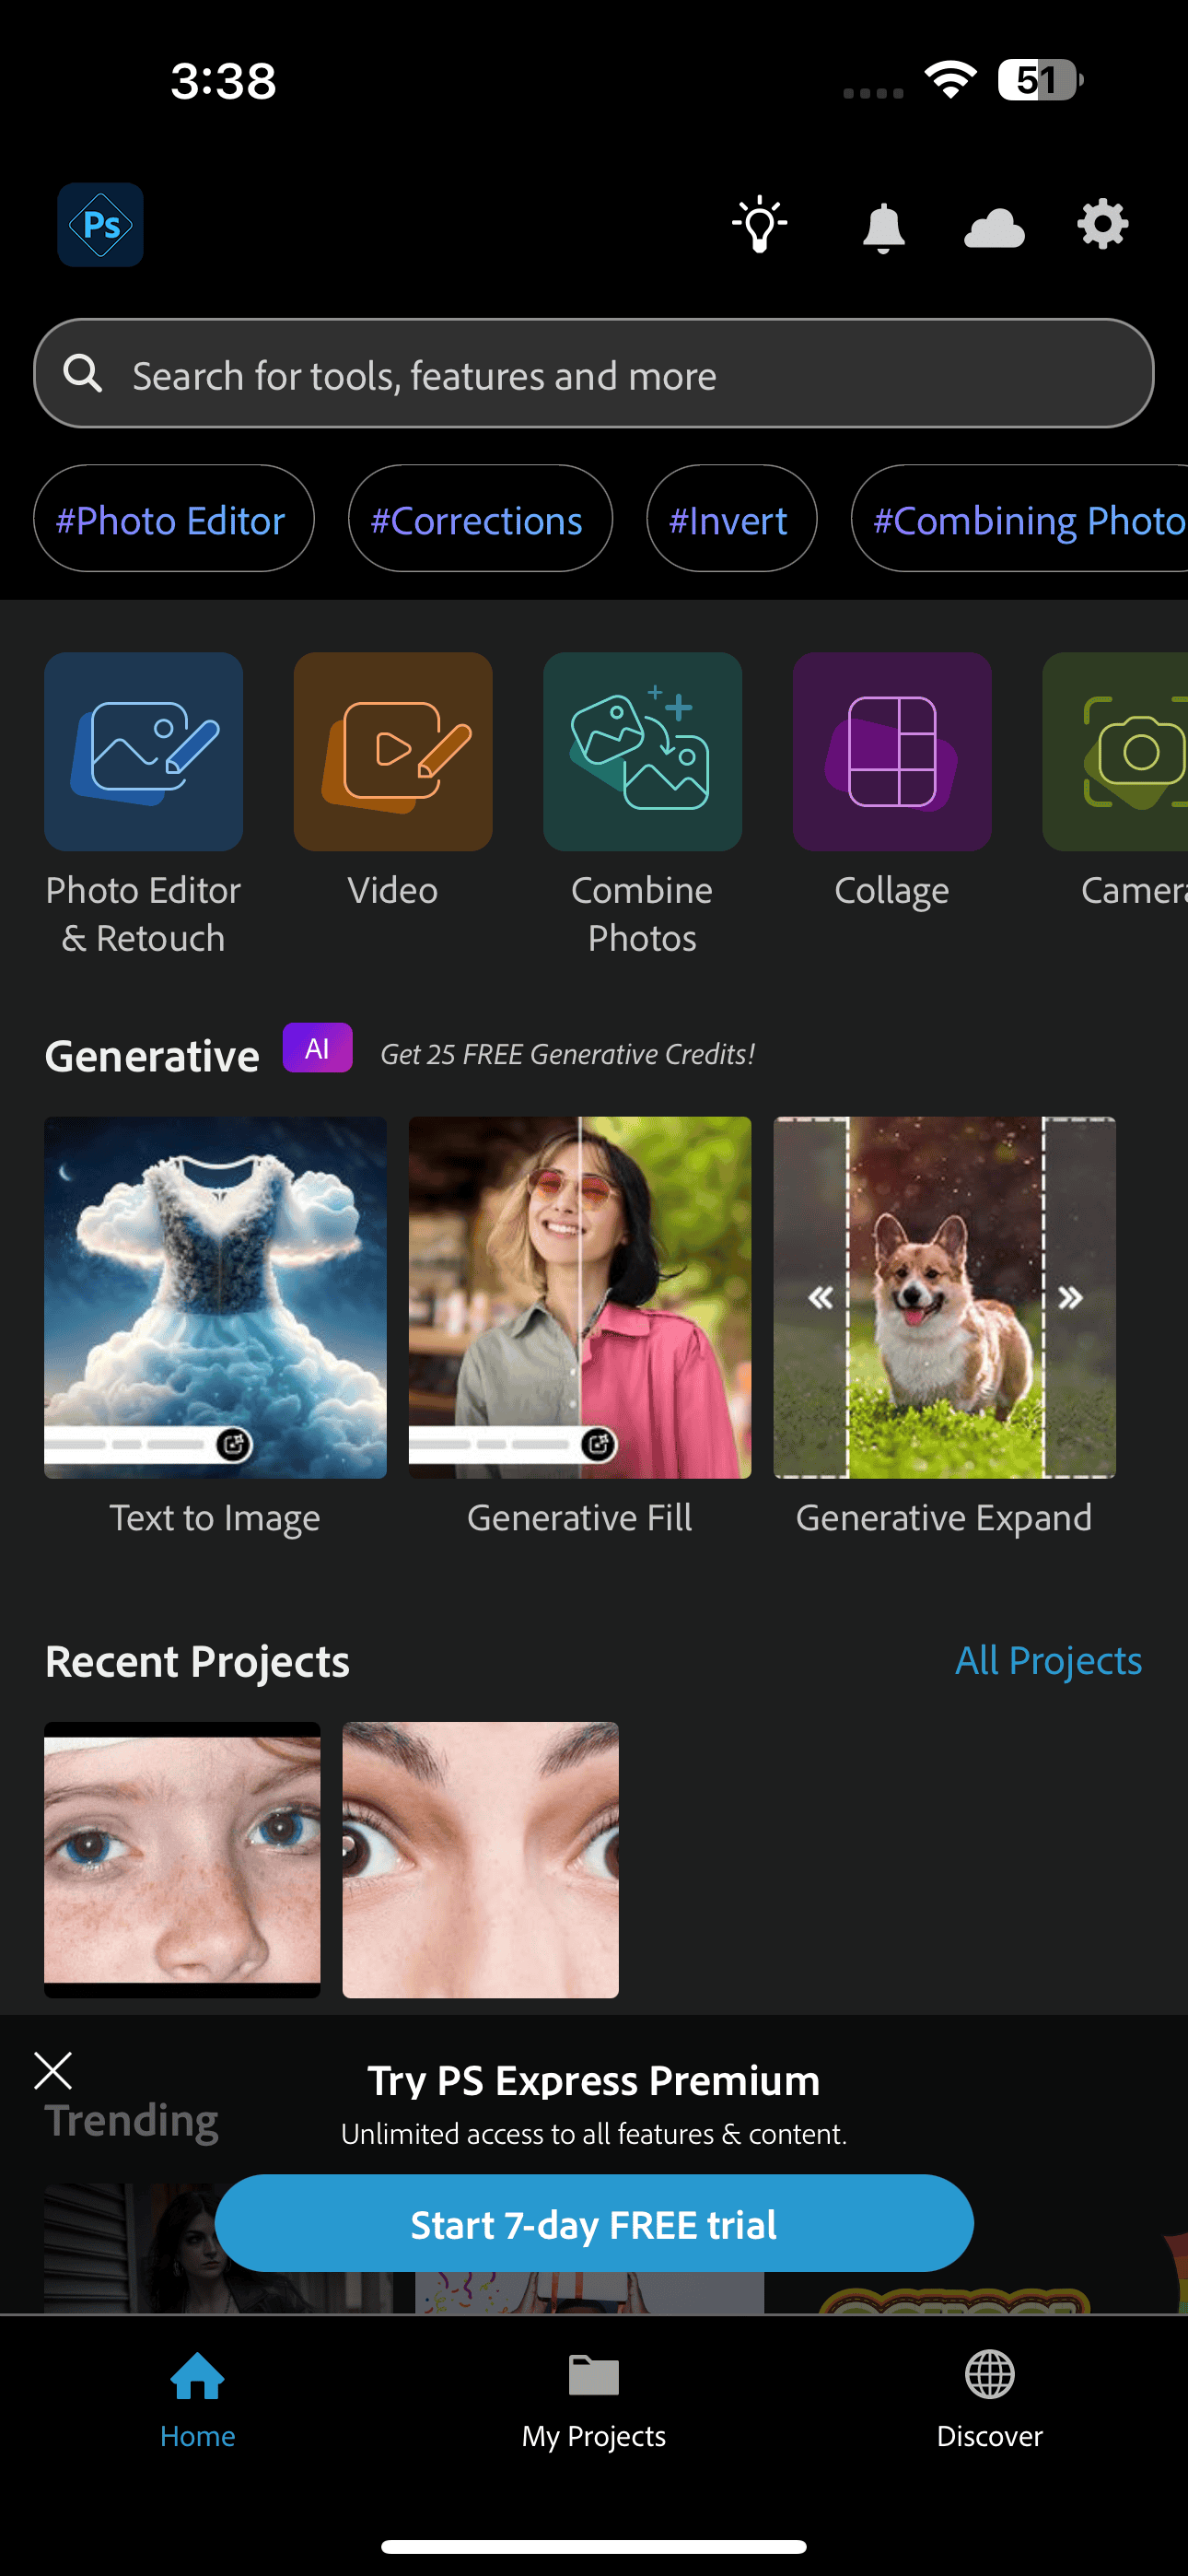
- Tap Photo Editor & Retouch and select the image you’d like to edit.

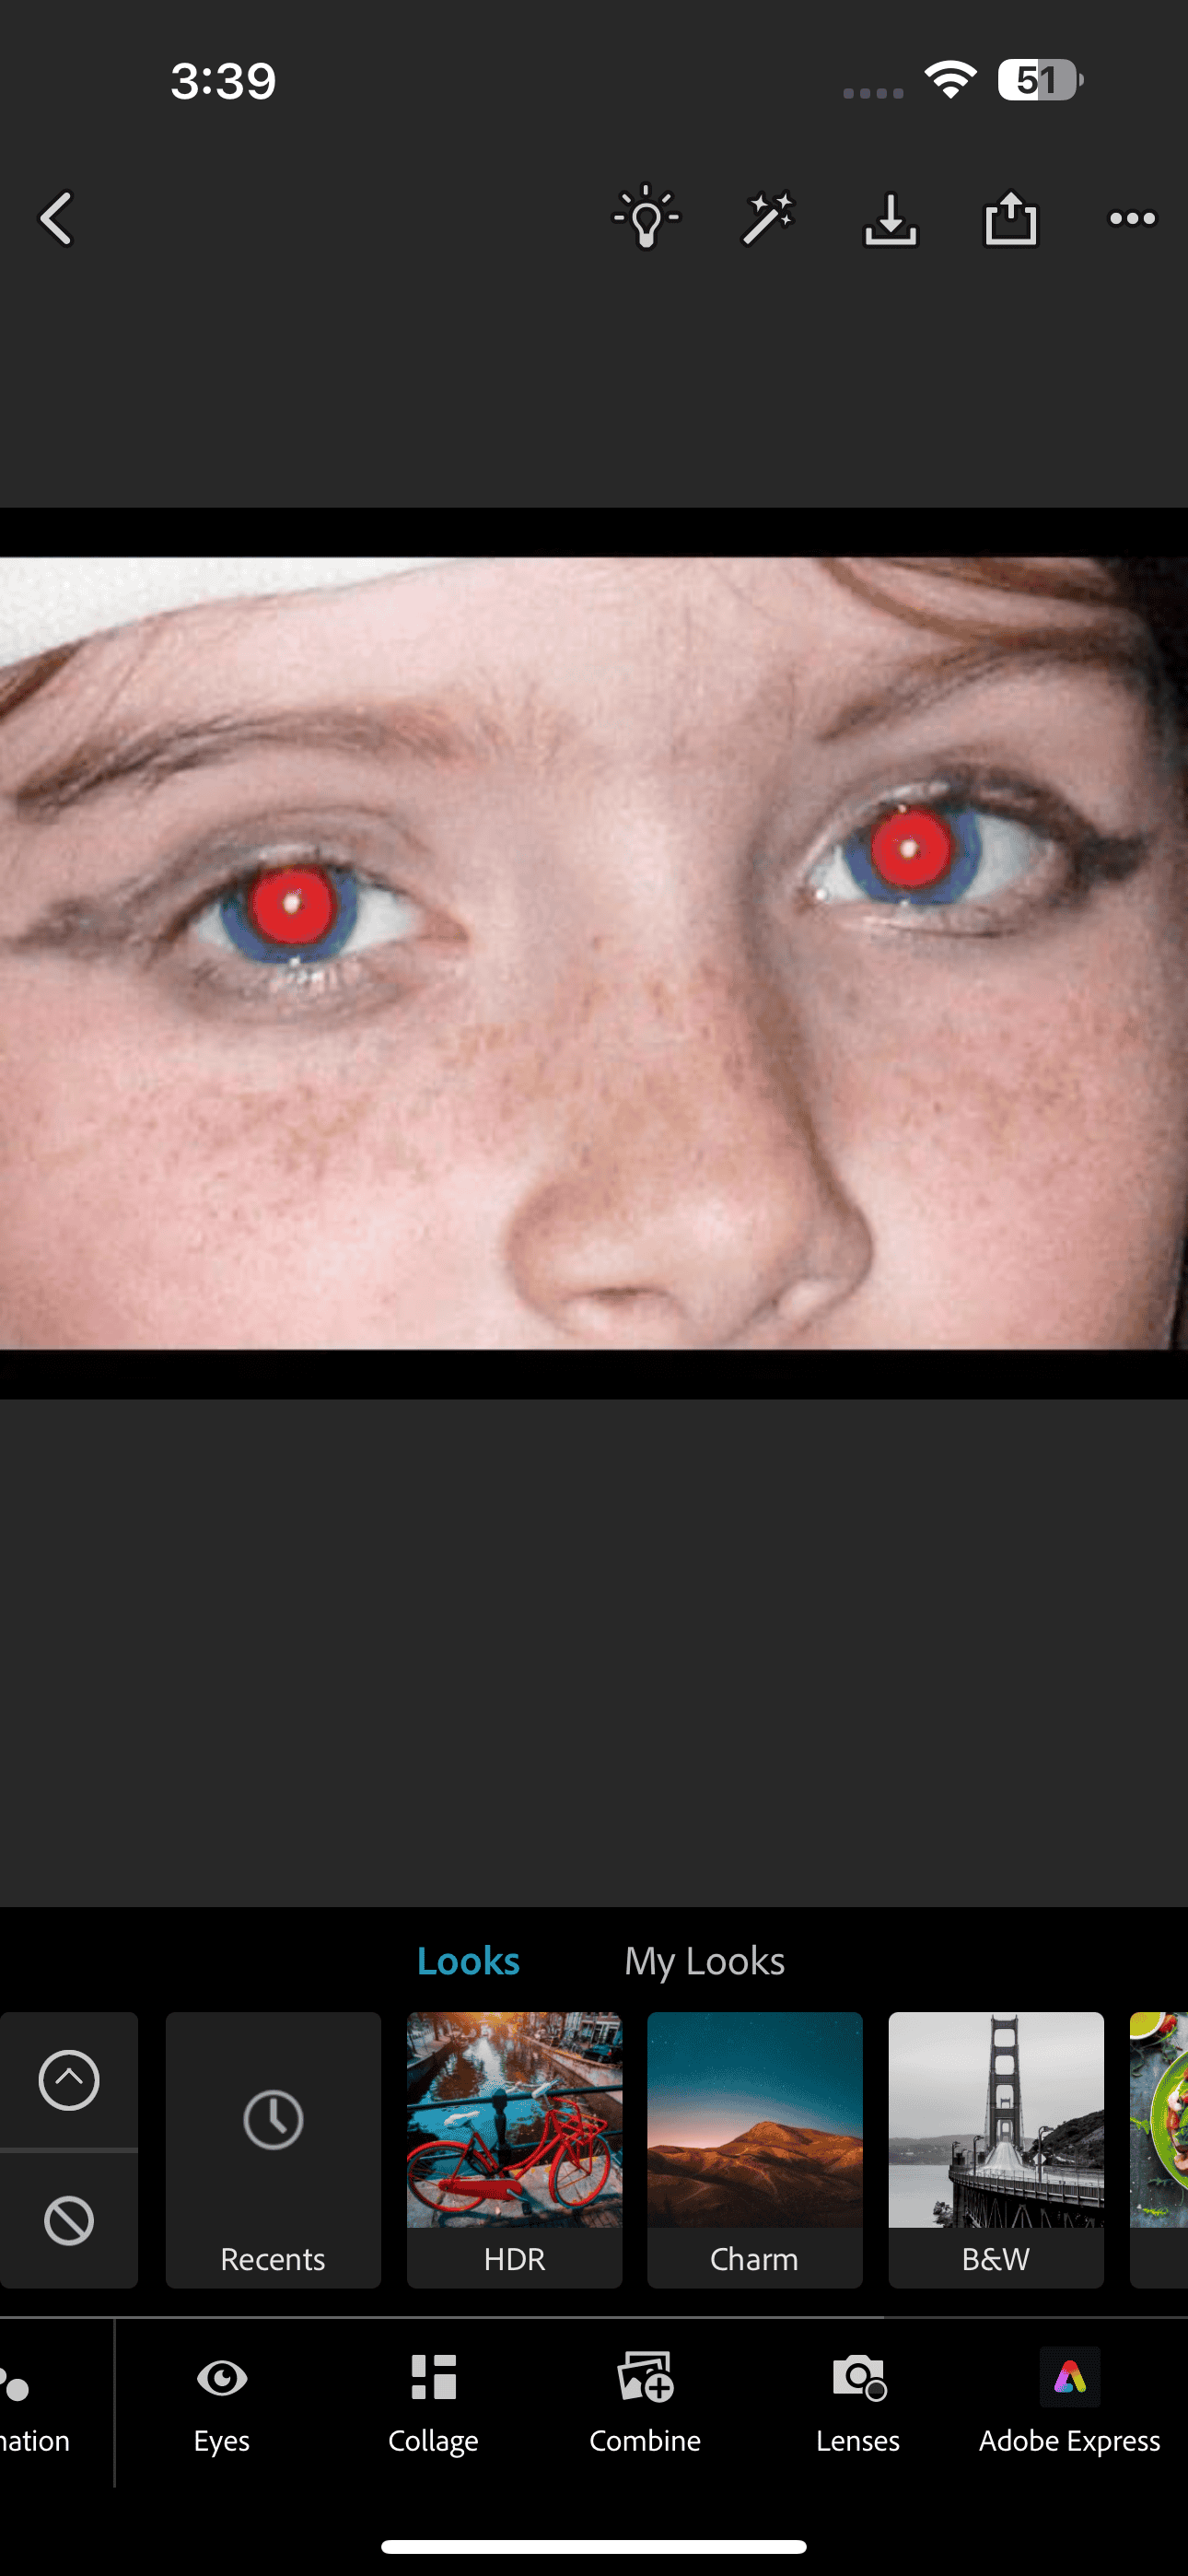
- Tap the Looks tab at the bottom of the screen, and keep scrolling until you find Eyes. Tap it.
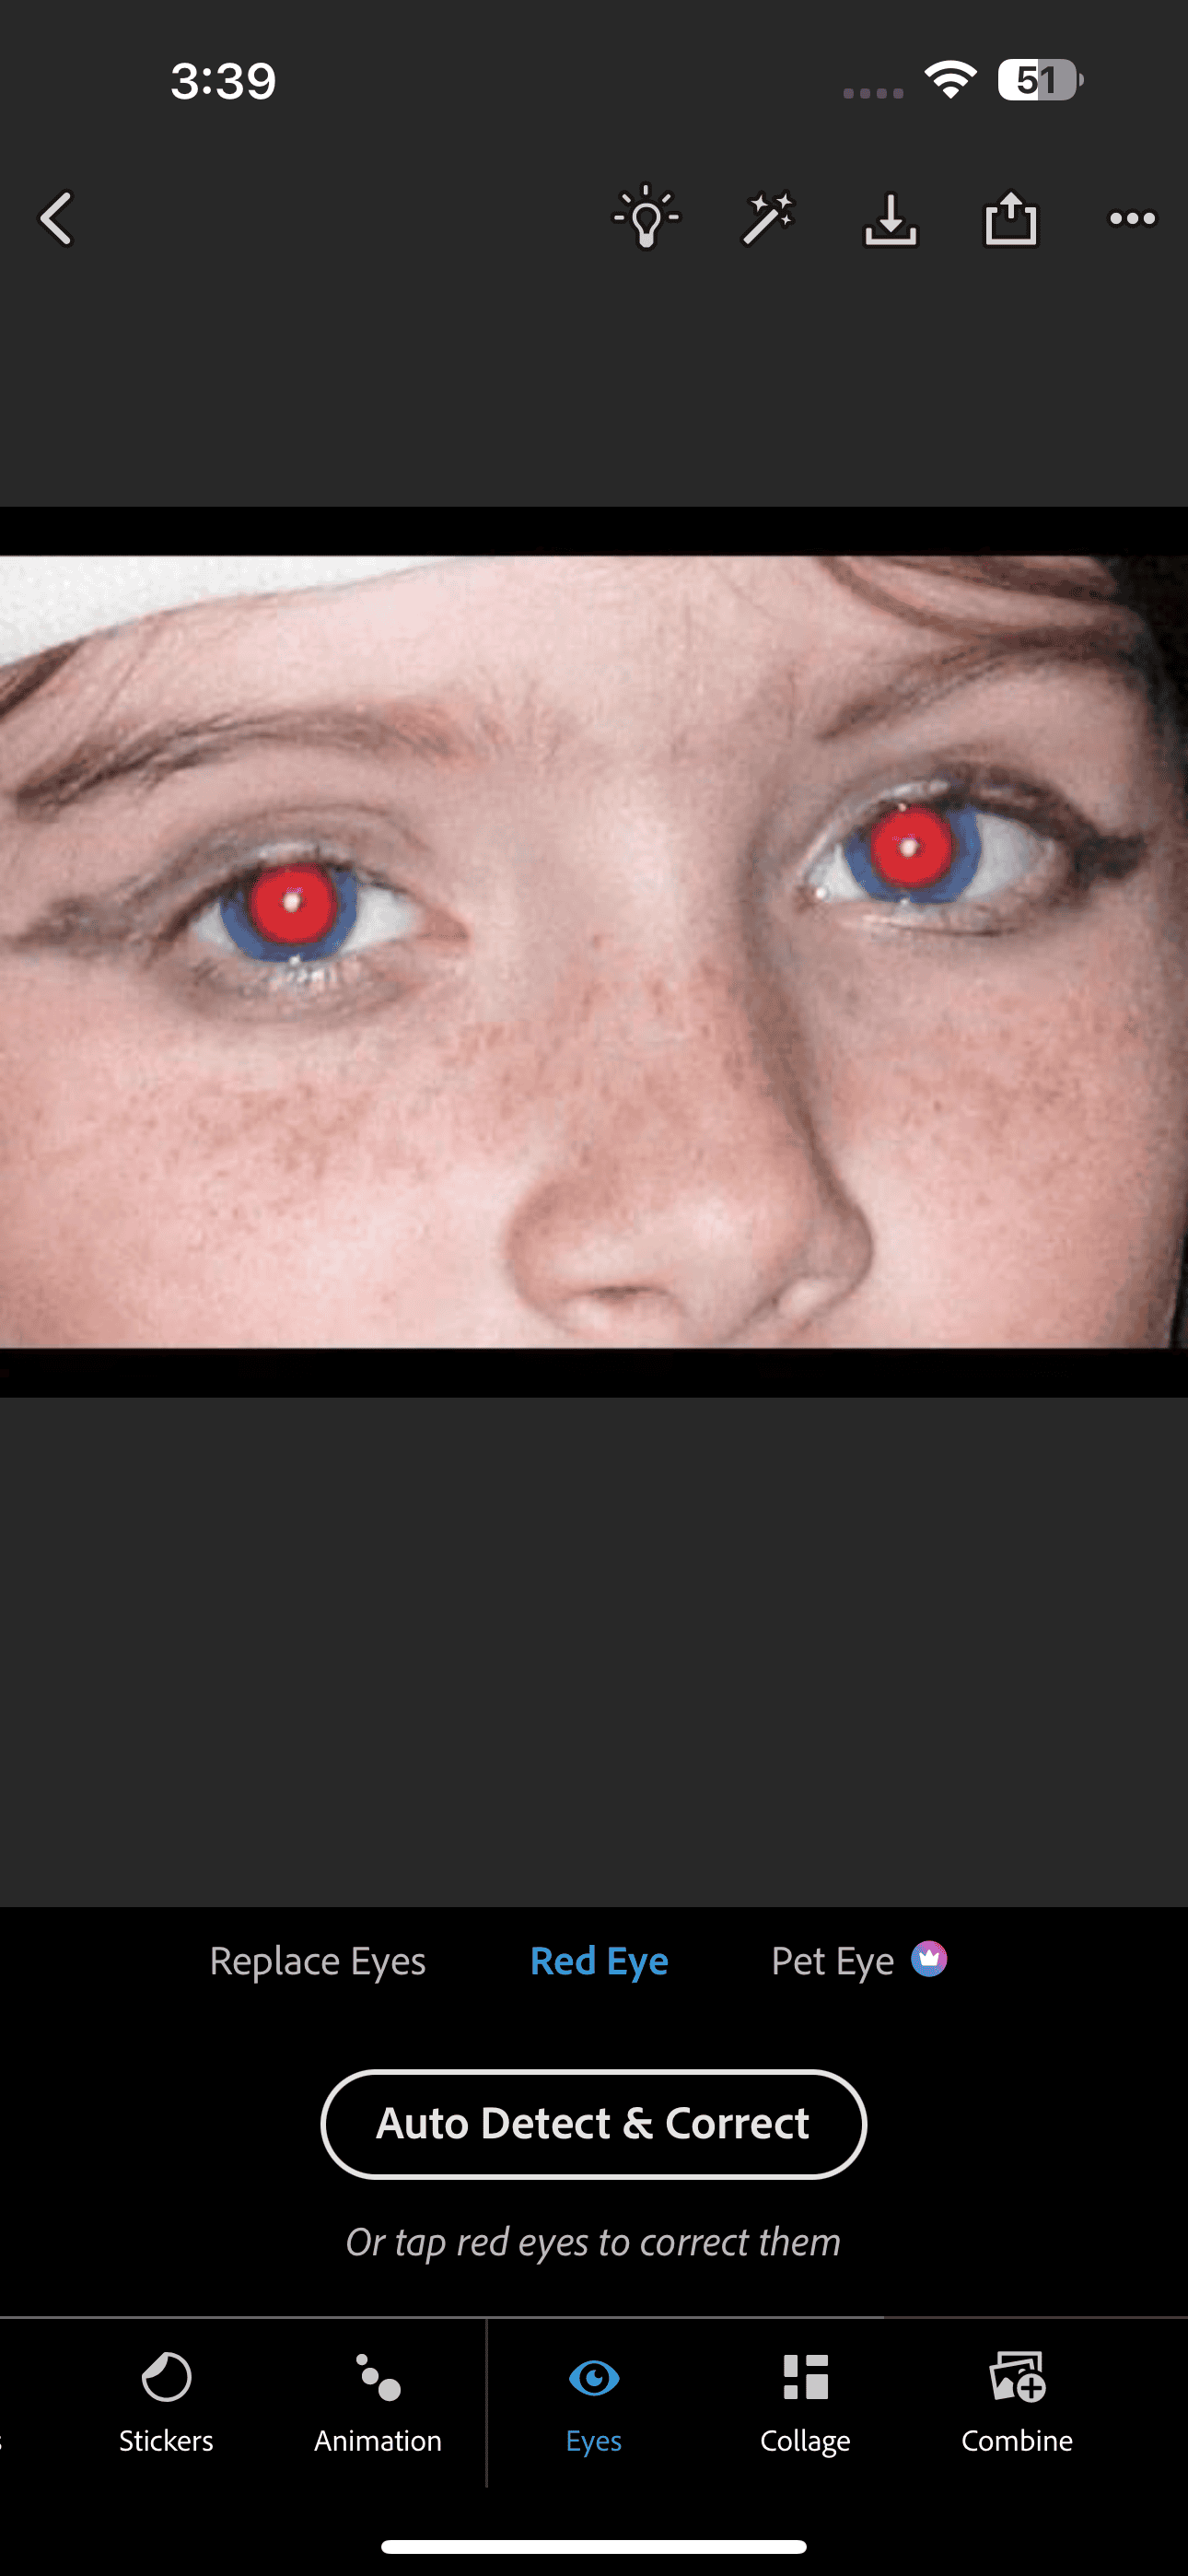
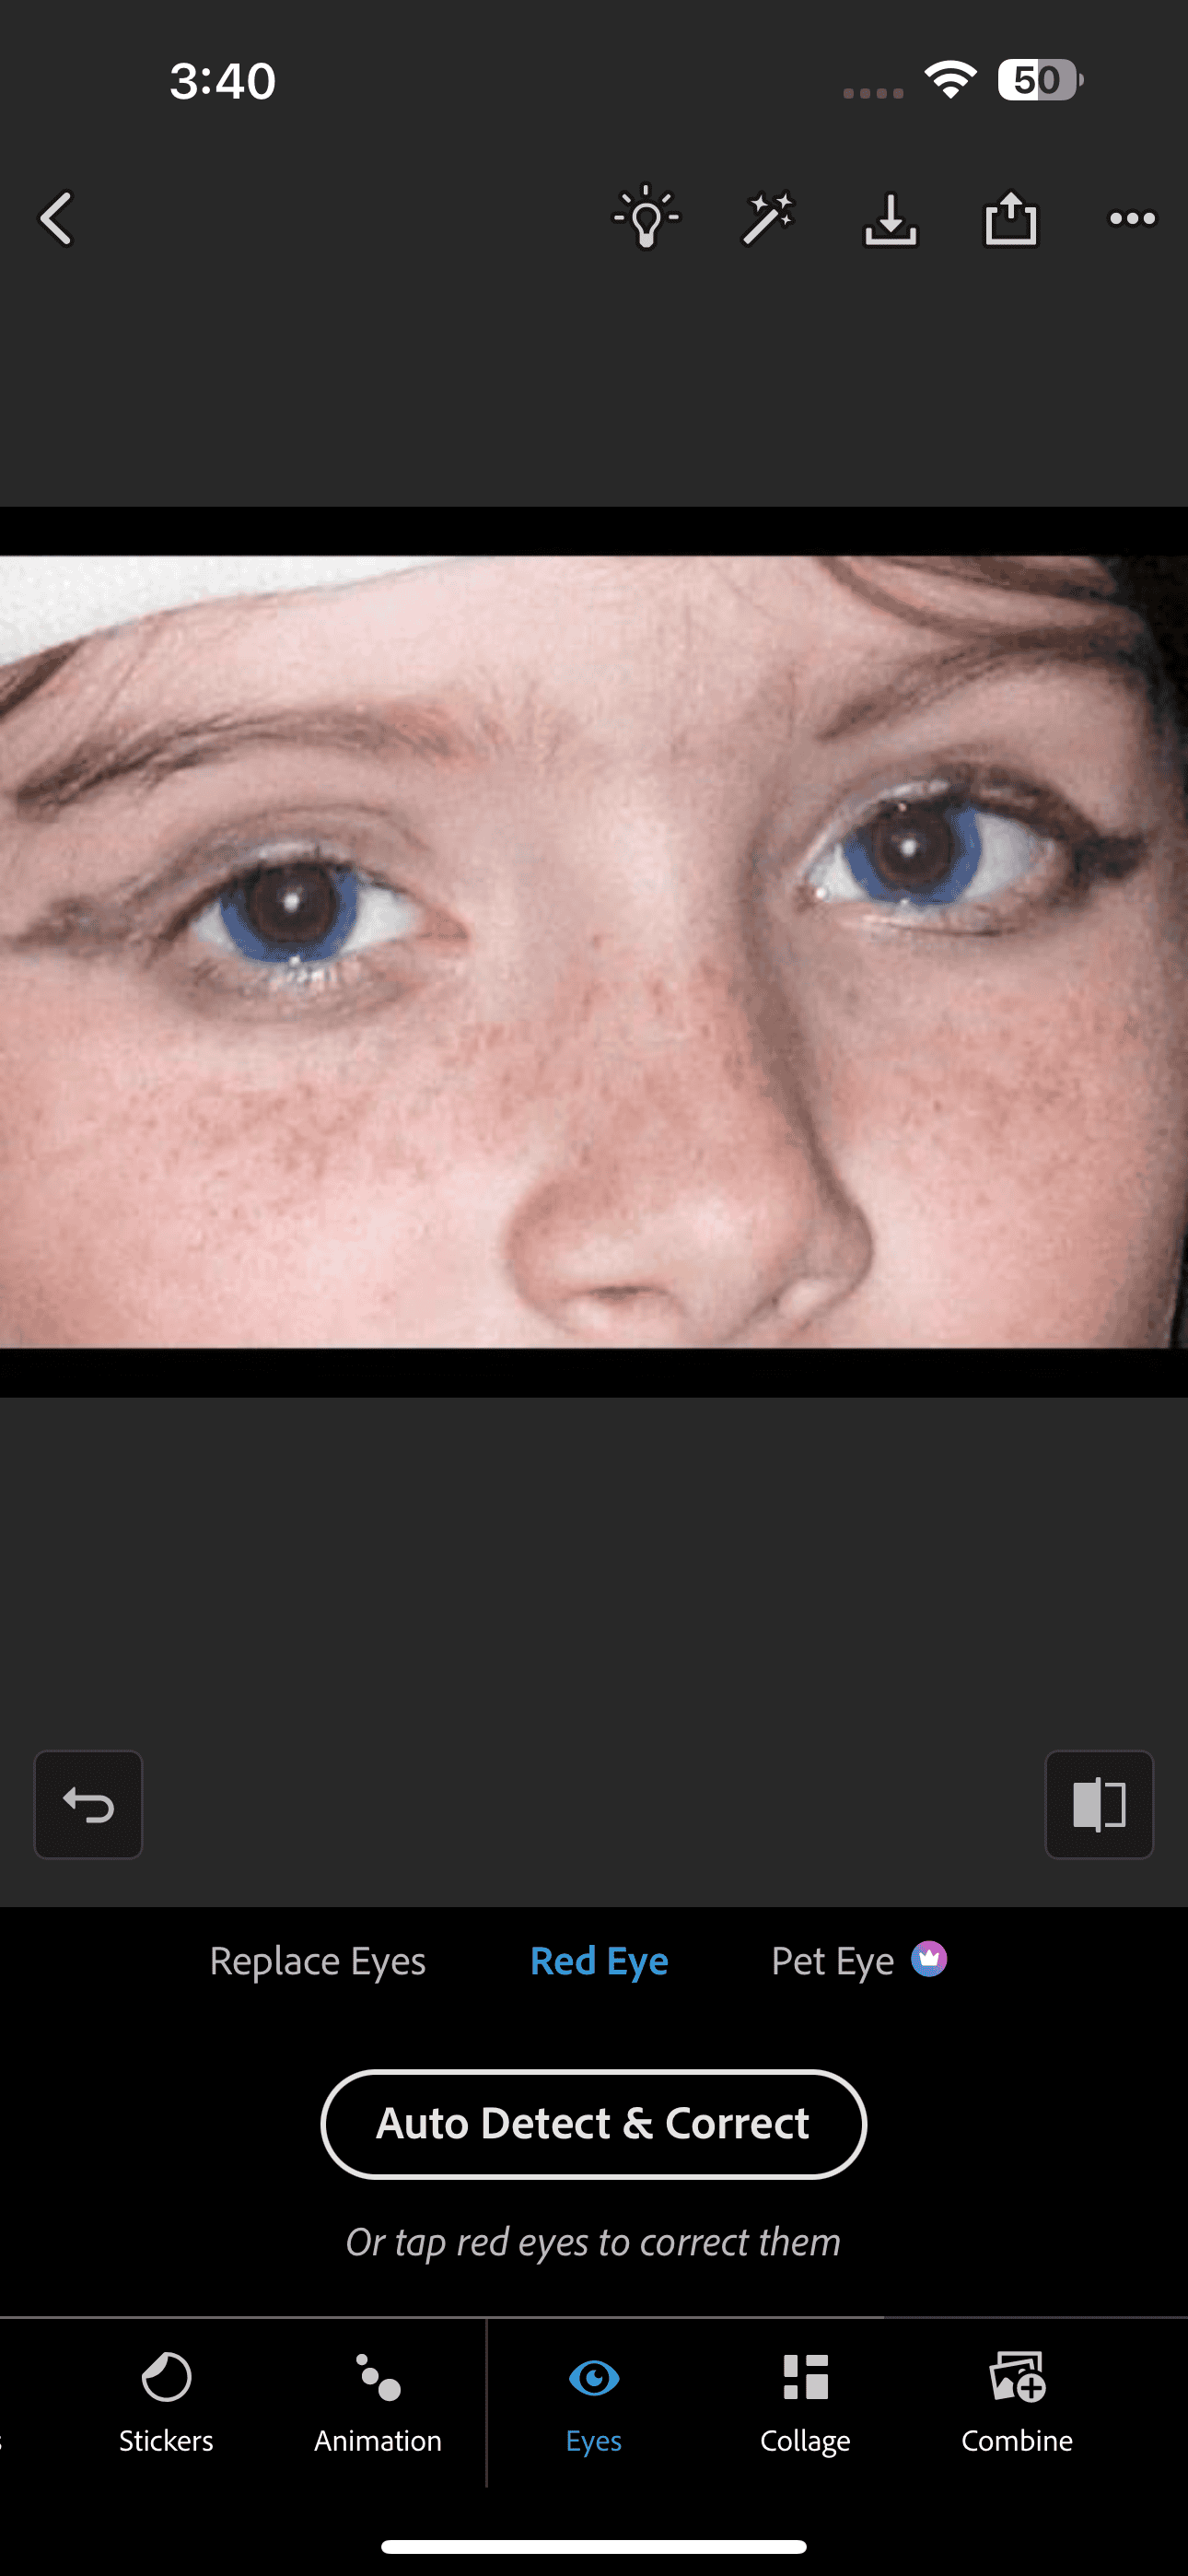
- Now, tap Red Eye. While you’ll see an Auto Detect & Correct option, I’ve noticed that it rarely works. Instead, I prefer zooming into the picture and tapping each red-eye in the image.
- Once you’re satisfied with the image, tap the save icon at the top of the screen to save your edited image to your camera roll.
The only con of using Photoshop Express Photo Editor to edit your images is that it’ll be saved with a watermark. Of course, there are several apps available on the App Store for removing red-eye from your images, but I personally find the native Photos app from Apple the easiest to use.