Transferring files from your old iPhone to your new one has never been easier thanks to Apple’s seamless syncing process. Just log in to your Apple ID profile and follow the on-screen instructions. While it’s usually reliable, things can sometimes glitch. From experience, it can feel like a nightmare when your brand-new iPhone 16 Pro suddenly gets locked. It’s an expensive smartphone, plus you’ll also worry if your files are safe.
That said, your device isn’t necessarily bricked. Setup problems like this can happen even with a brand-new unit, and a few simple troubleshooting steps can get your phone back up most of the time. You might not have to bother with a replacement. Here’s everything you need to know.
Why Is My iPhone 16 Pro Locked?
Setup glitches, syncing errors, or iOS 18 bugs likely locked your iPhone 16. These software issues will freeze your screen and make interactive elements unresponsive. Hardware defects can also surface on brand-new units. They typically stem from improper shipping processes, manufacturing flaws, and design errors.
What To Do if New iPhone 16 Pro Is Locked
 NOTE
NOTE
1. Force Restart the iPhone
Time needed: 3 minutes
A force restart is the quickest and safest way to unfreeze your iPhone. It clears temporary glitches and minor bugs without wiping the data you already transferred. You won’t have to start syncing from scratch afterward. Follow these steps:
- Press and quickly release the Volume Up button.
- Press and quickly release the Volume Down button.
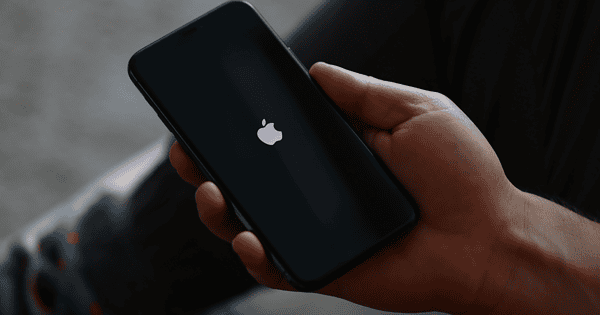
- Hold the Side Button until the Apple logo appears.
 NOTE
NOTE
2. Charge Your iPhone
It’s easy to overlook your battery level when setting up a new device. Between transferring data and the excitement of exploring your iPhone 16 Pro, it can slip your mind. Charge it for a few minutes before proceeding with troubleshooting. Even simple steps like force restarts can drain a surprising amount of battery, and sometimes, the phone just needs a little extra power to get going again.
- Plug the phone into a charger using a USB-C cable.
- Wait at least 15 to 30 minutes to ensure the phone has enough charge, then try a force restart.
3. Check Your Network Connection
You need stable Wi-Fi to sync and set up your brand-new iPhone. Your device might crash if it’s transferring large volumes of data on a spotty connection. Retry the setup through another secure Wi-Fi network. If you only have access to one, turn the router off and on again while troubleshooting.
4. Update or Restore via Recovery Mode
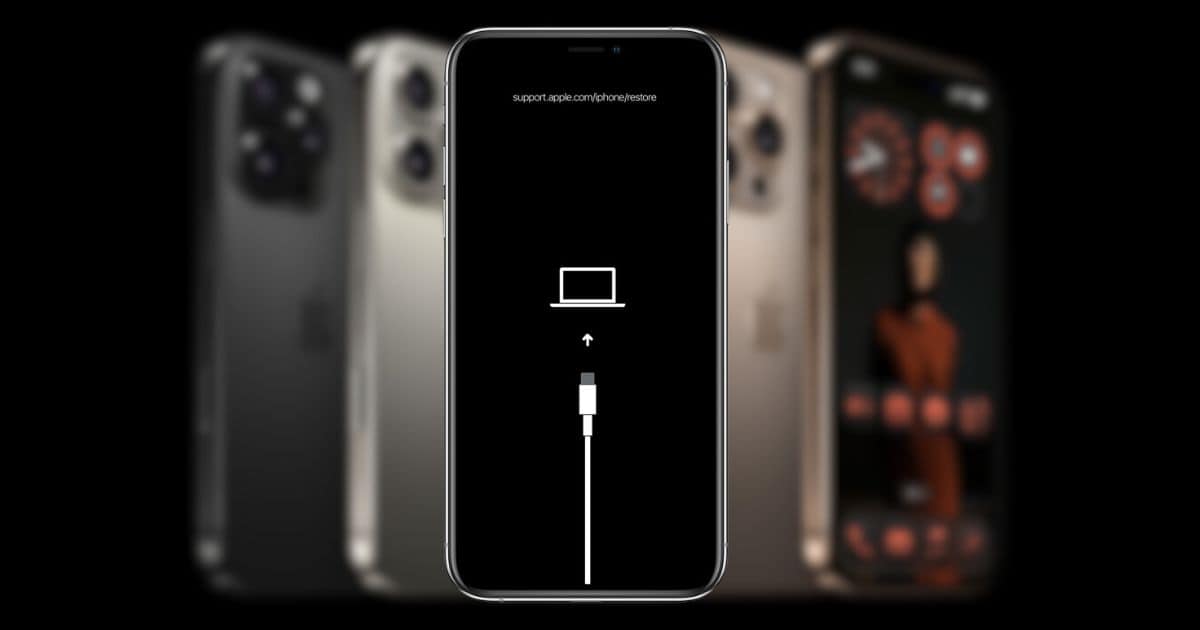
Recovery Mode lets you reinstall iOS to address hidden software issues that might be locking your iPhone during the setup process. It also works on frozen devices with unresponsive screens. You can use a Mac or PC for this process, although the latter would require iTunes.
- Connect your iPhone to a Mac or PC.
- Open Finder on macOS or iTunes on PC.
- Force restart the phone, but keep holding the Side Button until the recovery screen appears.
- Choose Update to reinstall iOS without erasing data. You can also use Restore, although this will wipe your data.
5. Enter DFU Mode
DFU Mode is a more advanced solution than Recovery Mode. The process completely bypasses the standard bootloader to reset the firmware and iOS from the ground up. It’s a solid option for resolving serious software issues without compromising your data or voiding your warranty.
- Connect the iPhone to a computer.
- Quickly press the Volume Up button, then the Volume Down button.
- Hold the Side Button until the screen goes black, then keep holding it while also pressing the Volume Down button for five seconds.
- Release the Side Button, but continue holding Volume Down until your computer recognizes the phone in DFU Mode.
- Use Finder or iTunes to restore the phone.
At this point, it’s best to call Apple Support. You might void your warranty by accident if you perform more complex troubleshooting steps. Let certified technicians check your device. Apple’s one-year limited warranty will likely cover your replacement unit either way—just expect to wait a week or two for it.


