
Experiencing sluggish device performance due to high CPU usage? The culprit might be a process called fseventsd. This essential system service monitors file changes, but it can sometimes consume more resources than it should. In such cases, it’s important to know how to regulate background processes. Let’s see how you can stop it from bogging down your machine.
What Is fseventsd, and Is It Dangerous?
fseventsd is a macOS feature that helps your device index changes that you make on various programs. It’s commonly used by apps that require constant file tracking, such as Spotlight, backup tools, and cloud services. You also need it to index new software updates.
In most cases, the feature is not dangerous. However, depending on your device and app settings, it can consume significant CPU space – which will make your Mac perform worse than it otherwise would. And in some rare cases, it could be a sign that malware is present on your computer.
Quick Tip:
If you’re experiencing high CPU, GPU, or RAM usage on your Mac and cannot fix it, most users recommend trying a trusted optimization app. For instance, Intego Washing Machine offers resource management tools that will help you minimize the risk of slowdowns and ensure a smooth performance.
Can You Remove fseventsd?
You can’t remove it since it’s essential for indexing—doing so would be a bad idea anyway. However, you can significantly reduce how much of your CPU it consumes.
1. Wait if You’ve Just Upgraded Your Software
You’ll probably have noticed your computer not acting like it normally does after upgrading your macOS software. For example, certain programs and apps may perform worse than they otherwise would. This is because your device takes time to index changes like this.
If you’ve only recently updated your software, the best thing you can do is wait. Normally, fseventsd won’t take up as much of your CPU after a couple of days or weeks. This is also one of the ways you can solve update issues on iOS.
2. Try Quitting the Process in Activity Monitor
Time needed: 5 minutes
Sometimes, quitting Activity Monitor processes will allow them to relaunch without experiencing the same problems that you previously were. So, if you haven’t recently updated your software (or you’ve waited enough time and nothing has changed), follow these steps.
- Open Activity Monitor by going to Spotlight and searching for the app.

- Select the CPU tab.

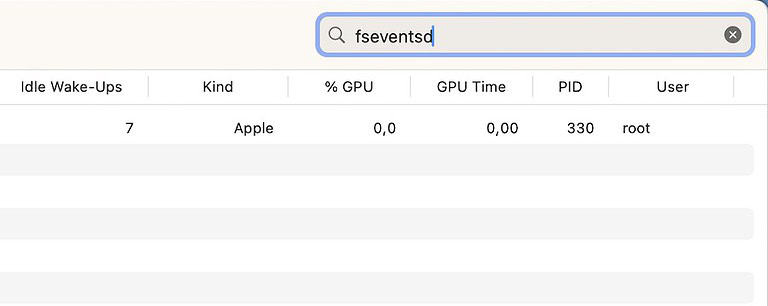
- Go to the search bar in the top right-hand corner and type fseventsd.

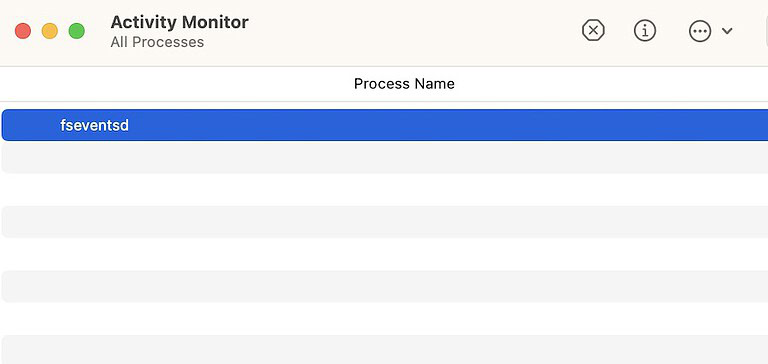
- Highlight fseventsd in your results.

- Select the x icon to quit the process.
- A pop-up window will ask you to confirm your choice. When it does, select Quit. If this doesn’t work, click on Force Quit instead.


3. Restart Your Mac
You can also try restarting your Mac to stop the process from taking up so much of your CPU. While you can manually shut down and restart your machine, simply choosing Restart is quicker and just as effective.
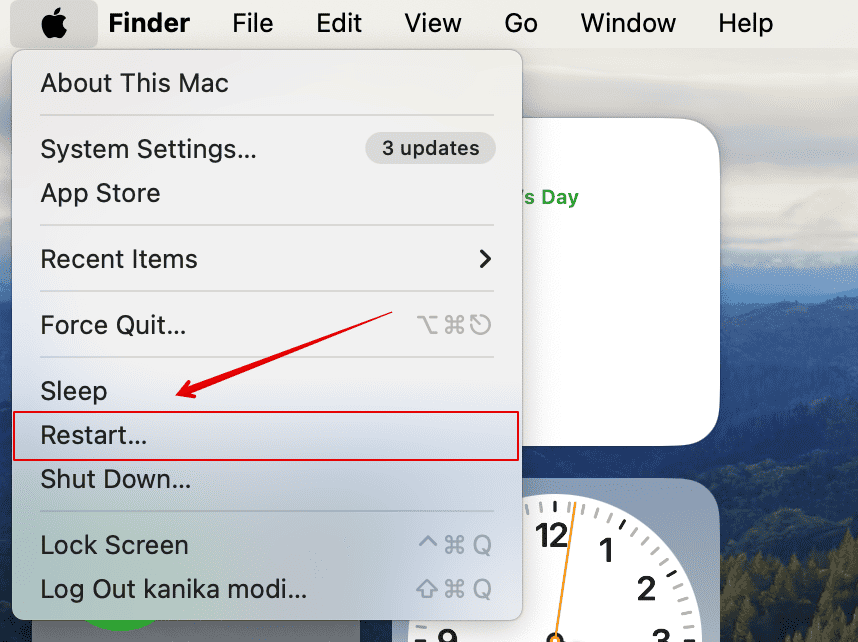
- Go to the Apple menu and select Restart.

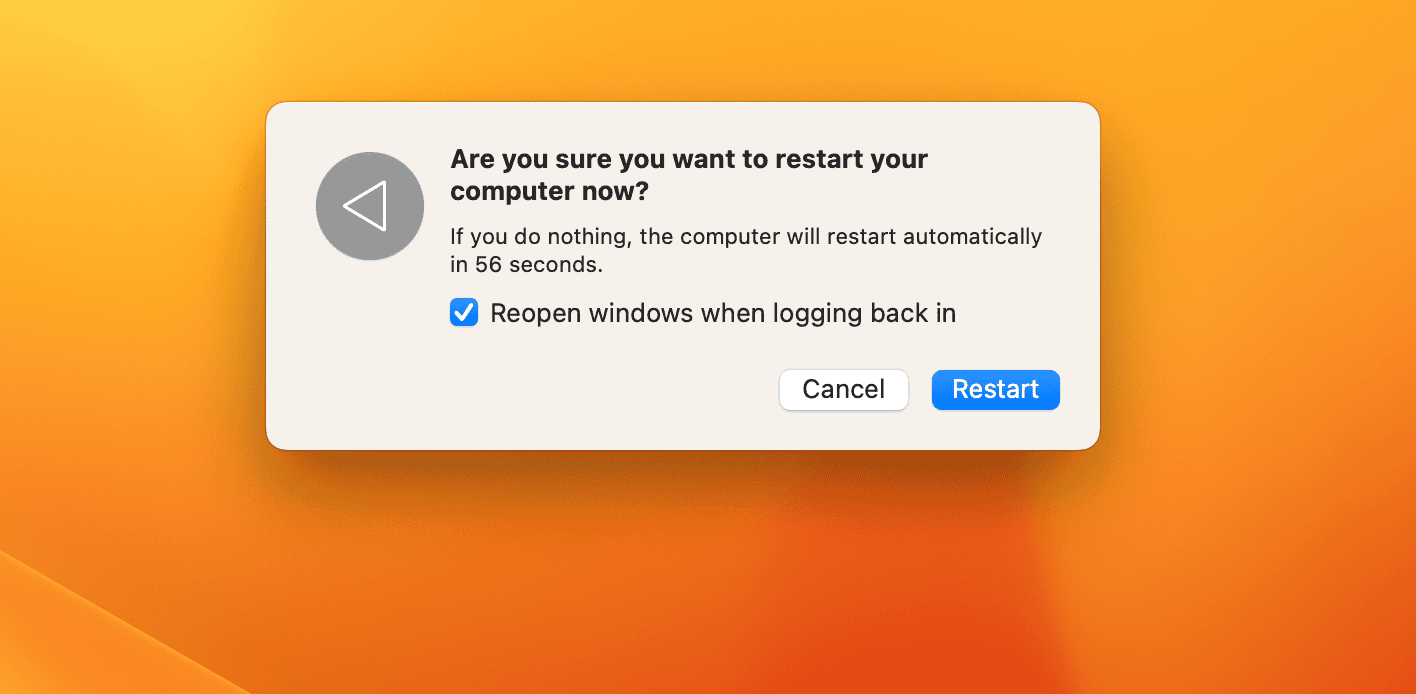
- Press Restart in the pop-up window.

- Wait for your device to turn off and on, before then logging into your account when the main window appears.
4. Turn Off Automatic Time Machine Backup
While Time Machine is a fantastic tool for backing up your device, having automatic backups will naturally require your computer to work harder in the background. You can manually back up your device daily as an alternative or use Mac backup software tools that aren’t Time Machine.
- Open the Terminal app. You can search for it in Spotlight.

- Type the following command: tmutil disable – and press the Enter key.


5. Untick Some of Your Spotlight Search Results in System Settings
Spotlight is one of the main apps that use fseventsd, and removing some of the results that appear in this app should reduce your CPU usage.
- Go to System Settings > Siri & Spotlight and scroll down to Search results.

- Untick all of the boxes that you don’t want to appear in your Spotlight results. I rarely use Spotlight to search the web, for example, so I unticked Websites. I also unticked several others.


Your changes should take immediate effect after you’ve customized your box-ticking settings.
6. Look for Malware on Your Mac
In some cases, a high CPU usage could suggest that you’ve downloaded malware on your Mac. This is quite rare, but nonetheless, it is worth checking for. One way you can check further for malware is by looking to see if you see any apps that you don’t notice.
- Go to Finder > Applications.
- Look for any apps that you don’t recognize and delete them by dragging and dropping them into the Trash folder.

- Open your Trash and select Empty. Then, confirm your choice when you see the pop-up window asking you to.

7. Look for Issues With Your Disk
It’s also a good idea to check for problems with your disk. You can use Apple’s Disk Utility tool to do this; here’s how.
- Open Spotlight and search for Disk Utility.

- Select your Mac disk and choose First Aid.

- Tap Run to let your device look for and fix problems.


8. Delete Heavy-Usage Apps
You can also try removing apps that consume significant CPU space if you continue having problems. Start by checking to see which apps consume the most memory in Activity Monitor before then removing these in Finder.
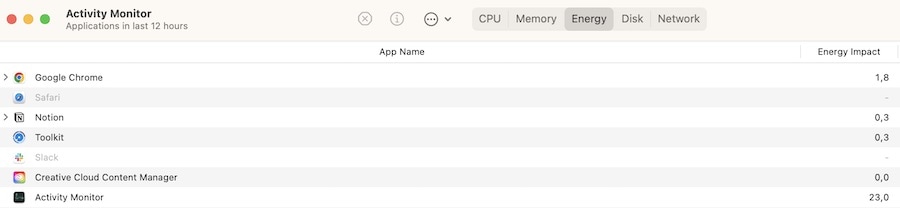
- Open Activity Monitor and look at the Energy and Memory tabs.

- Decide on which apps you should remove based on what you see. Focus on deleting apps that you either rarely or don’t use.
When you’re ready to delete an app, open Finder and follow these steps.
- Open Applications and look for the app(s) you’d like to remove.
- Look for an official uninstaller. You’ll normally see these in a folder, as I’ve shown in the example below.

- If you have an uninstaller, open this and follow the instructions. Otherwise, drag and drop the app into the Trash.
- Go to your Trash folder and select Empty if you need to drag and drop the app there.

9. Temporarily Disable Spotlight Indexing
Only disable Spotlight indexing temporarily; otherwise, it may become less efficient at file tracking over time. Nonetheless, it can at least help you decide on what to do next.
- Open the Terminal app.
- Type this command:
sudo mudtil -i offand hit the Return key.

You need fseventsd to effectively index apps and programs on your Mac, but you certainly don’t want it to consume significant CPU space and slow down your device. Try each of these steps and see which ones work for you.