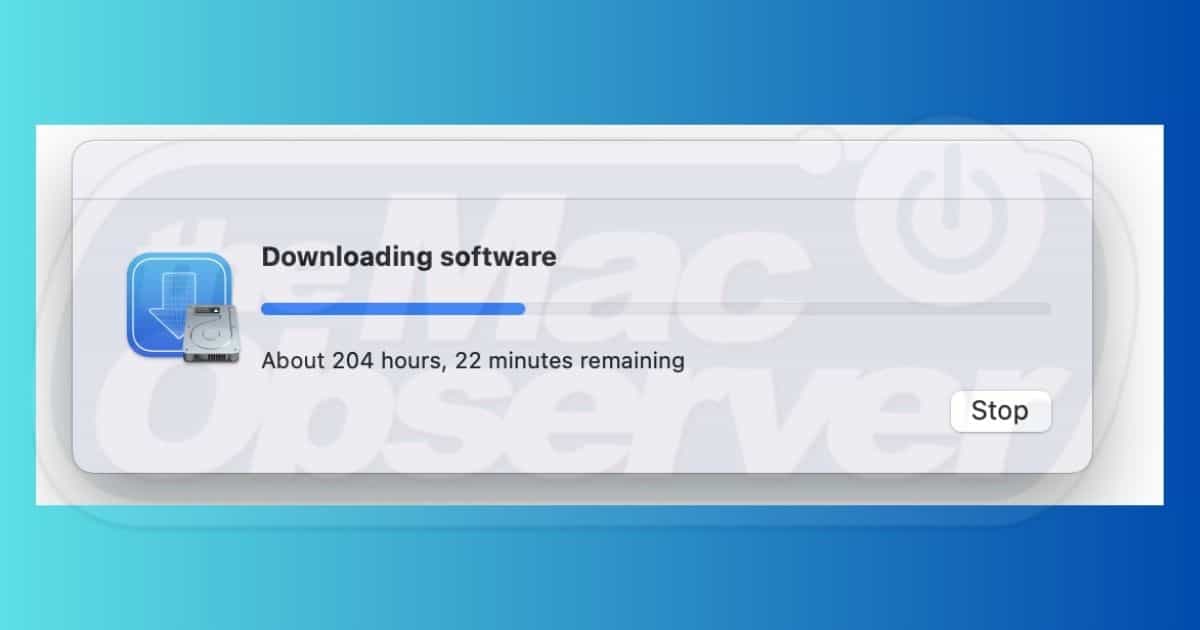
Are you experiencing slow download speeds from the Mac App Store? The first logical step is to check your network connection. But if you’ve already confirmed that your internet speed is fast and your cellular data works fine, the issue might be isolated to the app marketplace itself. I’ve found some solutions to address this problem, so the apps you need to download or update won’t take longer than necessary to appear on your Mac.
4 Ways to Fix Slow App Store Downloads on Mac
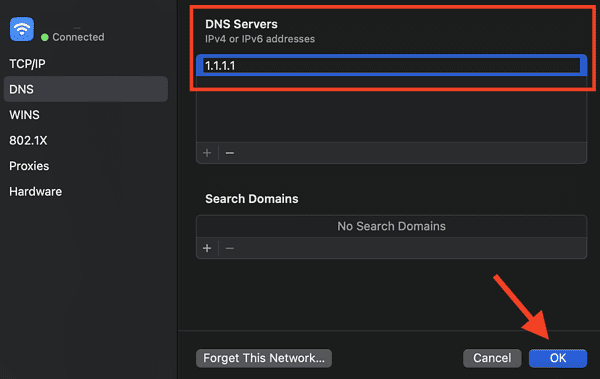
1. Change Your Mac’s DNS Settings
If your network connections work fine everywhere except the App Store, you may need to look under the hood and adjust your DNS settings.
A DNS server functions like an address book to the internet. Whenever you type in a link on your browser, your computer translates it to a numeric IP address. Your ISP typically provides DNS servers by default. However, if your ISP-provided DNS server is acting up, it will affect your browsing and downloading activities. Manually adjusting your DNS server settings may help address the slow download issues.
Time needed: 1 minute
To change your Mac’s DNS settings, follow these steps:
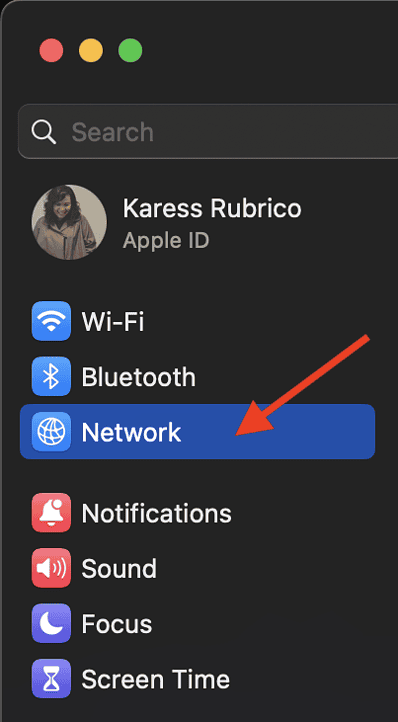
- From System Settings, click on Network.
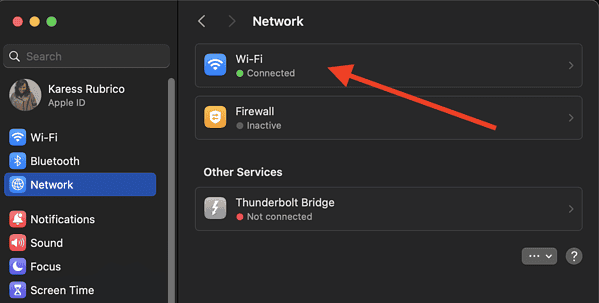
- Select Wi-Fi.
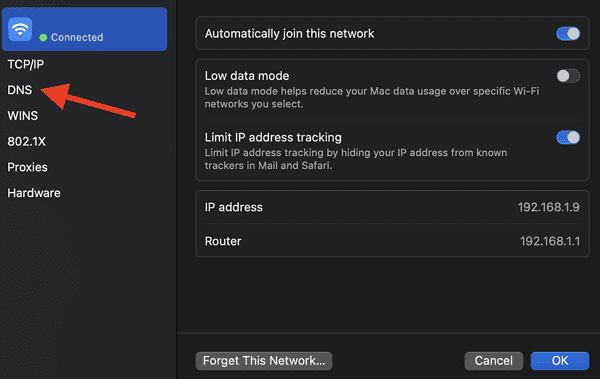
- Choose your current network connection, then click Details.
- Click on DNS.
- Under the DNS Servers tab, click the + button to add a DNS server.
- Key in 1.1.1.1 or 1.0.0.1, then click Ok.
2. Disable VPN Profiles on Your Mac
If you use a VPN on your Mac, disconnecting from it may help address the problem. Users who have experienced the same issue reported that switching off their VPN connection restored regular download speeds.
To disable VPN connectivity from your Mac, navigate to System Settings > VPN > Connect to or disconnect from a VPN service. Toggle off the switch to deactivate the VPN.
 NOTE
NOTE
3. Toggle On Private Relay
If you’re subscribed to iCloud+, enabling Private Relay might fix the download delays. Private Relay functions similarly to a VPN. It prevents websites from collecting your IP address and exact location, preventing your ISP from accessing your browsing history on Safari. However, Private Relay uses two separate relays to safeguard your information, taking data protection a step further.
To enable Private Relay, navigate to System Settings > [your name] > iCloud. Select the option to Turn On Private Relay, then click Done.
4. Reset Your Network Settings
If the solutions above don’t work, resetting your network settings should do the trick. Take note that doing this will delete all your Wi-Fi and cellular hotspot connections. You will need to keep your password ready to be connected to them again.
- Click on the Wi-Fi icon on the menu bar.
- Select Wi-Fi Settings.
- Click on the Details button beside the Wi-Fi network you want to delete.
- Select Forget this Network.
- Confirm the deletion by clicking on Remove.
Contact Apple Support if issues persist. Likewise, you can double-check if the issue is with your Apple ID—it might be appearing as inactive on Apple services.
