
Time Machine is likely my favourite macOS feature. As someone who changes computers often, it makes the transition seamless. But, sometimes, things don’t go as planned, like error 19, which comes with an overly generic “Backup Disk Image Could Not Be Accessed” message. Keep reading to understand what may have happened to your Time Machine backup and how to fix it.
Why Does the ‘Backup Disk Image Could Not Be Accessed’ (Error 19) Message Appear?

In a broader sense, error 19 means Time Machine isn’t being able to read your backups. This may happen for a few reasons, which we’ll detail below.
Corrupt Backup File
You may have experienced a power outage or the backup disk disconnected for any reason during the backup process. In this case, the backup file may have been corrupted. Time Machine won’t be able to finish the process or read the file.
NAS Access Issue
If you use a Network-Attached Storage (NAS) device, you may have temporarily lost access to it. The NAS may be going through a schedule update or simply require you to log in again.
Failing Disk Drive
This is the worst-case scenario. No disk, HDD or SSD, is immune to physical failures, and the chance of a drive breaking grows over time.
How To Fix Time Machine ‘Backup Disk Image Could Not Be Accessed’ (Error 19)
If Error 19 Is Caused by a Corrupt Backup File
There’s a chance your Time Machine backup may still be fixable. To check whether this is possible, hold Option, then click the Time Machine menu bar icon. Select Verify Backups. This option is only available if you use Time Machine through a network device, like a NAS or Time Capsule.
If this is the case, you’ll be able to check the verification progress using the same menu bar icon. After it’s done, try to make a backup again.
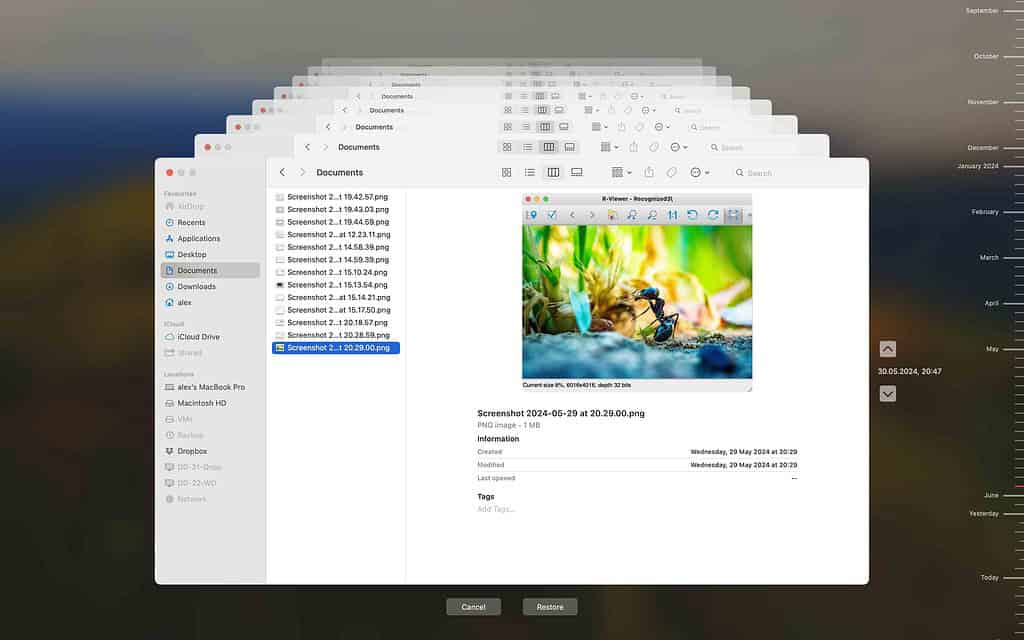
In case the file can’t be restored, you’ll need to erase your Time Machine backups. After that, you’ll have to start from scratch.
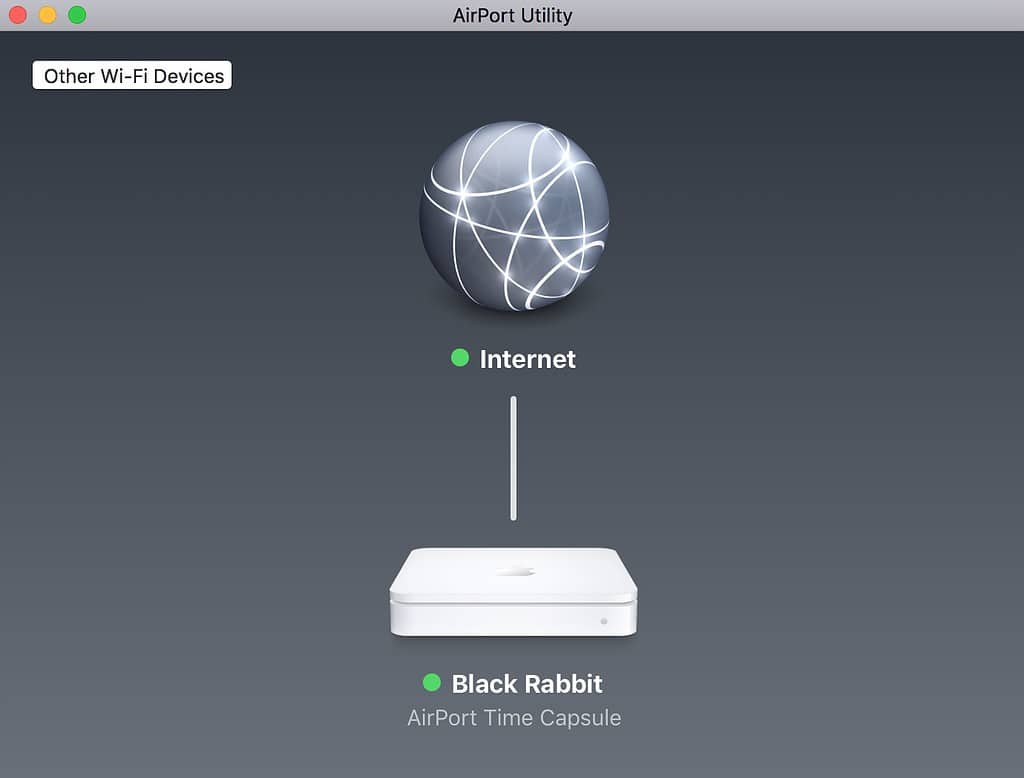
To erase the backups on a Time Capsule, open AirPort Utility and select the Time Capsule. Go to Edit > Disks > Erase Disk, and choose between a quick or a complete erase. After that, set up your Time Capsule again on System Settings > General > Time Machine.
In case you don’t use Time Machine via network, your only option is to format the backup drive.
- Open the Disk Utility app, select your Time Machine disk, and click Erase on the toolbar.

- Name it as you prefer, and format it as APFS.
- To set up the backup disk again, go to System Settings > General > Time Machine.
- Click the “+” button.
- Select the drive you use for backup and click “Set up disk”.
- Change the encryption and disk usage limit configurations to your preference and click “Done.”


If Time Machine Error 19 Is Caused by a NAS Issue
If you lost access to your NAS device, first make sure it isn’t performing a scheduled maintenance reboot or updating. Trying to power it down during one of these procedures could render it unusable.
After that, the safest way to restart the device is through its control panel. The NAS should have a tag with an IP address for the web interface. Some devices also have a companion app, which you may have installed on your Mac when configuring the NAS.
When the reboot completes, try accessing the NAS from Finder. If you’re able to open it and check the files, you should be able to start backing up with Time Machine again.
If Time Machine Error 19 Is Caused by a Failing Disk
As I said previously, this is definitely not good. You can try formatting your Time Machine drive using Disk Utility, but this will be, at best, a temporary solution. Disk failures not only don’t go away, they get worse over time.
You may be able to wipe the drive using Disk Utility and set it up again as a Time Machine location. Even if you manage to do that, don’t trust it. Get a replacement disk as soon as possible because the same error 19, or other issues, will surely happen again.
Having a Time Machine backup always at hand gives Mac users significant peace of mind. Having to deal with backup issues, on the other hand, is always worrisome.
The best tactic is using the 3-2-1 backup strategy: three copies, using two methods, with one copy off-site. It may seem extreme if you just want your family photos secure, but, for corporate environments, it’s a must-have. You can always use other backup tools available for macOS other than Time Machine. This keeps you safe not only from the Time Machine error 19, but from many other disastrous possibilities as well.