
As someone who’s heavily invested in the Apple ecosystem, owning both an iPhone and a MacBook, the iPhone Mirroring feature was one of the most awaited features for sure. Announced by Apple at WWDC’24, it basically allows you to control your iPhone directly from your Mac. Not only does it offer a more seamless experience between the two devices, but it also offers a productivity boost.
Think about it—want to respond to a message quickly? Just open the app directly. I can even order food or shop online using my iPhone on my MacBook. It literally means that my iPhone can stay somewhere charging, even in Standby mode. I can work on my MacBook and control both my Mac and my iPhone.
Intrigued? Here’s how you can enable this feature on your Apple devices, too.
Requirements for iPhone Mirroring
Before we start, ensure your devices meet the requirements. Here’s what you need for iPhone Mirroring to work smoothly.
- Mac Compatibility: You’ll need a Mac running macOS Sequoia. Additionally, for Intel-based Macs, you’ll specifically need a model equipped with the T2 Security chip. On the other hand, Apple Silicon Macs are good to go.
- iPhone Compatibility: Similarly, your iPhone needs to be running on iOS 18.
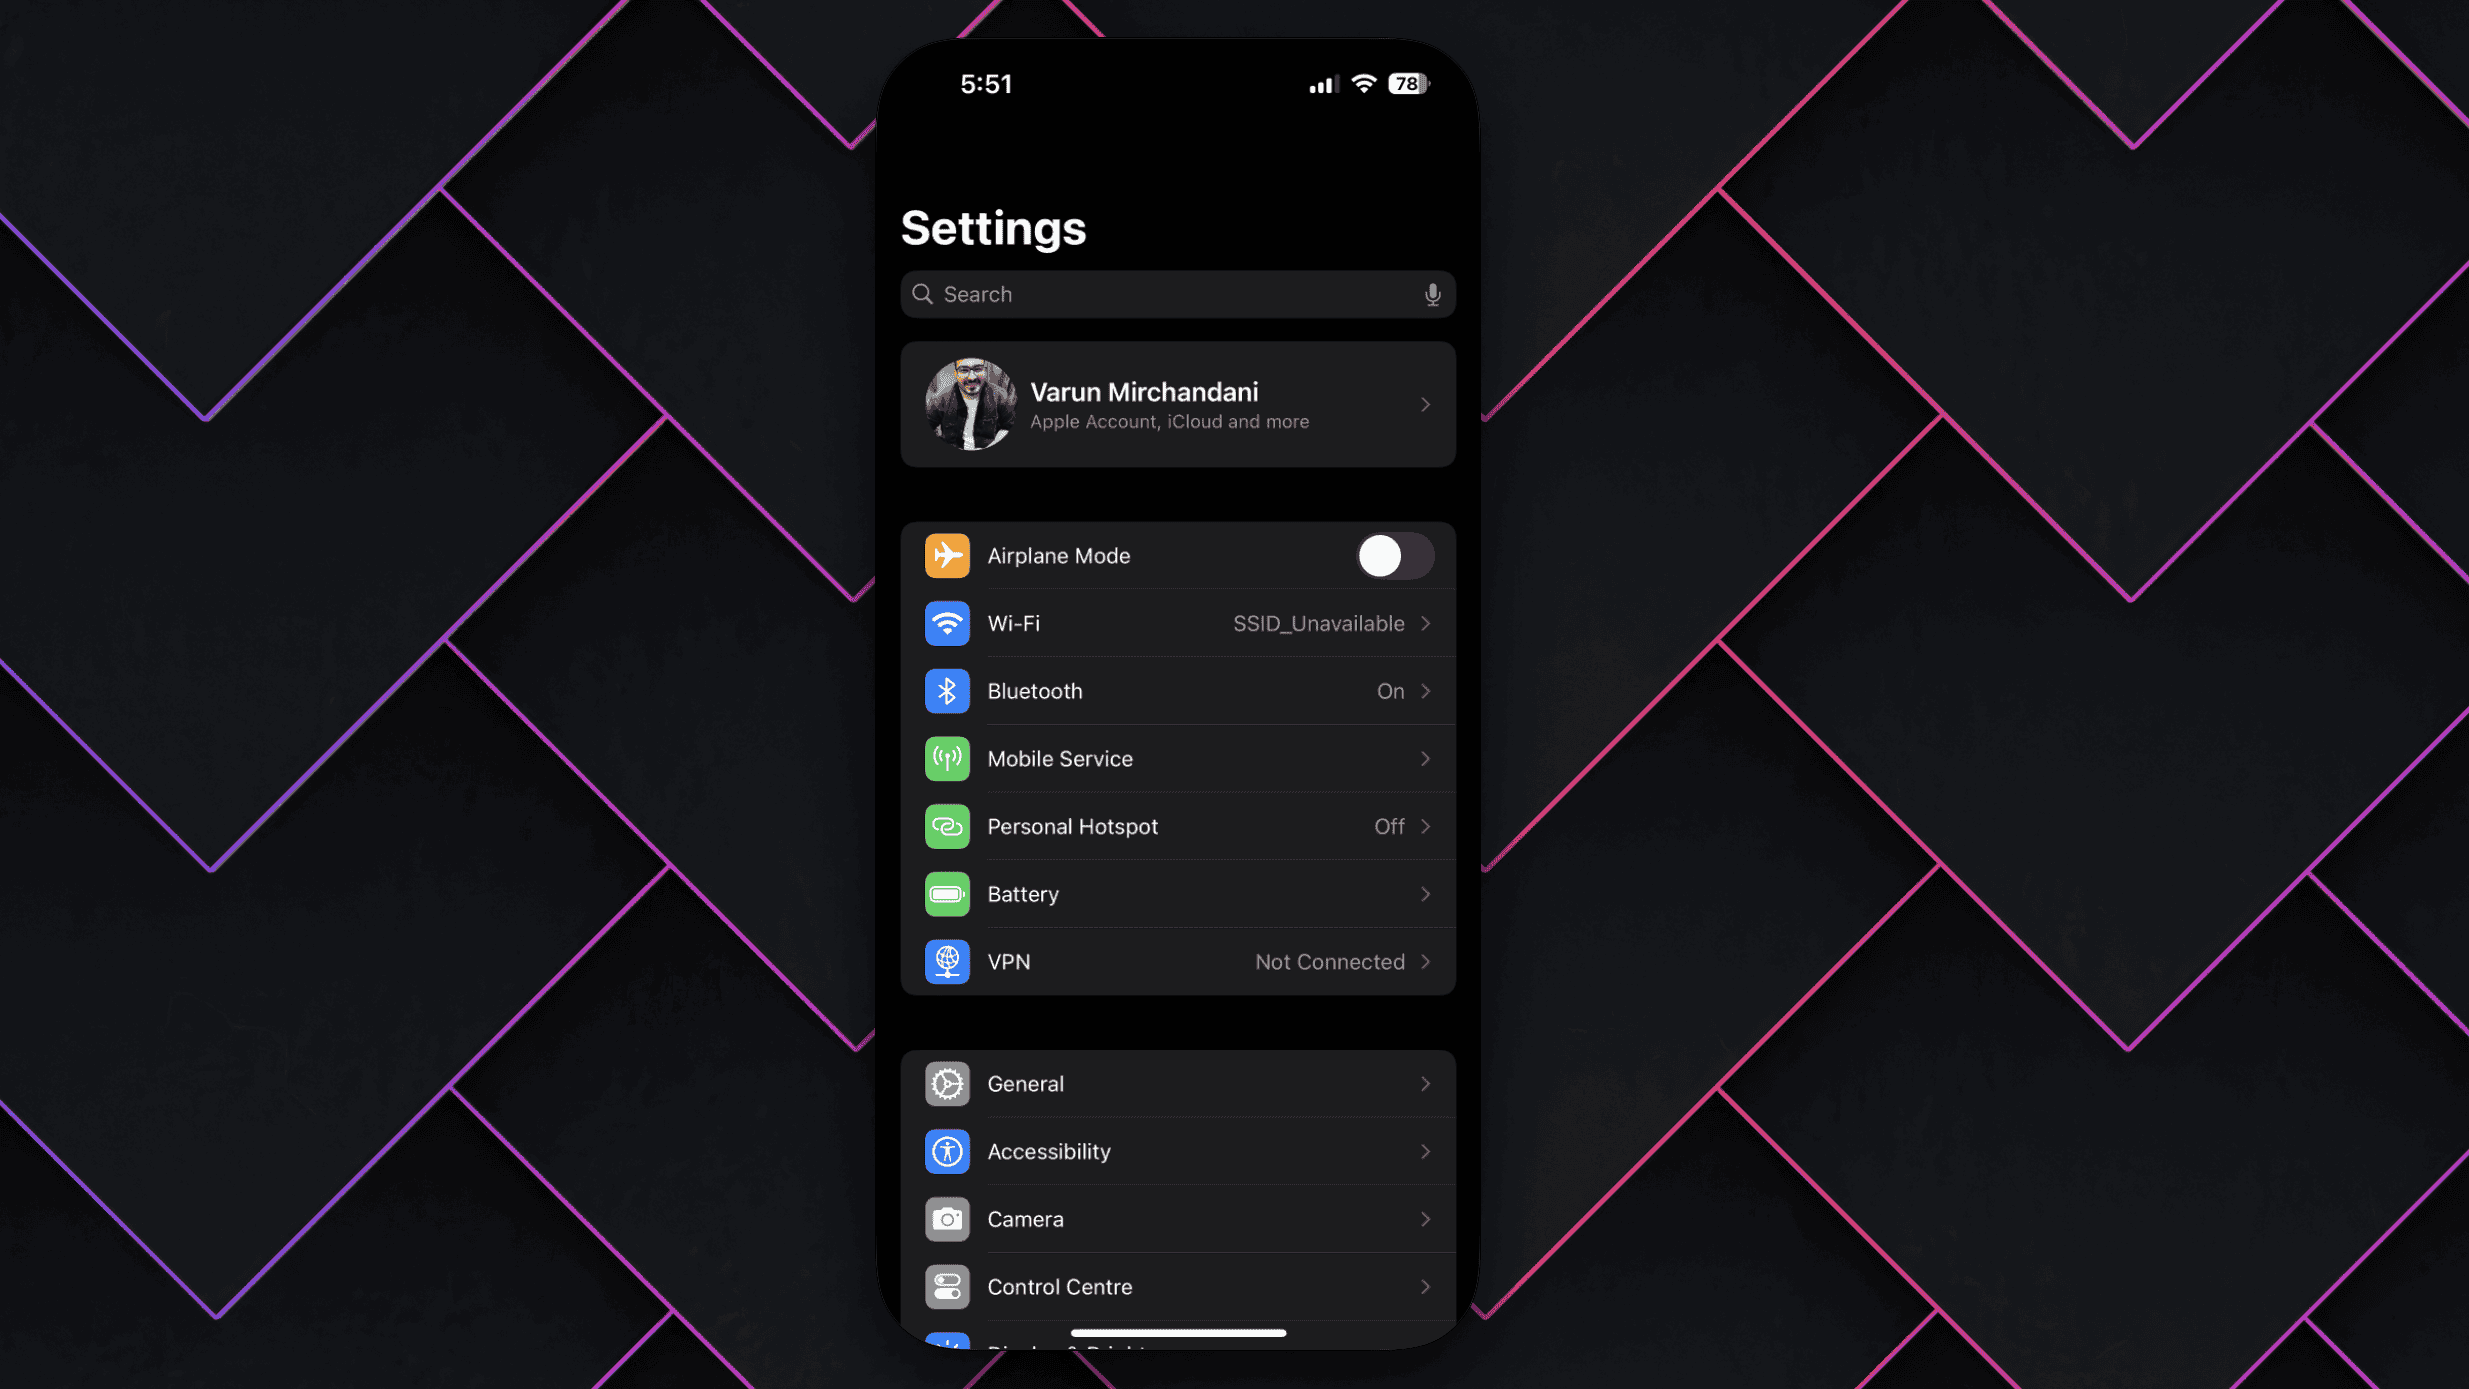
- Connection: Make sure that both your iPhone and Mac are signed in with the same Apple ID and connected to the same Wi-Fi network. Also, turn on Bluetooth.
How to Use iPhone Mirroring to Control Your iPhone From Your Mac
Enable iPhone Mirroring on macOS Sequoia
Time needed: 2 minutes
Okay, so to start, we first have to enable the iPhone Mirroring feature on both your Mac and your iPhone. Follow these steps:
- After updating your Mac to macOS Sequoia, you’ll notice an icon in the Dock for iPhone Mirroring. Click on it to launch the application.

- Click on Continue.

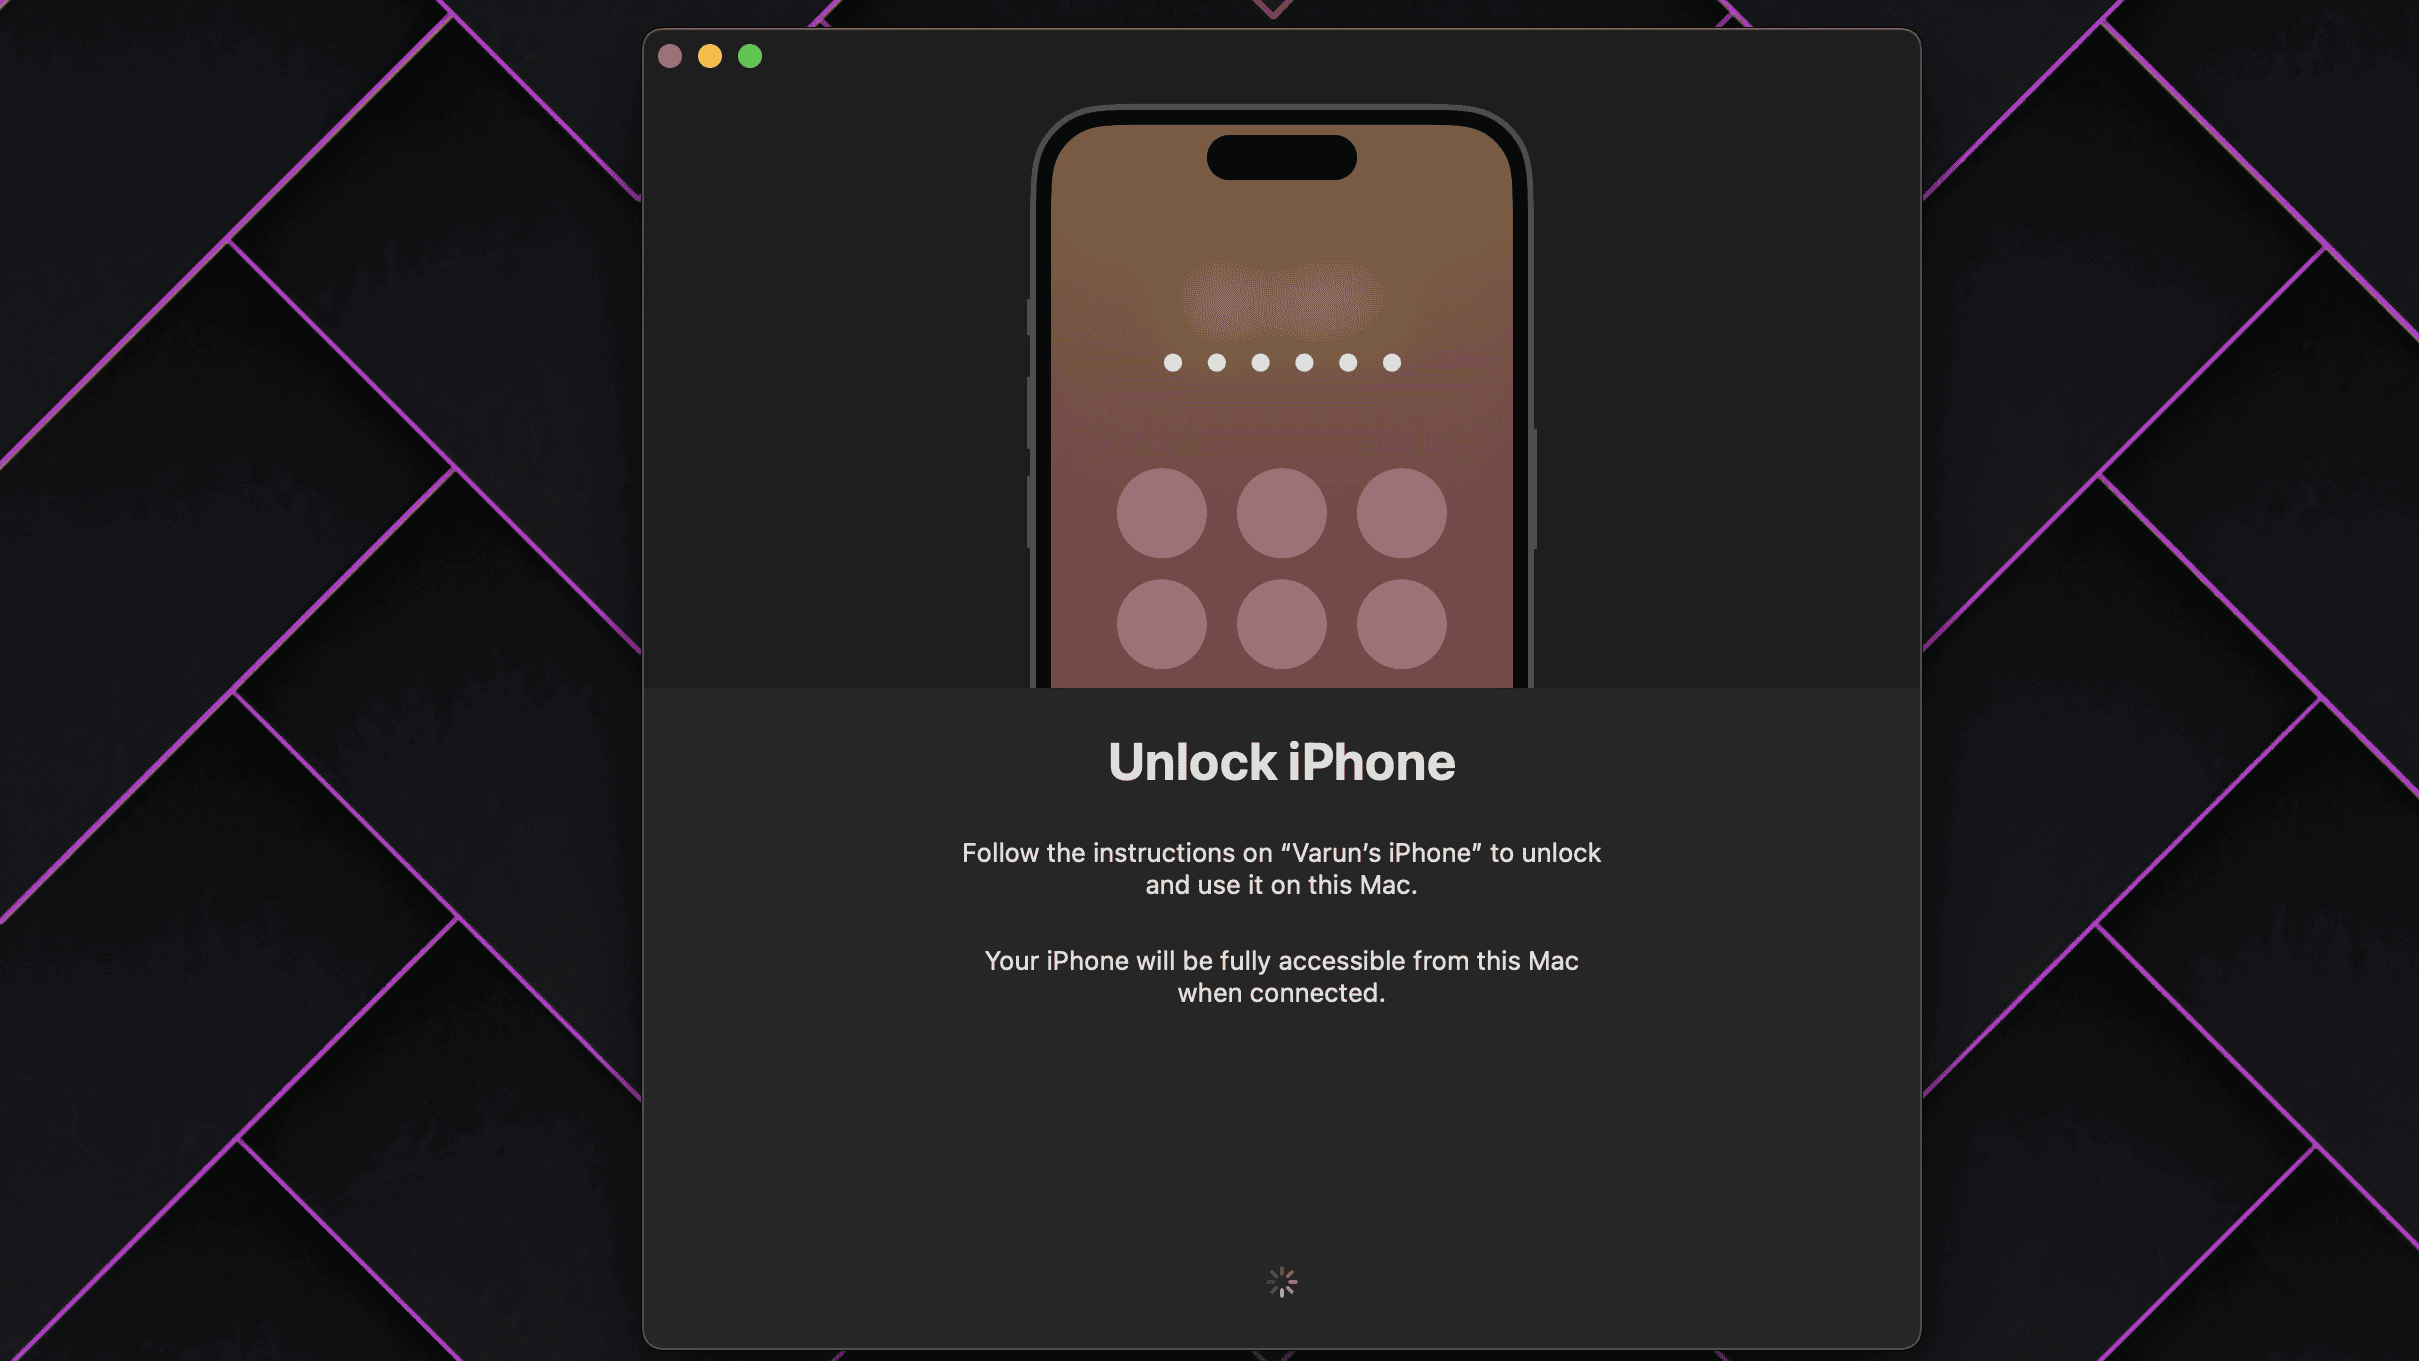
- You should get a prompt for unlocking your iPhone. Do that.

- After you unlock your iPhone, the app will begin pairing it to your Mac. Once done, click Get Started.

- The app should now close. At this point, you can lock your iPhone again.
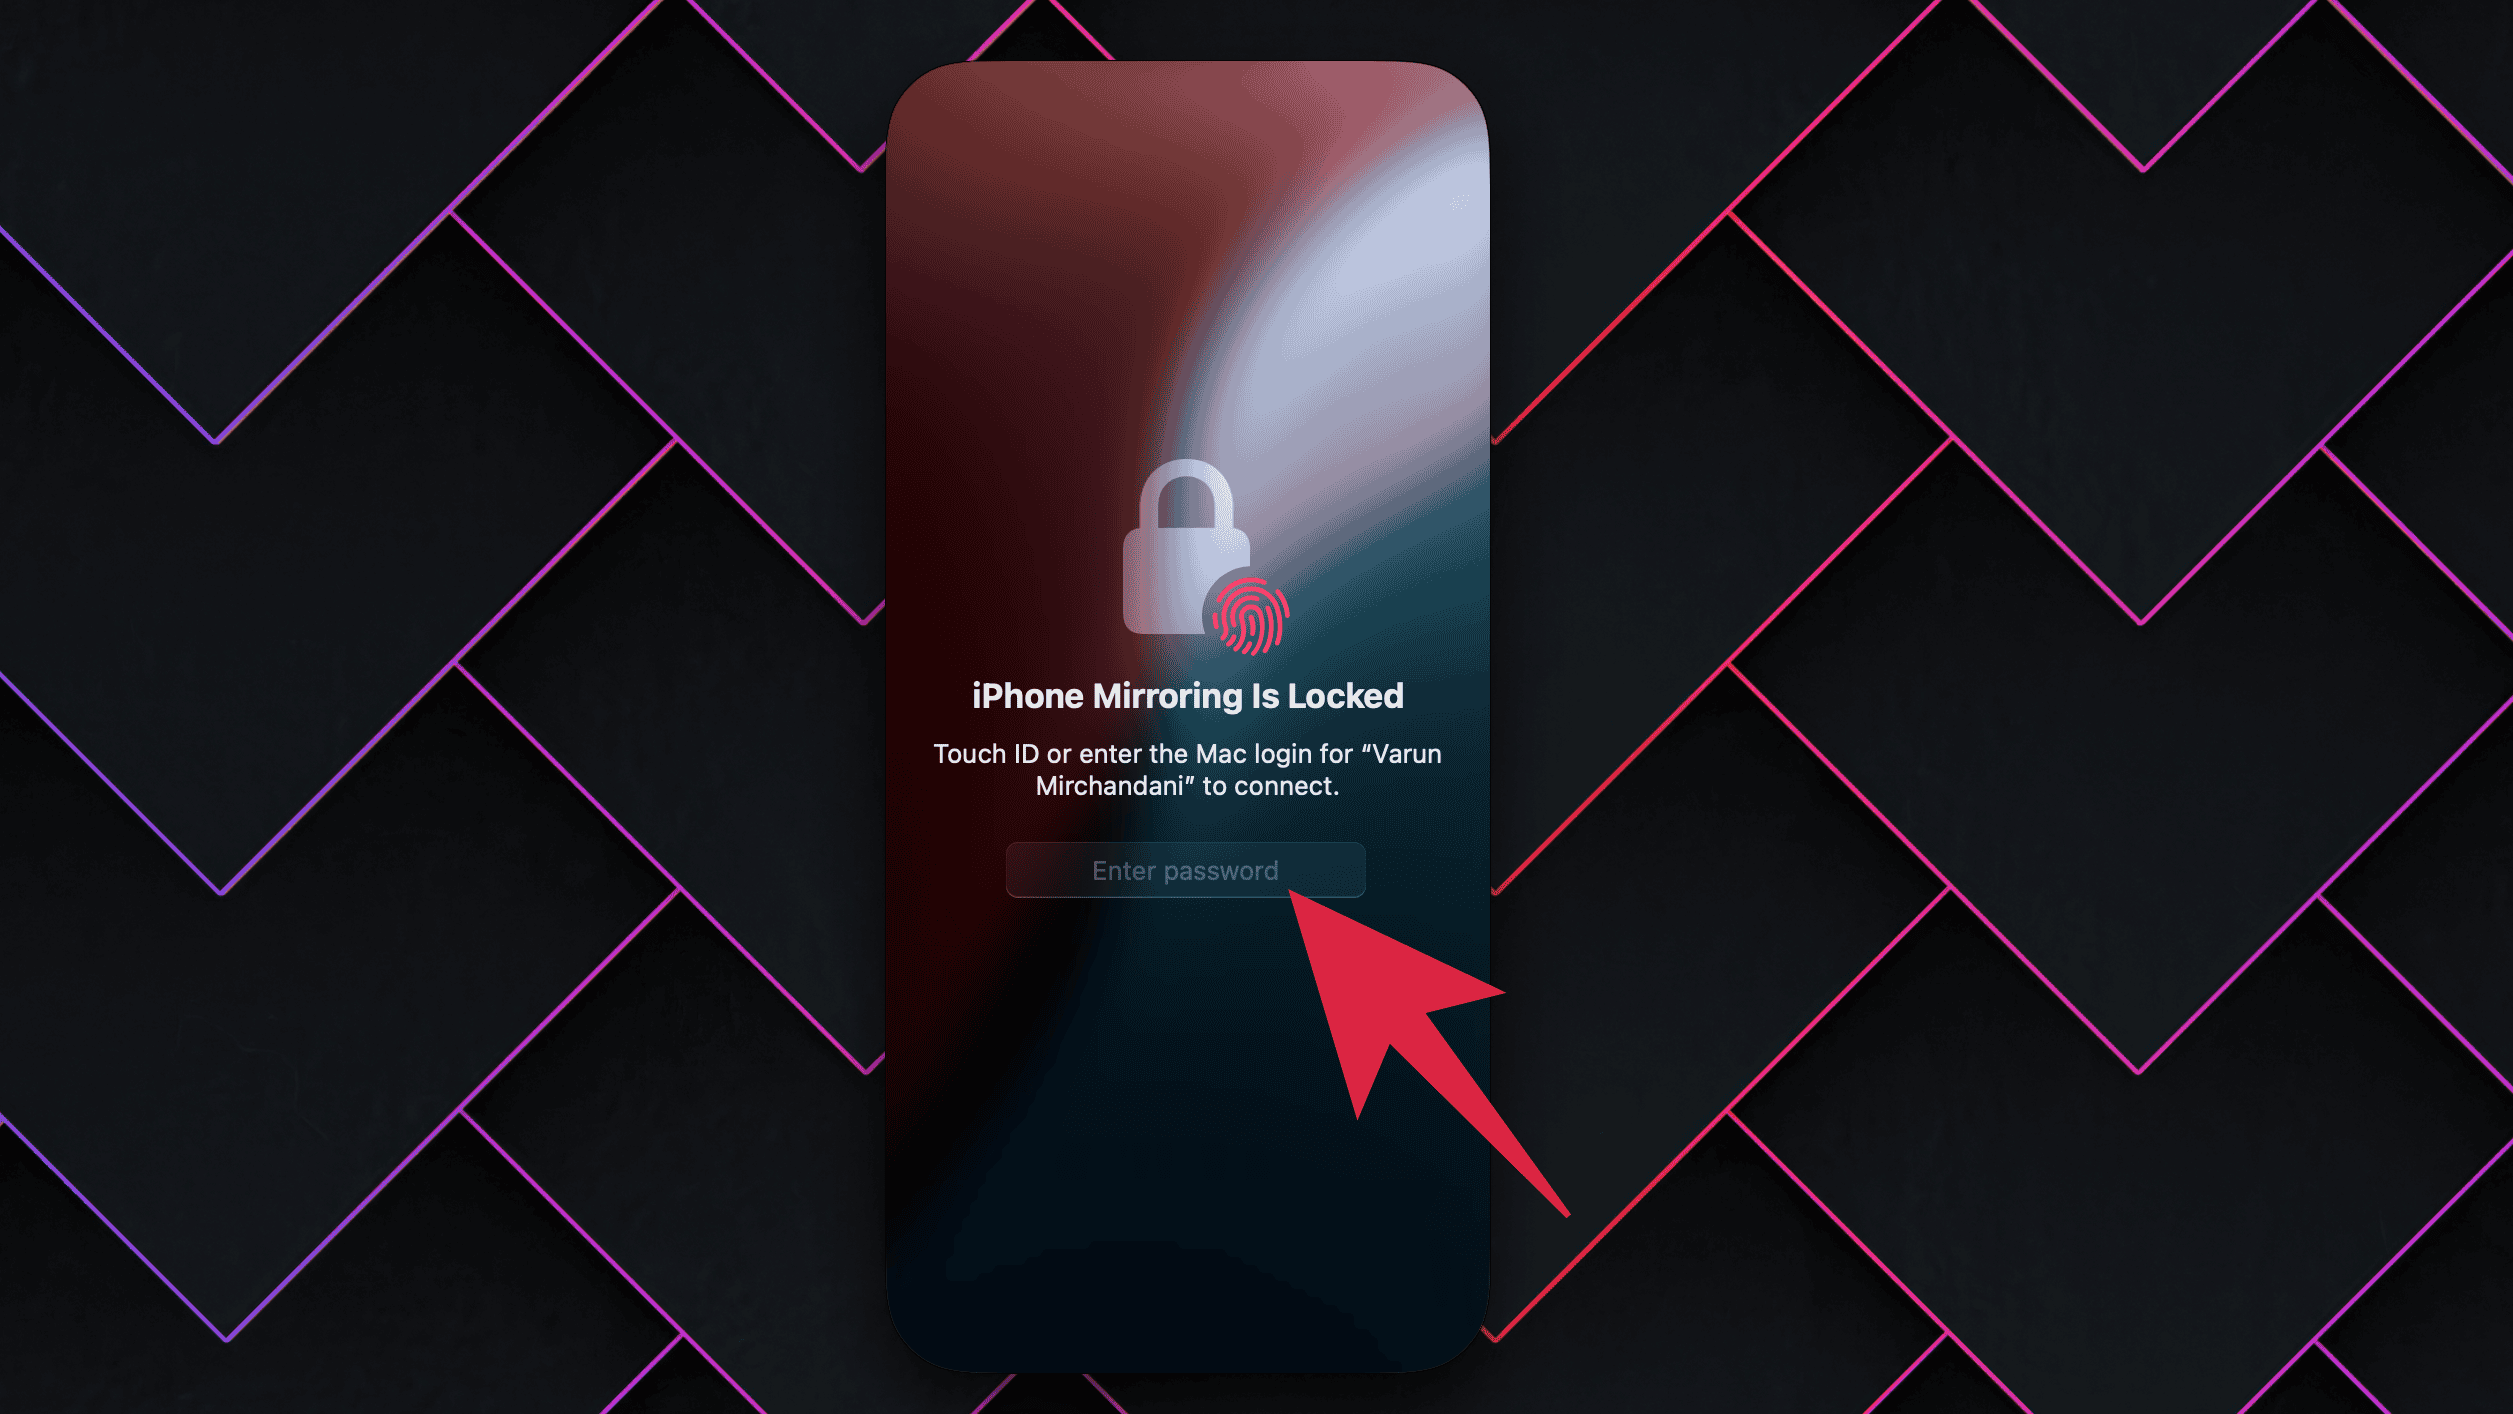
- Next, click on the iPhone Mirroring app in the Dock to launch it. To authenticate your identity, you can choose from either Ask Every Time or Authenticate Automatically.
- Based on your selection, Authenticate the Mac by entering your password.

- You can now directly interact with your iPhone here.


And that’s it. You can now easily control your iPhone from the comfort of your Mac.
Things to Keep in Mind While Using iPhone Mirroring
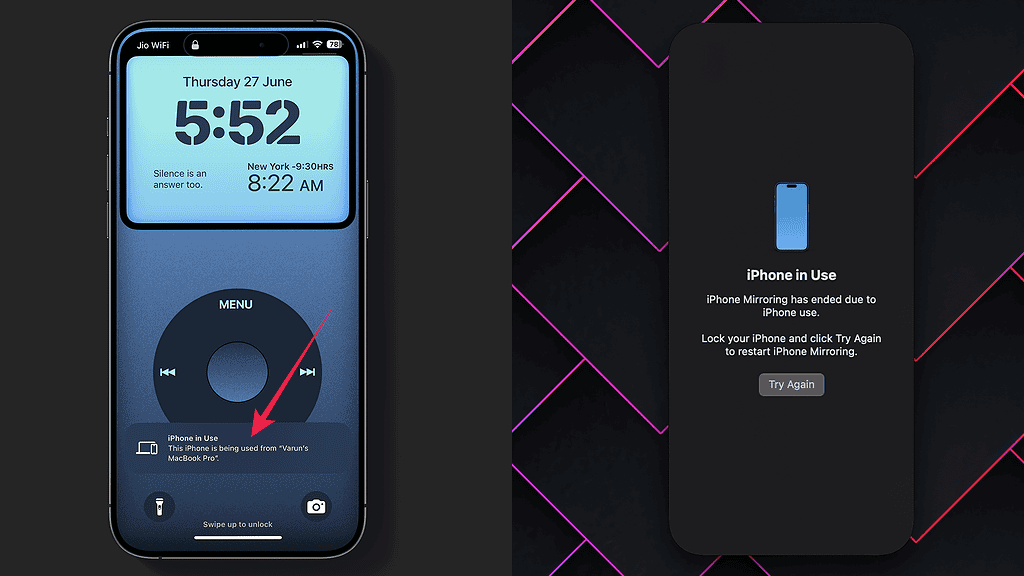
As much as I recommend iPhone Mirroring, there are a couple of things to keep in mind when using it. First off, you can only use this feature when your iPhone is locked. You’ll also get a notification on the lock screen stating that this iPhone is currently in use by your Mac. Mirroring will stop the moment you unlock your iPhone. A notification for the same will be present inside the iPhone Mirroring app as shown below.
It’s also worth noting that while you can use the standard two-finger gestures inside iPhone mirroring, it doesn’t support swiping up on the navigation bar. If you hover your cursor at the top of the app window, you’ll get the Home Screen and App Switcher icons.
Oh, and one more thing. While it’s super easy to share files from your Mac to iPhone and vice-versa via AirDrop, iPhone Mirroring makes it even better. You can now easily drag and drop files between your iPhone and Mac for effortless multitasking. I know that’s the feature I’ll be using the most.