
You’ll likely encounter problems when using old software versions like OS X. Specific apps, features, and functions aren’t supported—what’s worse is that Error 403 can stop you from using your device altogether. If the error hits, will it brick your device? Not necessarily. Here are several troubleshooting steps to restore system-wide functionality on classic macOS versions.
What Does Error 403 Mean?
Error 403 occurs when you experience issues connecting to Apple’s servers. The issue also impacts newer versions of macOS. While this is largely a server-related issue, you can still solve the problem in numerous ways. Some are hardware-related, whereas others require you to make software tweaks.
How to Fix Error 403 Forbidden When Installing OS X
1. Restart Your Computer in Recovery Mode
Time needed: 45 minutes
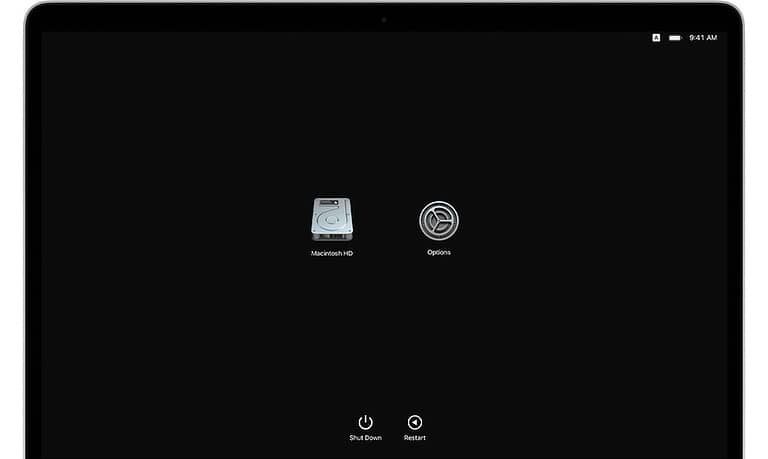
Restarting your computer in Recovery Mode will let you perform tasks like installing software without other resource-intensive tasks running in the background. Follow these instructions to enter Recovery Mode on an Intel-based Mac:
- Turn your Mac off and on.
- After switching your device back on, hold either Command + R, Command + Option + R, or Option + Shift + Command + R until you see the loading screen.

- Type in your Mac password and choose the volume you want to use.
- Enter the admin account password and try installing OS X.
2. Set the Date in Terminal
Sometimes, you might not be able to install OS X and other Mac software because your device has an inaccurate date and time. The easiest way to fix this on older computers is by setting the date in Terminal.
- Open Terminal on your Mac.
- Type the date in this format: mm dd hh mm yyyy (month, date, hour, minute, year).

- Press the Return key.

3. Use a Different Internet Connection
Since Error 403 is often a server problem, you should try using a different internet connection. You can either connect to a different Wi-Fi network or use an ethernet cable if you have one. I would recommend using an ethernet connection because you’ll typically have a more stable connection while installing your software.
To change to an ethernet connection, plug in the cable and choose your network. To pick a different Wi-Fi connection, select the Wi-Fi icon in your toolbar and pick the new connection before entering the passcode if required.
4. Install OS X Via the Internet Rather Than a USB
It’s common to install OS X and older versions of macOS via a USB. However, if you’re still having issues, you might find it easier to download the software through your internet connection instead.
You need to install OS X via a DMG file that you can download from your web browser. Apple recommends using Safari, but I also managed to download the installer from Google Chrome.
- Go to this page on the Apple website.
- Scroll down to Use a web browser for older versions.
- Choose from the list of options available by double-clicking on the icon with a circle and downward-facing arrow.

- Open the InstallMacOSX.dmg file and double-click on the PKG file, before going to your Applications and using the macOS Installer.

- Complete the download for your preferred software.


To pick the right version of macOS, consider looking at how the software has evolved over time.
5. Create a Bootable Installer
On the flip side, if you’ve already tried installing via the internet, you might be better off creating a bootable installer. Here are the steps you should follow:
- Connect a USB drive to your Mac with at least 32GB of storage.
- Open Terminal.
- Type sudo /Applications/Install\ OS\ X\ [macOS version].app\ /Contents/Resources/createinstallmedia –volume /Volumes/[USB name] –applicationpath /Applications/Install\ OS\ X\ macOS version].app and enter your password.
- Press Y and then Return.
- Allow Terminal to access files after your USB drive is wiped.
- Turn off your Mac when the process has been completed. Then, switch it on again and hold Option (or alt, depending on your device).
- Choose the bootable volume from which you want to install OS X.
- Install the software from your USB drive.
While it’s hard to use older versions of macOS and OS X, it’s not impossible. There are several things you can do to fix the Error 403 problem, and it depends largely on how you previously tried to install the software.