When Apple announced macOS 15, at the WWDC 24 Keynote, not many users were eager to update. And that wasn’t the case for iOS, iPadOS, and watchOS, which some started downloading the moment the releases appeared.
There’s a good reason for that: if things go south with your iPhone, it’s relatively easy to restore it without losing a lot of data. Apart from the camera roll, which you may have synced with iCloud, most of your iPhone’s contents likely consist of online accounts. On a computer, however, you might have hundreds of Gigabytes of data only stored locally. Even if you back up your entire system, a Time Machine restore may take hours.
Somebody has to upgrade, however. We must test the new features to write articles with first-hand experience on the matter. I volunteered, though with a limitation: I don’t own a compatible Mac. I’d have to upgrade my Hackintosh to use macOS 15 Sequoia. Here’s how things went.
Before We Proceed: Understanding Hackintoshes
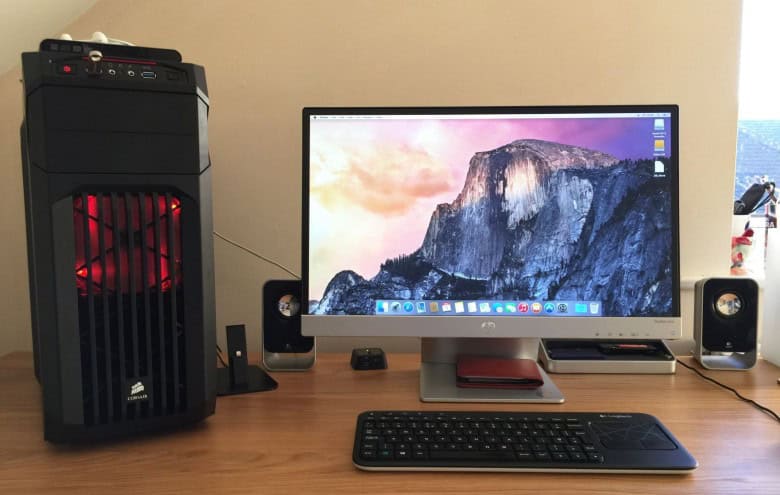
In case you don’t know, a Hackintosh is a non-Apple computer running macOS. While the idea may seem weird, people have actually been doing that since the Apple II.
I’ll try to keep jargon to a minimum, but this article is intended to help Hackintosh owners curious about upgrading. Therefore, much of the following content requires some level of previous knowledge on the topic. If you’re new to the subject, I recommend this explainer article about Hackintoshes I published a couple of weeks ago.
Challenges of Upgrading a Hackintosh to macOS 15 Sequoia

The initial setup of a Hackintosh is not a trivial task. As stated by the very creators of a comprehensive guide about this subject, you’ll almost certainly do something wrong the first time. And a few times after that. Hackintoshing is a trial-and-error hobby. But that aside, things are mostly smooth sailing—unless you want or need to upgrade to a newer macOS.
The first challenge is figuring out if your hardware is up to the task. GPUs, and wireless cards, among other components, may not be compatible with more recent versions, despite the developers’ best efforts.
After that, you’ll have to gather the required software. To update your macOS version, you need to update the Kernel Extensions (Kexts), the OpenCore bootloader, and perhaps additional patches you may use to make some parts work.
With all that sorted out, plug in the installer disk. Of course, there’s still a chance that things won’t go as they should. It doesn’t come as a surprise that many people in the Hackintosh community tend to stick to the second most recent macOS, and only upgrade when Apple releases a version after the one that succeeds what they’re using. To this day, a lot of Hackintosh owners are happily running Monterey or even Big Sur in their machines.
macOS Developer Beta, But Without a Developer and Without a Mac
That was a luxury I couldn’t afford. I have features to analyze, screenshots to take, bugs to discover, and report back to my readers (and sometimes even to Apple).
Multiple Ways of Trying macOS Sequoia
At first, I tried doing it the safest possible way: a virtual machine. Using the official installer, making it into a disk image, and burning that image to a USB stick, nothing worked. Not to mention, I tried no less than three VM apps, all unsuccessfully.
The next step is the second-safest way: using my other computer, this time a Mac from 2012. It runs Sonoma with OpenCore Legacy Patcher (OCLP), so it was worth a shot. Sadly, it didn’t get past the first installer screen, and I got a “not compatible” error message.
Last resort: I made a backup of my Ubuntu installation to an external disk, wiped the SSD it used to live in, and fired the macOS Sequoia Developer Beta installer while booting my current Sonoma. Directed it to the now empty SSD, and gathered the up-to-date Kexts and OpenCore base files, placing them in an EFI-only USB stick.
It Works! Kind Of…

Within half an hour or so, I got the “your Mac needs to reboot to finish updating” message. Booting from the updated EFI, a few more reboots, and I was greeted by Sequoia’s characteristic wallpaper depicting tree trunks. Upgrading my Hackintosh to macOS Sequoia must have taken 50 minutes or less.
Not everything was perfect, however. Wi-Fi didn’t work at first, and, as of now, it still isn’t working with AirportItlwm, the most straightforward method. The regular itlwm helped by the Heliport app does the trick, but has limitations: no Handoff or Continuity.
The sound doesn’t work, too. Some people reported success with the regular AppleALC Kext, while others have made it work with VoodooHDA. Unfortunately, neither option worked for me.
What has positively surprised me is hardware acceleration. My (integrated) graphics card worked out of the box; no patching or update was required. That’s the main obstacle for people who build Hackintoshes out of laptops: if your GPU doesn’t work, macOS may even boot, but it will be unbearably slow and unusable.
Have in mind that your mileage may vary. I have read reports of people who weren’t able to get hardware acceleration working, or that ended up with extremely unstable systems. I have only used Sequoia for a few hours, but it didn’t throw any fatal errors at me (yet). Some minor glitches and crashes, but nothing one can’t handle.
Running the Migration Assistant was remarkably fast. It transferred data from one internal PCIe SSD to another in less than 40 minutes. Lots of apps needed to be configured from scratch, but at least they were all installed automatically.
Limitations aside, there it is a Hackintosh upgraded to the macOS Sequoia Developer Beta four days after its release. I’m not a developer, and the computer is not a Mac, but that didn’t stop either of us.
Drawbacks of Upgrading a Hackintosh to macOS Beta
Hackintosh developers have only one piece of advice about installing macOS betas: don’t install a macOS beta. Official Hackintosh support for any given version starts only when Apple announces the final release, about three months after the WWDC.
That doesn’t mean people won’t do it anyway or that the community won’t try to help each other with issues that may arise. But unless you have been specifically asked to help the developers with testing, you’re pretty much on your own. They won’t accept bug reports, listen to complaints, or care about what isn’t working on your computer.
There’s also the issue with new features. This year in particular has been relatively disappointing for some people, although many still found it exciting. The main novelty, not only for macOS, is Apple Intelligence. It will power most of the new functionalities.
However, it won’t work on computers with Intel processors — that is, the totality of Hackintoshes. There’s no way around that: Apple Intelligence leverages the Apple Silicon chips’ Neural Engine, which simply doesn’t exist on Intel CPUs. Even if it worked, most of Apple’s AI features won’t arrive until 2025.
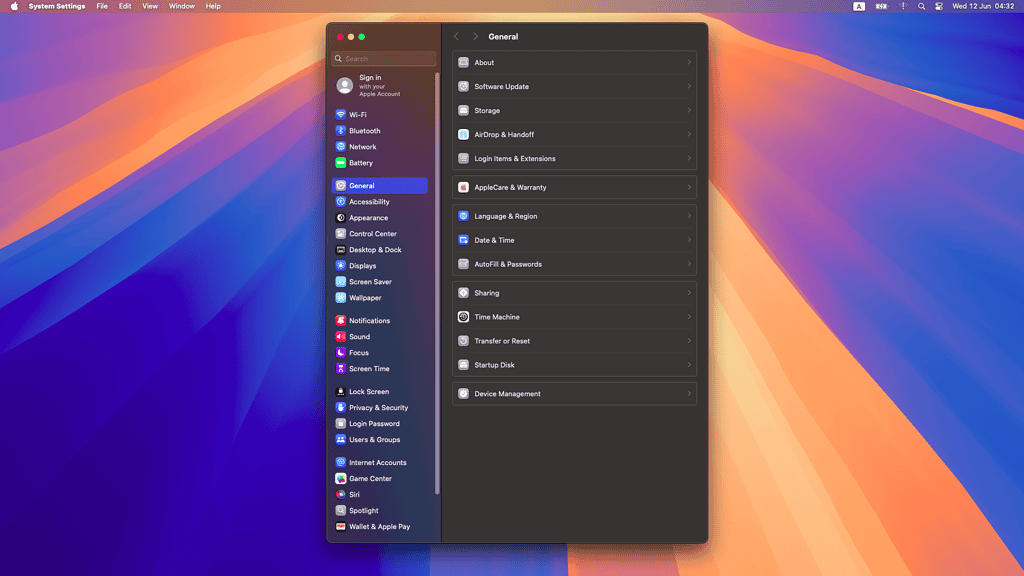
That’s not to say Sequoia doesn’t have new, interesting features. Window tiling, the Passwords app, and reorganized system settings, to mention some. However, the first two are simply Apple versions of functionalities offered by other apps, while the latter is more of a fix for something the company messed up in Ventura.
Not All Tinkering Is Worth It

As I wrote in an earlier article, eventually, macOS 15 Sequoia will be a worthy upgrade over Sonoma. It’s a safe bet that this “eventually” won’t happen before Sequoia reaches stable status. And it might take some time after that, too.
I like Hackintoshes because I love tinkering, and Apple simply doesn’t allow for that with most of its computers anymore. Soldered components and hardened software limitations, it “takes the fun away”. A Hackintosh is customizable — less if it’s a laptop, but still.
If you’re in it for the adventure, however, now you have the roadmap that was missing. Update your Kexts and OpenCore, back up everything, and try macOS Sequoia on a disk you’re not using for anything important. You might have some fun.
