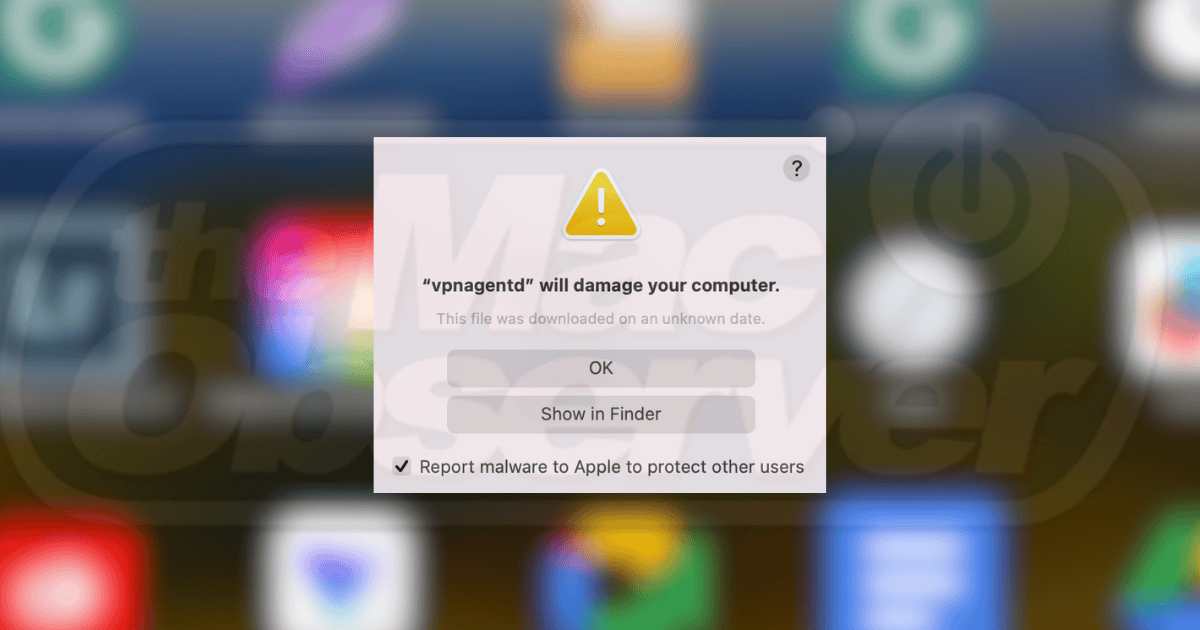
I’m not sure about you, but whenever I get a pop-up warning on my computer, I have a little panic attack. Many of these warnings are valid, others are not really that harmful, while others are just misleading. But what should you do if an alert that says “vpnagentd will damage your computer” suddenly pops up? Should you send in your device for repairs? Not necessarily. Here are some troubleshooting steps that might resolve whatever is causing this pop-up.
What is Vpnagentd?
Vpnagentd is a background app that Cisco AnyConnect VPN uses to ensure that its process runs smoothly. Some software applications use these background apps as support. For AnyConnect, it’s a launch daemon. For instance, some games have their own security app aside from the game itself to prevent hacking or cheating. It’s similar to that.
Vpnagentd is important for AnyConnect to function. It’s in charge of connection management, which handles the maintenance of VPN connections, from the start of connection to its termination. It’s critical because it helps manage data encryption, which is the reason people use VPNs in the first place.
Some Mac users, however, often get the prompt “vpnagentd will damage your computer” even though it’s not technically malicious. Mac is known for rigid security features, and it’s relatively strict with digital certificates.
According to some sources, this issue occurs if a daemon has code-signing issues, which happens when the macOS identifies an expired or insecure RSA certificate. And this is what happens with vpnagentd.
How To Remove “vpnagentd will damage your computer” Prompt
1. Manually Remove Related files and Apps
Time needed: 15 minutes
There are a couple of places on your Mac that you need to check to remove potentially harmful files that cause the vpnagentd warning prompt. Follow these steps:
- Go to Finder > Go > Utilities.
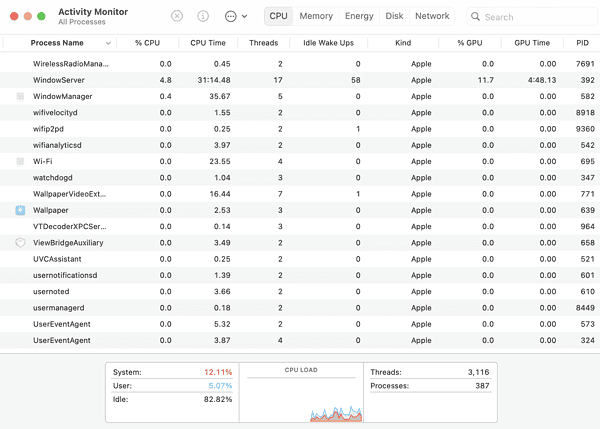
- Open Activity Monitor. This will show the ongoing processes in your CPU.
- Look for any activity that seems suspicious or unfamiliar. You can select them and click on the stop icon in the upper left corner of the window. When a prompt pops up, choose Force Quit.
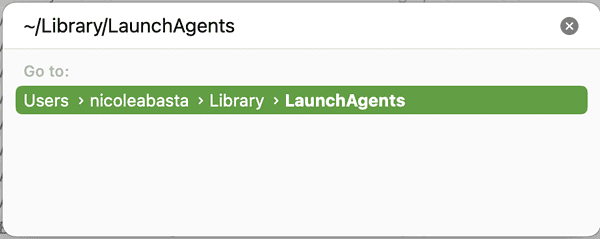
- Go to Finder > Go > Go to Folder.
- Type /Library/LaunchAgents and press Enter.
- Check the files in the folder, and if there are any suspicious items, drag them to the Trash.
- Type /Library/Application Support to show suspicious folders and move them to the Trash.
- Type /Library/LaunchDaemons and delete suspicious files that are often used by malware.
- Go to Finder > Go > Applications. Check if there are apps that you’re not familiar with and drag them to the Trash.
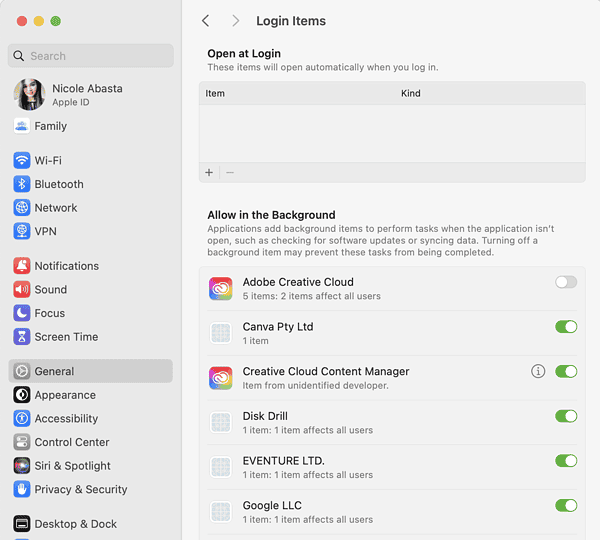
- Click the Apple icon > System Settings > General > Login Items. It will display a list of items launched at start-up. If there are unfamiliar items, click the minus symbol (-) to remove them.
2. Run a Malware Removal Tool
Use a malware removal tool to scan for malicious files or malware on your Mac. Identify and remove any infected files or hidden threats that might be triggering system error warnings on your Mac. For example, Intego is one of the most effective tools that can help you protect your system and effortlessly regain control over your Mac’s security.
3. Empty Trash
Since you have already deleted some suspicious items, folders, or files, proceed with emptying your trash to remove them completely from your computer.
4. Clean Your Browsers
Clearing cache and browser history may also help because some websites automatically download cookies and files even without permission. That could also cause some of the error prompts you might be experiencing.
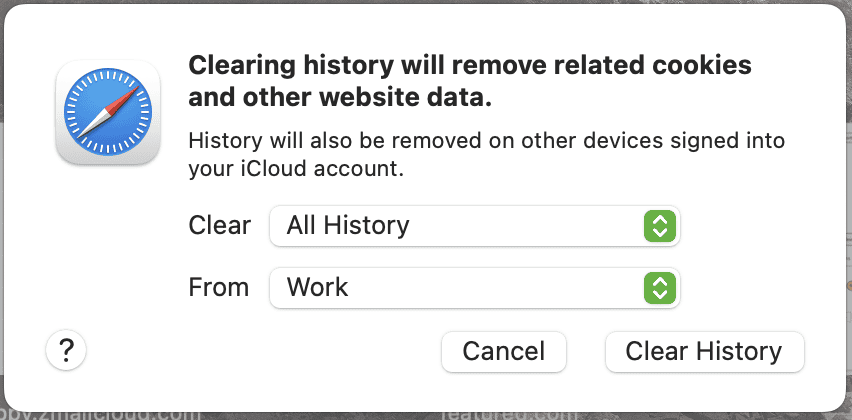
- Open Safari and go to the menu bar.
- Click Clear History.
- In the pop-up, choose Clear All History and a window (Work or Personal).
- Click Clear History.
5. Restart your Mac
To complete the removal process, you must restart your device. See if there are changes after removing the malicious apps and files.
Should error warnings keep popping up, you might have to factory reset your Mac. It’s a drastic yet surefire way to clear hidden malware-infected files on your device, although you’ll also lose your personal data. Reach out to Apple Support for more guided troubleshooting.
