
Having Screen Lock and Fingerprint Unlock working very slowly is only slightly less annoying than other problems in macOS 14.7, such as Touch ID not working altogether. That said, it’s still an issue that needs solving. If left unattended, it could result in worse long-term problems. And at the very least, it’s going to significantly slow down your workflow.
Let’s explore what’s causing these hiccups and what you can do to resolve them.
Why Are Screen Lock and Fingerprint Unlock Slow in macOS 14/14.7?
The bulk of these reported issues have started since upgrading to macOS Sonoma 14.7, meaning that this is almost certainly an issue with that specific software. While Apple’s latest update has solved several problems, new updates almost always lead to others arising; this is almost certainly one of those.
How to Speed Up Screen Lock and Fingerprint Performing Slowly
1. Restart Your Mac
Time needed: 4 minutes
Restarting your Mac is a great way to solve most software issues. It also automatically resets your System Management Controller (SMC), meaning that you should see a better performance across your device. You can also schedule your Mac to reboot if you want to eliminate the manual work.
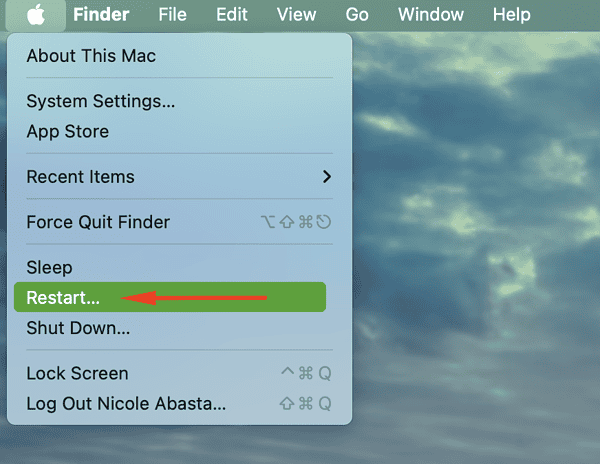
- Go to the Apple icon and select Restart from the dropdown menu.

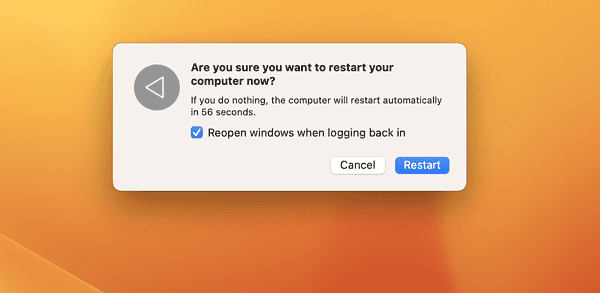
- Confirm that you want to restart your Mac in the pop-up window.

- After your device has shut down, tap the Touch ID button to turn it back on.
- Use Touch ID to sign into your computer.


2. Reboot in Safe Mode
Since most of your computer’s optional functions will not work in Safe Mode, rebooting your Mac in this way is a viable alternative to restarting it normally.
Follow these steps to reboot in Safe Mode; if your computer won’t boot into Recovery Mode, read this guide for further guidance.
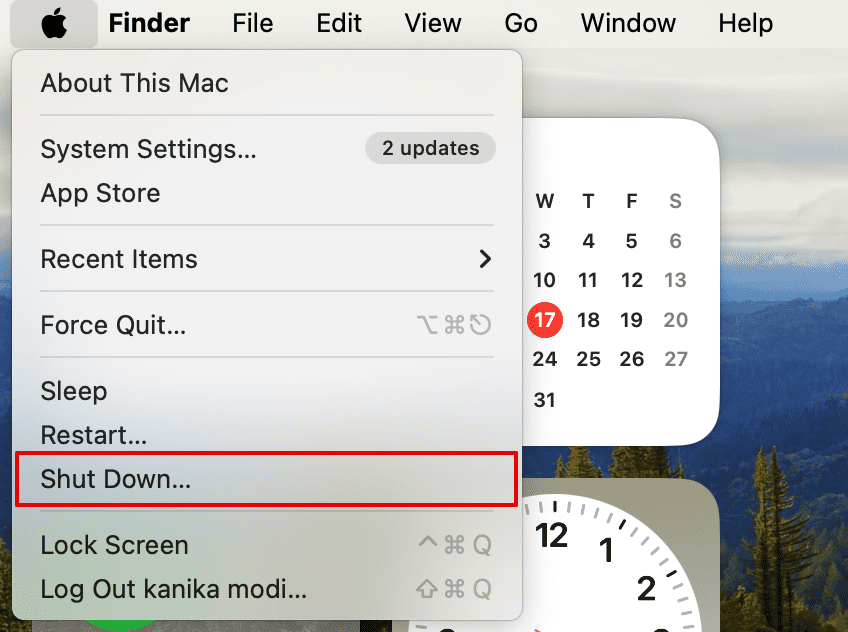
- Turn off your Mac by going to the Apple menu and selecting Shut Down. Then, confirm your choice.

- Hold on to the standby button.
- Let go of the button when you see “Loading startup options” and pick a volume on your computer.
- Select Continue in Safe Mode while also holding on to the Shift key.
- Wait for your Mac to restart again before logging in and using your device in Safe Mode.
- After verifying that your computer works as it should, turn your Mac off and switch it on again normally.
3. Turn “Use Touch ID to Unlock Your Mac” and “Use Touch ID for Autofilling Passwords” Off and On
Altering what you can use Touch ID for on your Mac might improve its functionality. For this reason, I suggest toggling two specific features off and on:
- “Use Touch ID to unlock your Mac”
- “Use Touch ID for autofilling passwords”
Both are in the same place, and you should follow these steps to access them.
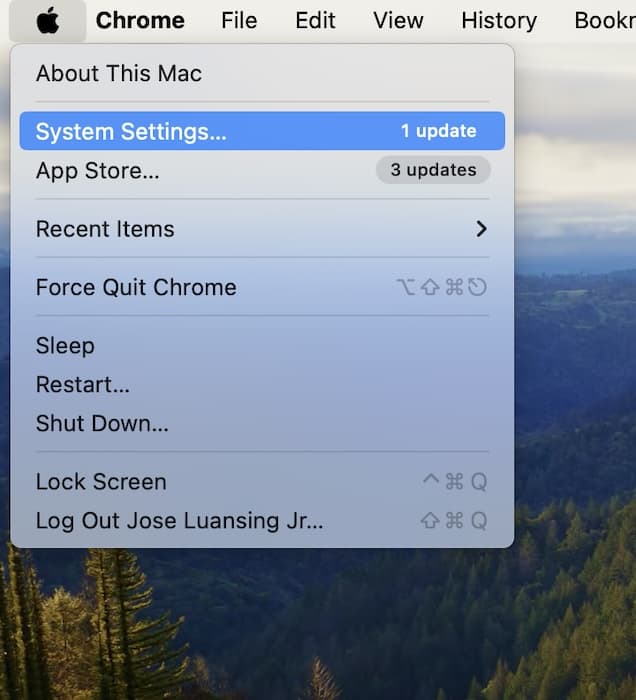
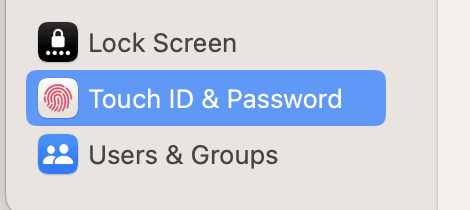
- Open your System Settings via the Apple Menu or Spotlight.

- Navigate to Touch ID & Password in the left-hand toolbar.

- Toggle Use Touch ID to unlock your Mac and Use Touch ID for autofilling passwords off.
- Wait 30 to 60 seconds before toggling both features on again.


4. Log Out of Your Main User Account
If none of the above steps worked, verify whether the issue lies with one account by signing out of your Mac’s main profile.
- Expand the Apple menu.
- At the bottom of the dropdown menu, click on Log Out [Account Name].

- Sign into a different account and try using Screen Lock with Fingerprint Unlock.

5. Download EtreCheck
EtreCheck is a third-party tool that analyzes issues on your Mac, but you’ll still need to fix them yourself. Nonetheless, it will help you determine the next steps you should take.
Follow these steps to download and use Etrecheck:
- Download EtreCheck from its website.
- After installing the app, expand the Choose a problem: dropdown menu and select Computer is too slow. If that doesn’t work, you should then try Other problem or No problem – just checking.

- Tap Start to begin the scan.
- Go into Minor Issues and Major Issues, and look for anything that could be related to Touch ID. Work through each of these and follow the app’s suggested steps.


6. Try Touching the Touch ID Button With Your Thumb and Index Finger
One bizarre solution to this issue is to tap the Touch ID button with your thumb *and* your index finger. I don’t know why this works, but it’s sometimes the strangest solutions that do the job. So, if you haven’t yet succeeded in fixing this problem, lock your screen and tap the Touch ID button with your thumb – before quickly following with your index finger.
7. Turn Off Automatic Login
You might also find success in solving this problem by turning off Automatic Login and signing into your Mac on your own terms. The feature is turned off by default if you have FileVault enabled, but if you don’t, follow these steps to switch it off.
- Open System Settings and go to Users & Groups.

- Under Automatically log in as, expand the dropdown menu and select Off.
- Close System Settings and shut down your Mac, before turning it back on and manually logging into your account.

8. Remove and Add Touch ID
I would only suggest removing Touch ID and re-adding it if the situation is desperate because it’s highly inconvenient. But if you want to follow through with doing it, you can follow these steps.
- Open System Settings and go back into Touch ID & Password.
- Go to your fingerprint and select the x icon.

- Enter your computer password and select Unlock.
- Re-add your fingerprint by going to Add Fingerprint.
- Restart your Mac and try using the Screen Lock and Fingerprint Unlock features like normal.

I expect Apple to patch this issue in future updates, but that doesn’t make it any less irritating for the time being. Nonetheless, others have managed to find a solution and I recommend trying each of these in order. You can also leave your own suggestions in the comments section if something else worked for you that wasn’t mentioned here.