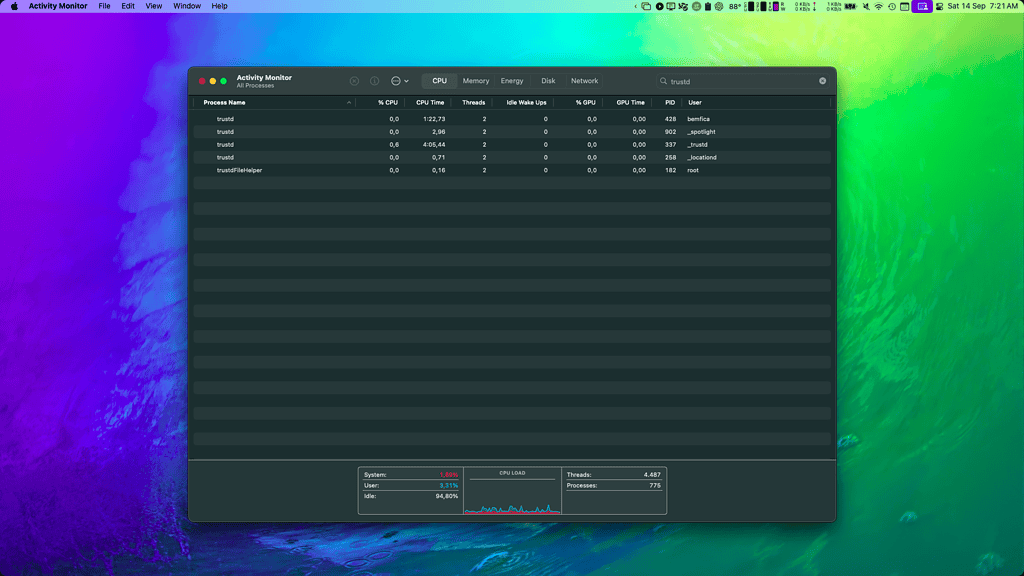
macOS runs flawlessly for the most part, although system processes may sometimes misbehave and cause trouble. One such situation is when the trustd process gets stuck and causes a high CPU usage. In this case, your Mac may run slow, crash, or even reboot by itself, among other problems.
Some users think the issue is related to a virus or other type of malware, which isn’t the case. Check below what this process does, why it causes high CPU usage, and what to do when this happens.
What Is the trustd Process?

On macOS, it manages protected information. This includes passwords stored in Keychain (or in the new Passwords app), website security certificates, Mail credentials, and so on. Is it a virus? Absolutely not. As a native macOS process, it’s not related to any kind of malware.
Why Is the trustd Process Causing High CPU Usage?
It’s highly unlikely that a malware infection on your Mac is making the trust process malfunction. There are, however, a few known situations of abnormal behavior. A developer called Jeff Johnson, known to have helped solve similar issues in the past, investigated the issue. He found out that the problem was related to trustd trying to reach an Apple verification link.
Quick Tip:
If you’re experiencing high CPU, GPU, or RAM usage on your Mac and cannot fix it, most users recommend trying a trusted optimization app. For instance, Intego Washing Machine offers resource management tools that will help you minimize the risk of slowdowns and ensure a smooth performance.
How to Fix When trustd Causes High CPU Usage
1. Delete the “system.keychain” File

One of the main culprits is a corrupt keychain file. One user on Apple’s support forums was able to fix the issue deleting the system.keychain file.
To do that, open Finder and go to /Library/Keychains and look for the system.keychain file. Instead of deleting, change its extension to .old, or something like that. You can also copy it to another folder, then delete the file inside /Library/Keychains afterward.
 NOTE
NOTE
2. Force macOS To Update Security Databases
Another possible cause is downloading incorrect (or incomplete) security information from Apple’s databases. The company keeps an online list of valid security certificates, which Macs sporadically compare with their on-device counterparts. This is stored as valid.sqlite3 files.
However, some time ago these files started causing issues with the trustd process. Jeff, the developer mentioned a few paragraphs above, suspects valid.sqlite3 files with wrong/incomplete data make the process go nuts.
The solution he devised is simply removing/renaming these files. Your Mac will automatically download new ones upon reboot.
However, you have to do that using the macOS Recovery Mode. If you use FileVault, you’ll need to decrypt your drive using on your account password on Disk Utility. If not, just mount the drive.
After that, on the menu bar, go to Utilities > Terminal and issue the following commands
cd /VolumeslsTake note of the folder name of your startup disk. It should be something like “Macintosh HD — Data”. Then, type the following:
cd '/Volumes/[YOUR DRIVE'S NAME]/private/var/protected/trustd/'lsTake note of all the files starting with valid.sqlite3. Type the following command for each file:
mv [FILE NAME] [FILE NAME].oldAs an example, for a file called valid.sqlite3-abc, the command would be
mv valid.sqlite3-abc valid.sqlite3-abc.oldAfter doing that for all valid.sqlite3 files, simply restart your Mac. The valid.sqlite3 files will be recreated and the trustd high CPU usage issue should be gone.
3. Modify the Hosts File
Technically, this solution is simpler and may be more effective than the previous one. However, I recommend only using it as a last resort, since this prevents your Mac from accessing Apple security services.
On your Mac, open the Terminal app and issue the following command:
sudo nano /private/etc/hostsThis will open Nano, which is a text editor which works from inside Terminal. It’s a bit complicated to use, but you won’t have any issues if you follow the instructions to a T. You’ll be prompted for your account password.

If you have never edited your Hosts file before, the file will be just a few lines long. In any case, just use the down arrow key to navigate to the last line and add a new one with Return. On the new line, type the following:
0.0.0.0 valid.apple.com
Then press Control + X to close the file. When asked whether to save the modifications, press Y and then Return. Keep the file name unchanged by pressing Return again.
After that, you should be back to the regular Terminal window. Close it and restart your Mac. By blocking valid.apple.com, you’ll prevent trustd from getting confused with the valid.sqlite3 files, which should fix the high CPU usage.
It’s very unexpected for native macOS processes to suddenly start malfunctioning, but it happens. It’s not different with trustd. And, as a native process, fixing it requires a bit of tinkering with your Mac’s software innards. Thankfully, it can be done without too many complex steps.
