The 17.5 software update for HomePod and HomePod mini is now available. According to Apple, it adds performance and stability improvements. Here’s how to install the update and elevate your speaker experience.
How to Update to HomePod Software 17.5
Time needed: 20 minutes
HomePod is a low-maintenance smart device. The Home app will automatically install available software updates as long as it’s connected to the internet. That said, you can also download updates manually.
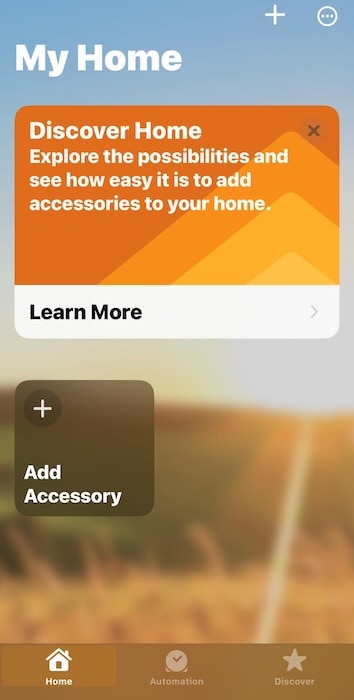
- Launch the Home app on your iPhone or iPad.

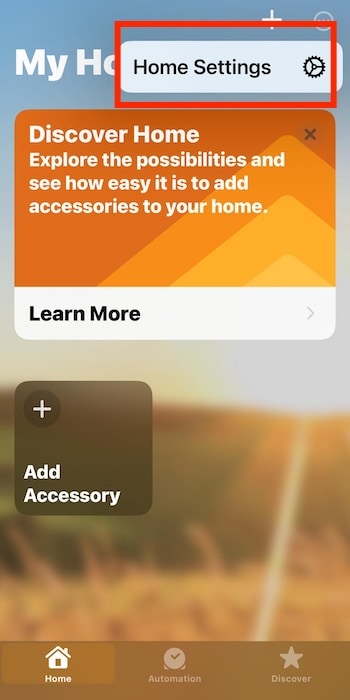
- Tap the horizontal ellipsis icon (…) at the top-right corner of the screen.
- Open Home Settings > Software Update.

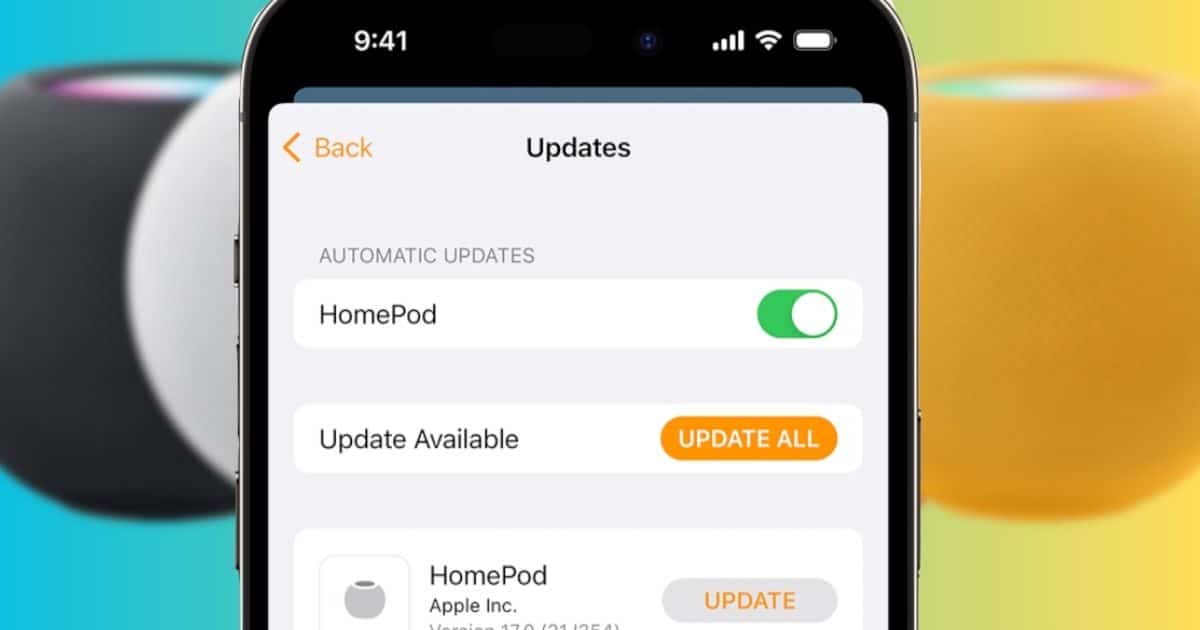
- Tap Update beside the HomePod 17.5 software update that appears.
You can also toggle on the button for HomePod under Automatic Updates so that your OS is always up to date. I like that the Software Update option shows you an alert badge if new software is available. But I’d like it even better if the Home app icon showed a badge when updates are available—just like how Mail shows your total unread messages.
How Do I Know What Version of HomePod Software I Have?
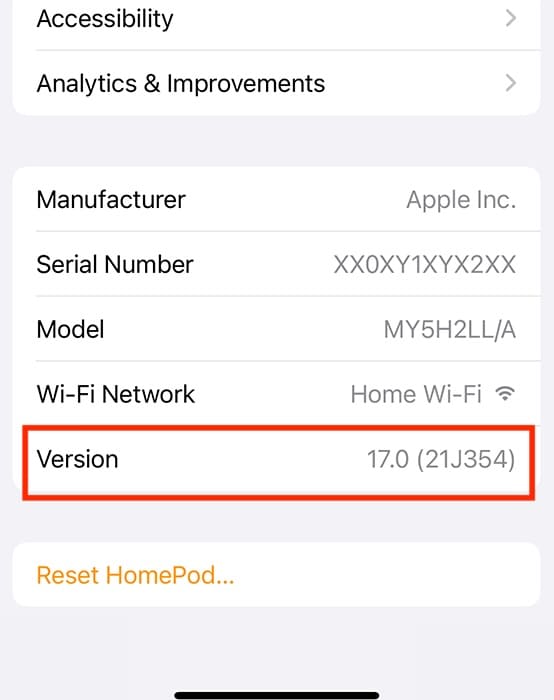
Open the Home app > [your HomePod’s name]. Scroll down to the bottom of the page—there, you’ll see its current software version, serial number, model, and current Wi-Fi address.

If you’re having trouble updating your HomePod, go through the troubleshooting steps for when you can’t install iOS updates. The process might resume after you configure your network settings or free up storage space.
