NetBeans Install
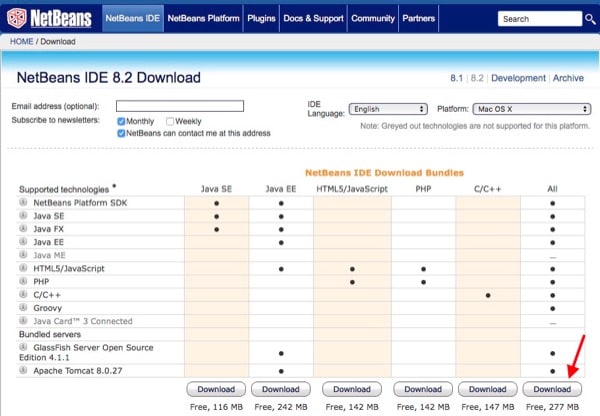
Step #2. NetBeans 8.2. Go to the NetBeans download page. Verify in the pop-up at the top right that the site has detected you’re in macOS/Mac OS X. Here’s what you’ll see.

You’ll want to download the right-most version, labelled “All.” It’s 277 MB. You won’t be using everything this version has, but it has the minimum components that we’ll need later. Again, this is an installer package inside a .DMG file. After you agree to the license, select the desired destination.

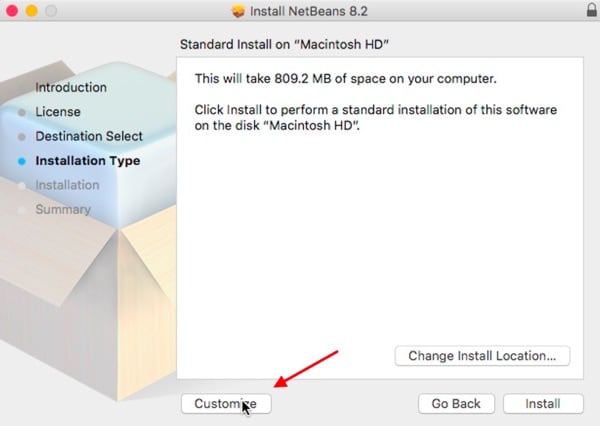
Next, when you get to the ‘Installation Type” phase, select “Customize.” This is very important. .

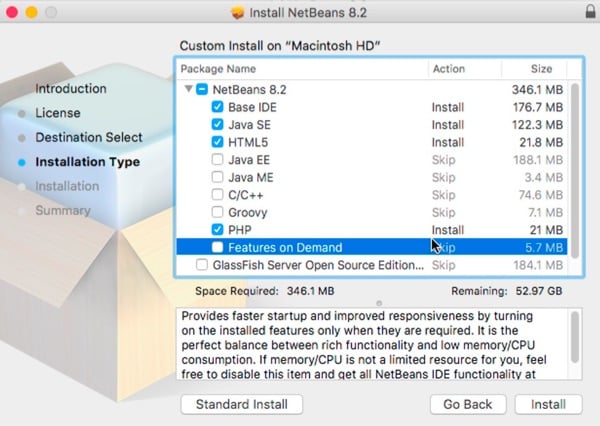
Here are the boxes you’ll check. When done, click “Install” on the bottom right.

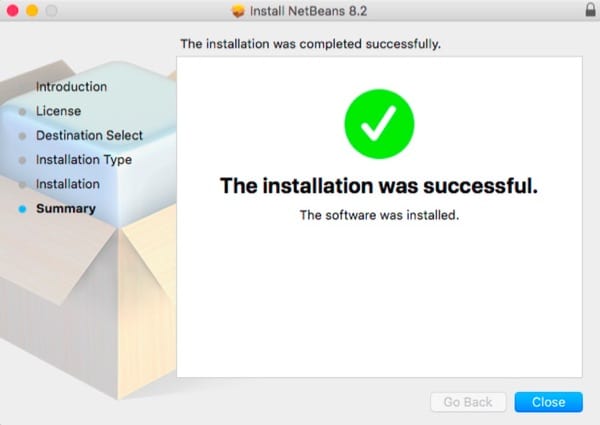
If all went well, you’ll see this:

NetBeans is installed exactly where you’d expect: in your Mac’s Applications folder. For future use, you may wish to drag the app into your macOS Dock.

Next Steps
That’s all I have room for here in part I. In the next installment, I’ll show you how to set up your NetBeans environment, create a named HTML project, select a default web browser, write HTML code, run it locally and find your errors with the NetBeans IDE.
