In the old days when you purchased a monitor you had to decide between higher resolution and larger text. If your monitor’s native resolution was too high, you were plagued with either living with small text or running the screen at a lower resolution. People buying a 4K monitor today see the same issue, but there is now an easy way to get that running in Retina mode.
Apple’s solution to this issue was to introduce what they call “Retina displays” on Macs. That simply means a monitor where your effective number of pixels displayed is less than the actual number of pixels displayed. The screen on the iMac with 5K Retina Display screen will have four actual pixels – two vertical and two horizontal – for each effective pixel. By doing this at high resolutions, the result is text that is crystal clear and print-like without any individual pixels being apparent.
Enabling Retina Mode on your Third-Party 4K Monitor
Your Retina-capable Mac will default to using this Retina mode for its built-in monitor, but it will not do so for any external, third-party monitor. The good news is that a simple System Preferences tweak in Mavericks 10.9.3 and later will allow you to set Retina mode manually for your third-party, 4K monitor. Just confirm that your Mac will drive a 4K monitor before making your purchase.

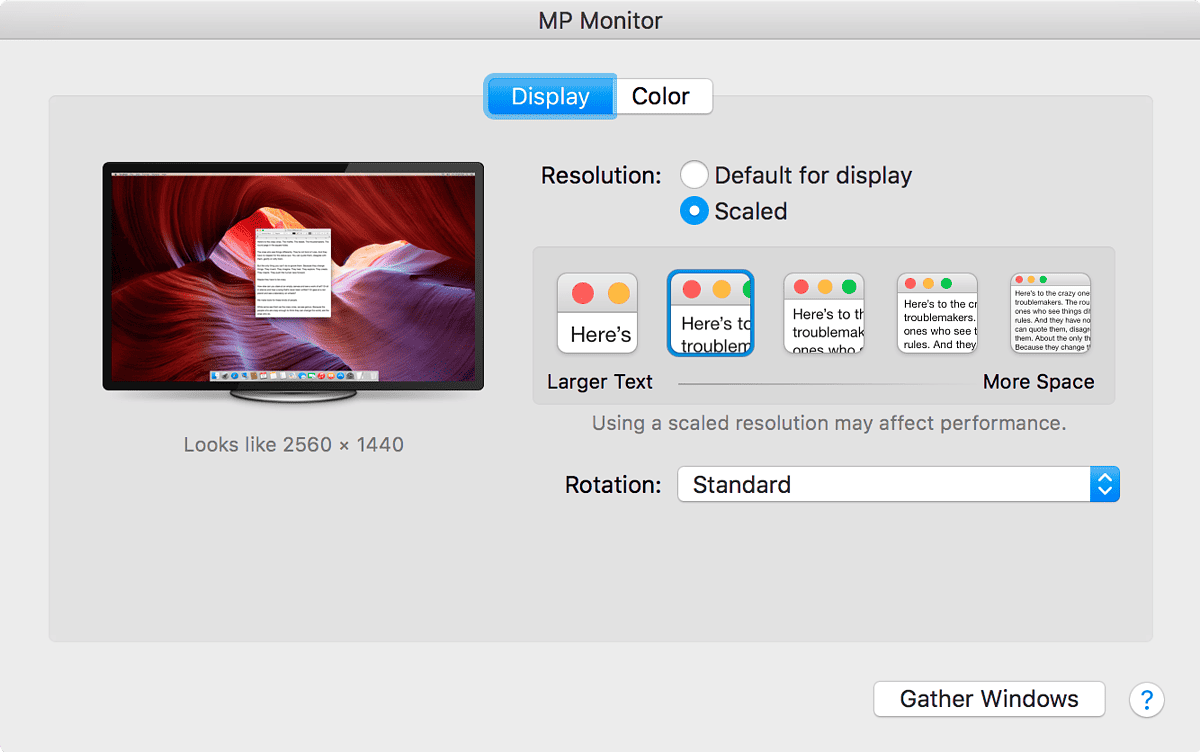
Go into System Preferences > Displays and you should get a separate window appearing on each of your attached monitors. The “Default for display” option will likely be selected and, as mentioned, on your non-Apple 4K monitor that will result in very small images and text. Here is where you choose “Scaled,” after which you’ll have a series of five options ranging from “Larger Text” to “More Space.” Fear not: regardless of which option you choose here your Mac will still be sending information to your screen at full resolution, it will just be using those extra pixels to smooth out the elements it is displaying. Fonts will be smooth and clear and those jagged edges of your windows will be a thing of the past.

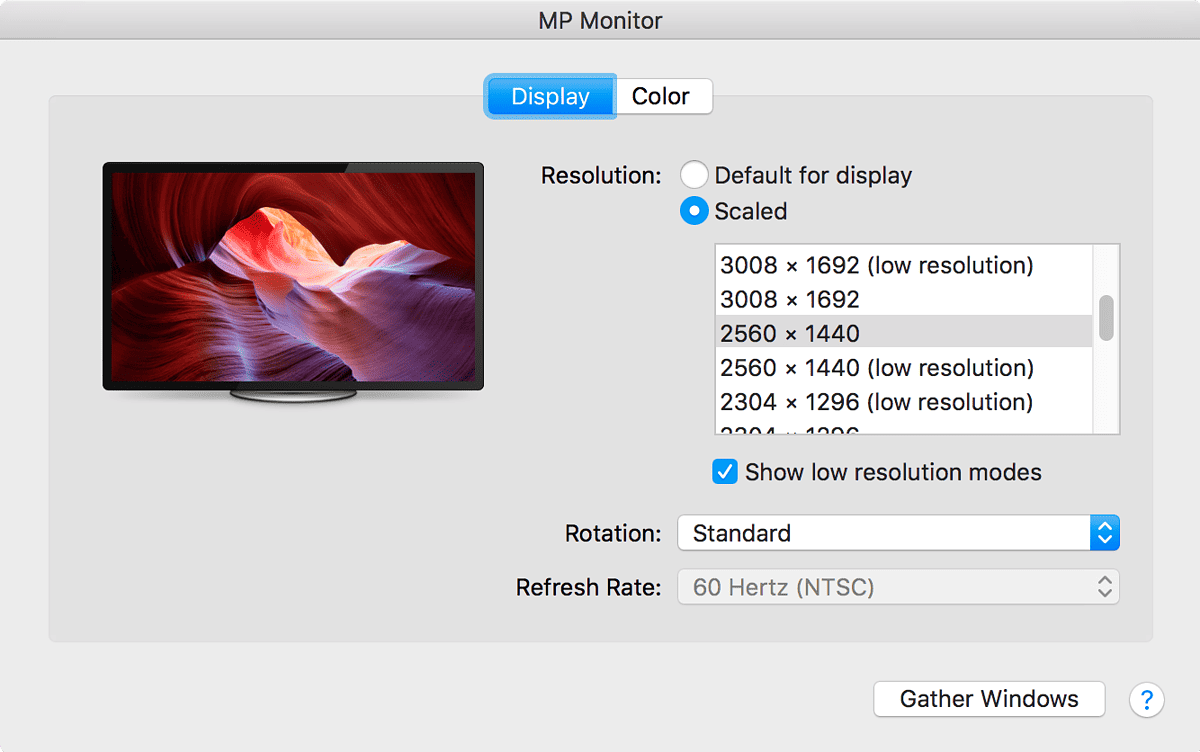
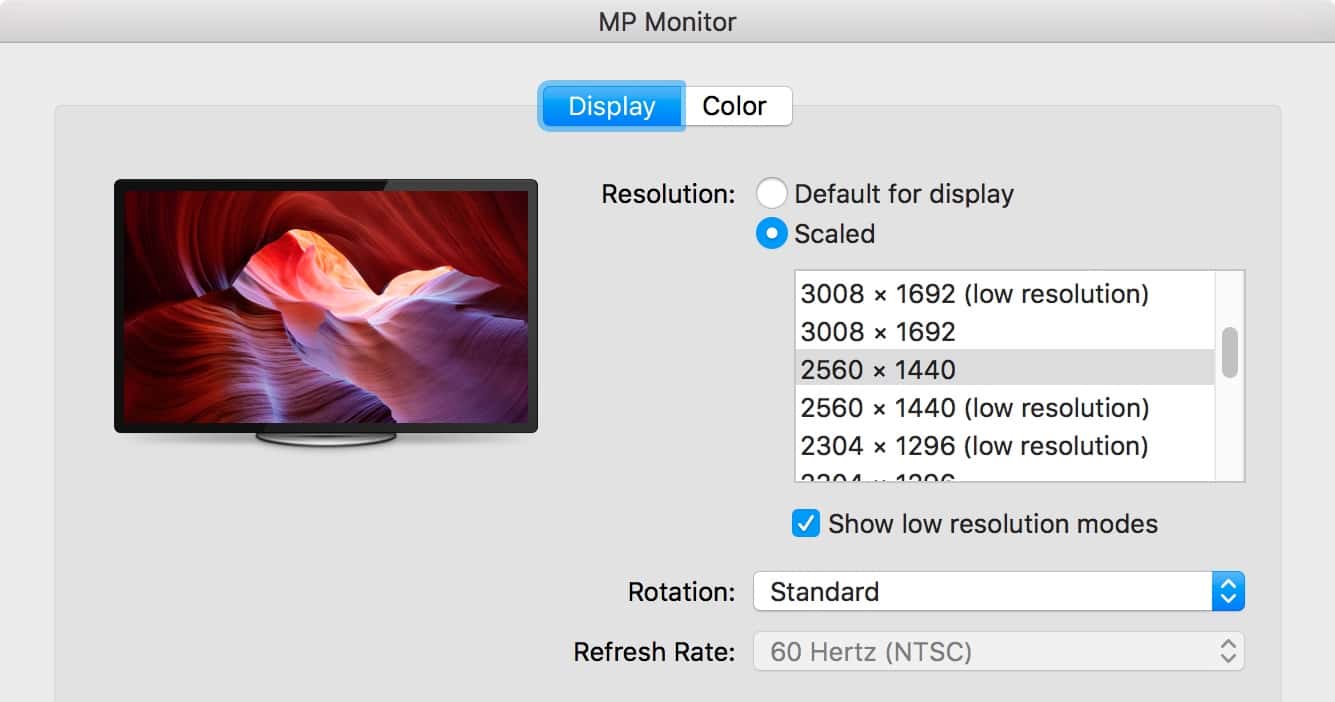
If you want to actually have your Mac send a lower-resolution image on your monitor, or if you simply want to choose an option different from one of the five that are presented, Option-click the word “Scaled” in this preference pane and you’ll get a much longer list. Check the “Show low resolution modes” box to see all your options. Anything with “(low resolution)” displayed will actually send that resolution to your screen. Everything else will send a full-resolution image to your screen in what we’ll call “Retina” mode.

Low Resolution Mode is Available on Built-In Displays, Too
Even if you don’t have a third-party 4K monitor you can still experiment with these options. The Displays preference pane acts the same way with your Mac’s built-in Retina display, too, except that “Default for display” automatically chooses the Retina mode.

So this doesn’t solve my problem.
I can see all the screens here just fine, was able to replicate.
BUT
I want my display to run in 4K (3840×2160) without shrinking everything.
The options displayed here only offer having a lower resolution to be able to see everything in their normal size, OR use it at its full res but see everything too small.
I want full 4K AND everything at its normal size!
Hello,
Love this article.
Really interesting topic. But 2 things:
1) There is no such menu selecting retina resolutions (aka text size…)
2) How is this translated to Mojave. which doesn’t have the “low resolutions” word and now we don’t know if this is real resolution scale or just desk resolution…
Thanks!!
E.
Mojave looks exactly the same as the screenshots in the article, complete with the “Show low resolution modes” checkbox for exposing those.
If you’re not seeing these options, it’s because either your Mac or your monitor doesn’t support them. Not all Macs have video cards that will support “Retina” resolutions, and not every monitor is UHD-resolution capable.
Feel free to post a question in our Mac Geek Gab Q&A Forums with your Mac and monitor models and we’ll happily help!
Hello again,
Thanks for the quick reply.
I have a MacBook Pro 15 2017″ with dell monitor.
The menu of text size, is not available in any of them (just for the macbook screen, not the others).
Apart from the existence of the menu, there is another thing to consider that maybe you didn’t try.
I was doing experiments with a real Mac Pro with a gtx 1070ti graphics card with 10.13.6 in a Benq 4K (3840×2160) monitor. The real resolution when you select a non “low resolution” to let’s say 2560×1440 is 5120×2880, which is NOT the native resolution. I know that, just doing a screenshot and see in file info…
And 5k resolution is not desirable as the frame buffer is MUCH higher than should be, ending up with loosing a lot of performance which is not desirable (not in desk application or web browsing -because it doesn’t need too many resources) but anything that requires graphics acceleration), I want to have the real one, when I capture the screen to 3840×2160, not 5120×2880, which is undesirable.
I don’t know if I explained it correctly, as English is not my mother tongue.
Just try, and let me know capturing the screen if you have the CORRECT 4K resolution instead of 5K (as you mention the native one was 3840×2160 which I highly doubt – correct if I am wrong please – it after doing a lot of tests). If you also get 5K, then is wrong, I mean REALLY WRONG. Is like capturing flies with a cannon, loosing HUGE performance.
Thanks,
E.
P.S.: Link to an image of screenshot (left 2560×1440 “low resolution”, right 2560×1440 without “low resolution”)
https://ibb.co/ia0xaq
This is one of those things I’m surprised I didn’t know about.
I actually tried this in the past.. could have sworn it was since Mavericks, but I guess not because the option wasn’t there. I tried it with my work laptop and it looks terrific!
Not knowing this is why I still have an older mac mini driving my media center. So, thanks to you (#thanksdave), I now have to update that mini. (Or possibly.. wait for a 4K ATV, which was plan A.)
thanks Dave , i think one of the best points in Apple’s labtops is their display and it’s really good for graphic works , 4k display in this article is awesome !