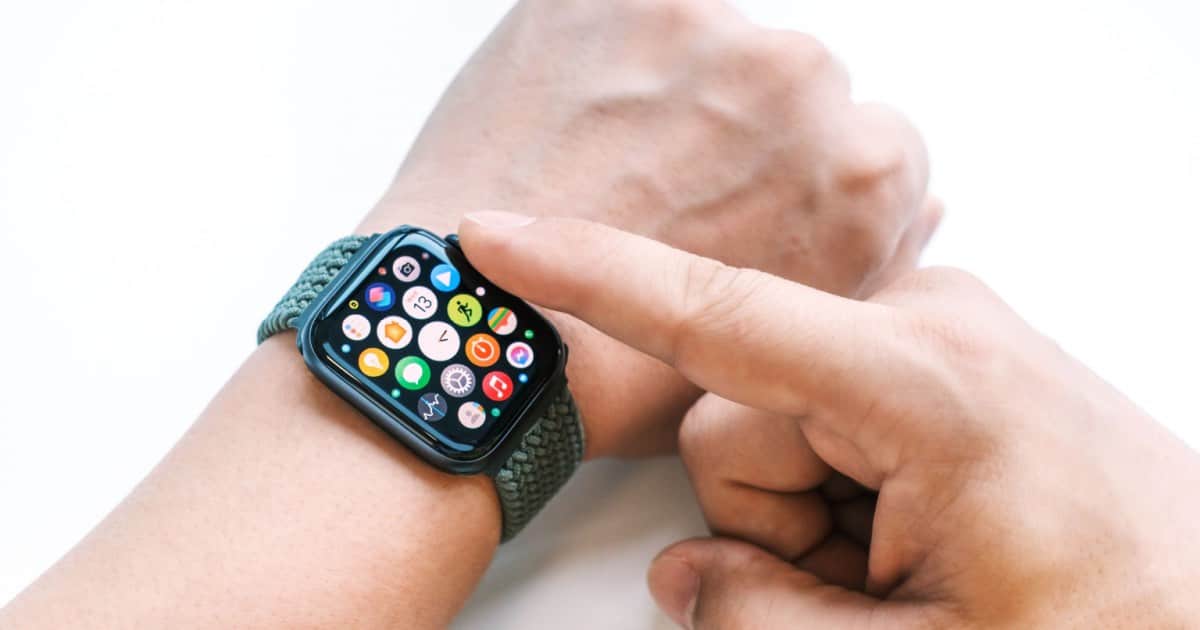
This guide will show you how to use the Camera Remote and timer on your Apple Watch. With this feature, users will be able to take photos of themselves from a distance using their iPhone camera.
Additionally, users are also able to use their Watch to set a shutter time—giving users time to get themselves ready for the photo. This means that whether you want to get a great action shot exploring the outdoors, or simply want to snap an excellent group photo, this guide will show you how.
Getting Started
Before starting, it is important to remember that your Apple Watch will need to be in range of your iPhone for whatever photo you are attempting to take. To properly use the Camera Remote on your Apple Watch, your Watch and your iPhone will need to be within 33 feet, or 10 meters, of each other.
The easiest way to open the Camera Remote is by using Siri on your Apple Watch. Saying something like “Hey, Siri, take a picture” will have your assistant bring up the Camera Remote.
How to Use the Camera Remote on Your Apple Watch
To use the Camera Remote manually, follow these steps:
Time needed: 1 minute
To take a photo with your iPhone using your Apple Watch, follow these steps:
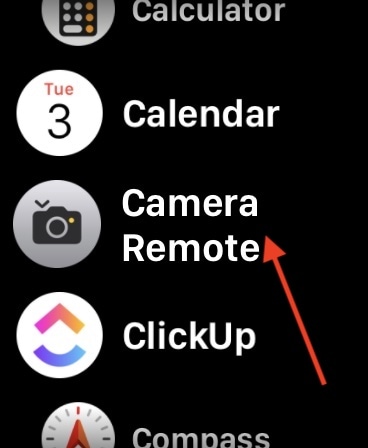
- Open the Camera Remote app on your Watch.
The easiest way is by pressing the Digital Crown from your Home Screen.
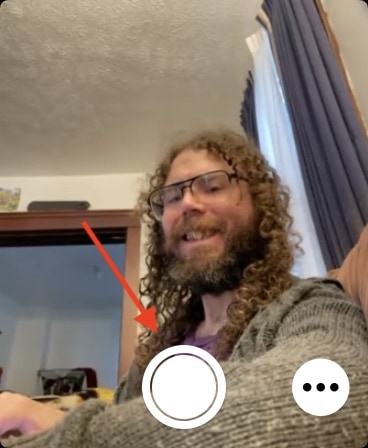
- Using your Watch as a viewfinder, position your iPhone in a way that frames your shot.
- You can use the Digital Crown to zoom in and out of your shot.
- You can also tap the key area of your shot within the preview on your Apple Watch to adjust the exposure.
- Tap the shutter button to take a photo.
You can also hold down the button to take video. Press the shutter button again to stop recording video.
After taking a photo, you are also able to review them directly from your Apple Watch.
Viewing Photos You’ve Taken
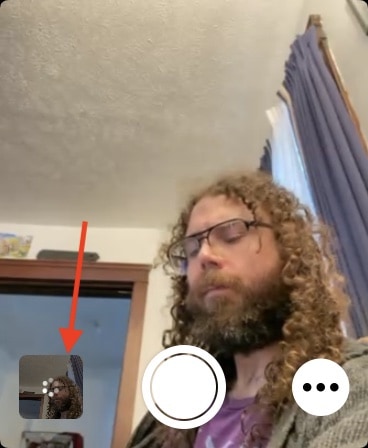
The following actions can help you review photos on your Apple Watch. Note that these settings will only appear after you have taken a photo.
- View a photo: In the bottom left, tap the thumbnail.
After clicking on the photo, you will have additional options:- View other photos: swipe left or right.
- Zoom: turn the Digital Crown.
- Pan: Drag your finger on a zoomed photo.
- Double tap on a photo to fill the screen.
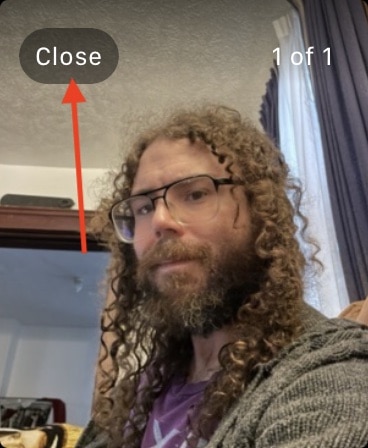
- Tap the screen to show or hide the Close button and shot count.
- Tap the Close button to exit out of review.
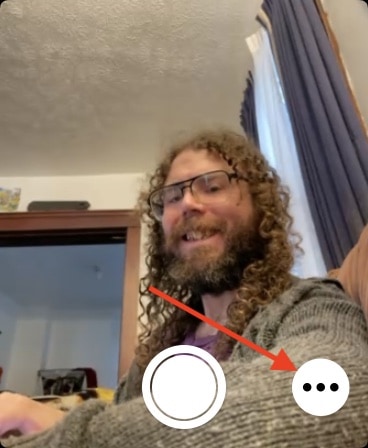
Additionally, there are also other settings and options for your Camera, which you can access by tapping the three dots in the corner from the Camera Remote app.
- Open the Camera Remote app on your Watch.
- Tap the Settings options.
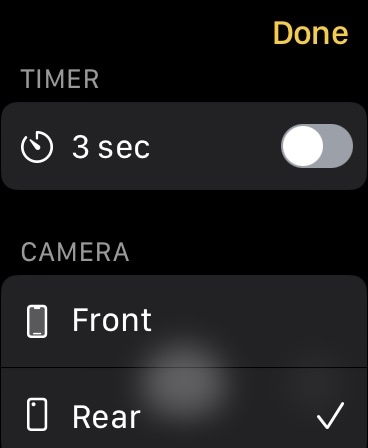
You will now have several items to choose from. Scroll up and down to see all of the settings.- Timer: Users have the option of a 3-second timer. You can turn it on or off.
- Camera: Allow users to use either the front or rear iPhone camera.
- Flash: You can turn the Flash on, off or set it to Auto.
- Live Photo: Users have the option of having Live Photo set to auto, on or off.
- HDR: Choose whether or not you have HDR within your photos.
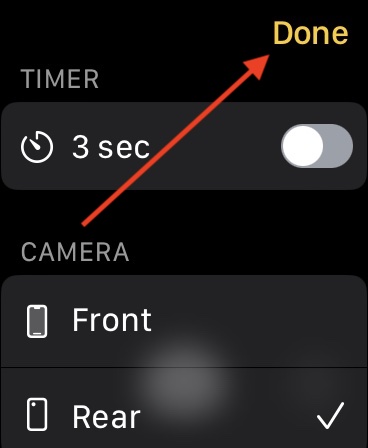
- Choose Done when you have selected your options.
Using this guide, users will be able to use their Apple Watch as a Camera Remote for their iPhone. Give this feature a try, and see what incredible photos you are able to capture.
