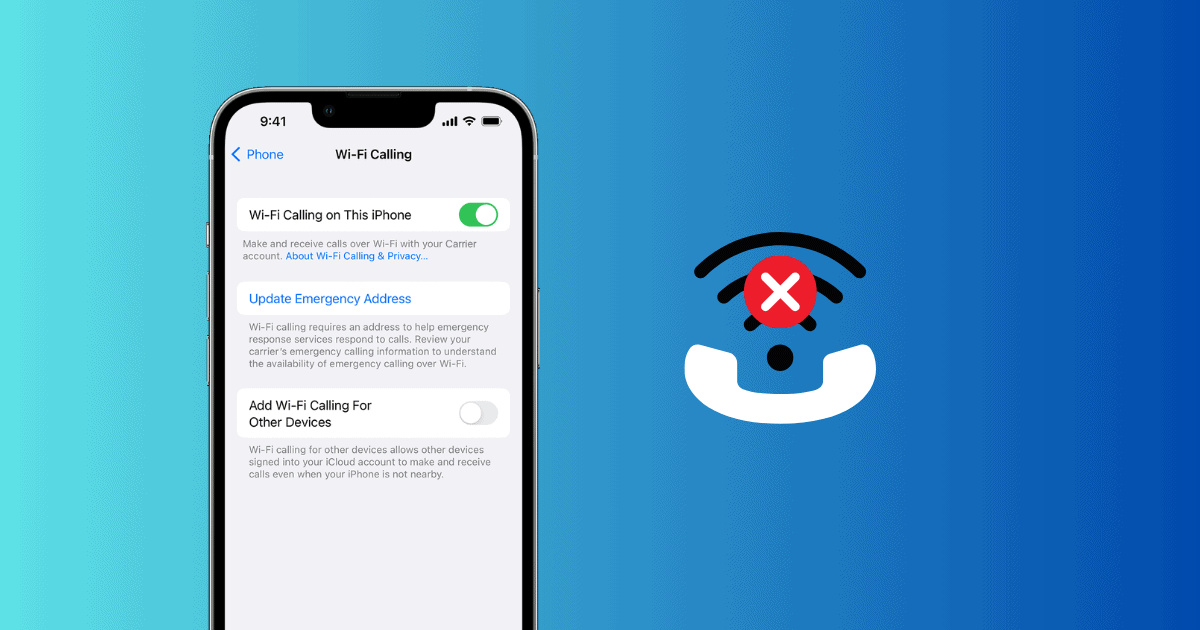
Don’t worry if you can’t enable Wi-Fi Calling after updating to iOS 17—you are not alone. Many users are stuck troubleshooting this issue on their iPhones. If you need to make and receive calls again fast, follow this short guide on all the possible solutions. They address the most likely causes of this error. Check out the list below!
What To Do If You Can’t Enable Wi-Fi Calling iOS 17
There are several possible reasons why you can’t enable Wi-Fi Calling after installing iOS 17, including software update glitches and carrier service provider issues. Likewise, you might have accidentally turned off the Wi-Fi Calling function.
Here are some effective troubleshooting steps for when Wi-Fi Calling is acting up:
1. Turn Wi-Fi Calling Off and Then On
Time needed: 5 minutes
If your device is compatible yet you cannot access Wi-Fi calling, you should turn off the feature and then turn it back on from Settings. It could help reset minor glitches. Here’s where you’ll find Wi-Fi Calling on your iPhone:
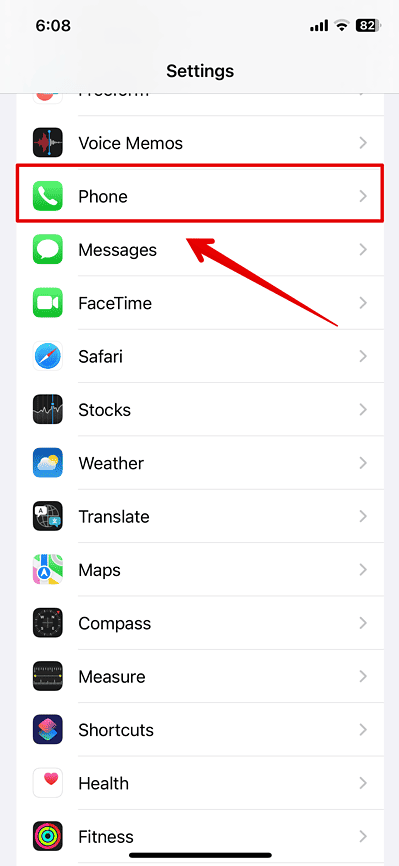
- Open Settings and go to the Phone app.
- Scroll down and check the Calls menu section.
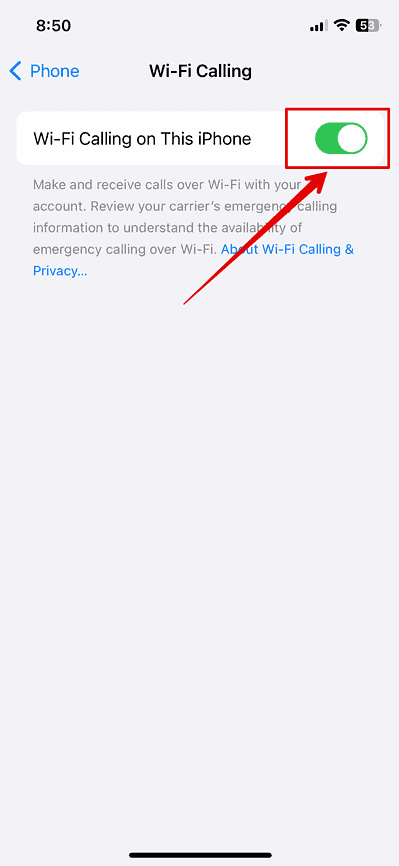
- Turn off Wi-Fi Calling on This iPhone if enabled.
- Wait a few seconds before turning it back on.
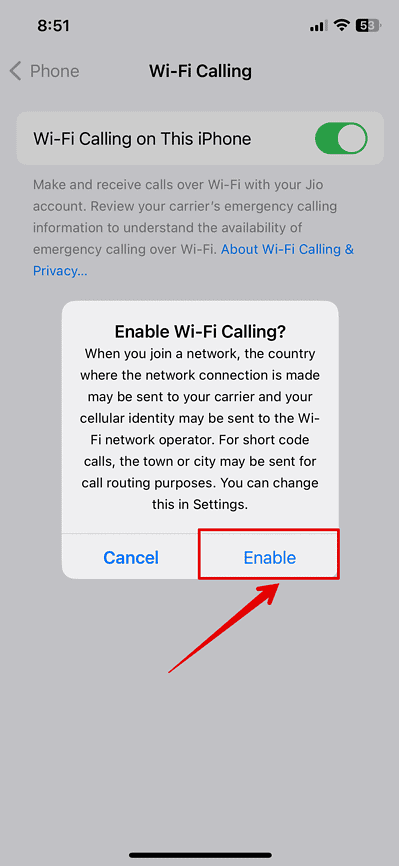
- Tap Enable to confirm.
2. Restart Your iPhone
Try a simple device restart if you cannot enable Wi-Fi calling after the iOS 17 update. Restarting your iPhone can help reset its network settings and resolve temporary software glitches that may prevent you from allowing Wi-Fi calling. These simple steps often resolve connectivity issues and are worth trying.
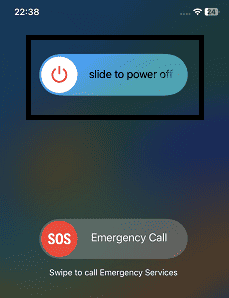
- Press and hold the Volume Up and Side buttons on your iPhone.
- Release it when you see the Power Off slider on the screen.
- Drag the slider to the right to turn off the iPhone.
- Wait for a few seconds before restarting the device. Afterward, try enabling Wi-Fi Calling from Settings and see if it works.
3. Check Compatibility
Check if your carrier and iPhone model support Wi-Fi Calling; otherwise, you can’t enable this feature. iPhone users from the U.S. and Canada can check Apple’s list of wireless carrier support and features available in different regions. Of course, you could also contact your carrier for compatibility details.
4. Turn On Airplane Mode Then Off Again
Try turning on Airplane mode for a few seconds and then turning it back off. Doing so resolves connectivity issues by resetting your network settings. It’s also a good trick when troubleshooting in areas with weak to no signal.
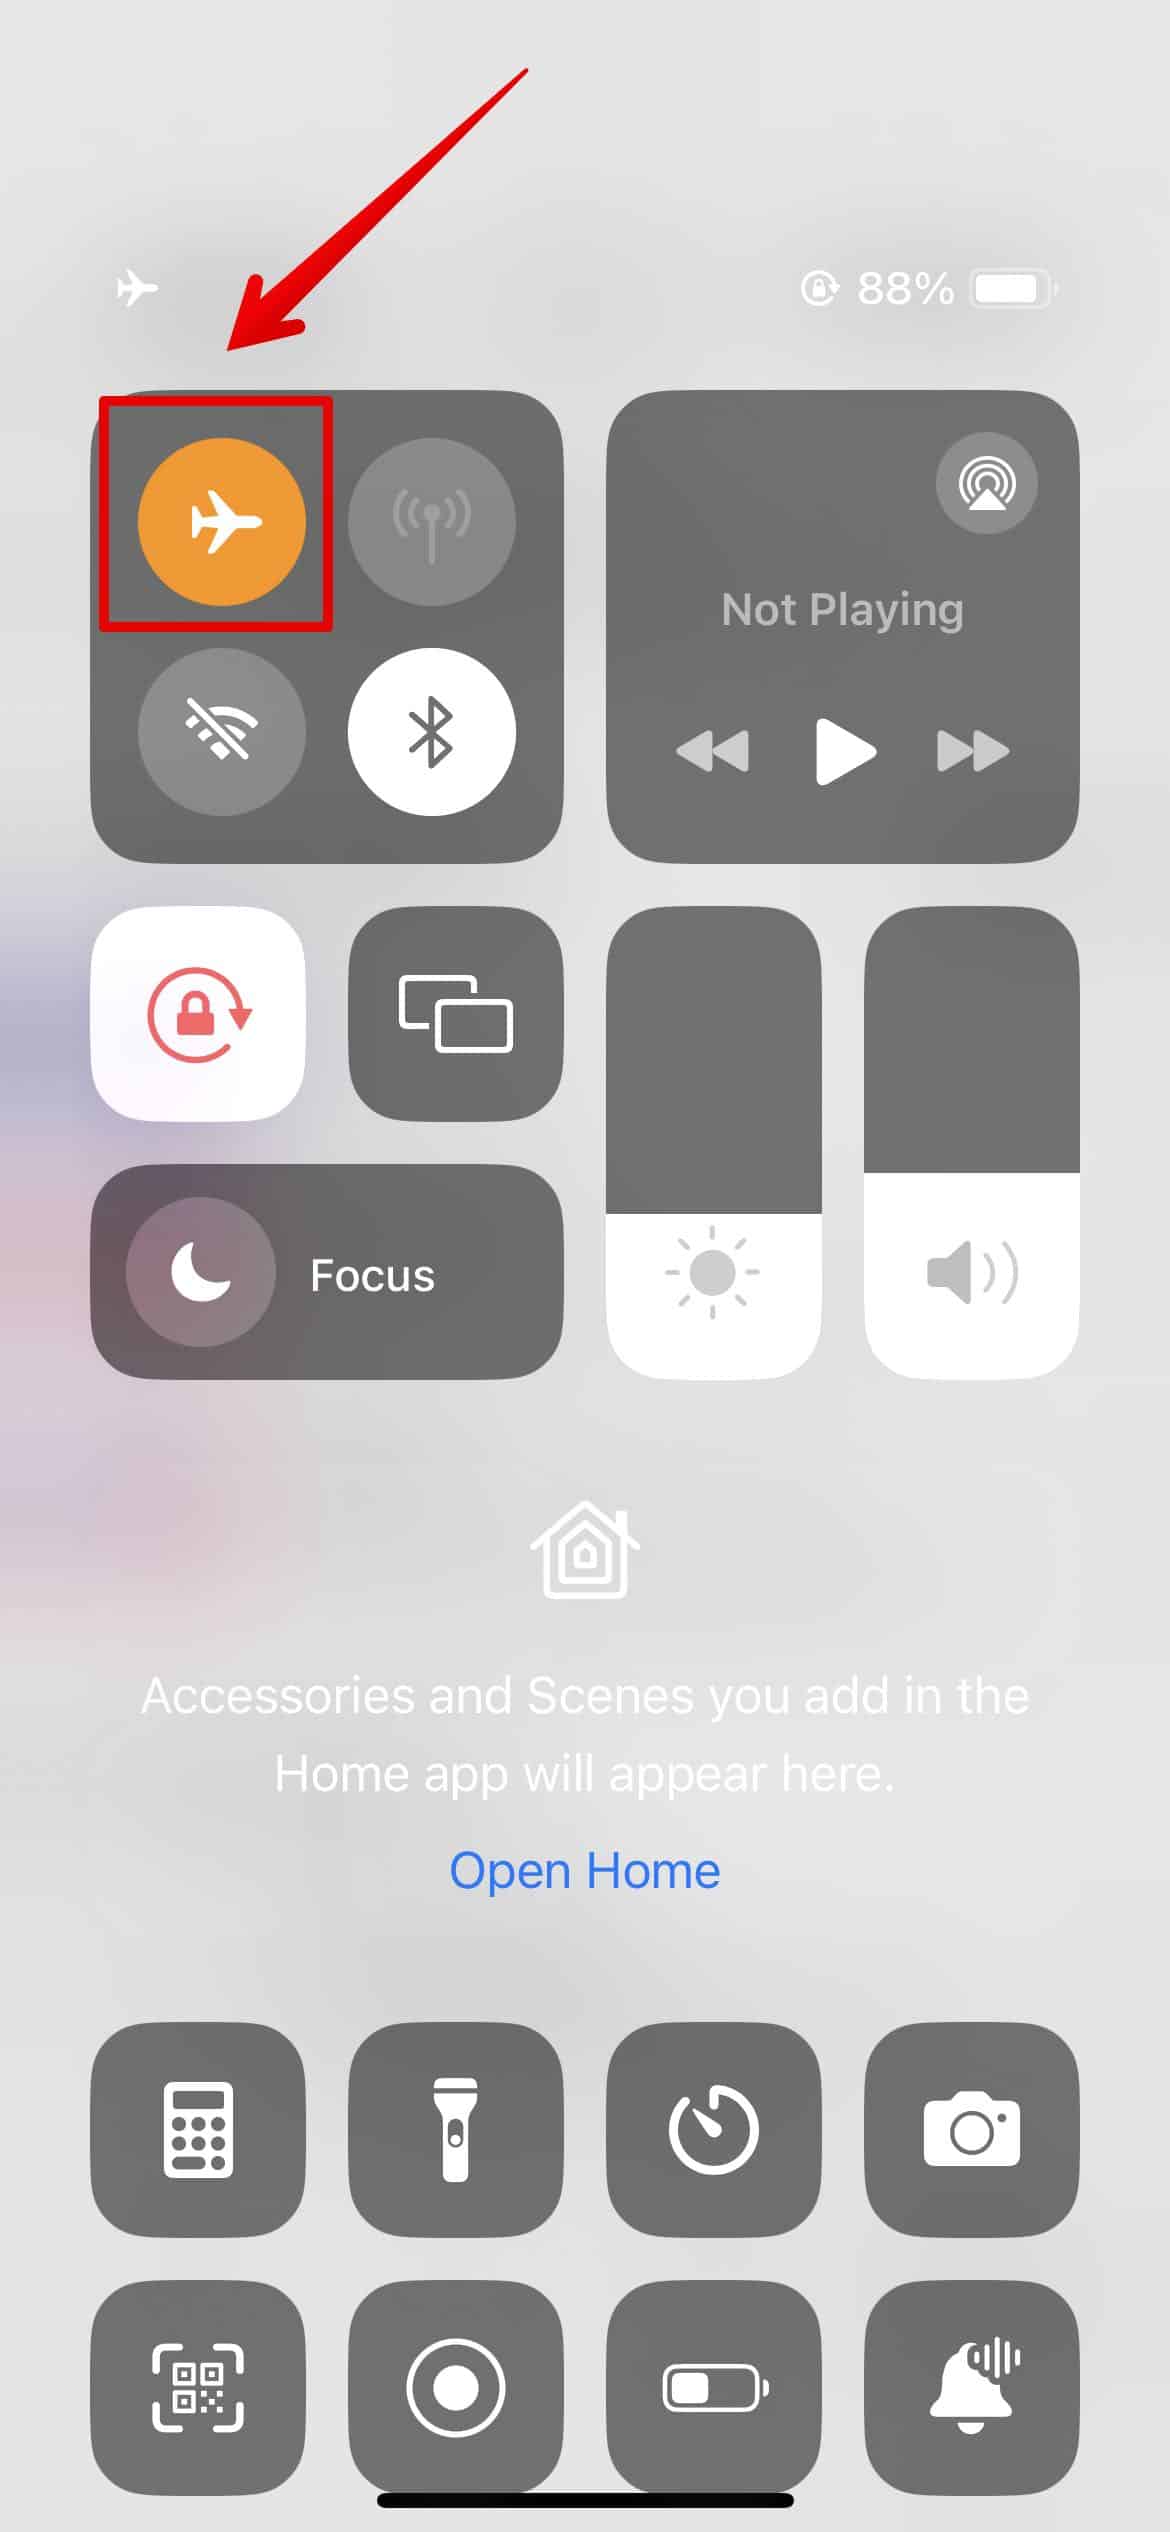
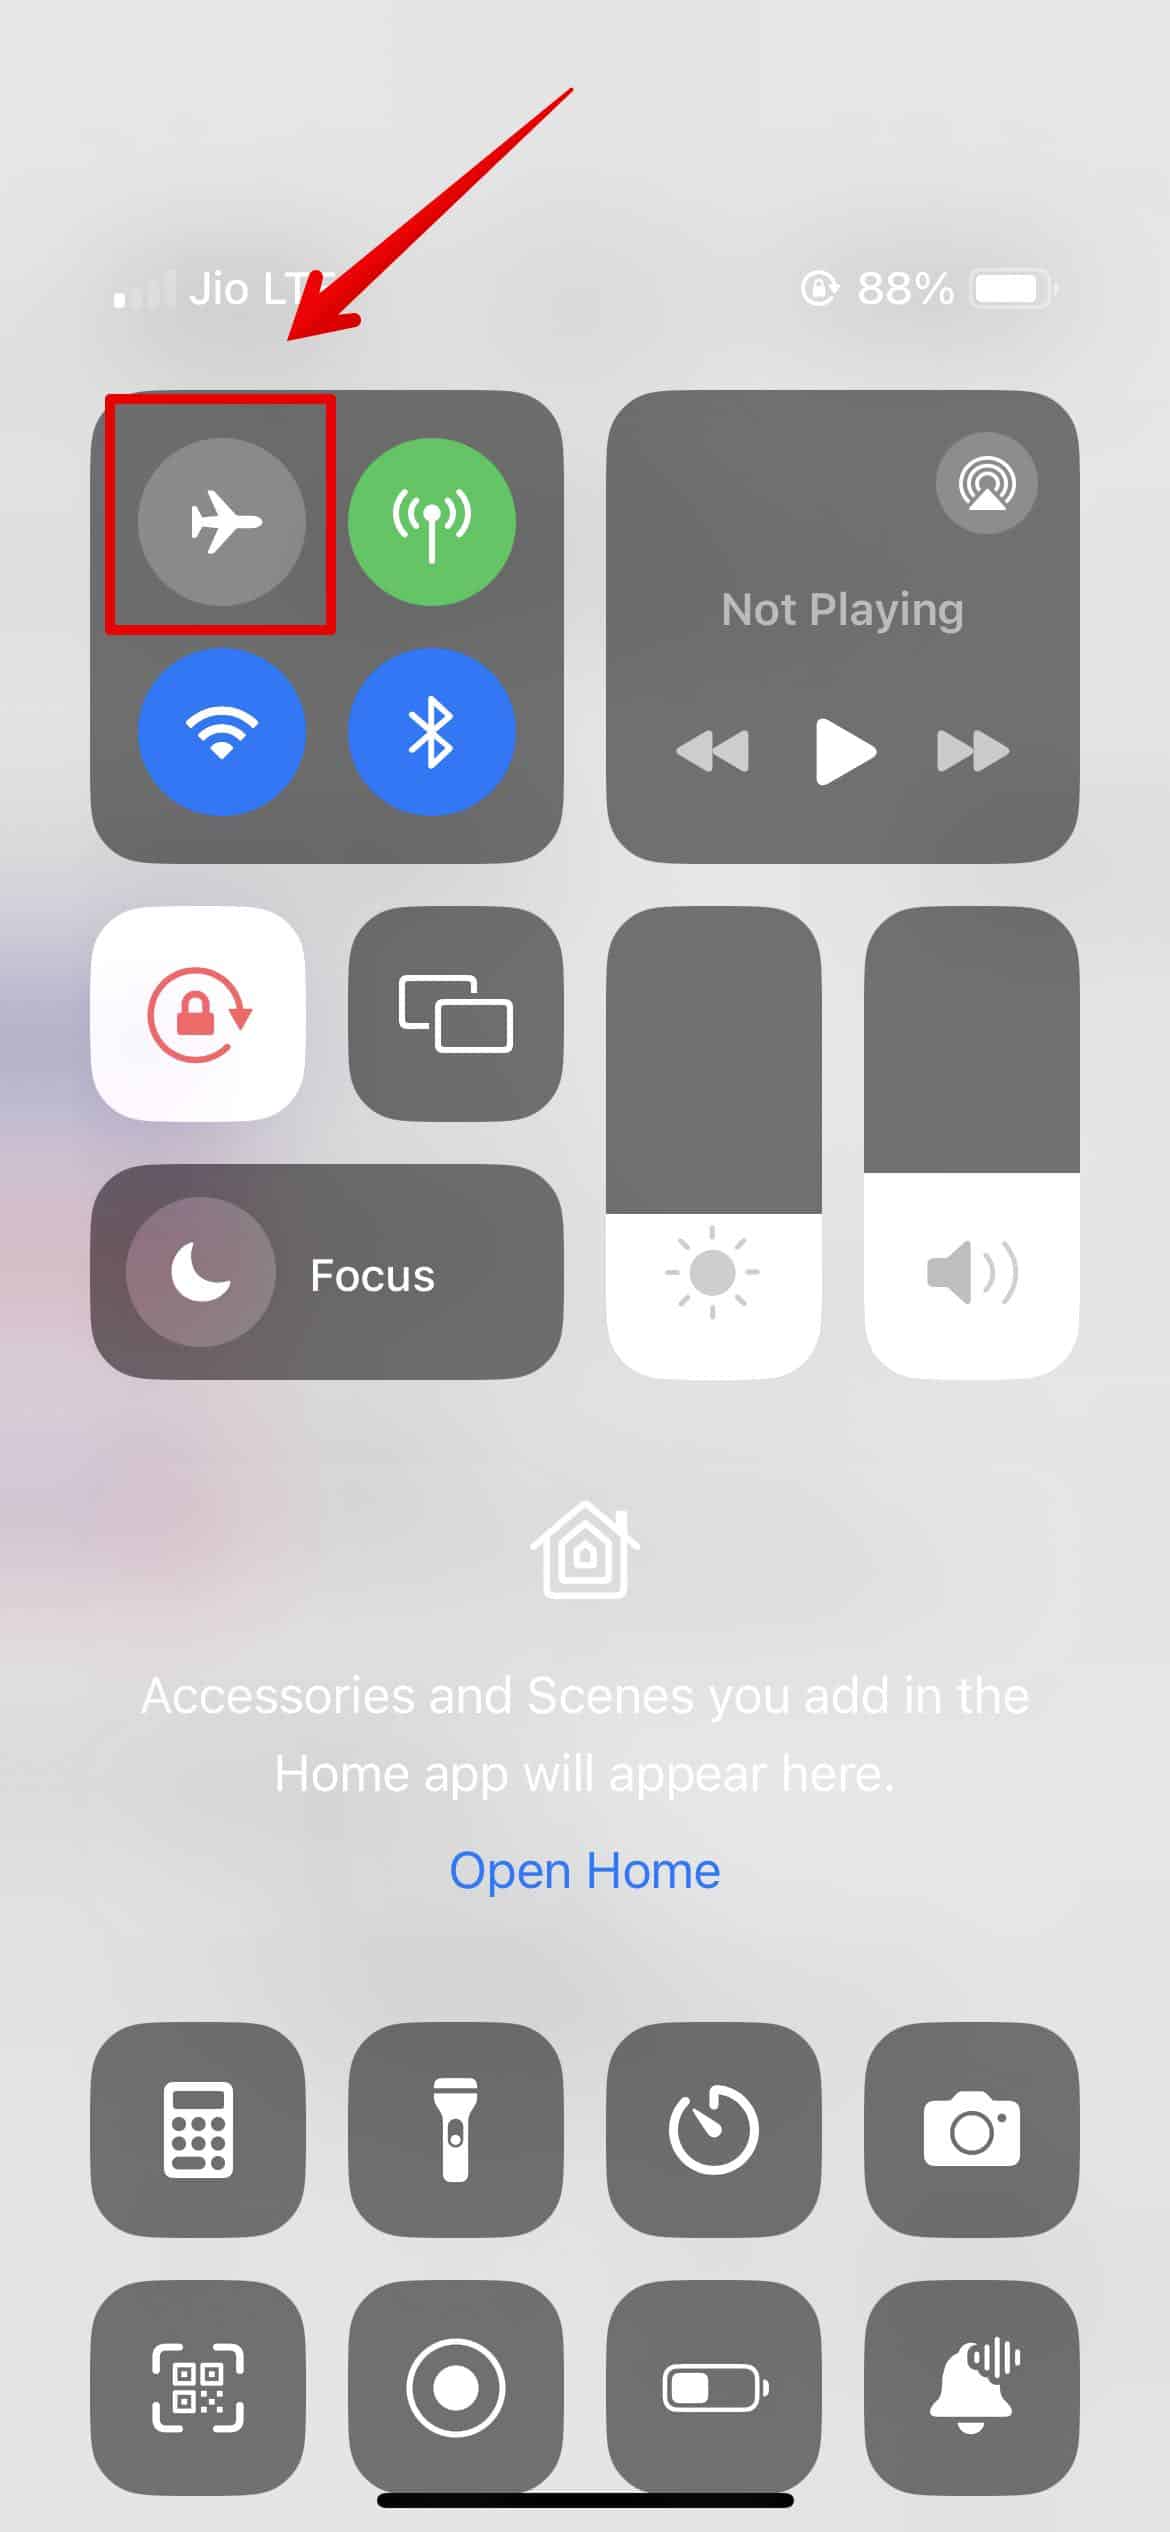
- Slide down from the top-right corner of the screen to open Control Center.
- Tap on the Airplane icon to enable Airplane Mode.
- Wait a few seconds before disabling Airplane Mode.
- It might take some time to get cellular service—you can restart your iPhone and check Wi-Fi Calling.
5. Connect To a Different Wi-Fi Network
Wi-Fi Calling could be acting up because of poor internet connectivity. Either your ISP is unintentionally blocking Apple’s networks and ports, or your network is down. Try restarting your router first. If it doesn’t work, switch to other Wi-Fi and cellular data networks while troubleshooting.
6. Reset Network Settings
Before we move forward with contacting your carrier service provider, reset the network settings on your iPhone. Don’t worry—it won’t delete the data on your device.
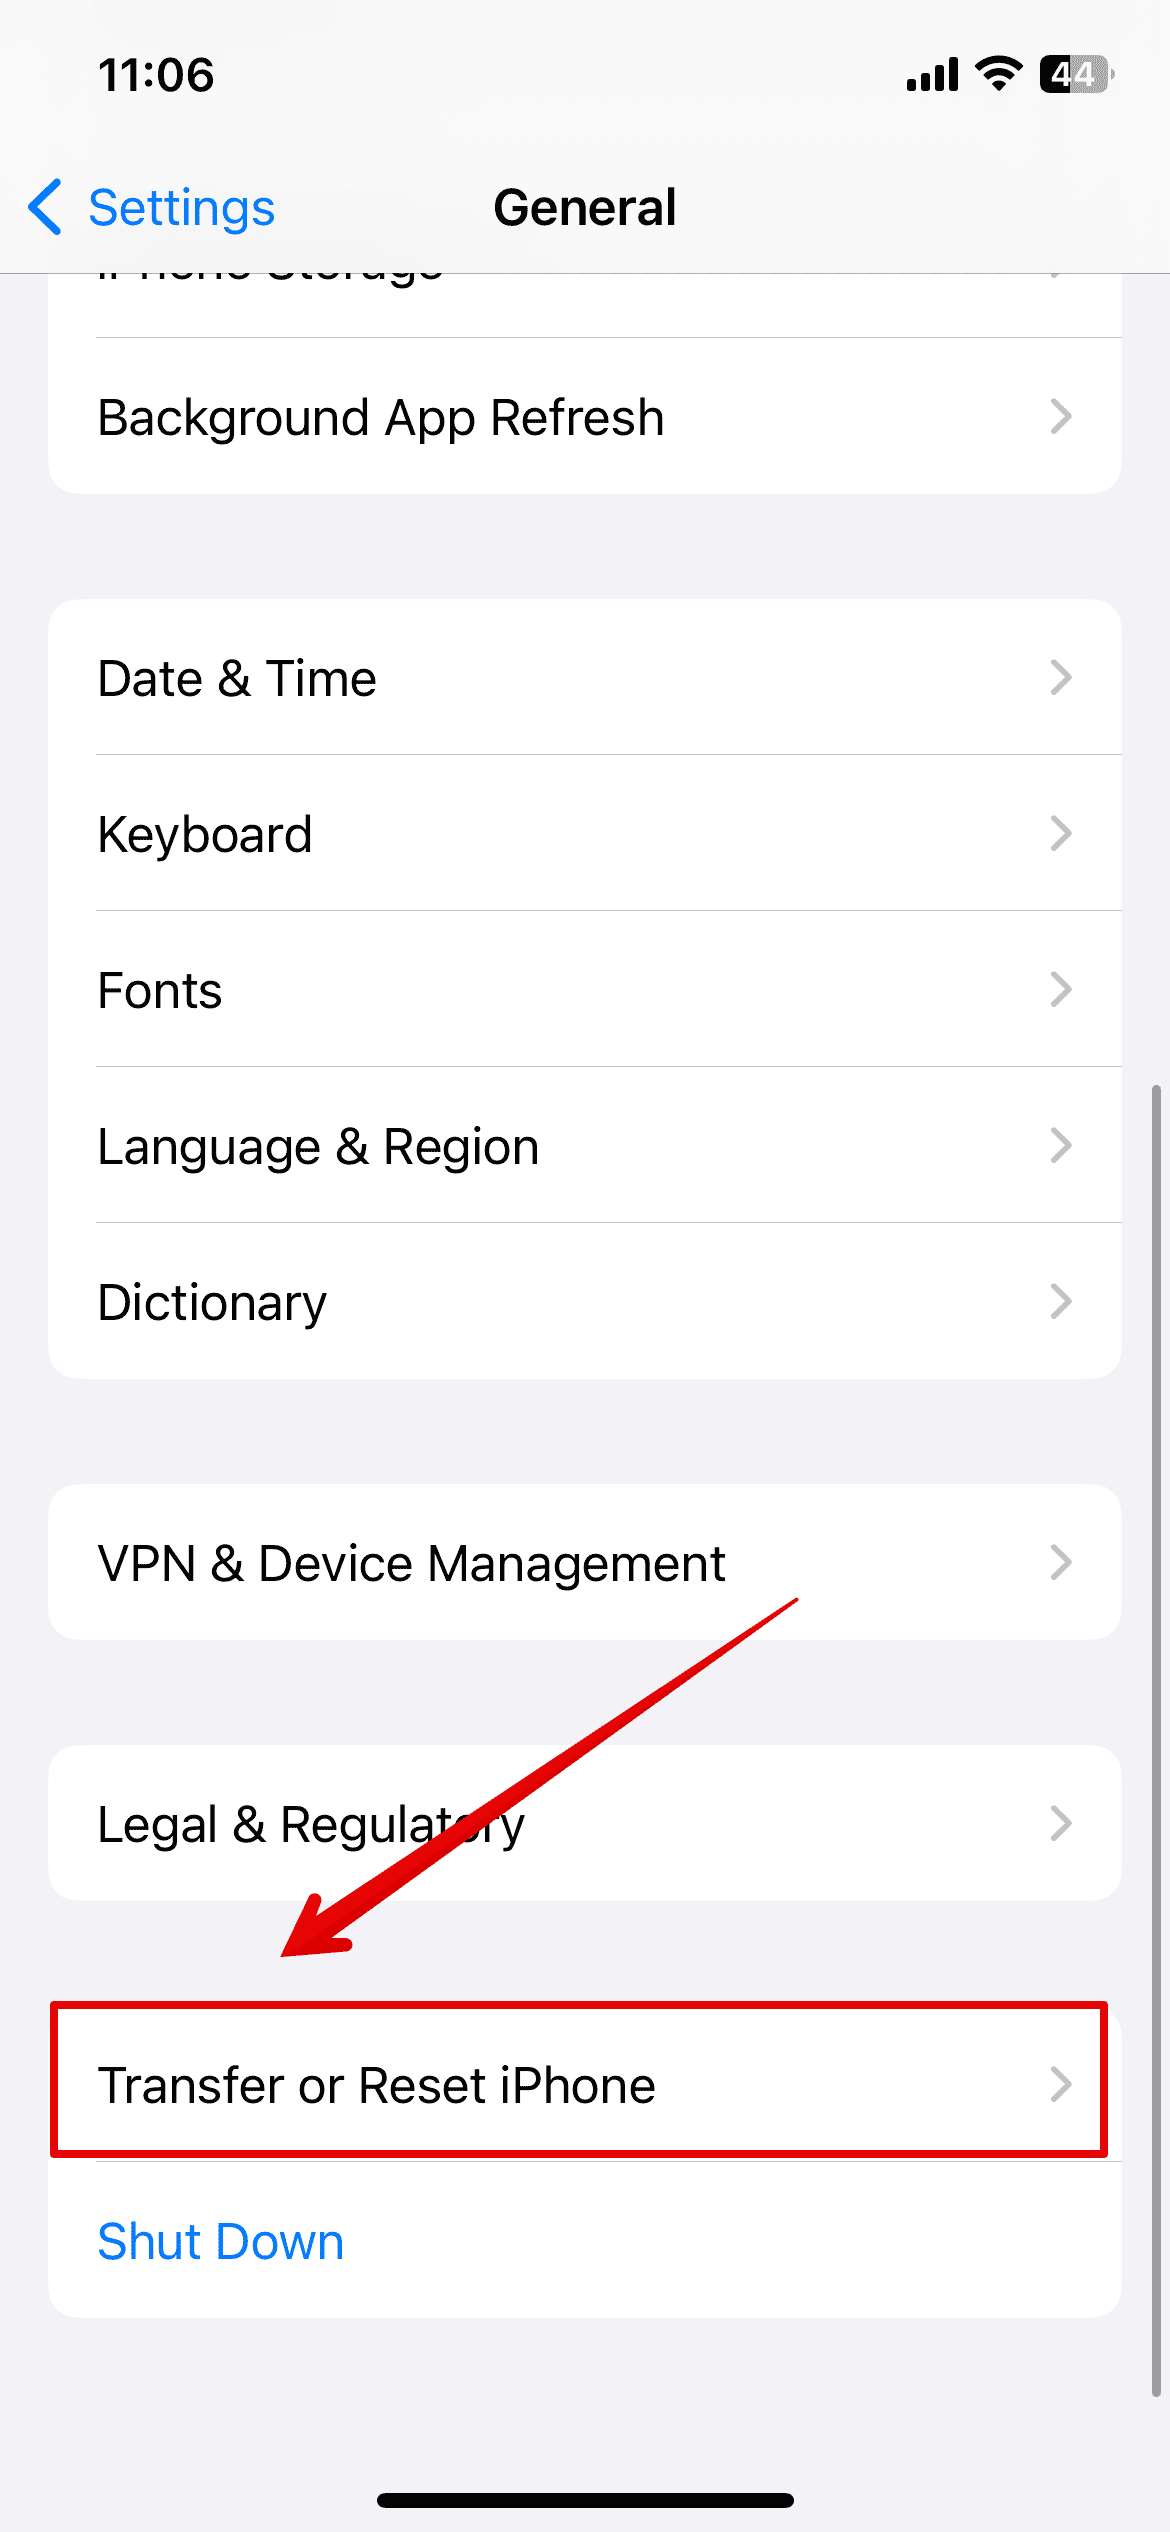
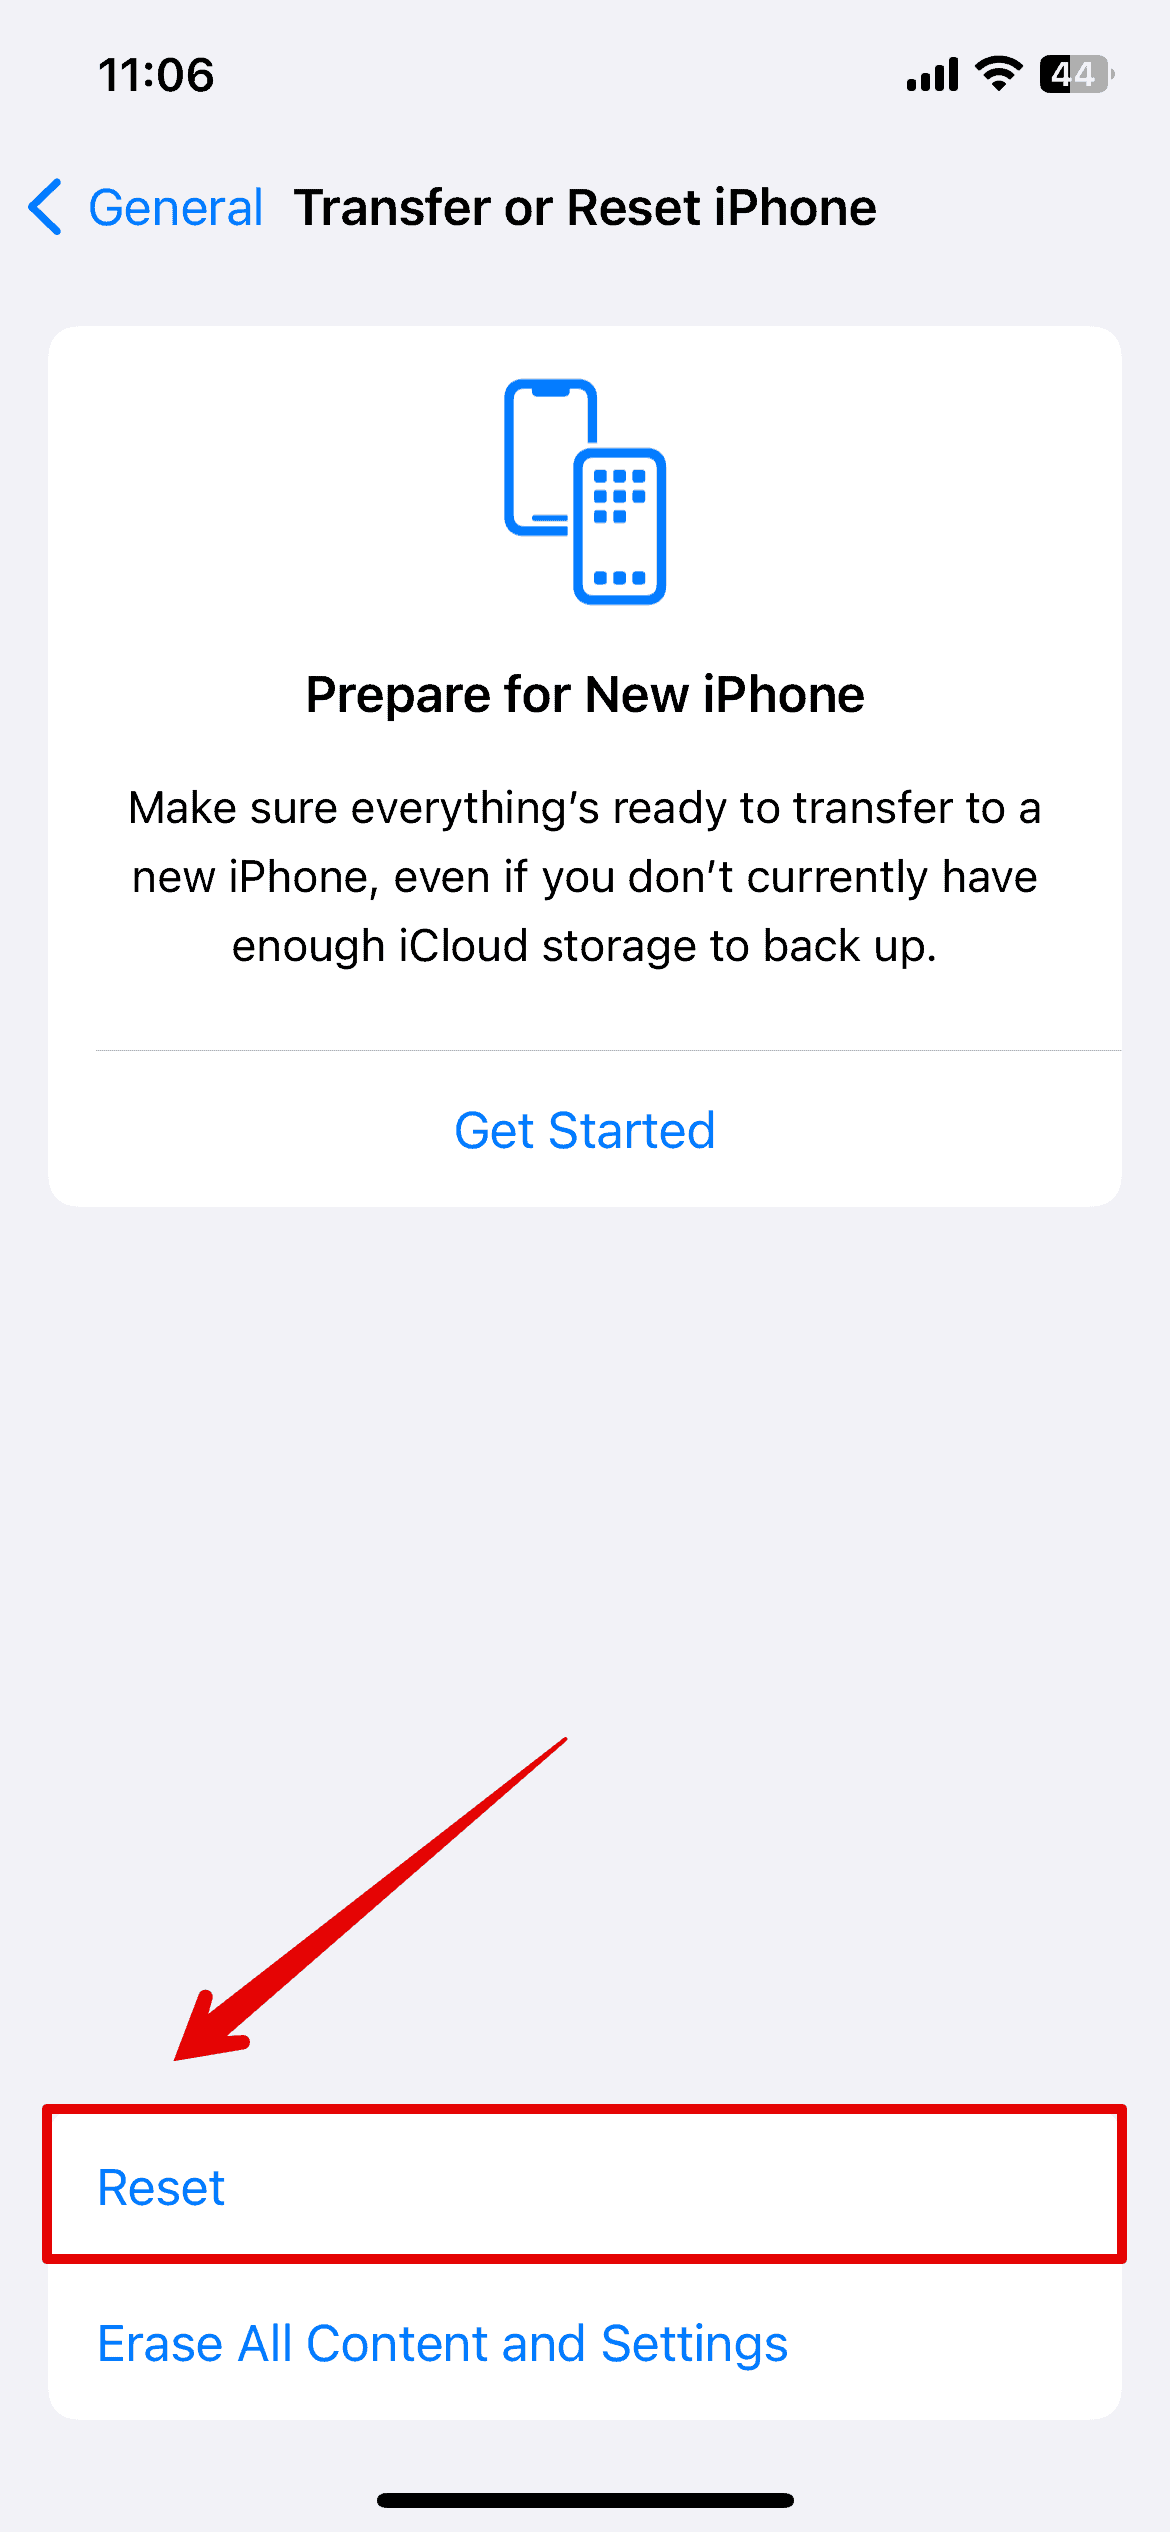
- Open Settings and go to General.
- Scroll down and tap on Transfer or Reset iPhone.
- Select Reset at the bottom.
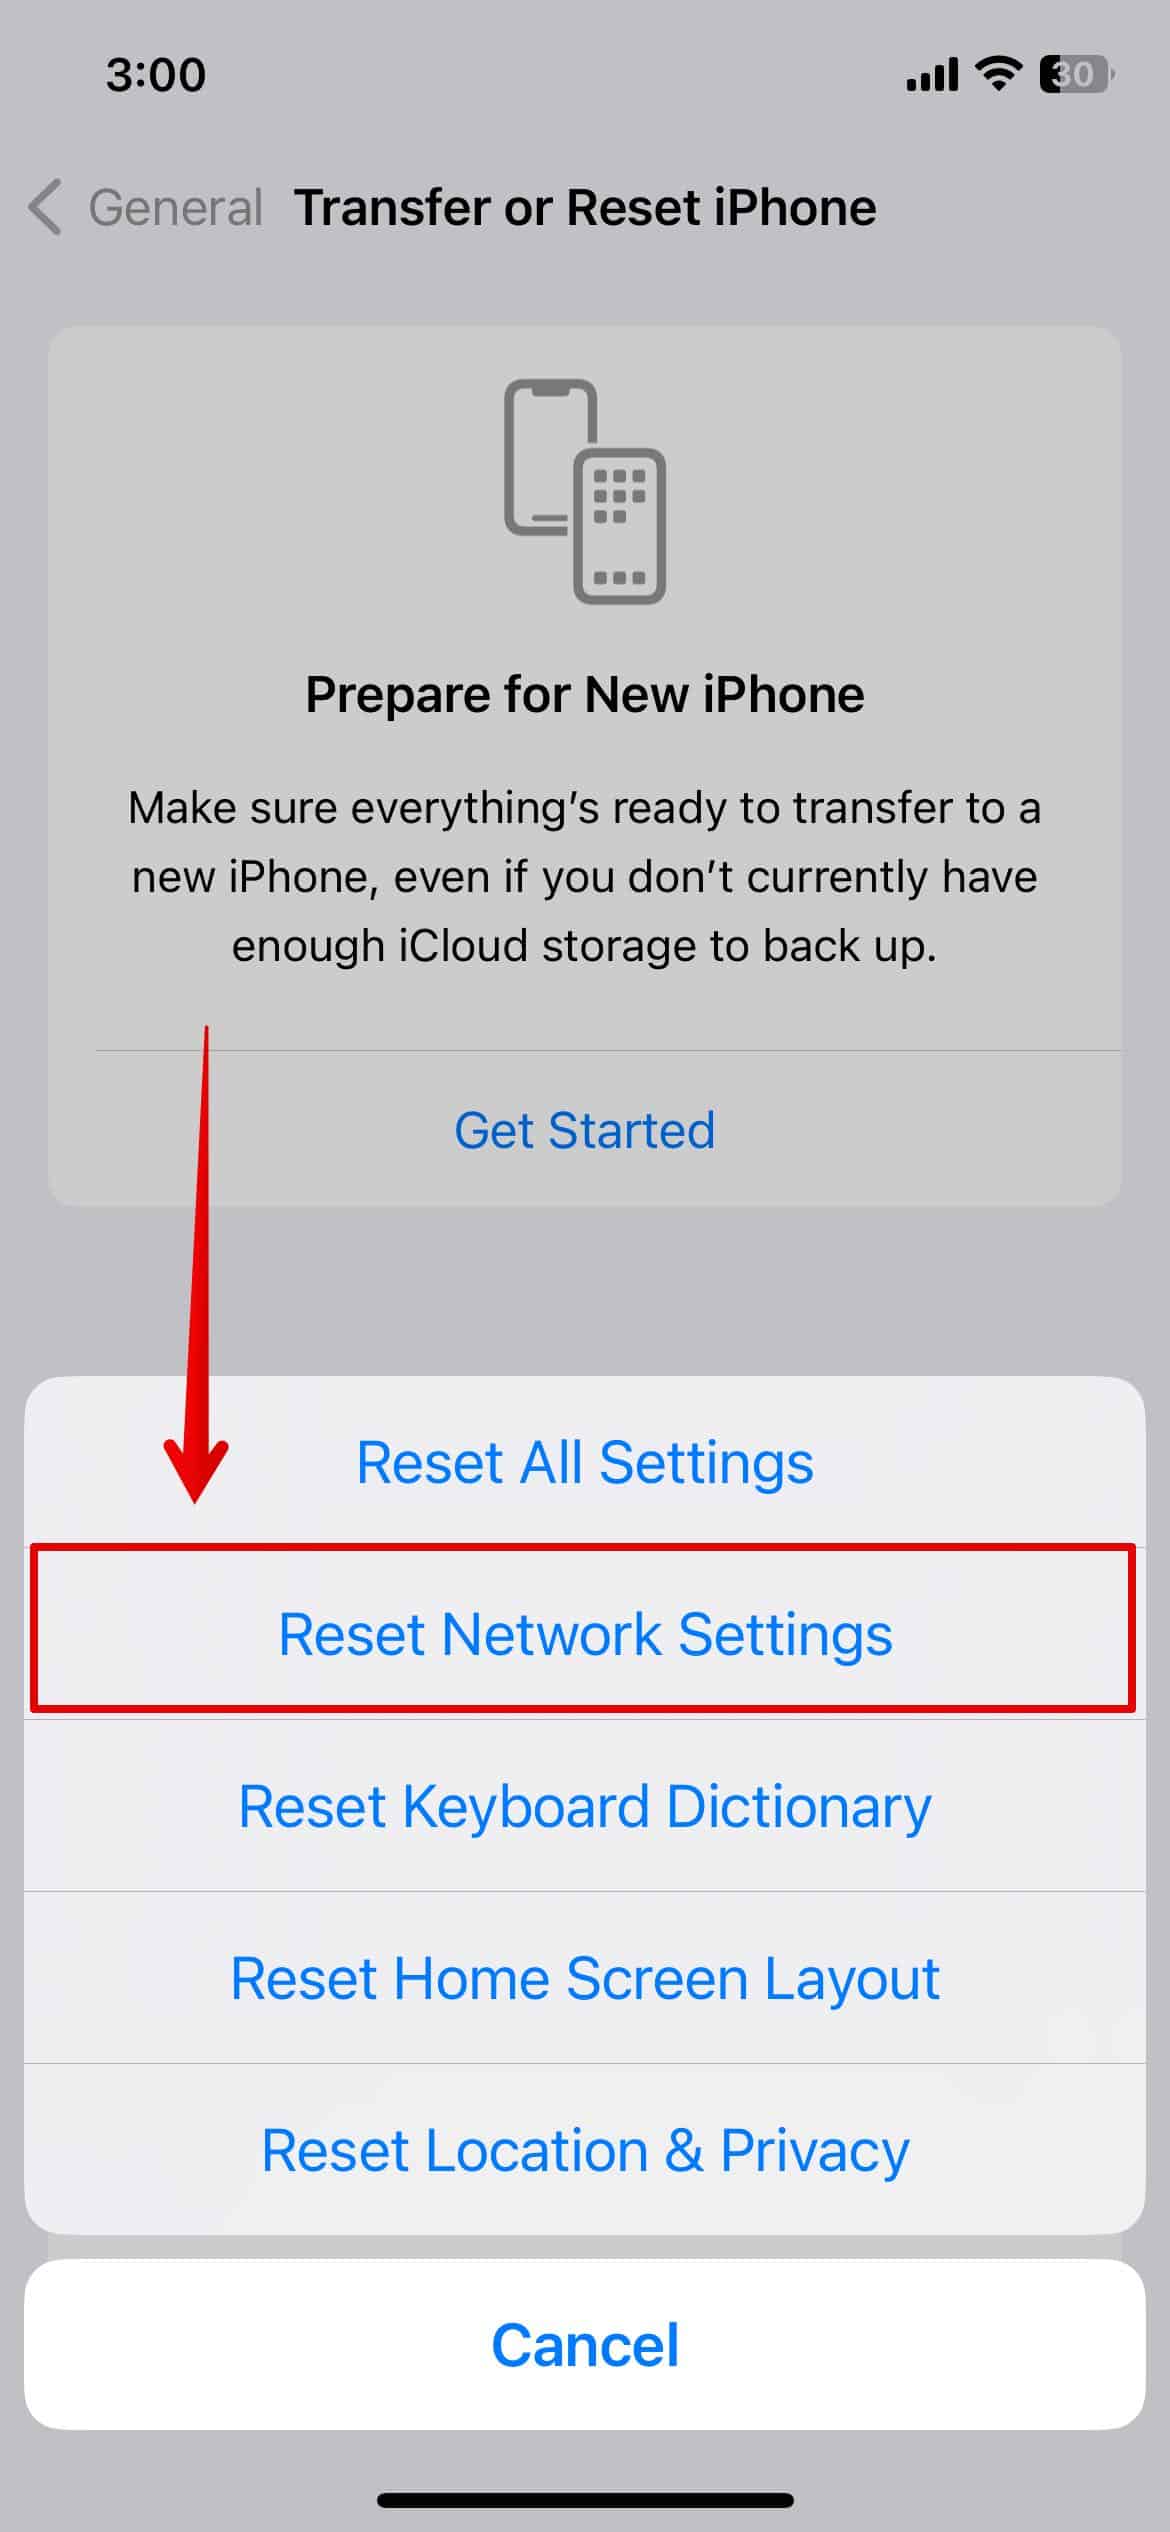
- Select Reset Network Settings from the list of options.
- Enter your device passcode to continue with the process.
- Then, tap on Reset Network Settings again to confirm.
This might take a few minutes to complete. Now, check the Wi-Fi calling feature and try contacting your friends or family.
7. Contact Your Carrier
It is important to understand that your carrier service provider controls the networks you use on Wi-Fi Calling. Apple can’t interfere with third-party networks. Contact your carrier and file a report if you’ve been having trouble with Wi-Fi Calling, and other similar functions, before even updating to iOS 17.
