
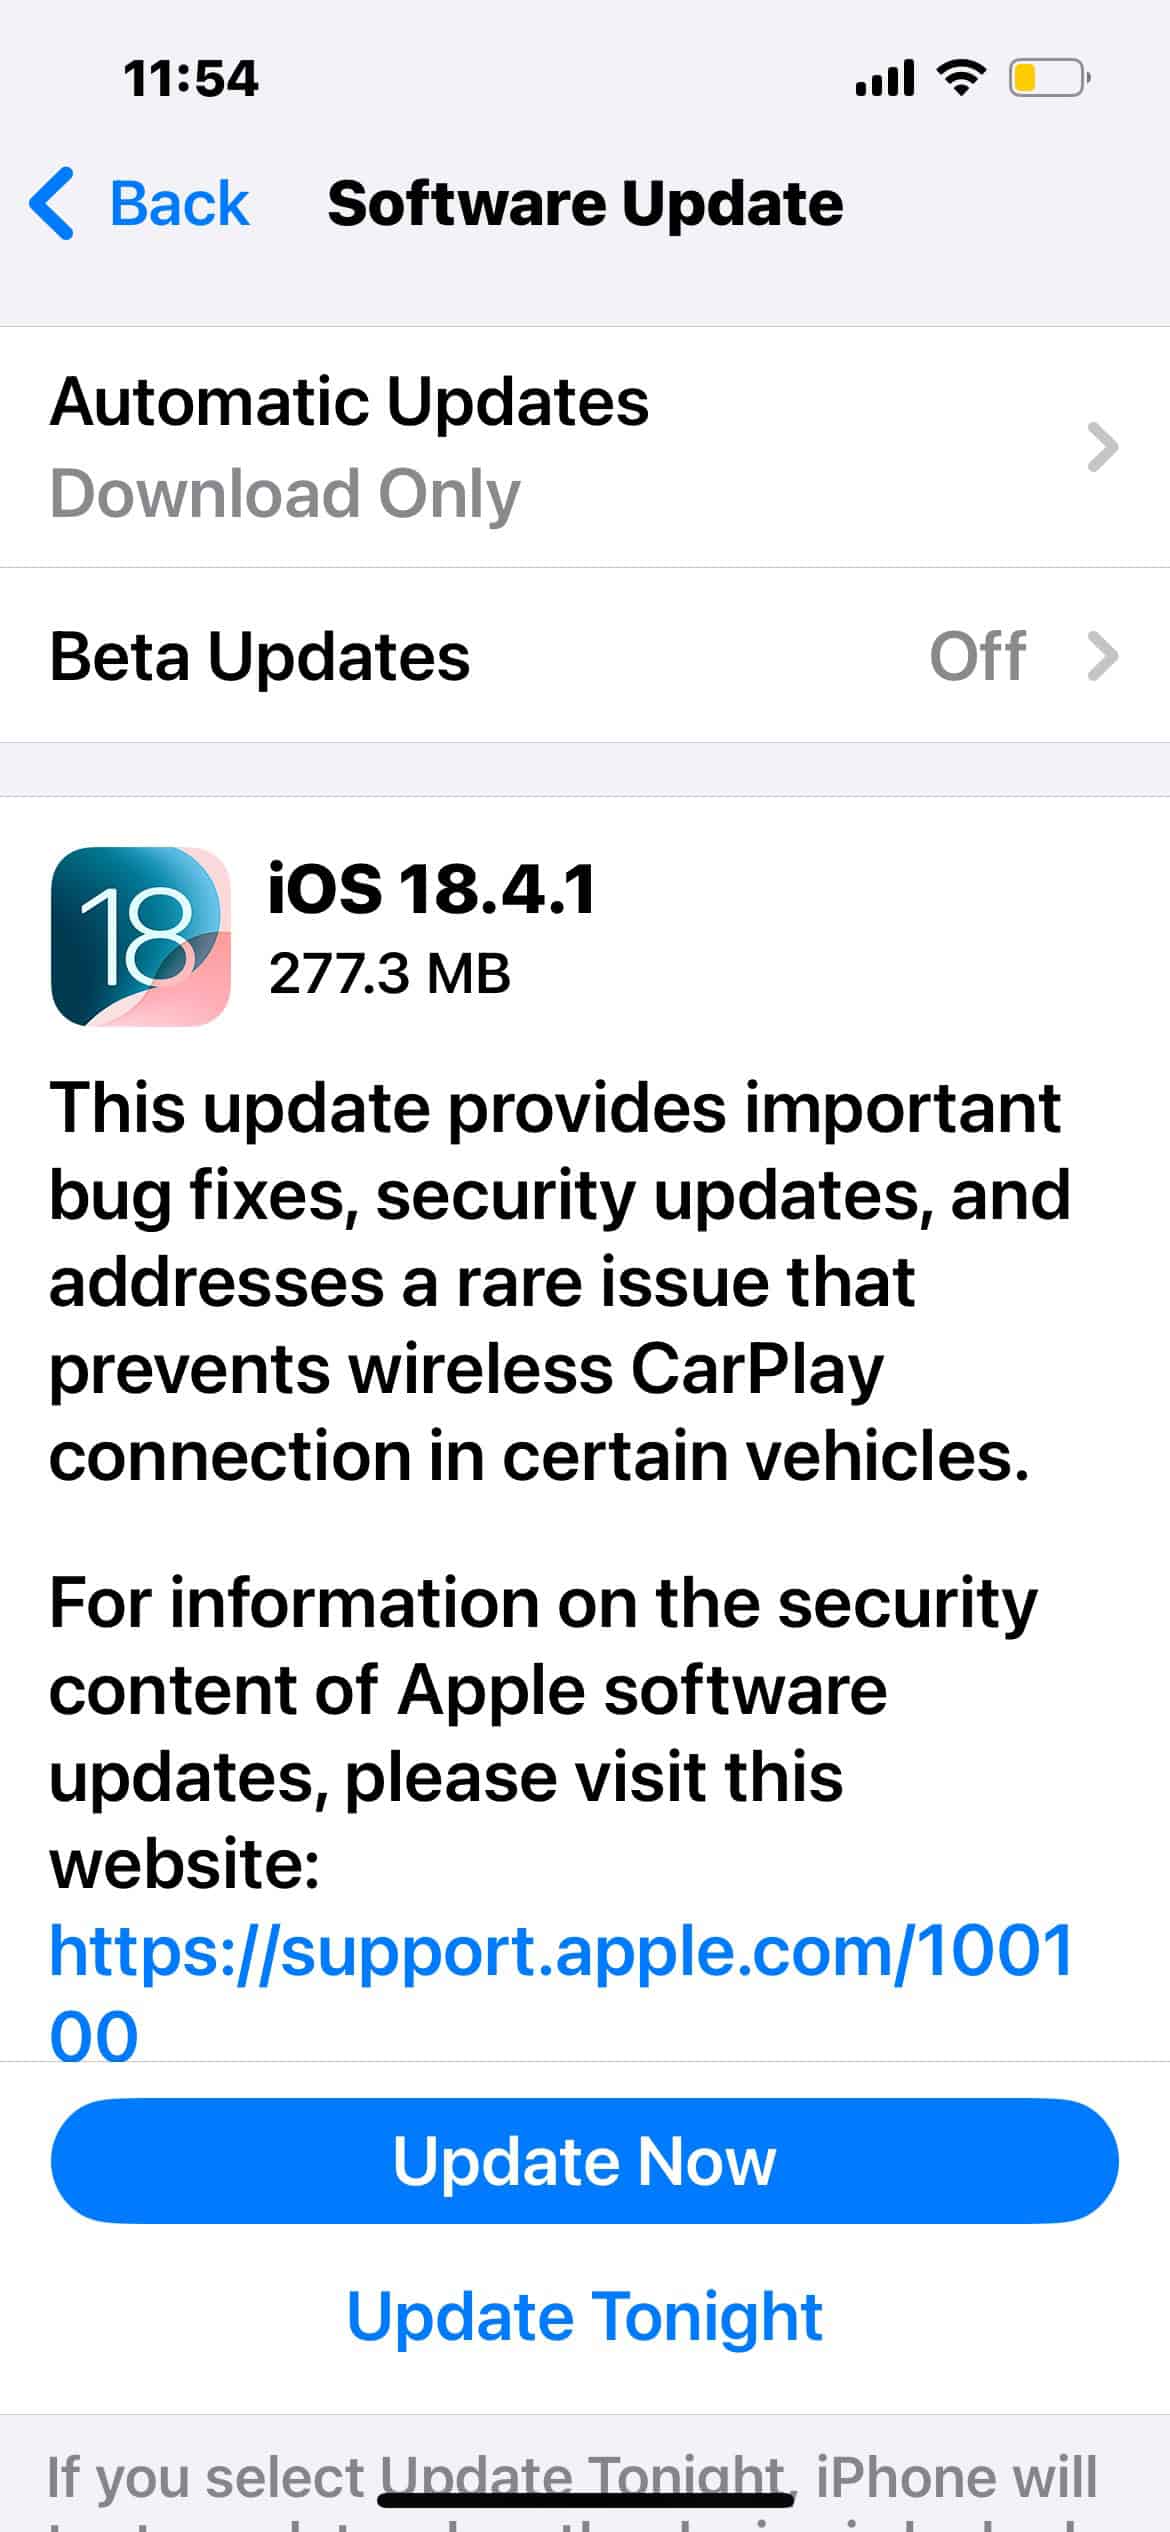
The iOS 18.4.1 stable release just dropped! It patches several key bugs, including the infamous CarPlay issue that left thousands of motorists unable to connect their iPhones to their infotainment systems.
Stable releases are meant to be reliable, but update problems still happen. If your device refuses to install the recent update, here’s what might be causing it and how to fix it.
1. Free Up Storage
Time needed: 3 minutes
iOS updates temporarily unpack, verify, and migrate system components. If your iPhone has less than 2GB of free space, the update might stall during the preparation or verification stage. It needs enough headroom to decompress the update and move files into their correct places without overwriting critical processes. Even if the update shows as “downloaded,” it won’t install until there’s enough working space. Here’s what to do:
- Open Settings > General > iPhone Storage.

- Look at how much space is available.
- Tap large apps like Photos, Messages, or Netflix to review and remove files.
- Use Offload App to keep data but temporarily remove the app/
- Aim for at least 3GB to 5GB of free space.

2. Delete and Redownload the Update File
If your iPhone previously attempted the update and failed during download or verification, that file may now be corrupted. iOS caches update files, but it rarely prompts you to re-download from scratch. By manually deleting the stored file, you force iOS to fetch a clean, verified version from Apple’s servers, which often fixes the “Unable to Install” or “Failed Verification” errors.
- Launch Settings > General > iPhone Storage.
- Scroll down and tap on iOS 18.4.1.

- Select Delete Update.
- Restart your iPhone.
- Go back to Settings > General > Software Update and try again.
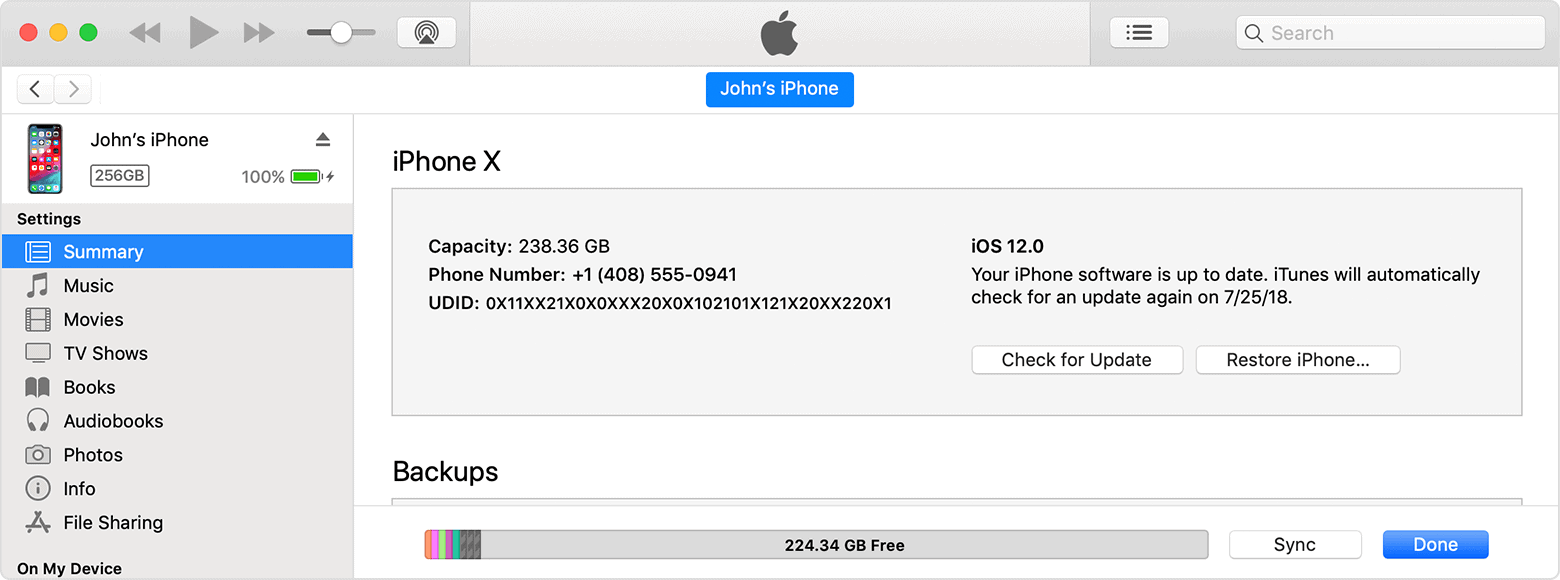
3. Use a Computer to Update
Over-the-air (OTA) updates depend on stable Wi-Fi, free space, and low background usage. If any of these fail, the update won’t install. Using a Mac or PC bypasses these variables by downloading the full iOS installer directly. It also verifies the update more reliably and sidesteps any corrupted system caches or partial installs, making it the most consistent method for stubborn updates.
- Connect your iPhone to a Mac or Windows PC.
- On Mac (macOS Catalina and later), open Finder. Meanwhile, on PC or older Mac models, open iTunes.
- Select your iPhone from the sidebar or top-left device list.
- Click Check for Update.

- Choose Download and Update.
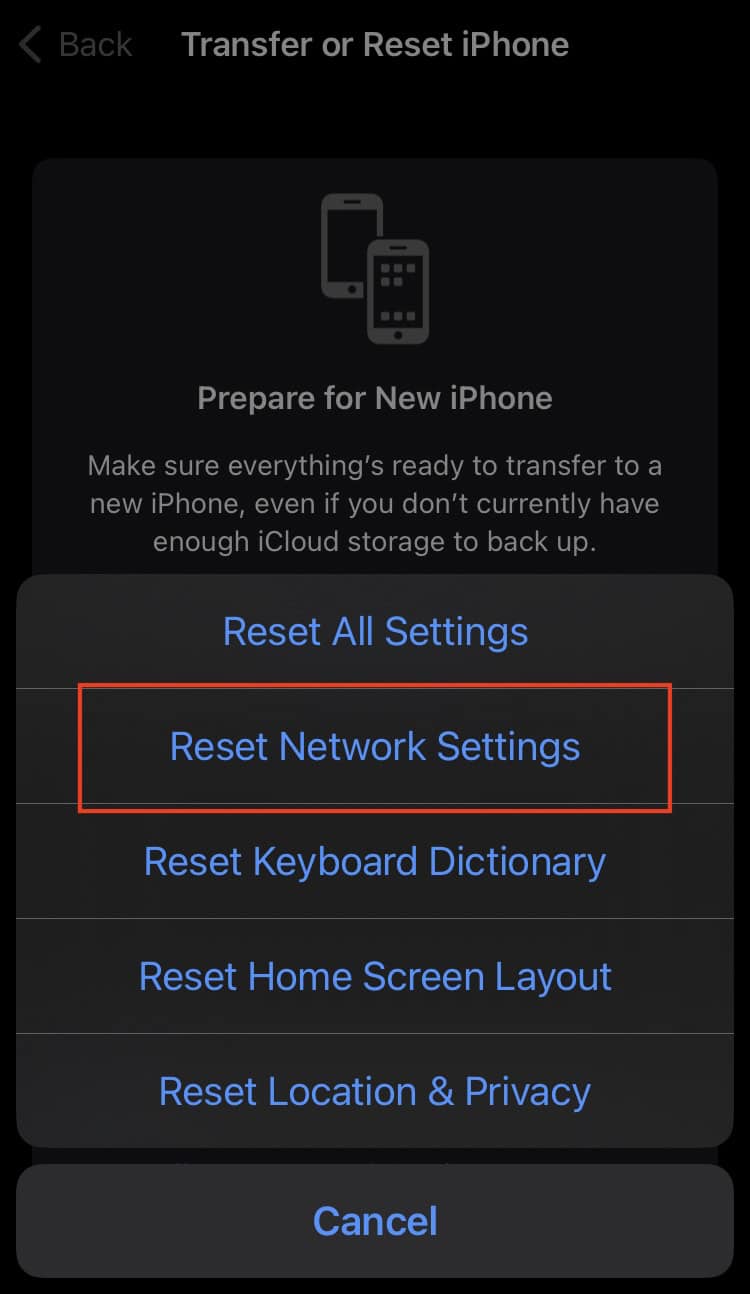
4. Reset Network Settings
When an update gets stuck on “Verifying” or “Unable to Check for Update,” it’s usually a DNS or certificate verification issue. iOS uses cached Wi-Fi configurations and saved server certificates to authenticate update downloads. If these are outdated or misconfigured, verification fails. Resetting your network settings clears those caches and forces a clean re-authentication with Apple’s update servers.
- Go to Settings > General > Transfer or Reset iPhone.
- Tap Reset.
- Choose Reset Network Settings.

- Enter your passcode and confirm.
- Reconnect to your Wi-Fi and retry the update.
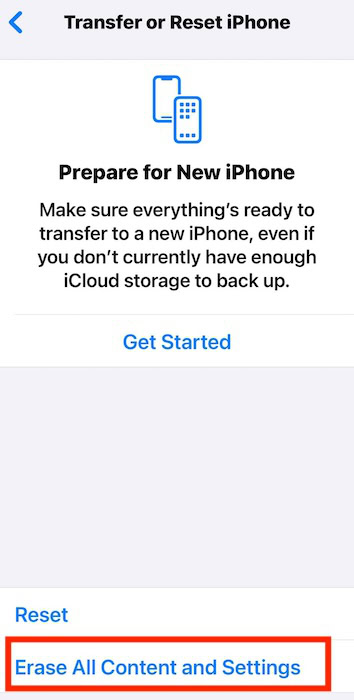
5. Factory Reset iPhone
As a last resort, factory reset your iPhone. Revert your device to its default settings and set up your profile from scratch. It’s a quick way to resolve hidden bugs. Likewise, you can install the latest stable release available before restoring your iCloud backup.
- Open Settings > General and scroll down to Transfer or Reset iPhone.
- Select Erase All Content and Settings.

- Tap Continue to confirm the action and back up your iPhone.
- Wait for the device to restart and then follow the on-screen instructions.
Should issues persist, call Apple Support. The team can probably shed light on other possible issues. But if the update pushes through and your iPhone lags, you can disable Background Refresh, turn off Apple Intelligence, and force restart it.