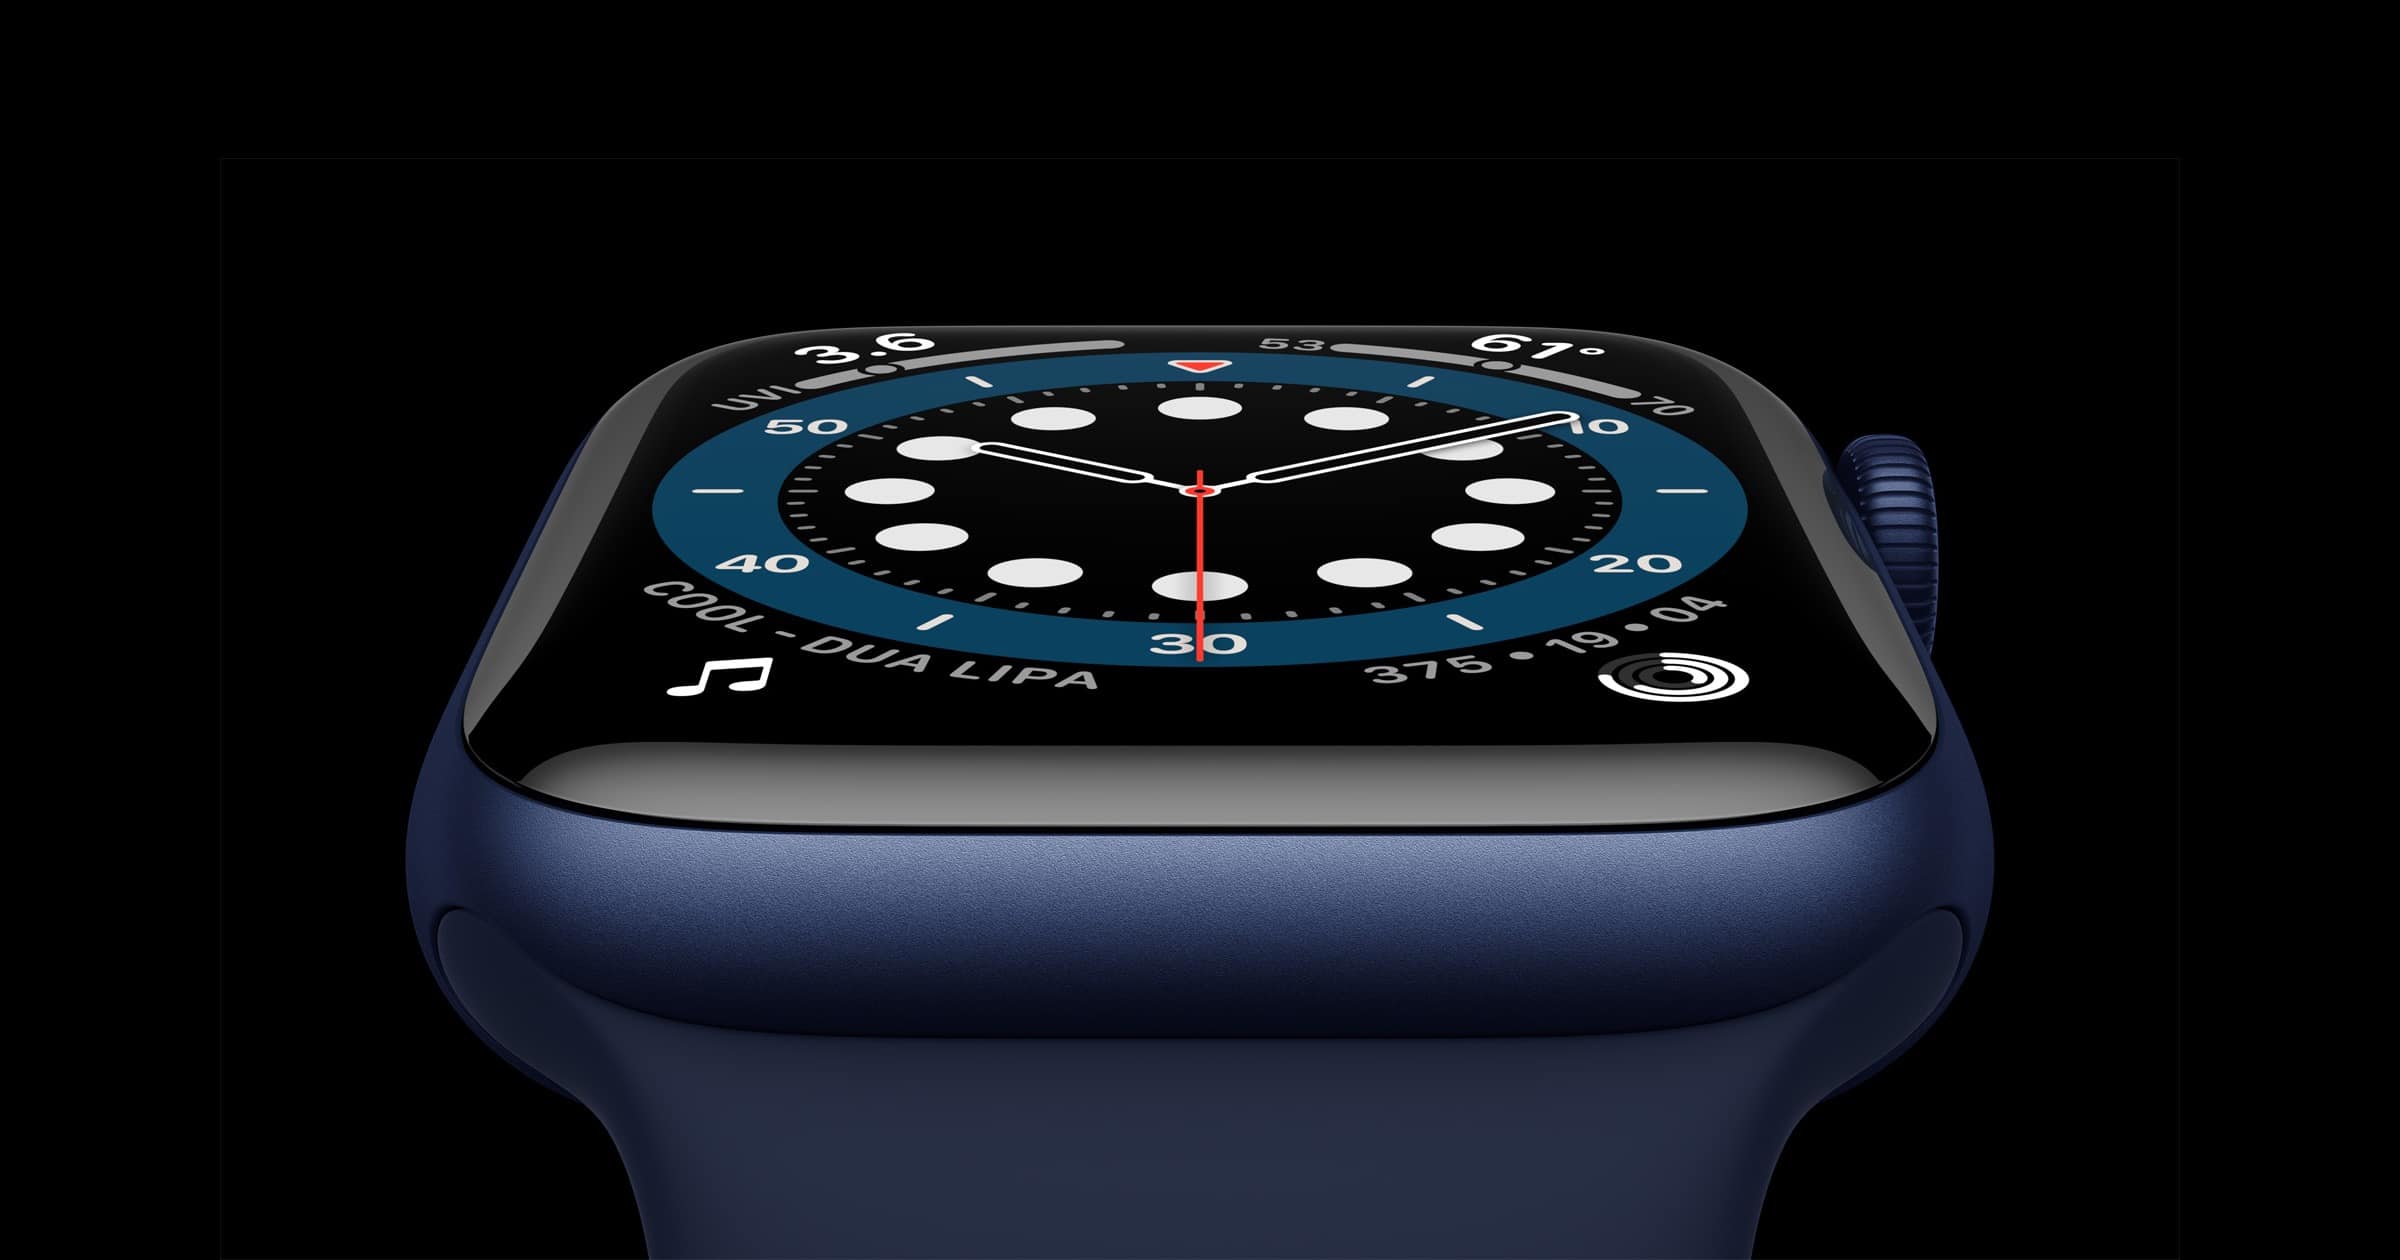
The Apple Watch is customizable in lots of ways – including the face. This can be changed either via the iPhone app or directly on the device.
Change the Face on an Apple Watch
I find doing this in-app to be the easiest:
- Open the Watch app on your iPhone.
- Tap the Face Gallery tab at the bottom- there is a range of styles to pick from.
- Tap on the Watch Face you like.
- Scroll down and pick your preferences for the various customizable options.
- When finished, tap ‘Add’ at the top.
Changing Directly on Device
The newly designed Face automatically becomes the Face on your Apple Watch. It is also now in the ‘My Faces’ section at the top of ‘My Watch’ tab in the iPhone app.
- This functionality can be replication on the Apple Watch itself, although it is a little more fiddly.
- Hold down on your Apple Watch Face – this opens the edit function.
- Swipe left until you get to the ‘New’ Option
- Tap the ‘+’
- Using the Digital Crown, scroll through the Face Gallery.
- Tap the Face you like.
- Return to the Face gallery as described above and tap ‘Edit’ under the new Face.
- Using the Digital Crown and left/right swipe to go through the various customizable options (you will see the various section names at the top of your display).
- Tap the Digital Crown when you’re happy with your edits, and then again to exit the editing process.
Return to a Previously Saved Apple Watch Face
By default, all the Apple Watch Faces that you design by going through the processes above are saved. To change between them:
On iPhone:
- Open the Watch app
- Tap on the Face you want to use, opening edit mode.
- Scroll down and tap ‘Set as current Watch Face’.
On Apple Watch:
- Hold down on the Face opening edit mode.
- Swipe left and right to see your different saved options.
- Tap on the one you want to use.
