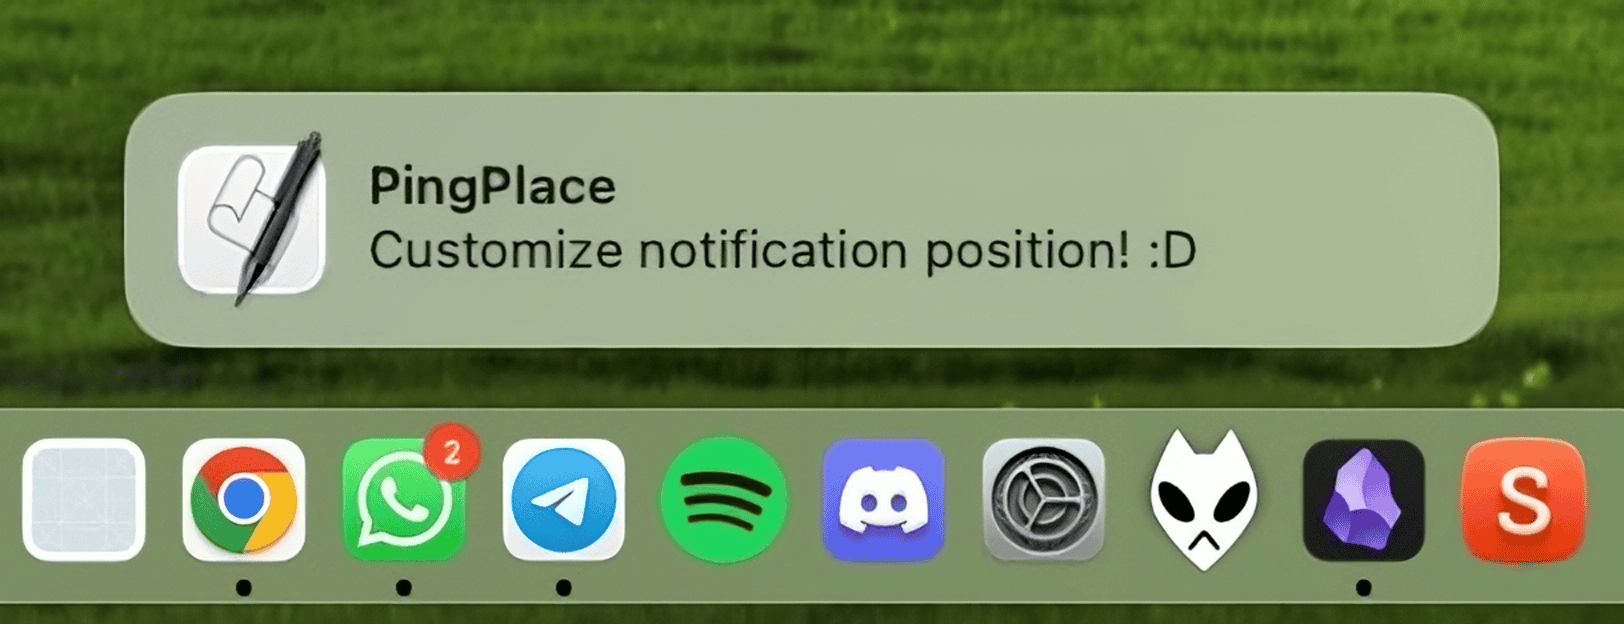
Notification alerts on macOS appear in the top-right corner of the screen. Although the default placement works for most users, macOS doesn’t offer any option to reposition notifications for those who may find it distracting. Fortunately, this doesn’t have to be the case anymore. We found a new app that lets you change the location of notification pop-ups on macOS. Keep reading to learn more about this app.
How to Change the Location of Notifications on Mac
macOS doesn’t let you reposition the notification alerts natively. However, an independent developer that goes by NotWadeGrimridge on GitHub has created an open-source app called PingPlace that allows you to change the location of notifications. You can install PingPlace using Homebrew and set notifications to show up in five new locations: top-left, top-middle, bottom-left, bottom-middle, or bottom-right.

In our testing, we found that the source code of PingPlace is legitimate, and the application does exactly what it’s supposed to do. The only issue a handful of users have reported is that the Notification Center can sometimes show up on the left side of the screen whenever you move the notifications to the top left. Moreover, no matter where you place the notifications, the animations only begin from the right.
How to Install PingPlace Using Homebrew
Time needed: 10 minutes
PingPlace isn’t on the App Store. You’ll have to download the application using Homebrew. If you’re new to Homebrew, the steps given below will walk you through the entire process.
- Press Shift + Command + U to access the Utilities folder and open Terminal.
- Then, paste the following command into the Terminal window and press return.
/bin/bash -c "$(curl -fsSL https://raw.githubusercontent.com/Homebrew/install/HEAD/install.sh)" - After that, enter your Mac’s password and hit return to finish installing Homebrew.
- Run
brew doctorto ensure all the dependencies have been installed correctly. - Inside the Terminal, paste
brew tap notwadegrimridge/brewand hit return.
- Finally, paste
brew install pingplace --no-quarantineand hit return.
How to Configure and Use PingPlace on Mac
Once you finish installing PingPlace on your Mac, setting it up is pretty straightforward. You just need to enable the necessary permissions and access the app from the menu bar. Follow these steps:
- Open PingPlace from the Launchpad or Applications folder.
- When a dialog pops up, click on Open System Preferences.
- Inside System Settings, enable the toggle next to PingPlace.
- Now, Enter your Mac’s password and click Modify Settings.
- Click the PingPlace icon (it looks like a Bell) in the menu bar.
- Pick any option to change the location of notification pop-ups.


