
Apple Intelligence completely revamped the Photos app. You can now use natural language in the search bar, clean up pictures, and even generate avatars from text prompts. As you might expect, all these features demand far more power. And as a result, the process responsible for analyzing media files in macOS Sequoia, com.apple.mediaanalysisd, ends up using more disk space.
A spike in RAM usage is totally normal. However, you might have to check for underlying software and hardware issues if your Mac starts lagging excessively. Here’s what you can do.
Why Is com.apple.mediaanalysisd Files Filling Drive in macOS Sequoia?
The mediaanalysisd process generates cache files when analyzing media libraries. In macOS Sequoia, bugs and misconfigurations can cause these cache files to grow uncontrollably and consume massive disk space. This behavior is often tied to the analysis of large photo libraries or continuous reprocessing of media files, leading to the excessive accumulation of data in the ~/Library/Containers/com.apple.mediaanalysisd/Data/Library/Caches/ directory.
What To Do if com.apple.mediaanalysisd Files Is Filling Drive in macOS Sequoia
1. Allow Media Analysis to Finish Processing
The com.apple.mediaanalysisd process analyzes media files in the background. It indexes objects, detects faces, and generates metadata for Photos search and smart album categorization. If your Mac recently modified a large number of assets, the process is likely still running.
Time needed: 10 minutes
You might be interrupting this process by accident. Follow these steps so that the system can analyze your entire library.
- Keep your Mac plugged in and awake for several hours.
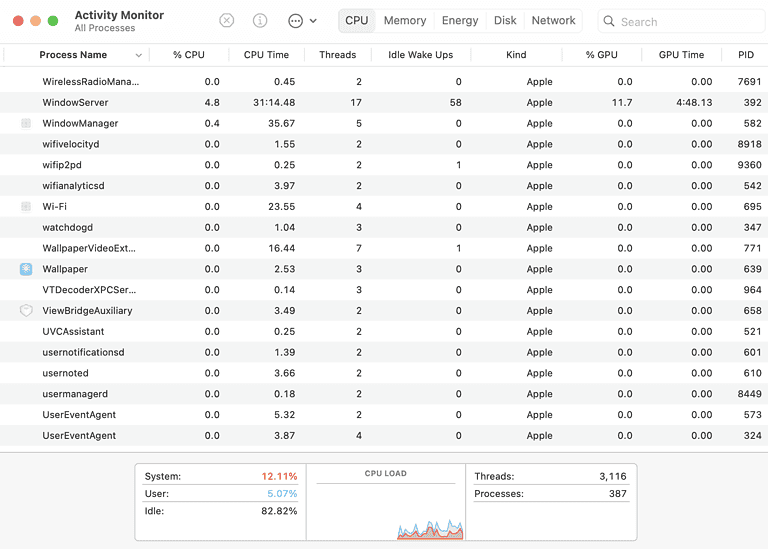
- Open Activity Monitor > CPU and check if mediaanalysisd is actively running.

- If CPU usage gradually decreases, let the process finish on its own.

- Restart your Mac once the CPU activity settles to clear temporary data.

2. Manually Delete Media Analysis Cache Files
During media processing, temporary cache files are stored under ~/Library/Containers/com.apple.mediaanalysisd/Data/Library/Caches/. macOS automatically clears these files after processing, but if Photos keeps modifying existing metadata, the cache can grow indefinitely. Try deleting it manually to force macOS to generate a fresh cache and prevent excessive disk usage.
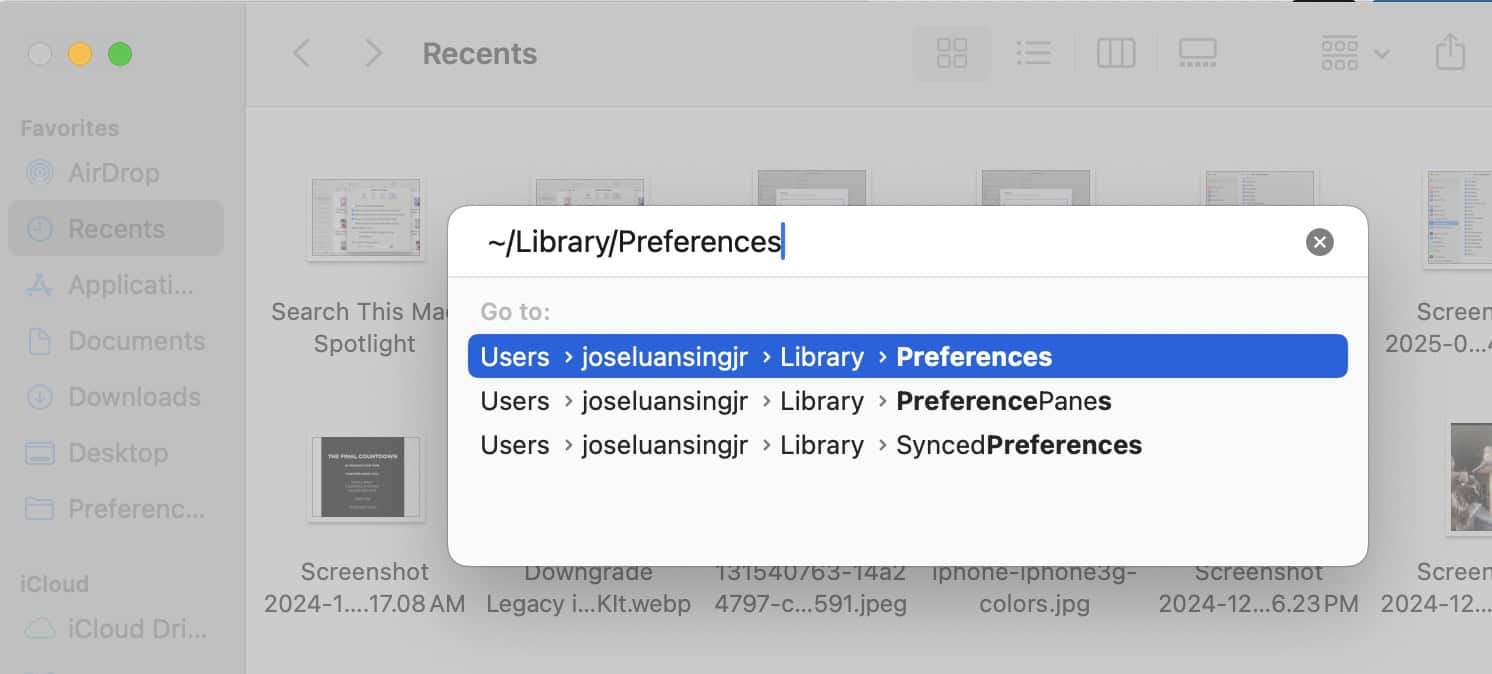
- Open Finder, click Go > Go to Folder in the menu bar.
- Enter ~/Library/Containers/com.apple.mediaanalysisd/Data/Library/Caches/ in the search bar.
- Delete all files inside the Caches folder.

- Empty the Trash to permanently remove them.
- Restart your Mac to allow macOS to rebuild necessary files without unnecessary bloat.
3. Reset Photo Analysis to Stop Reprocessing
The Photos app can cause mediaanalysisd to regenerate cache files continuously if it repeatedly re-indexes the same files. This often happens after restoring from a backup, where macOS detects changes in timestamps or metadata, causing an unnecessary rescan of the entire library. Reset the database to stop reprocessing loops.
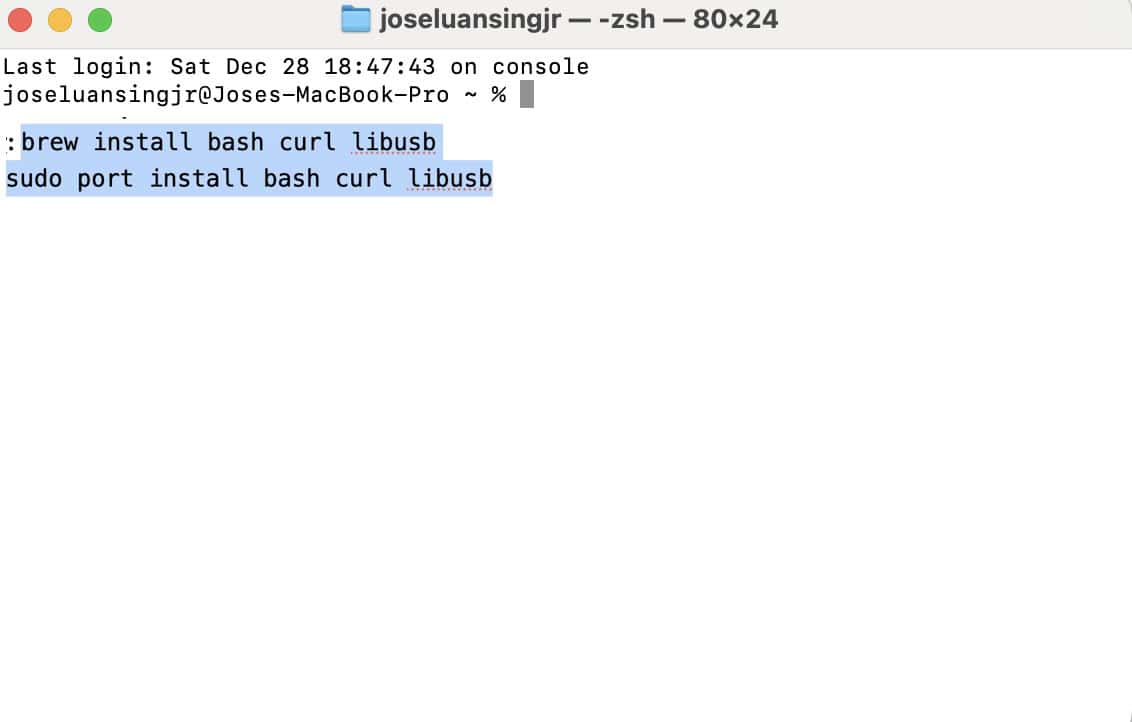
- Open Terminal.

- Enter this command launchctl unload
-w /System/Library/LaunchAgents/com.apple.mediaanalysisd.plistinto the window. - Restart your Mac.
- Enter this command launchctl load
-w /System/Library/LaunchAgents/com.apple.mediaanalysisd.plistto reload the process.
4. Temporarily Pause the Process from Running
Corrupted media files may be triggering repeated failed indexing attempts. Some image and video formats contain damaged EXIF metadata that Photos can’t interpret. This causes an infinite processing loop.
- Open Terminal.
- Enter
sudo launchctldisablesystem/com.apple.mediaanalysisdinto the window and press Return. - Restart your Mac and see if your resource usage is back to normal
- Launch Terminal and run
com.apple.mediaanalysisdto re-enablemediaanalysisd.
 NOTE
NOTE
mediaanalysisd is disabled. 5. Delete the mediaanalysisd Folder
If cache files keep regenerating, you can delete the entire media analysis container. This forces macOS to rebuild its entire processing database and remove any persistent indexing errors. Just note that this means Photos will reanalyze all media files, which can temporarily increase CPU usage again. It should normalize shortly after.
- Launch Terminal.
- Enter
rm -rf ~/Library/Containers/com.apple.mediaanalysisd/and press Return.
- Restart your Mac.
 NOTE
NOTE
6. Factory Reset macOS
As a last resort, consider performing a full factory reset. Just revert everything to their default settings since you can’t pinpoint the problematic bug or misconfiguration. Update iCloud Backup beforehand so that you can use it to set up your Mac.
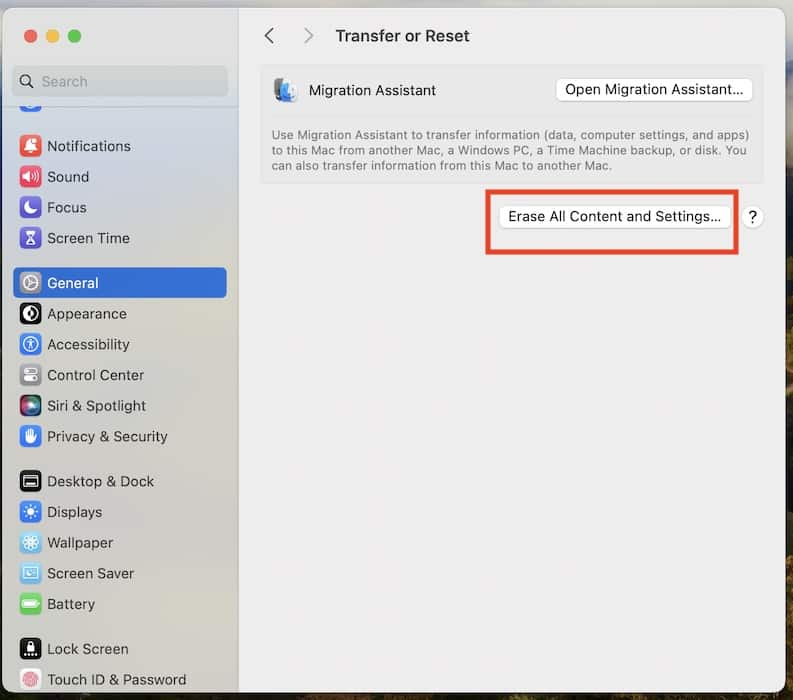
- Click the Apple menu icon > System Settings > Transfer or Reset.
- Select Erase All Content and Settings.

- Enter your administrator profile’s password.
- Wait for your Mac to restart and then set it up from your iCloud again.
Call Apple Support if issues persist. Certified technicians can guide you through more specific software and hardware troubleshooting steps. They’ll also advise you if your device is due for repairs.