If you need to create a bootable installer for macOS, you’ve come to the right place. Maybe you’re considering reinstalling your macOS or shifting to a different version.
No matter the reason, a bootable installer lets you install older or newer macOS versions directly from an external drive. Keep reading to find out how to create a bootable installer for macOS, what you’ll need, and why you should create one.
What Will I Need To Create a Bootable macOS Installer?
To create a bootable installer, you’ll need an external drive and the installation files.
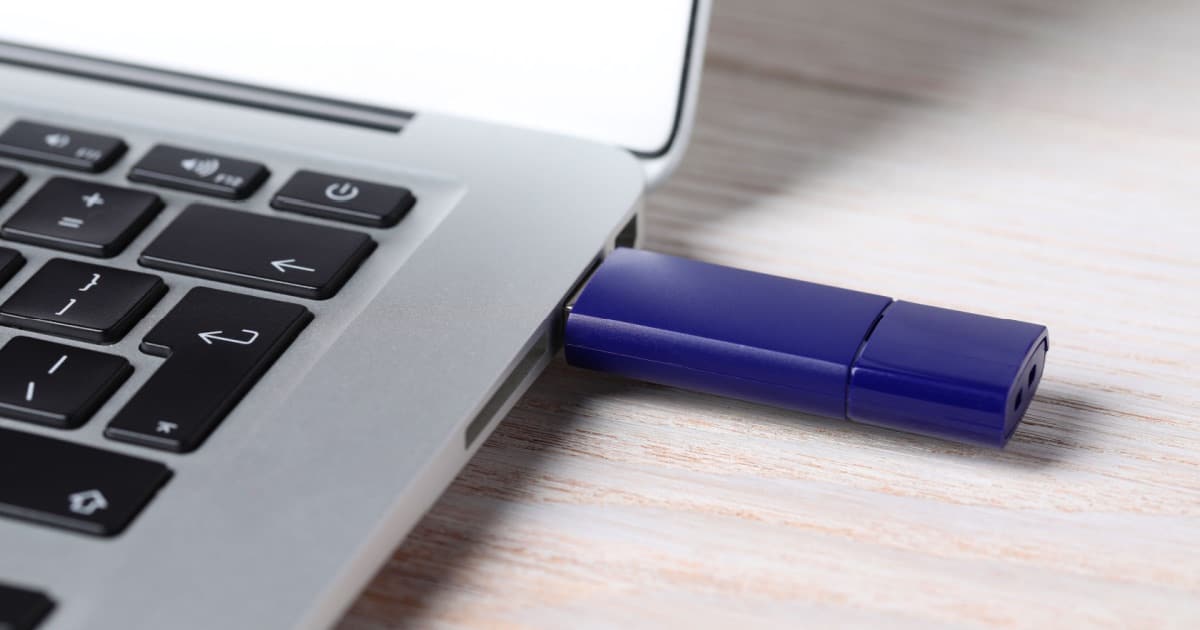
External Drive
Consider your external drive as the launching pad for your macOS installer. This isn’t just a storage vault for your installation files; it’s a gateway that lets you install and fire up your macOS straight from it.
For optimal results, we recommend either a USB Flash Drive or a Thunderbolt drive. If you’re on a newer Mac, lean towards a USB type-C connection to sidestep the need for an adapter. Make sure to reserve at least 15GB on your drive. To give some perspective, macOS Monterey and Ventura consume about 12GB, making 15GB a cautious choice.
A word of caution: the installation will wipe your external drive clean. Double-check and move any crucial data from it before diving in.
Installation Files
Installation files are the actual files for the macOS version you want to install, and you’ll need a working Mac to download these installer files. You can find the installer files available for download on Apple’s website or on the Mac App Store.
Download the macOS You Need
The macOS version you aim for on your bootable drive will determine where you can download it. macOS versions like Sonoma, Ventura, Monterey, Mojave, Catalina, Big Sur, and High Sierra are available on the App Store but are difficult to find. Here are direct links I’ve compiled for easy access:
- macOS Sonoma
- macOS Ventura
- macOS Monterey
- macOS Mojave
- macOS Catalina
- macOS Big Sur
- macOS High Sierra
For even older macOS versions, visit Apple’s website, where they keep an archive of these files. Look for a DMG file; after you download it, you’ll find the PKG file inside the disk image. These versions are also a bit tricky to find, so I’ve also made it easy for you. Simply click on any of the links to start your download.
Create a Bootable USB With Terminal
Once you’ve downloaded the macOS version, use Terminal to create a bootable USB drive.
Time needed: 20 minutes
Be extra careful because a wrong move could wipe out important data. Here’s how to make your bootable USB drive:
- Insert your USB drive into an available USB port on your Mac.
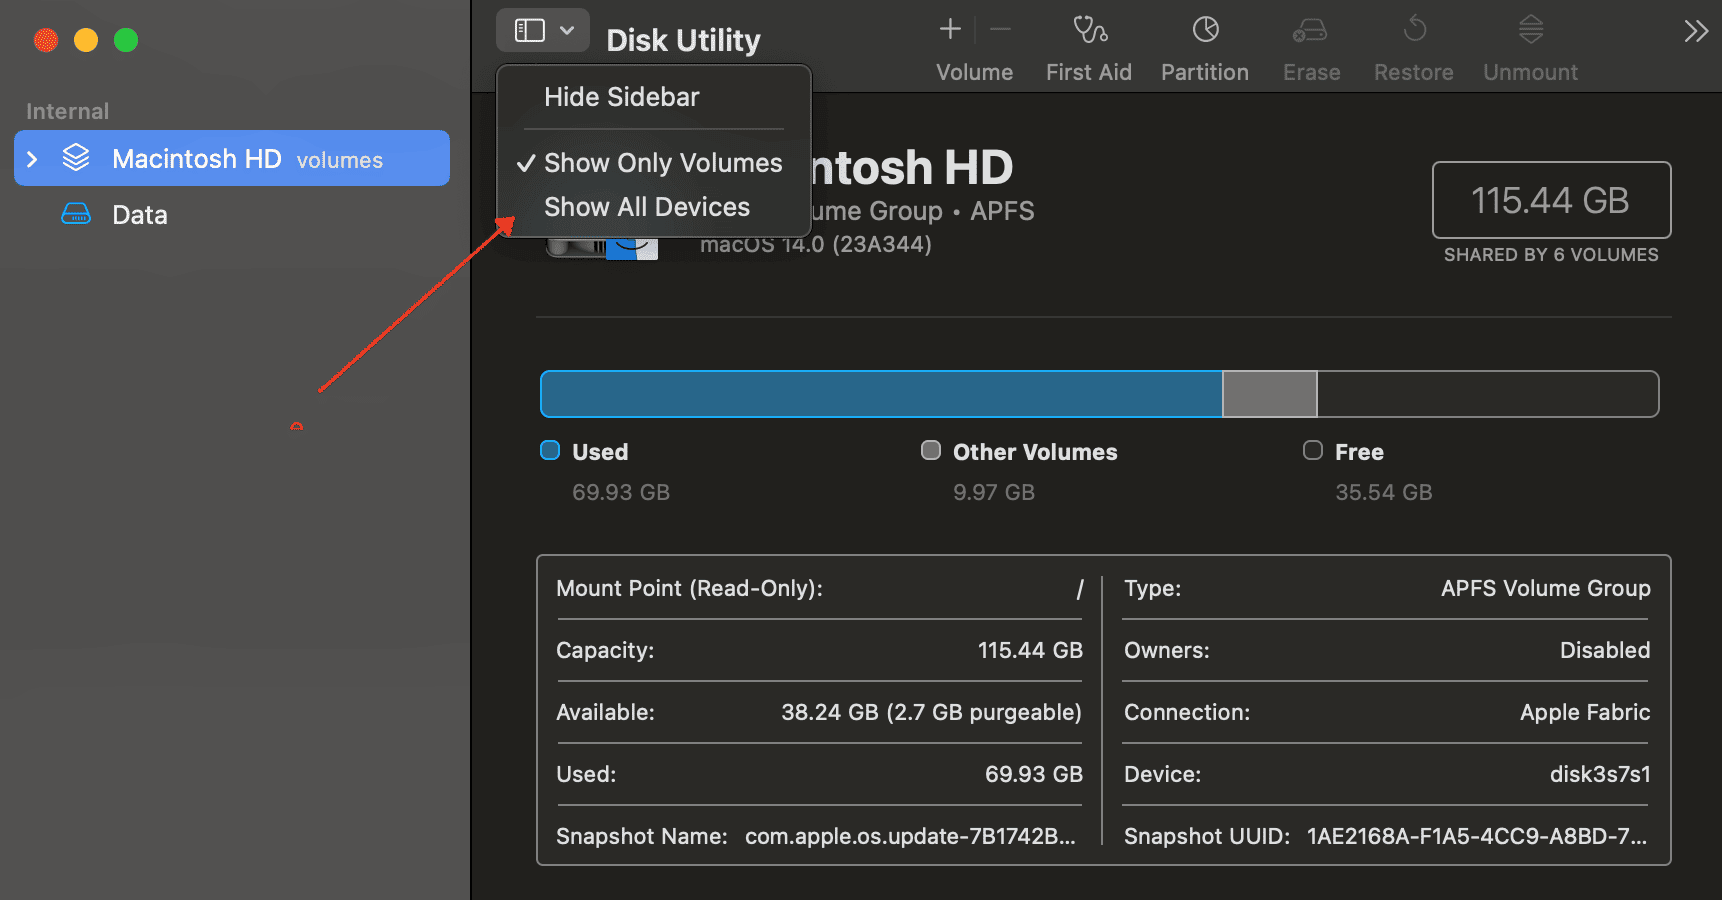
- Open Disk Utility (Press Command + Spacebar on your keyboard to activate Spotlight, then type “Disk Utility” and press Return).
- Click on View and select Show All Devices.
- Select the External Drive from the left pane.
- Click Erase.
- On the pop-up that appears, select Mac OS Extended (Journaled) as the format and GUID Partition Map as the Scheme. You should also change the name of your USB and note it because you’ll need it in the next steps.
- Click Erase again to reset the external drive.
- Open Spotlight once more, type “Terminal,” and press return to open the Terminal program.
- In Terminal, you need to type a special command that matches the macOS version you want to install. You can find the special command here.
- Replace “MyVolume” with your USB drive’s name, which you confirmed earlier in Disk Utility. After you enter the correct command, hit the Return key.
- Terminal will now request your administrator password. Type it in and hit Return.
- A message will appear asking you to confirm that you want to erase your USB drive and replace it with the macOS installer. Type “Y” for yes and hit Return.
- Terminal will show you a bunch of text. This is the program working its magic. You’ll know it’s done when you see a message that says, “Copy complete and Done.”
- unplug your USB drive once you see the completion message. But please be sure to eject it properly using the Finder before you pull it out.
How To Use a Bootable macOS Installer to Update your Mac
To use your bootable installer, you’ll need to plug your USB flash drive into a Mac with an internet connection. While you don’t need the internet to boot your macOS from your USB, your Mac will still need the internet to confirm the firmware and other details of your Mac model.
When plugged in, follow these steps to use your bootable drive on Apple silicon.
- Power up your Mac and keep holding on to the power button.
- The Startup Options Window that has all bootable volumes will appear.
- Choose the volume with your bootable installer then click Continue.
- Follow the prompts to install your macOS.
For Intel Macs:
- Power on the Mac then immediately hold down the Option/Alt key till a screen appears showing the bootable volumes.
- Select the volume with your bootable installer then press Return.
- Select a language if the pop-up appears.
- Click Install macOS, then click Continue and follow the prompts.
Advantages of Creating a Bootable macOS Installer
If you’re someone juggling updates across multiple Macs, a bootable USB installer is a game-changer. Imagine not having to re-download the macOS for every single Mac!
Another advantage is you can use it to troubleshoot or reinstall your macOS, especially when you can’t reach other recovery options. And if any of these sound useful, give it a try! Create your bootable macOS installer today. It can come in real handy when you least expect it.


