Apple is a bit problematic regarding temperatures. The company always prioritizes noise reduction over performance, so it’s common that Mac users complain their fans aren’t working as expected. There are a few apps that can help with that. In this article, we’ll show you how to install and use one of them, Macs Fan Control.
Before We Begin: Preventing Fan Control Issues in macOS
Many users have complained that newer Macs, especially those with Apple Silicon processors, aren’t compatible with fan control apps. This happens because Apple makes things progressively harder for developers of apps that deal with critical-level hardware. If this is happening to you, check our dedicated article on the matter for workarounds and possible fixes.
Installing Macs Fan Control

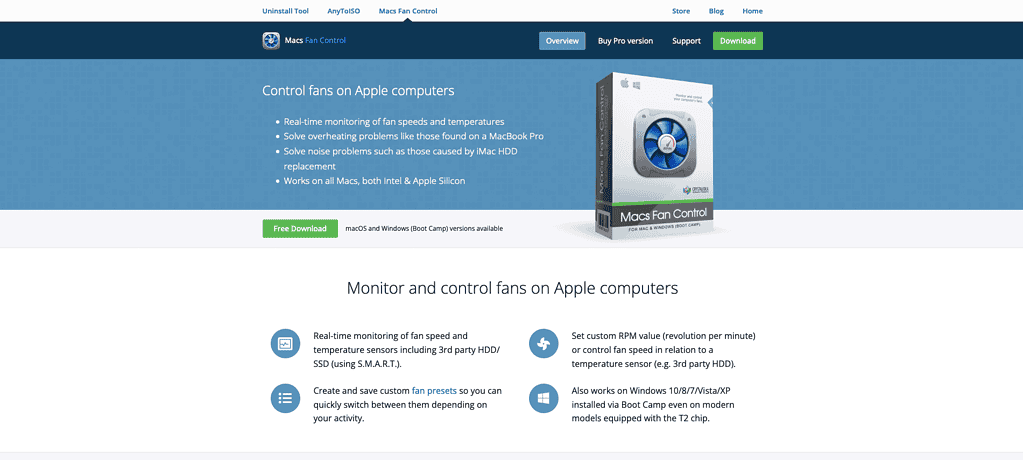
Installing Macs Fan Control is quite simple. Just go to the app’s website, download the .zip file, and extract it (if Safari doesn’t do that by itself).
Now, move the Macs Fan Control app to the Applications folder and launch it. The first time you open the app, it will ask for your password, That’s because it needs to install a system extension to be able to control your Mac’s fans.
Macs Fan Control: How To Use

When you open Macs Fan Control, a temperature indicator will appear in your menu bar. There’s a chance the temperature is extremely high, over 80°C or more. That’s because the default behavior in macOS is allowing temperatures to rise over 100°C before fully deploying the cooling fans. Apple’s priority is that Macs run as silently as possible, instead of as cool as possible.
While the company claims to optimize its hardware in the finest details, this strategy is worrisome for two reasons. Firstly, you may be frequently subject to thermal throttling, when your computer reduces its performance to prevent over-heating. Secondly, because constantly exposing the internal components to high temperatures will likely damage them.
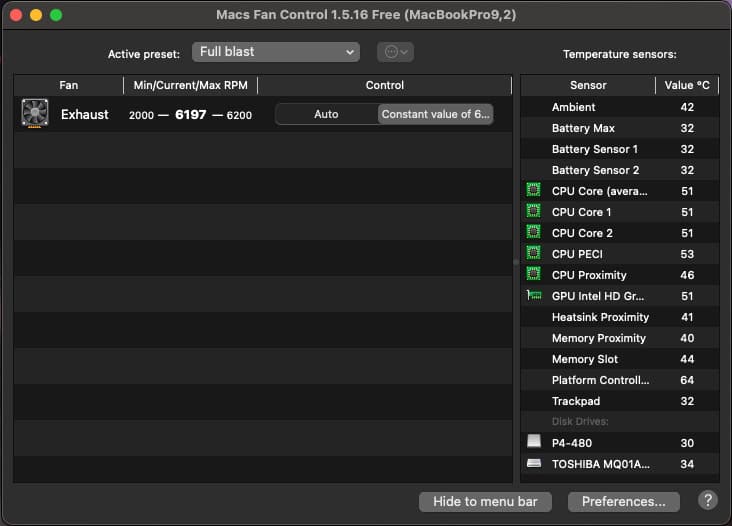
In the app window, you’ll see two lists. The leftmost one displays your Mac’s fans, while the one on the right shows temperatures from various sensors. Since computer components are highly sensitive to heat, it’s not uncommon to find a dozen or more different sensors listed.
 NOTE
NOTE

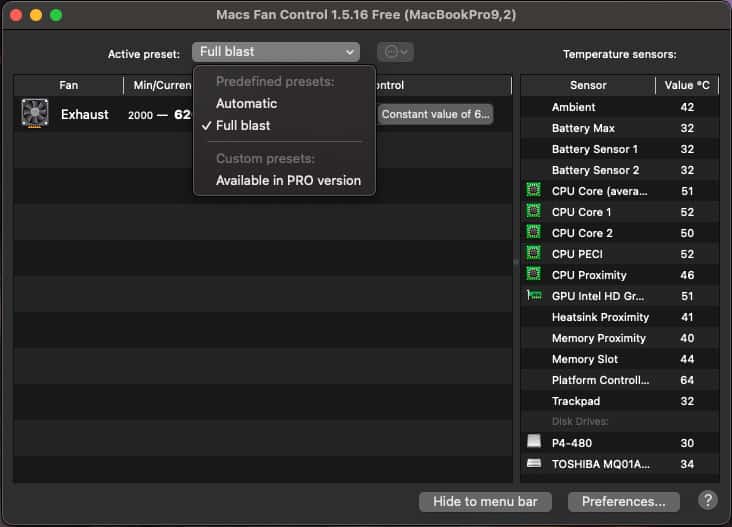
For most people, the app’s free version should suffice. It has two fan presets: “Automatic” and “Full blast.” The former increases the fans’ speed depending on your Mac’s temperature. The latter just leaves them at maximum rotation constantly.
You can also purchase Macs Fan Control to create your custom presets. The license costs $15 for macOS and $25 for macOS and Windows. In both cases, the license is a single-time purchase, so no subscriptions are required.
While Macs Fan Control is far from the only fan-controlling app for Windows, it has one advantage over competitors. Since it’s developed for Macs, the amount of hardware the app supports is limited, so it’s always fine-tuned. This is a great solution for those with Intel-based Macs who like to dual-boot.
Is Macs Fan Control the Best macOS Cooling App?
If all you want to do is check your Mac’s temperature and control the fans, then yes. Macs Fan Control is straightforward while remaining feature-rich for this specific task. However, some alternatives may catch your interest.
TG Pro

TG Pro is like Macs Fan Control on steroids. It allows for an extremely deep level of control, but this has a price.
There is no free version of TG Pro, and the (lifetime) license costs $20. At the time this article was first written, however, the license was retailing for half that price. If you’re not sure it’s worth it, there’s a 14-day trial.
Stats

Stats was my fan control app of choice for a long time. The reason is that it has many other features, allowing you to monitor various aspects of your Mac.
Macs Fan Control allows you to, well, control your Mac’s fans. Stats, on the other hand, displays real-time usage of CPU, GPU, RAM, storage, disk read/write, and network activity. Temperature monitoring and fan control are kind of a secondary feature, to be fair. The price? Free. Stats in an open-source app.
iStat Menus

The downside of Stats is that it’s mostly developed by a single person, so support availability is limited. When the problems between Stats and my macOS Sequoia Beta installation became too annoying, I switched to iStat Menus. It’s considerably less customizable than Stats, but mostly performs the same tasks.
The difference is that iStat Menus is a paid app. The (lifetime) license costs $12, while a family license for up to five users sets you back $15. You can also use iStat Menus through a Setapp subscription (starting at $10/month).

Keeping your Mac cool is good practice and helps the computer stay in its best shape for long. This, in turn, saves you the money you would spend on a repair — or, worse, on a whole new Mac. It also has short-term benefits, giving you higher performance with the same computer. Macs Fan Control, though not the only way to do that, is definitely one of the best.
