Are you frustrated by trying to figure out how to get started encrypting email with iOS Mail? It’s easy in macOS, but not so much so on the iPhone or iPad. I’ve dug into the process, consulted dozens of forum posts and support articles. Then I tested, retested, and tested my process again. In iOS 14, due out sometime at the end of summer or early fall, the process I detail below should get you going with sending encrypted email using Apple’s Mail app.
Let’s Start With a Clean Slate
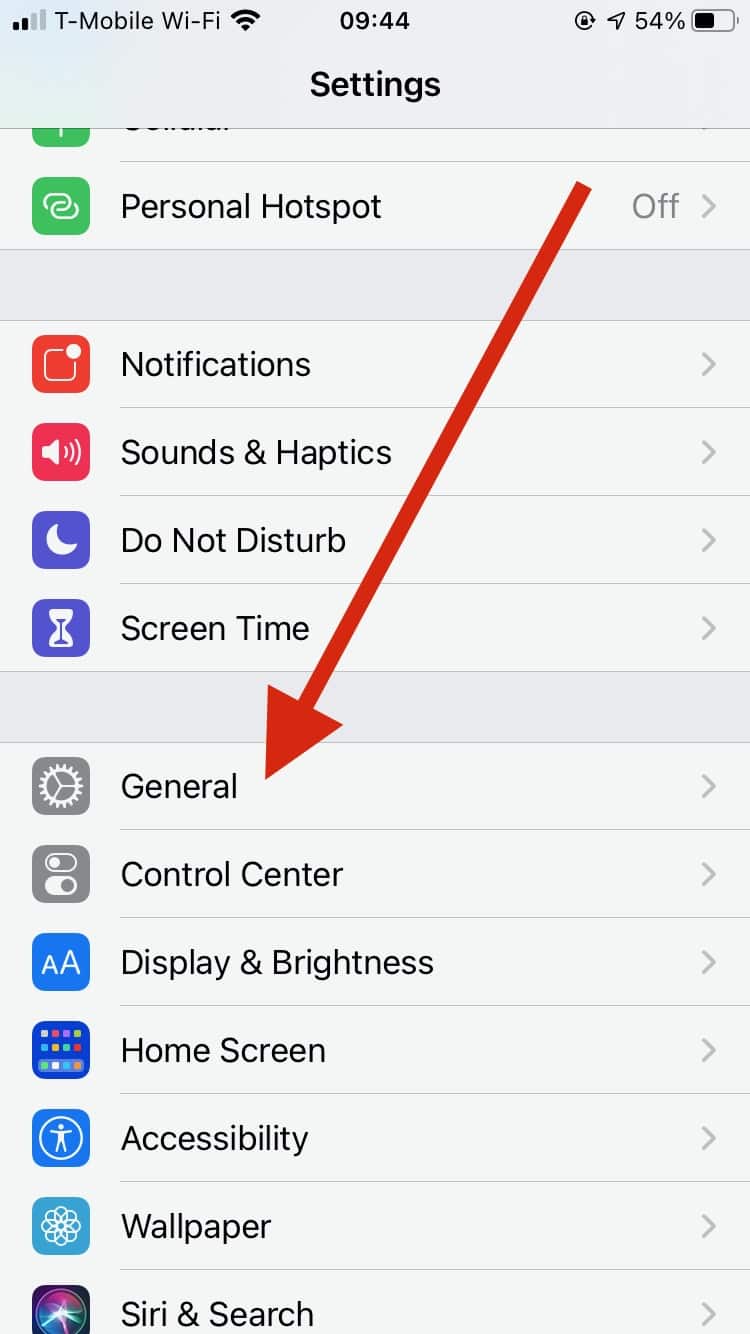
Before we get started, the easiest way to make sure this process is successful is to start off without any email security certificates installed on your iOS device. So, open the Settings app, then tap on General.
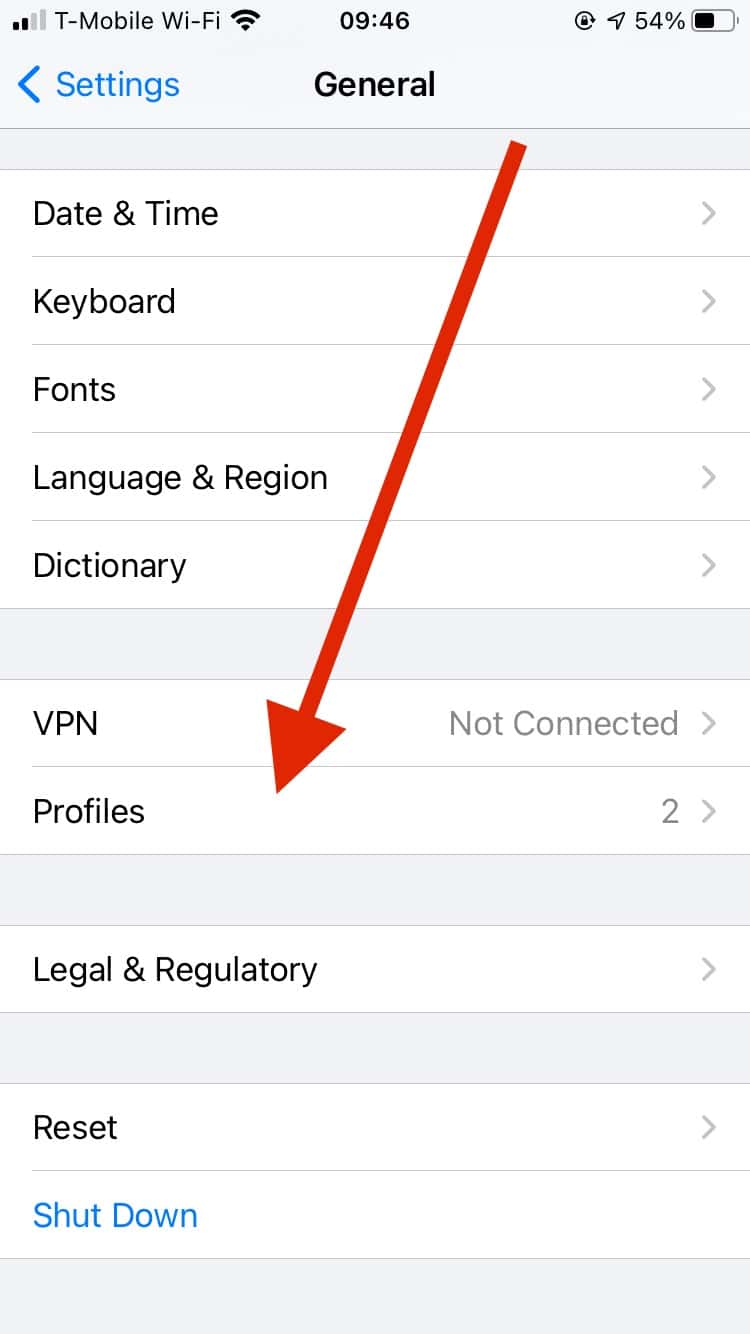
On the next screen, scroll down and tap on Profiles.
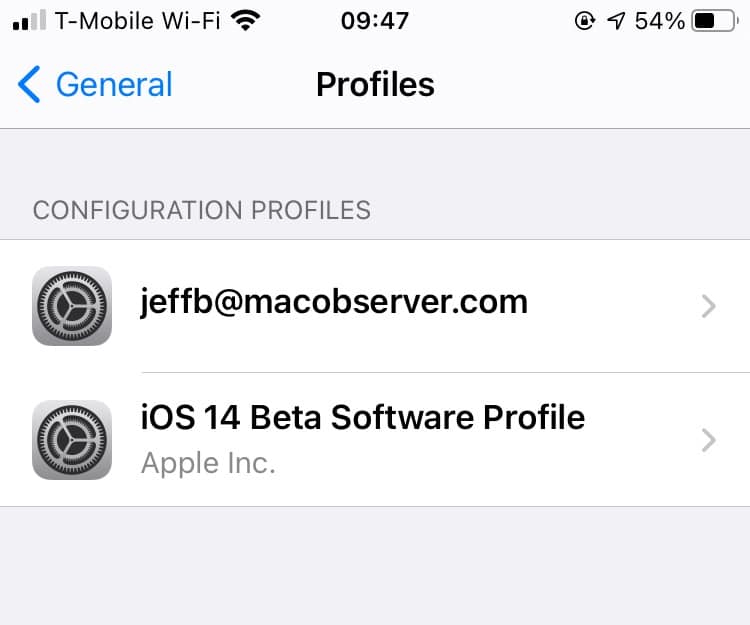
Locate any email security certificates you already have installed. These will typically be named after your email addresses. If you don’t have any, you can skip to the next section. If you do have some, tap on the first one.
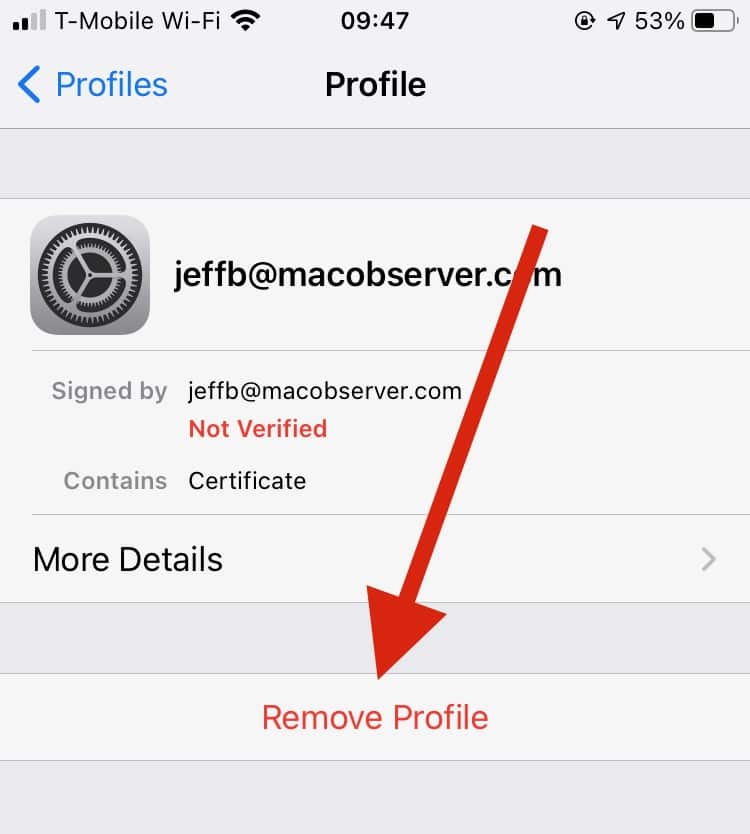
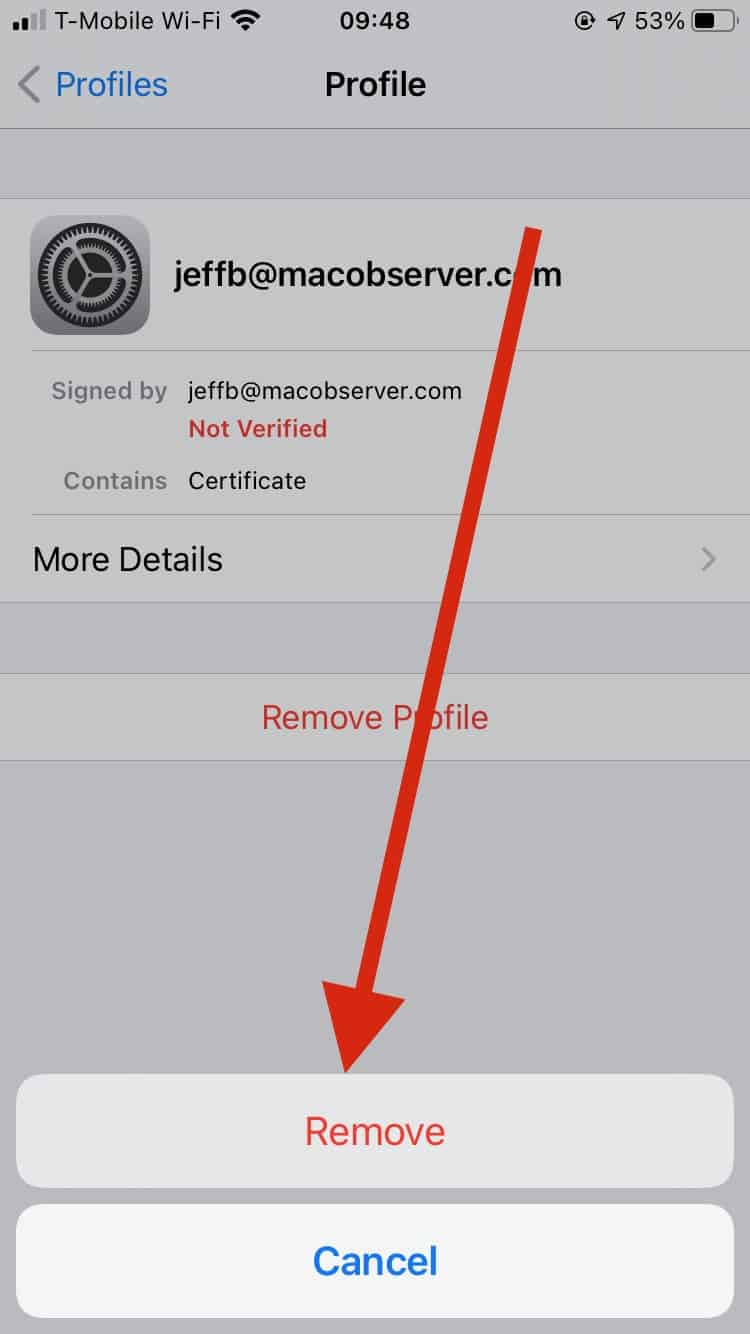
Now tap Remove Profile at the bottom of the screen.
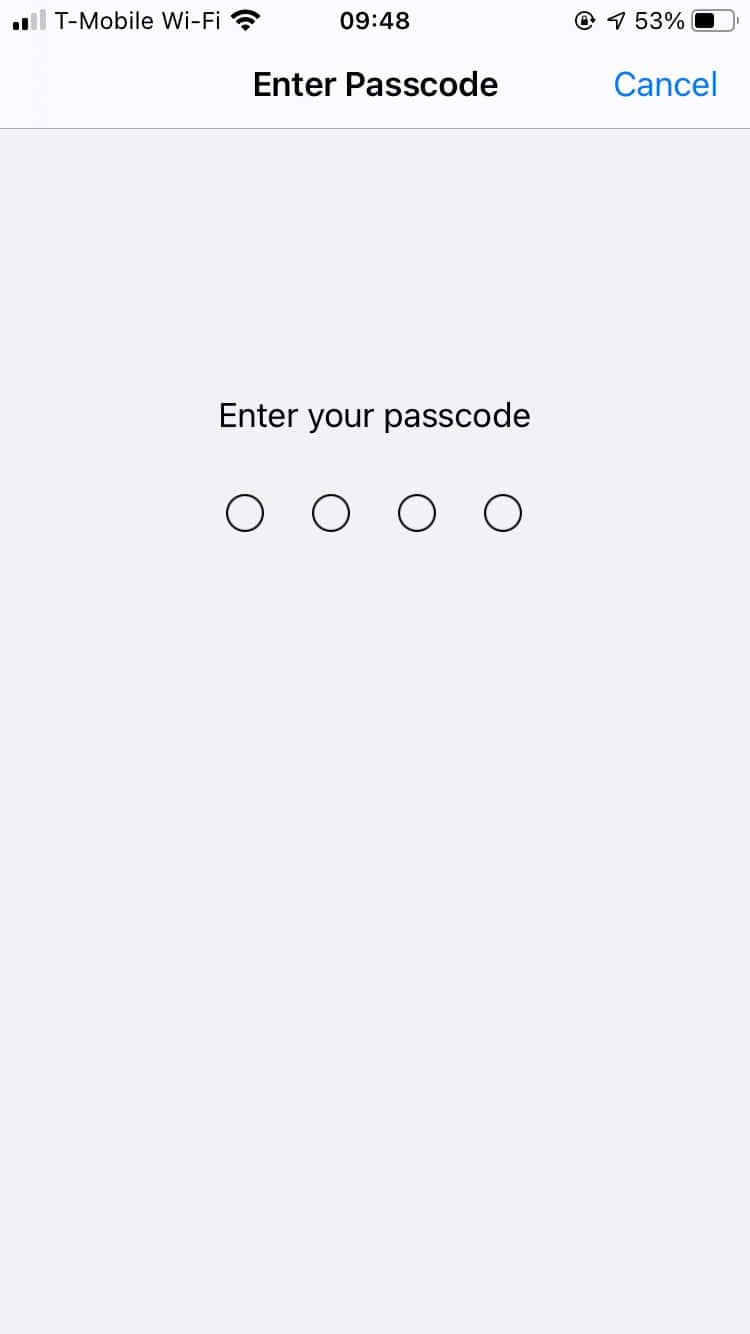
You’ll be asked to enter your passcode, if you have one. Go ahead and do that.
Finally, tap Remove at the bottom of the screen.
Repeat these steps for any other email certificates you have installed on your iPhone or iPad. Next, reboot your iPhone by holding the Sleep/Wake button until you see the red slider, then swipe it to shut down your iPhone. After your iPhone shuts down, power it back on by pressing the Sleep/Wake button again.
Next: Encrypted Email Needs Certificates
This article worked great for the Mail app in iOS 10.x, but then Apple released iOS 11 and blew everything up. It would be most helpful if an updated version of this article for iOS 11 couild be posted.
Thanks!
Many thanks for this article. It’s a great help for those of us who need to set up encrypted mail on iOS and can’t use Apple’s Configurator 2 utility to do it.
@khurt: The procedure described in the article above isn’t “doing it wrong”. It’s currently the only way that makes it possible to set up encrypted mail in iOS for anyone who is using anything other than macOS 10.12.2.
In my case, I’m in the middle of a project on my Mac Pro (running Yosemite 10.10.5) that will extend to December. Alas, thanks to the tyranny of the App Store, there is no version of Configurator available that will run in Yosemite. Configurator 2 is all that is available, and it runs only on macOS 10.12.2.
I have hundreds of apps and plugins, and disrupting my workflow with a new system installation in the middle of a project would be an idiotic move. No thanks. This article made it possible for me to set up encrypted mail on my iPad, despite Apple’s refusal to provide a version of Configurator that will work with a version of OS X that is (nominally) still supported.
Your’re doing it wrong. I wrote this in 2011 but it still works.
https://islandinthenet.com/ios-5-secure-mail/
Video how to configure S/MIME for free (and renewable) Fossa X.509 certificates either on Mac https://www.youtube.com/watch?v=Fyc5YW3BS0Y iOS https://www.youtube.com/watch?v=beQM4nLWGxs&t=49s and to exchange email with web Gmail.
@Scott B: You’re absolutely right. This really should just work, but it never has. Perhaps I’ll write an op-ed some day lamenting that fact …
@MrJosefKafka: Actually, there is such an article already. Check out my article, MacOS: Using Email Encryption in Apple’s Mail for a walkthrough.
Nice article for the geeks, but this highlights what is wrong with the system: could I get my father to follow along in order to send private messages in email?
Until someone comes up with a way for anyone to use encrypted email without having a computer science degree, it’s a kludge.
(I know… my inner curmudgeon is showing)
The cert goes into the System keychain, but then it propagates into the others 🙂
Oh, I see how to do it. 1) it does have to be in the Login keychain, 2) select the My Certificates category, and 3) twist down the triangle next to the certificate and select the key inside the certificate. That will export a p12 file. Oddly, once I’ve done this I can export directly from the certificate too.
@Jeff Butts: Thanks for the tip. 1) the instructions that you linked to suggest putting the cert in the System keychain, and 2) exporting from the Login keychain also does not allow p12 export.
@deh2k: Make sure you’re in the Login keychain, looking under My Certificates.
Nice piece. Thanks for putting it together. However the p12 file type export option is gray and unavailable on my Mac, so I’m stuck.
Thanks a great piece, would love to see a “how to” for Mac mail.
Thanks again