
While you can get a basic idea of what’s consuming storage on a Mac from System Settings > General > Storage, the breakdown isn’t always accurate. It often mislabels and categorizes large folders as System Data. This can be a problem when you’re trying to free up storage. You don’t have to keep guessing. Here are two accurate ways to find what’s actually taking up space on your Mac.
1. Using a Tool Like SquirrelDisk
You can easily find what’s taking up space on your Mac using SquirrelDisk. It’s an open-source app that scans your machine to offer an overview of files and folders using an interactive chart. This makes it easy to spot large files without needing to scour through a bunch of folders. Once you find files and folders you don’t want, you can simply drag them to the collector on the right to securely delete everything at once.

2. Using Sorting Options in Finder
Time needed: 10 minutes
If you’re looking for a built-in solution, you can use the sorting options in Finder to locate the large files manually. While it can be a bit more time-consuming than using third-party apps, it’s pretty effective for finding and removing unnecessary files. Here’s the step-by-step process on how to do it:
- Launch Finder.
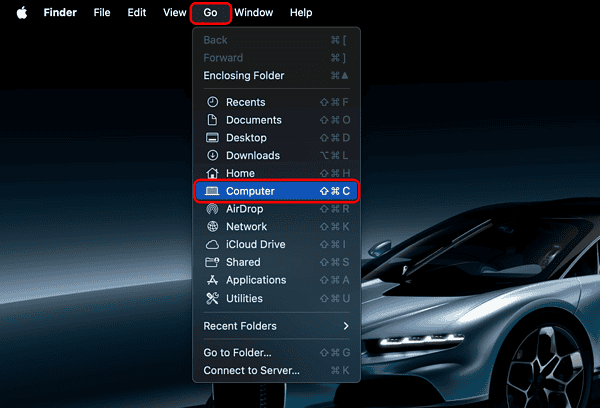
- Click on Go in the Menu bar and select Computer.

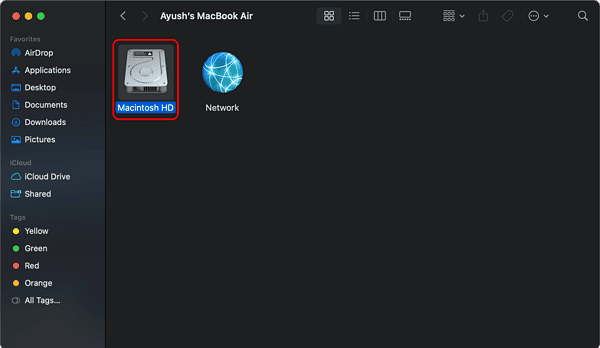
- In the resulting window, double-click Macintosh HD.

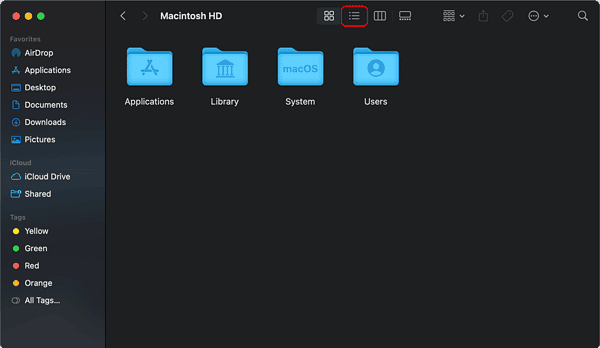
- Open the View menu from the toolbar and click on List.
- Press Cmd + Shift + period (.) to reveal the hidden files.
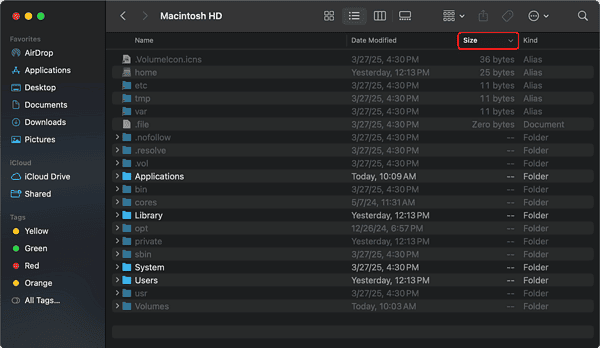
- Click the column header for size to sort the files by size.
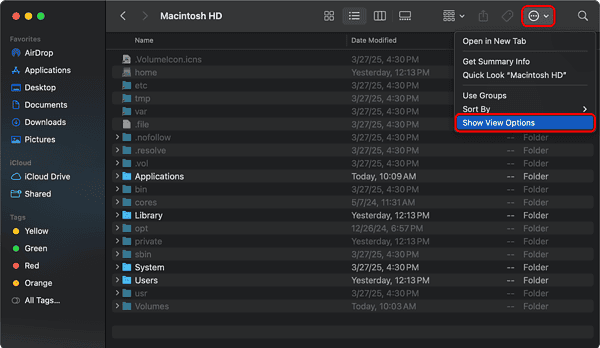
- Click the three-dot icon and select Show View Options.
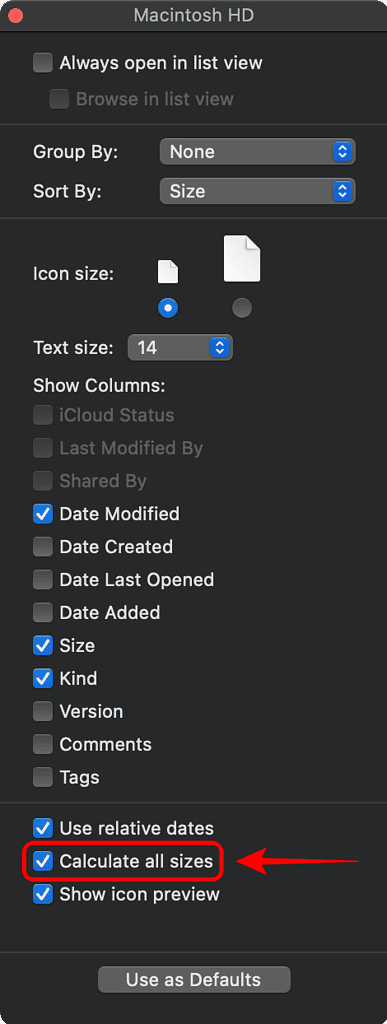
- Enable the checkbox located next to Calculate All Sizes.

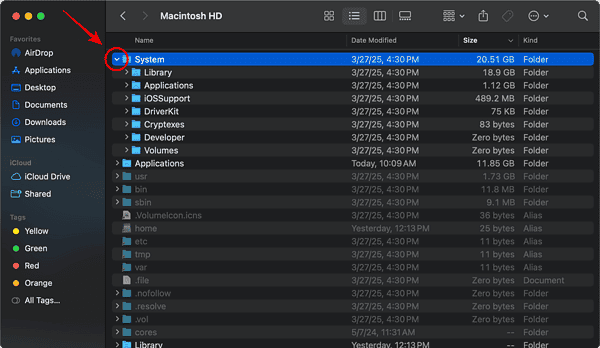
- Click the disclosure triangle to see what’s inside a folder.
 NOTE
NOTE