Looking to fix Unable To Write to the Last Block of the Device error on your Mac? This error can often say something like Unable To Write to the Last Block of the Device (-69760) external. Whether you are receiving this while partitioning an internal drive or even an external drive, I can show you solutions that may help your problem. However, it may just be time to replace the entire disk. Let’s take a look.
How To Fix Unable to Write to the Last Block of the Device
Before we take a look at more advanced solutions, try some of these suggestions:
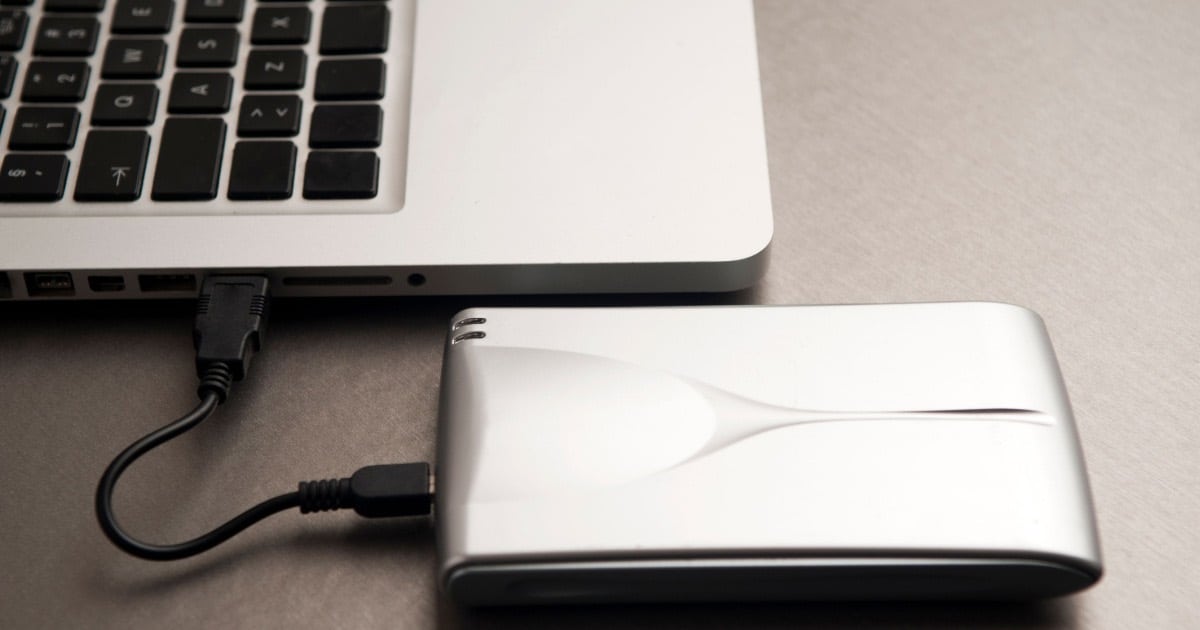
- If you’re using an external drive, try replacing the cables. It may also be a problem with your internal connection or a communication issue causing the error.
- If you are attempting to erase the disk drive via Disk Utility (full guide here), you may want to try erasing it multiple times. Disk Utility may not always wipe the drive the first time, so another attempt may be just the trick.
- While you may want to try the solutions below, swapping your SATA Cable or Controller may solve your issue. A bad drive cable may cause a connection issue. You can also take out your SSD from your Mac and test it via an external enclosure to see if you have a bad drive.
- If the drive is behaving poorly, it may be time to swap it out for a new one.
1. Using Internet Recovery Mode to Erase Drive (Intel Only)
 NOTE
NOTE
If you are having trouble erasing the drive via Disk Utility, you can attempt to erase the drive via Internet Recovery. This tool uses recovery instruments from Apple servers, allowing you to set up the most current version of macOS supported by your system
Time needed: 1 hour
Follow these steps to use Internet Recovery mode:
- Power down your Mac.
- Press the Power button, then immediately press and hold Option + Command + R. Let go of the keys once you see a spinning globe.
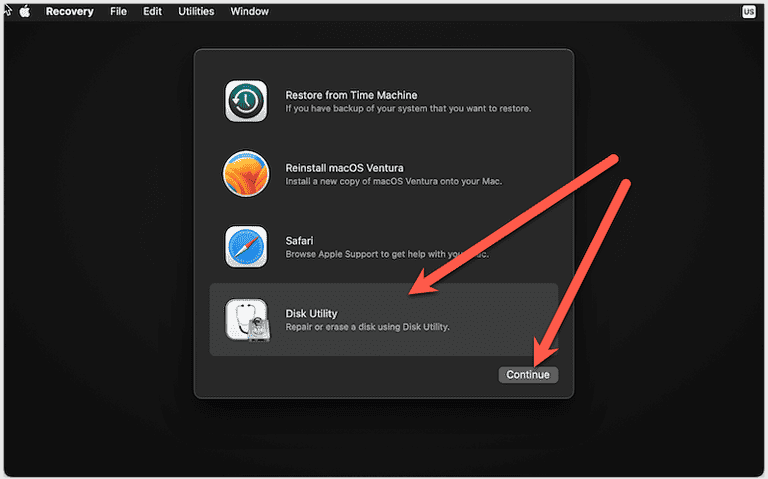
- Select Disk Utility from the macOS Utilities section.
- Choose View and then Show All Devices.
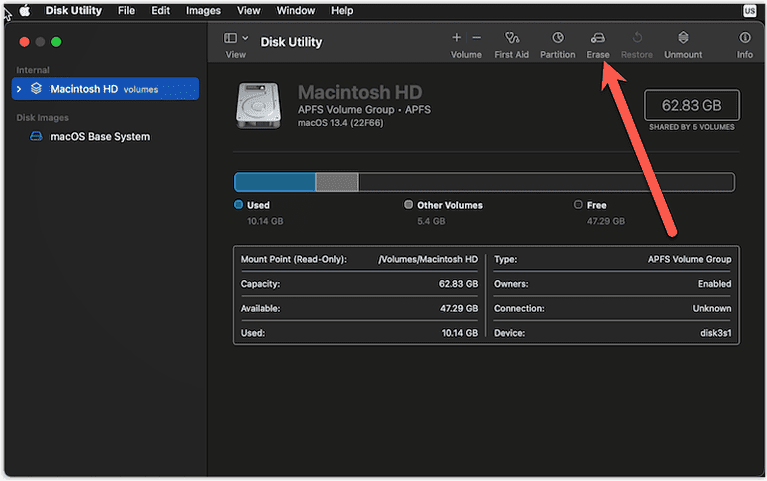
- Choose your startup disk (usually named Macintosh HD) and then choose Erase.
- Pick a name for your startup disk.
- If you are using macOS 10.13 or higher, select APFS for format.
- For Scheme, configure it as GUID Partition Map.
- Click Erase.
Should the issue persist and you continue to encounter the Unable To Write to Last Block of the Device error, continue to the next solution.
2. Erase the Drive Via External Bootable Installer
 NOTE
NOTE
You also have the option of using Disk Utility after you load from a bootable installer. Should Recovery Mode not be successful, you can try this method.
- Create a bootable USB installer. You can follow our full guide here.
- Make sure there is a connection between your USB installer and your Mac.
- Ensure you have an internet connection.
- Power down your Mac and then detach external devices save for the power cord and installer.
- You will then boot from the installer.
- On Intel Macs: Power on your Mac. Then, immediately press and hold the Option key. Release the key when you see the bootable volumes. Select your installer and then click the up arrow to continue.
- On Apple silicon Mac: Press and hold the Power buttons until you see the bootable volumes. Then, select your installer and click Continue.
- Choose Disk Utility and click Continue.
- You will then follow the instructions from the previous method. Start at step three.
What Does Unable To Write to the Last Block of the Device Mean?
If you are receiving an Unable To Write to the Last Block of the Device error, it is likely that your drive is defective. You will more than likely need to replace the drive, especially if your machine is unable to recognize it. However, you can try things such as using Disk Utility, Internet Recovery or a bootable installer to try and fix the drive. You may also want to talk to Apple Support.
Conclusion
While this error message is likely to create a bad experience, there are things you can do to mitigate the damage. A bad drive is going to prevent you from doing virtually anything on your Mac, so be sure to create regular backups often. In this instance, a clean scrub using the above methods should hopefully do the trick if you are getting bad requests or are having an issue with your entire drive.
If there’s anything you would like to suggest, feel free to let us know in the comments.


problem
” Unable To Write to the Last Block of the Device ”
is the result of one factor:
GREED..
For something to work you must have a
– such CPUs
– such GPUs
– such system version numbers
etc.
Proof :
– I have HDD that works OK in Mac Pro 5.1
– the same HDD works in Hackintosh 1 – primitive hardware
– the same HDD doesn’t work in Hackintosh 2 – technological high space,
but his system cloned into another HDD works here.
It doesn’t matter how much Apple $$$$$ will hug ;
HIS
Unable To Write to the Last Block of the Device
will persist as immortal.
( Lore from Breslau )