Need to fix The Disk You Inserted Was Not Readable by This Computer Mac error message? It may also be a The Disk You Inserted Was Not Readable message with an option to Initialize. Getting an unreadable disk error can be a frustrating experience. Whether it’s because of a faulty drive, an incompatible file, or other hardware issues, be aware that your Mac has native recovery tools that can help fix this issue.
How Do I Fix the Disk You Attached Was Not Readable by This Computer on My Mac?
Before moving on to more advanced solutions, make sure to follow these basic checks and troubleshooting steps:
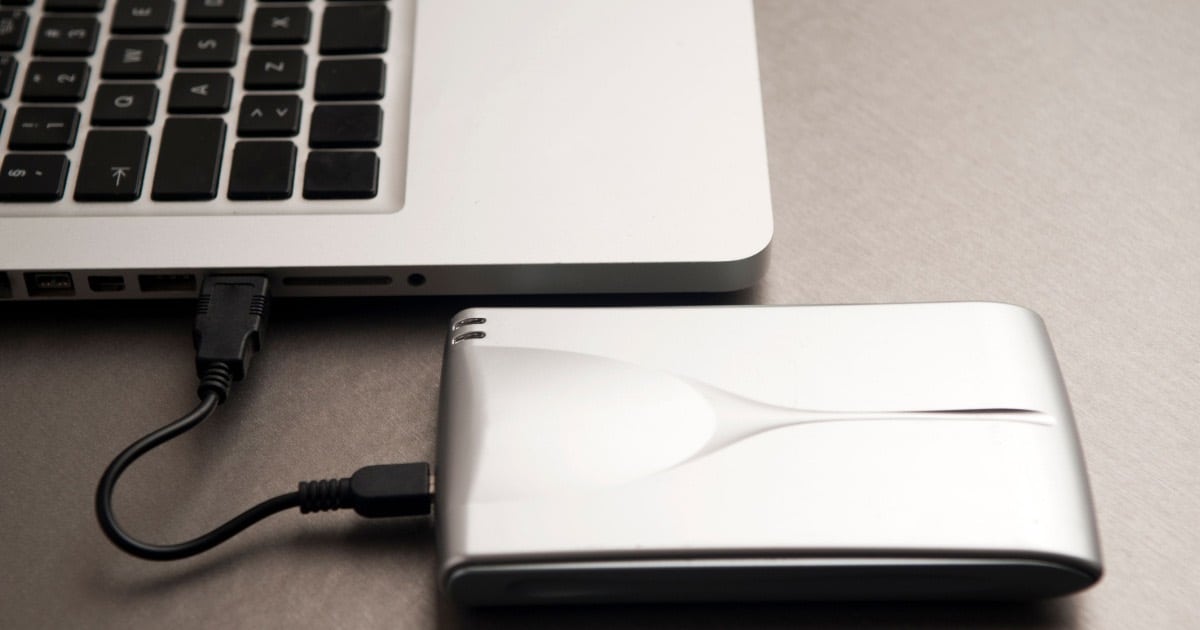
- Try replacing the USB cable: A bad USB cable or physical damage may be causing the issue. Be sure to check ports as well.
- Ensure the drive is Mac-supported: Additionally, ensure there is no disk encryption.
- Try to reset the SMC: For Apple silicon, simply restart your machine. For Intel-based Macs, you can find our guide here.
- Check for a software update: Go to System Settings > General > Software Update. Outdated drivers or a software bug may be the problem.
- Try another computer: If you can, use another computer to see if it is your Mac giving you an issue.
- Perform a virus scan: Malware or other virus attacks may give you this common error. It may be a good idea to check for a virus or malware infection.
1. Use Terminal to Get Your Files
If you are able to view the drive in Disk Utility, it may be possible to salvage your files thanks to the Terminal app. This command line tool can typically be found in your Applications > Utilities folder. You can use Terminal to move your files to another location.
- Open the Terminal app.
- Type:
cd /Volumes/NAME OF YOUR DRIVE - If the previous step works, you can move your folders using this command:
% mv ~/NAME OF YOUR DRIVE ~/DocumentsThis will move your drive to your Documents folder. You can do this for individual files as well.
Note: The above destination folders are but examples. You will need to know your own destination locations. You can also use cp rather than mv to copy the files.
The following tools and solutions are likely to wipe your storage device, so knowing how to potentially save your files can be crucial. Note that third-party software, such as CleanMyMac X, is also capable of helping you recover files.
2. Repair the Drive Using First Aid
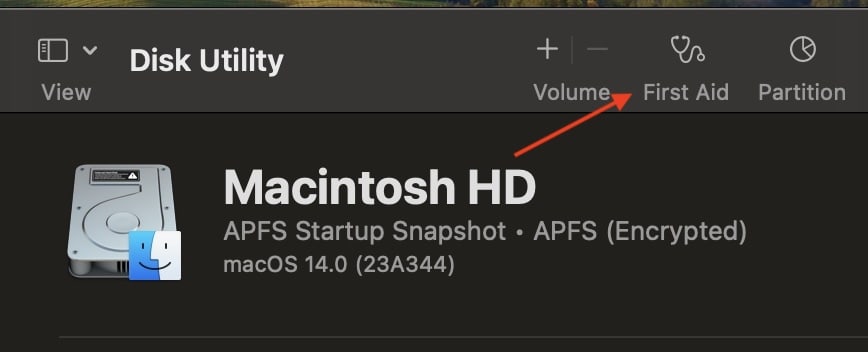
If you are having issues with a drive, running Disk Utility’s First Aid option may just solve your problem. First Aid is your Mac’s native disk repair feature. It can help repair or verify certain permissions. Note that you will be using Recovery Mode to complete this solution.
- Shut down your Mac.
- Boot it into Recovery Mode:
- Intel-based Mac: Press and hold Command + R while your system restarts.
- Apple silicon: Press and hold the Power button. You can let go of the buttons when you see the recovery mode screen.
- Select Disk Utility from macOS Utilities.
- Select your disk from the left pane.
- Choose First Aid and then select Run.
- Reboot when finished.
Note that this process may take a few moments.
3. Correct the File System of Unreadable Disk
 NOTE
NOTE
One of the most common issues for an unreadable disk is that it is formatted to NTFS, which your Mac is unable to read or write to. You can use Disk Utility to fix this problem, though it will wipe the drive:
- Connect the drive to your Mac.
- Go to Applications > Utilities and select Disk Utility.
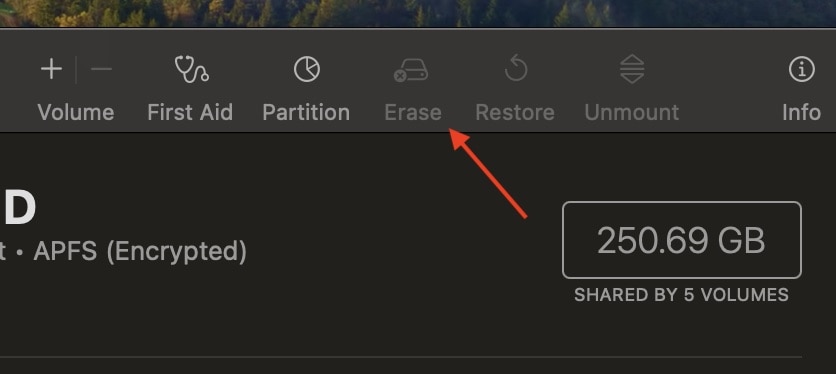
- Choose the drive you want to format from the sidebar and then select Erase.
- Give the drive a name. This is optional.
- Under Format, select MS-DOS (FAT). Under Scheme, select Master Boot Record.
- Select Erase.
4. Follow Initialize the Disk Sequence
 NOTE
NOTE
While the Disk Utility feature gives you the option to repair your drive thanks to the First Aid feature, you may need to wipe the drive if it is not successful. This is essentially following the Initialize steps when you receive the error.
Time needed: 30 minutes
If you need to hit the Initialize button during the error, follow these steps:
- When you receive the error message, click Initialize. This opens Disk Utility.
- Select your disk in Disk Utility from the left panel. You can also go to View > Show All Devices from the menu bar.
- When you choose your drive, select First Aid.
- Select Repair Disk. Allow Disk Utility to try and repair the actual drive. If First Aid is not able to fix the disk, select Erase.
- Give the drive a name, select File Format, and then choose Erase. This will erase your entire drive.
Remember that the formatting process may take a moment. It may also take a moment for the scan process to complete.
What Does It Mean When the Disk You Inserted Was Not Readable by This Computer?
If you get a The Disk You Inserted Was Not Readable by This Computer error message, the most common reason is that it is not formatted for a Mac properly. That, or the drive itself is corrupted. Fortunately, your Mac has recovery software available for the disk in question. First Aid is capable of repairing corrupted drives, whereas Disk Utility can wipe a corrupted disk.
Why Does My Mac Say My SD Card is Not Readable?
If your Mac says that your SD card is unreadable, it can be due to an incompatible or faulty card, a bad card reader, loose connections, a file system corrupted on the SD card, or even an issue with your Mac’s software or settings. There may also be an issue with certain types of files, whether it’s an unsupported file or a corrupted file. You can also try erasing the SD card to see if this solves your problem.
Conclusion
Having an issue with an unreadable drive or external disk can be highly detrimental to productivity. Even worse, you may lose access to valuable files if you’re experiencing disk failure or file system errors. Follow the above simple steps to see if this helps with your problematic disk.
If you’re having an issue with your USB drive, flash drives, or an external drive being an unreadable device, know that a proper recovery solution is on your horizon. Remember that you can always speak with Apple Support or visit an official Apple Store as well.
If you have other tips or ideas, feel free to let us know in the comments.


