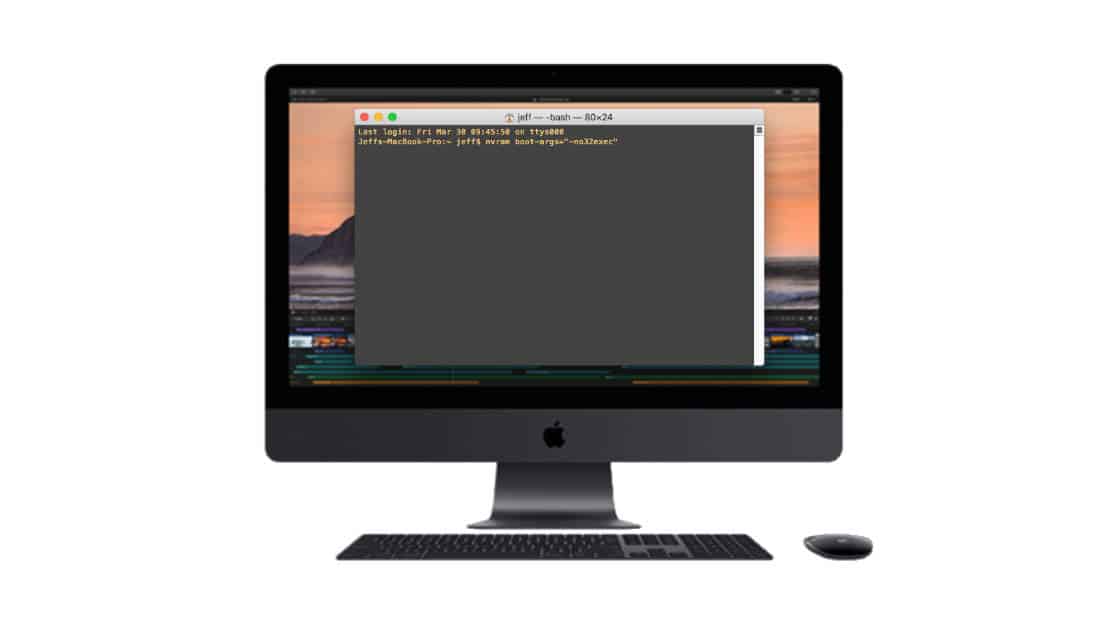
macOS High Sierra 10.13.4 gets us a step closer to ditching 32-bit mode for apps. In fact, you can force your Mac to run only in 64-bit mode if you aren’t afraid to pay a visit to the command line. Read on to learn how.

Prior to 2003 the Mac operating system was 32-bit, but that changed with Mac OS X Panther and the introduction of 64-bit support. When Mac OS X Lion was released in 2011, 64-bit was the default, although even macOS High Sierra still supports 32-bit apps.
That’s changing with macOS 12. Apple says macOS 11, or High Sierra, is the last operating system to “support 32-bit apps without compromise.”
Apple is already pushing developers to drop 32-bit support. As of January 31st, 2018, all Mac App Store submissions had to be 64-bit.
Here’s how to enable 64-bit testing mode after updating to macOS High Sierra 10.13.4:
- Restart your Mac and hold down Command-R to boot into Recovery Mode
- Launch Terminal
- Enter this command: nvram boot-args=”-no32exec”
- Restart your Mac
Enabling 64-bit only mode on your Mac is handy for developers, but probably not necessary for most users. Once enabled, the 32-bit apps on your Mac won’t launch and you’ll get a dialog telling you as much if you try. 32-bit background processes, preference panes, and WebKit plugins will simply fail to run without any warnings or alerts.
That means apps and services you depend on today may not work, which could put a serious crimp in using your Mac. If you decide it’s a little too early to live in 64-bit mode you can bring back 32-bit support by booting into Recovery Mode again and entering this command in Terminal:
nvram boot-args=””
Apple suggests only developers use 64-bit testing mode, so use be ready for unexpected problems if you still rely on anything that hasn’t been updated with 64-bit support.