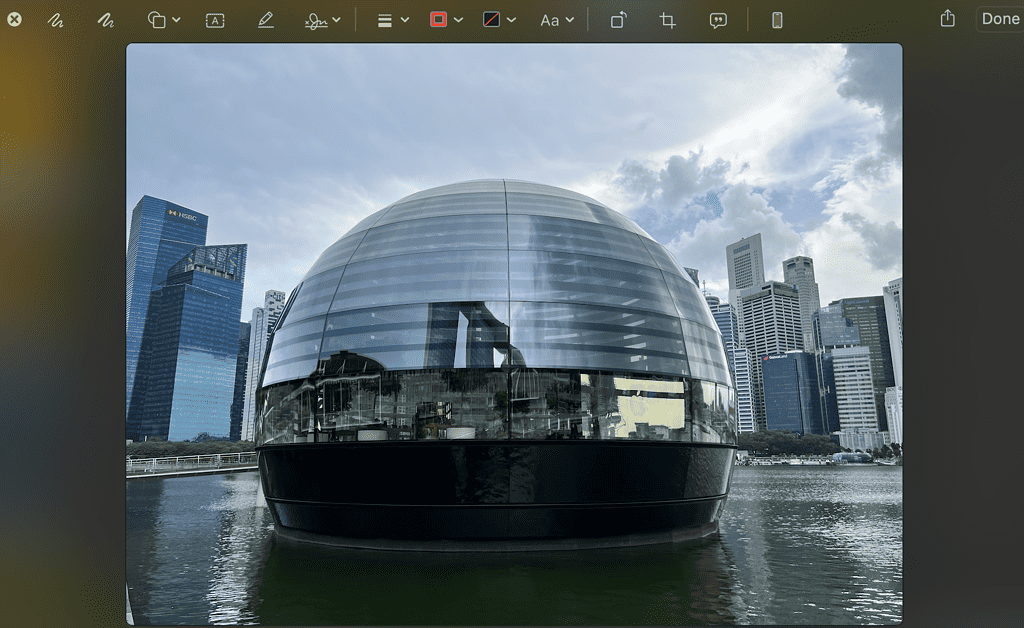
Quick Look is a small feature that many Mac users find useful. However, some users have run into problems using Quick Look after upgrading to macOS Ventura. Let’s take a look at the most common problems with Quick Look that users might encounter in macOS Ventura. We then suggest several quick fixes to make it work again if the feature stops working after your macOS Ventura upgrade.
How to Use Quick Look
To be honest, I had not used Quick Look until now. Whenever I use Finder to look up a file, I’m used to double-clicking on the file name to open the file via the Preview app instead. Now, though, I’m probably going to use Quick Look more often. It’s very useful, especially if you want to make some quick changes to a file.
To use Quick Look, you simply need to open Finder, select the file you want and then press the spacebar. Quick Look will give you a quick glance at the file and let you zoom in or out, rotate, and markup the file. You can even trim video or audio files from Quick Look.

Common macOS Ventura Quick Look Problems
As mentioned, many users have reported that Quick Look stopped working after they upgraded their Macs to macOS Ventura. The five most common problems known so far are the following:
- When pressing the spacebar, nothing happens.
- Quick Look shows only the file’s thumbnails.
- When showing thumbnails, there are no menus to see content or editing options.
- Quick Look doesn’t play video files.
- Quick Look only displays a blank screen.
How to Fix macOS Ventura Quick Look Problems
Restart the Finder
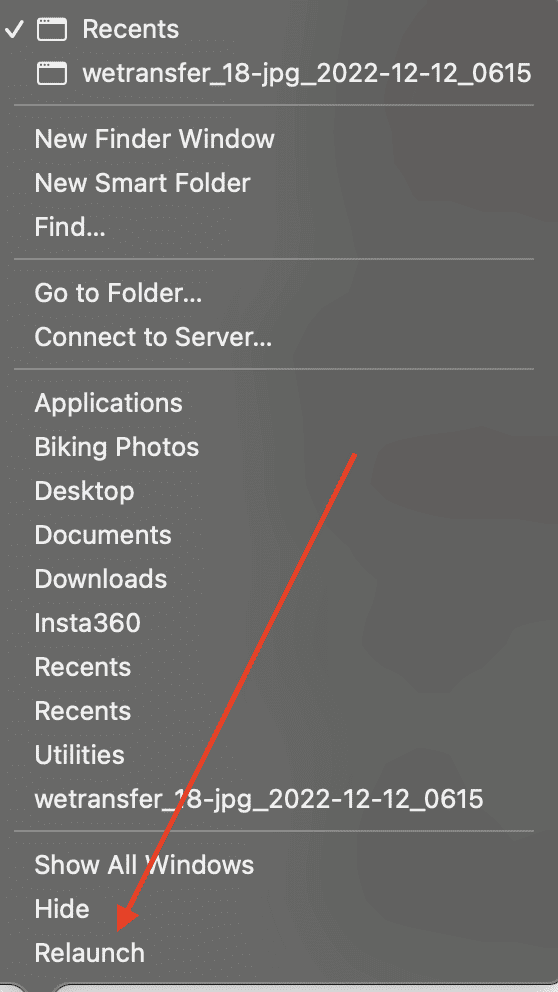
As with many Mac apps, the first thing to do to fix Quick Look is to force restart the Finder. Follow the steps below to do this.

- Press and hold the Option and Control keys together, then right-click the Finder icon in your Mac’s dock.
- Scroll down to select Relaunch
- Now try Quick Look again by selecting a file in Finder and pressing the spacebar.
Clear Quick Look Cache Data
If the first method fails to help, you may need to clear the Quick Look cache data. Follow the steps below to clear your Mac’s Quick Look cache data.

- Open Terminal on your Mac (Applications > Utilities).
- Enter the following command and hit enter:
qlmanage -r cache - This will delete the cache. If the cache data was deleted successfully, Terminal will say this:
qlmanage: call reset on cache
This means that the Quick Look cache was removed. - Restart your Mac and try again.
If this task sounds tedious or you just want a tool that can clear Quick Look cache data without effort, then you should try the Intego Washing Machine app. It’s very user-friendly, deletes cache data and other junk files, and boosts your Mac’s performance, so it’s even better.
Use Quick Look in Safe Mode
Finally, if the two methods above still won’t work, you may want to try using Quick Look while your Mac is in Safe Mode. If Quick Look works in Safe Mode, leave and test Quick Look again under normal mode. If Quick Look won’t work after using it in Safe Mode, it is a software problem. One possible cause for Quick Look not working properly could be your third-party antivirus or other cleaning-type programs.
To start up your Mac in Safe Mode, follow the steps below depending on whether you are running macOS Ventura on an Apple Silicon Mac or an Intel-based Mac.
How to Start Up Apple Silicon Mac in Safe Mode
- On your Mac, choose Apple menu > Shut Down.
- Wait for your Mac to shut down completely. A Mac is completely shut down when the screen is black and any lights (including in the Touch Bar) are off.
- Press and hold the power button on your Mac until Loading startup options appears.
- Select the right volume, usually Macintosh HD.
- Press and hold the Shift key, then click Continue in Safe Mode.
Your computer will restart automatically. When the login window appears, you should see Safe Boot in the menu bar.
How to Start Up Your Intel-Based Mac in Safe Mode
- Turn on or restart your Mac, then immediately press and hold the Shift key until you see the login window.
- Log in to your Mac.
- You might be asked to log in again.
On either the first or second login window, you should see Safe Boot in the menu bar.
We hope that one of the three steps listed will solve your Mac’s Quick Look problem while running on macOS Ventura. For more tips and how-tos, be sure to follow The Mac Observer.
