Recovering files from a failing hard drive is stressful and it can be pretty expensive, too. Reliable backups can help with the stress part, and ddrescue can help with the rest because it’s good at recovering files, and it’s free. The catch is that it requires a little command line mojo, but we’ve got you covered. Follow along to learn how to install and use ddrescue, plus we’ll show you how to give it a graphic interface, too.
ddrescue is a command line-based file recovery too that can do its job even if your failing drive won’t mount on your Mac’s desktop. That’s especially handy with drives that seem lost forever, but still have recoverable files if only your Mac could see them.

Before we start you’ll need to launch Terminal. It’s in Applications > Utilities. What’s it’s up and running we can dive in and get ddrescue installed. Everything you need to enter in Terminal is in this how-to, so feel free to copy and paste instead of typing.
ddrescue and Xcode
Installing ddrescue requires Xcode, or more accurately, Xcode’s command line tools. If you’ve already installed Xcode on your Mac, you can get the command line tools using this command in Terminal:
xcode-select --install
If Xcode isn’t already on your Mac, don’t worry about it. We’ll get the command line tools installed in the next step.
ddrescue and Homebrew
Homebrew is a cool utility for finding and installing command line tools like ddrescue. It’s free, and installs fairly quickly using this Terminal command:
ruby -e "$(curl -fsSL https://raw.githubusercontent.com/Homebrew/install/master/install)"
The Homebrew installer checks for Xcode’s command line tools and helps you install them if they aren’t already there. After Homebrew finishes installing, enter this command to make sure it’s working properly:
brew doctor
If there’s a problem, Homebrew will tell you what command to type to fix whatever is wrong.
Installing ddrescue
Installing ddrescue involves more command line action. Here’s what you need to enter in Terminal:
brew install ddrescue
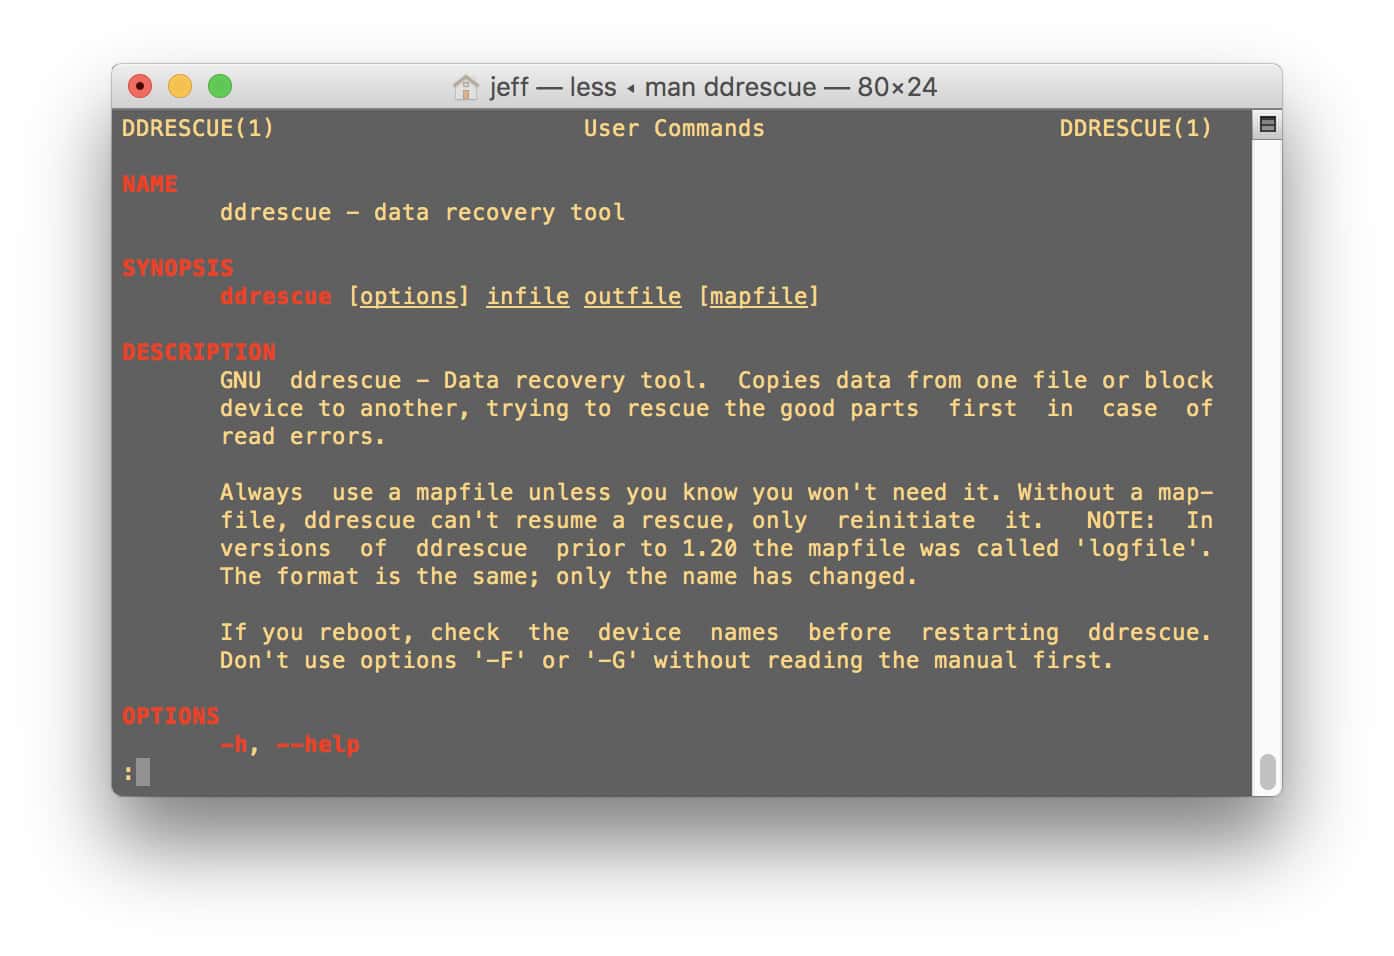
If you’re comfortable with the command line, you can check out how ddrescue works with this Terminal command:
man ddrescue
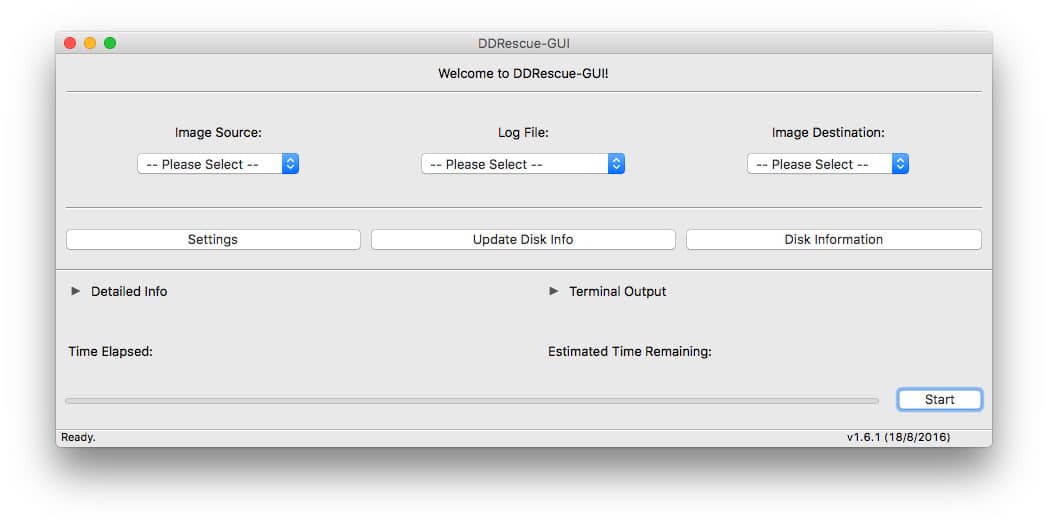
If you’ve had enough of the command line for now, however, we can put a graphic interface on ddrescue.
Installing DDRescue-GUI
Using ddrescue from the command line isn’t mind-melting difficult, but I find it a lot easier with a graphic front-end. That’s where DDRescue-GUI comes in. Like everything else we’ve installed, it’s free.
Fire up your favorite browser and head over to the DDRescue-GUI website. Look for the list of downloads and click on DDRescue-GUI64bit.dmg. That’s the Mac version, and like many other app installers it’s a disk image. Open the disk image and drag DDRescue-GUI to your Applications folder.
DDRescue-GUI isn’t from a signed developer, which means you’ll get a warning saying you can’t run the app when it’s launched. To get around that, Control-click the app’s icon and choose Open. You’ll see a dialog saying DDRescue-GUI is from an unidentified developer. Go ahead and click Open.

You’ll need to use the Control-click trick to open DDRescue-GUI the first time you launch the app. Your Mac will remember that so you can double-click the app to launch it.
Now all you need is a drive with files that need recovering and a disk where they can be saved.

I have been attempting to recover data from a failed laptop hard drive for several days. I’ve attempted the dd command in Terminal, but keep meeting with errors that stop any copy process. I’ve followed the steps above to install ddrescue and it’s GUI, however, once launched the GUI has displayed the message “getting new disk information… please wait…” for nearly an hour. I’ve also attempted using the ddrescue Terminal commands suggested by Alex Santos, but receive the following error:
$ ddrescue -v /dev/disk2s3/ /dev/disk4s2/copy.dmg
ddrescue: Can’t open input file: Not a directory
I got the same basic error when using dd. I did eventually get dd to “work”, but in the end received input/output errors, which led me to attempting to use ddrescue for this project. I would greatly appreciate any assistance with this issue.
I would like to add the following tips.
1) Unmount the affected drive (the one you are recovering from), the manual actually recommends it.
2) Use something like DiskArbitrator to prevent drives from mounting while you are running ddrescue.
3) Hey, the command line version of ddrescue is not that hard to use.
— Unmount the drive you want to rescue first
— From terminal type diskutil list
— From the resulting list, location your drive from the identifier column, it look like disk#.
— Now that you found the drive you want to recover from type the following:
sudo ddrescue -v /dev/disk#
– add a space after the disk number followed by a drag and drop of the destination drive to the terminal window.
You should now have something like:
sudo ddrescue -v /dev/disk# /Volumes/the_drive_you_dragged_and_dropped/
ddrescue will create a disk image of the affected drive, it’s all automatic but you need to give the dmg file a name. So now the command should look like:
sudo ddrescue -v /dev/disk# /Volumes/the_drive_you_dragged_and_dropped/disk_being_rescued.dmg
Finally there is one last piece, so far easy right?
The last piece is a very important txt file. This file keeps track of what has been copied so far. It’s really important because it give you the flexibility of cancelling ddrescue anytime while knowing that when you run the command again it will continue from where it left off. So now your command will look something like:
sudo ddrescue -v /dev/disk# /Volumes/the_drive_you_dragged_and_dropped/disk_being_rescued.dmg /Volumes/the_drive_you_dragged_and_dropped/log.txt
Here I called it log.txt and it will save in the same location as the destination drive. If you type only filename.txt it will save to your home directory.
If can interrupt ddrecue using control-z. If you need to restart please run diskutil list again to be sure that the affected drive that you are recovering from is still disk0 or disk1 etc.
Then in the terminal keep hitting the up arrow key until you see your command. The terminal remembers your last commands and you can go through them using the up arrow key. You should eventually see sudo ddrescue -v /dev/disk# /Volumes/the_drive_you_dragged_and_dropped/disk_being_rescued.dmg /Volumes/the_drive_you_dragged_and_dropped/log.txt
When you do, make sure the disk# is the same as before, if it is hit enter, if not use the back arrow key and place the cursor on top of the # (such as the 0 or 1 or 2 etc) and then type the new number. Make sense if not please let me know, I will reply back.
oh my bad. I can’t edit my last comment, info rescue should actually be info ddrescue
Anyone reading this can also try the following commands
info rescue which brings up an excellent manual, you can use N and P to navigate between the Next and Previous pages. Lots of great info there.
The info page is a great addendum to the man page.
—Alex
small typo?
What’s it’s up and running we can dive in and get ddrescue installed.
I believe you meant, Once it’s up…
Thank u so much Jeff! Data recovery is a costly thing and any free tips on it is appreciable.
Hey Graham, sorry the link wasn’t there for DDRescue-GUI. That’s fixed now. I’ve downloaded and tested it on my own Mac. You’ll still need to follow the other steps to get ddrescue installed, but once you’re done you can live in the GUI.
GUI? Real geeks don’t use a GUI except to keep multiple terminal windows open!!
Real geeks keep the Terminal app in the Dock and usually have at least one terminal window open at all times. I currently have three open!!
And if I’m finding the right download page, it says:
Does that mean all the brew steps above are unnecessary?
Umm, I’d feel more confident downloading if the article included a (verified by Jeff) link to the DDRescue-GUI web site – particularly given that the GUI app requires a security override to install.
Don’t forget Cakebrew if you want a GUI for Homebrew:
https://www.cakebrew.com